I have a confession to make. Before I was married and had kids I would always cringe a little whenever I heard a woman say their dream job was... "A stay at home Mom." That seemed so boring and uneventful to me.
I grew up in a family where both parents had very successful careers, which became their life. My Dad would be gone for weeks at a time on business trips and my Mom never knew when it was time to turn it off. Missing soccer games and important events because work was a priority became a normal for me.
My parents ended up getting divorced when I was 13 and I truly believe part of the reason was because they stopped making time for each other and their careers became more important. Everyone's parents were getting divorced so I convinced myself this was normal. I realize now how much it hurt me. I dealt with some pretty tough stuff while my family was being torn apart (things that I have never blogged about).
I made up my mind that marriage was a waste of time and people just stop liking each other after a while. My plan was to start a career and not even think about getting married or having kids until I was at least 30ish.
Things changed. I fell in love with a boy who I went to high school with and we got married at 21.
My plan to be a career woman was still very important to me when we got married. After a lot of long talks I realized I wanted my marriage to be different from my parents. We decided the best decision for
our family was my husband was going to be the main money maker and I would eventually stay at home with our kids.
I knew I wanted to do "something" but someday I would have to turn it off and be
content with being a full time Mom. I became a licensed esthetician and I loved it! I landed a pretty awesome job when I first started out working with a team of Doctors. I have always been motivated by money and my job was commission based so I was definitely bringing home a nice chuck of change each month. I became obsessed with selling and up-selling and constantly wanted to make more money. Now there is nothing wrong with wanting to make money but when it starts to affect your marriage and take over your thoughts it's not good. I realized I was turning into what I had
feared most.
I took a step back and decided to quit my job and open my own business out of my home. My income was nothing like it was before but it did not matter. I was doing what I loved and helping people achieve beautiful skin...there was no more pressure, it was great!
Fast forward a few years down the road. I found out we were expecting a baby! What was I going to do about my clients and business? I worked until the very end of my pregnancy and started right back up 4 weeks after having Max. My clients were so important to me (sound familiar?). What was I becoming? I was working until 7 or 8pm just so I could "accommodate" everyone's schedules.
Well the time
has come where it's time to shut it off for now. I will
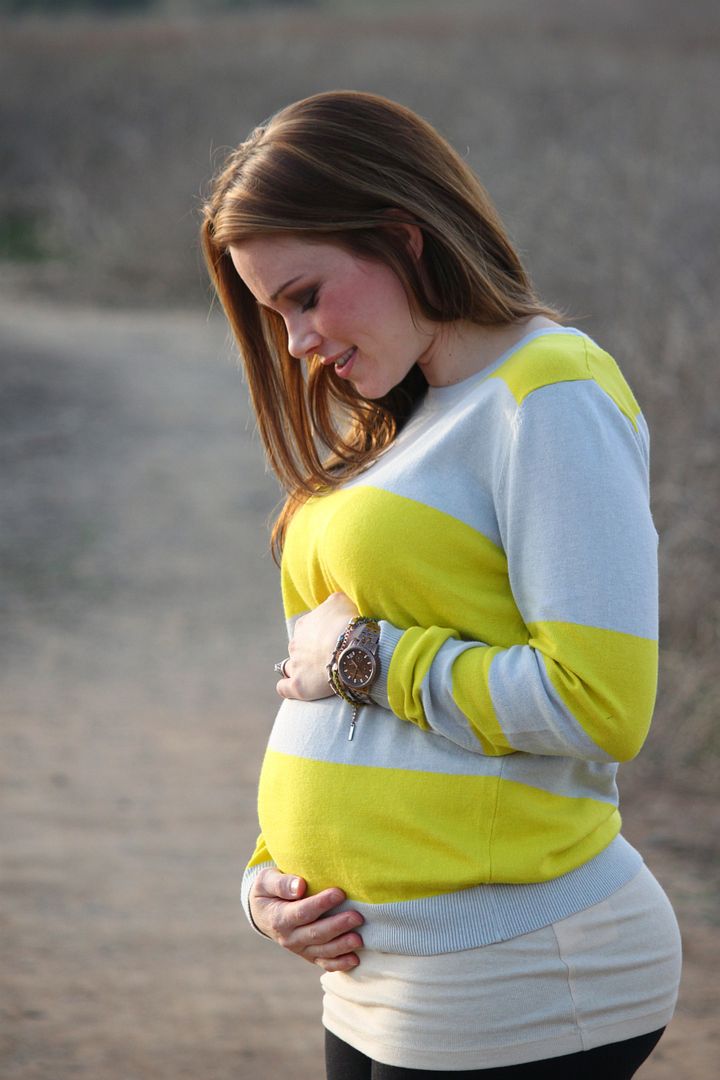
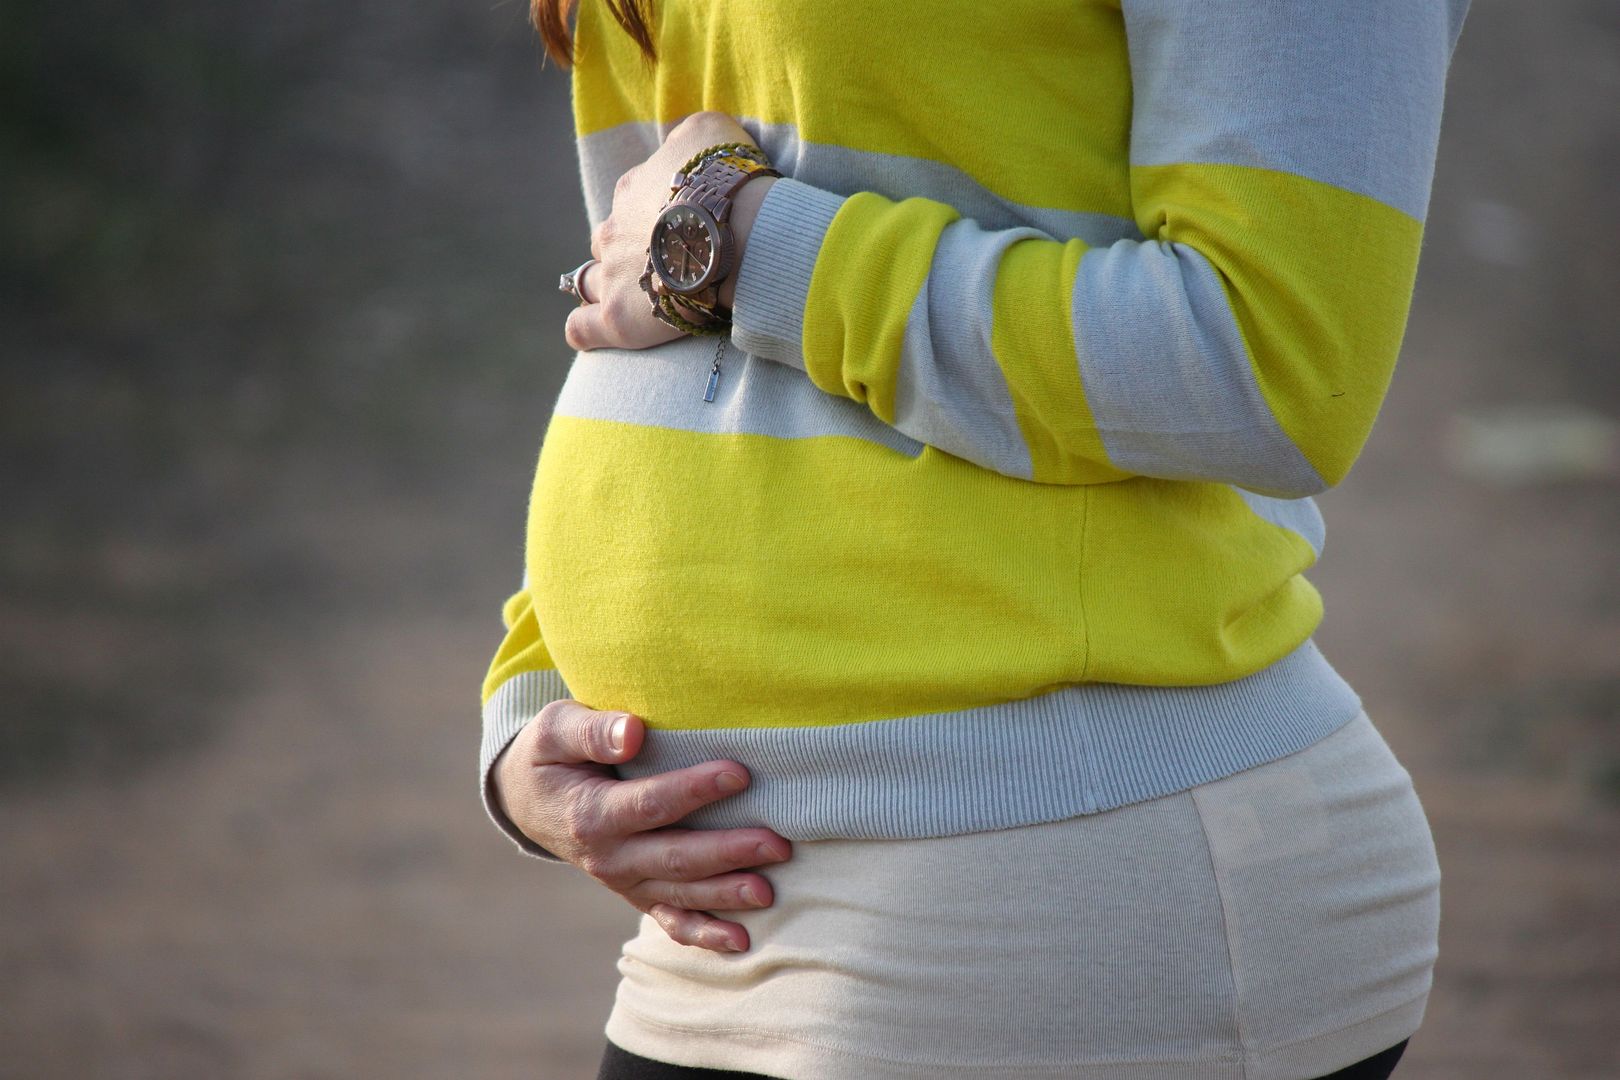
continue to educate myself and keep my license up to date but taking clients will no longer be my priority. I am pregnant with baby #2 and the most important thing to me is my family.
This weekend I made the plunge and started letting clients know that I will be taking a few years off to "Be a Mom." It felt so liberating!
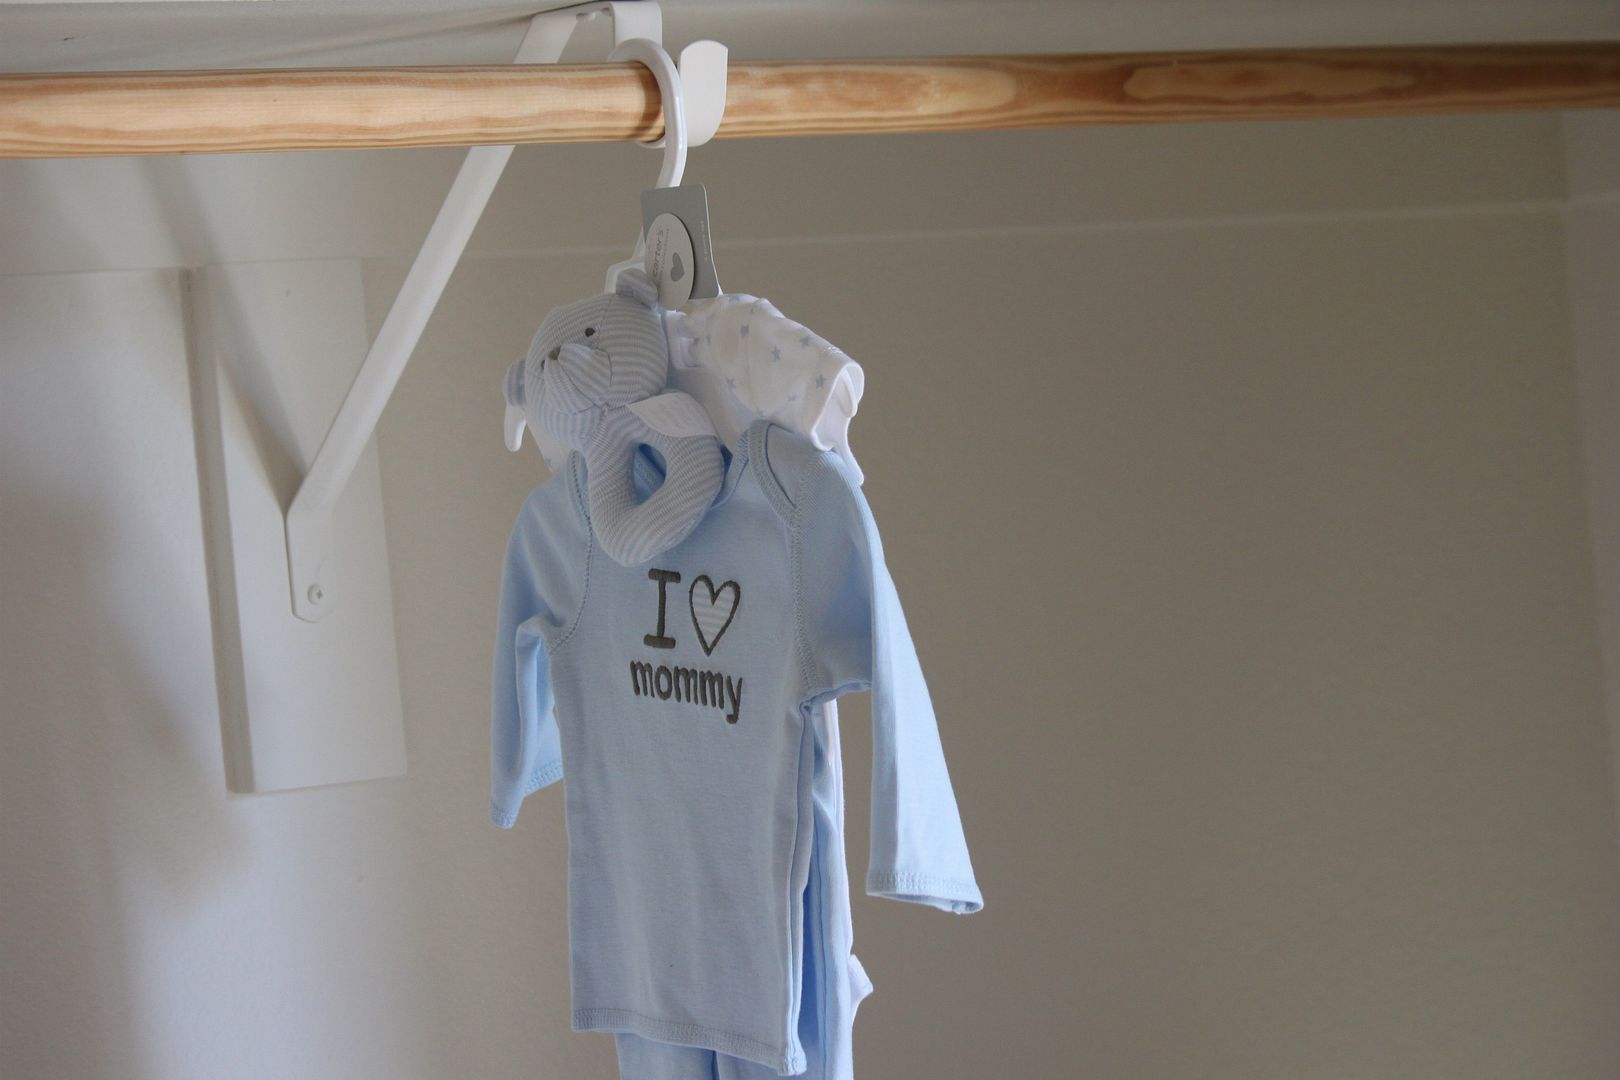
Being a full time Mom is the best most fulfilling job in the world and I would not have it any other way. My kids will only be little once and I never want to be too busy missing out on things that matter most. I believe in breaking the cycle and I think it has officially been broken.
Oh and one more thing...being a stay at home is anything BUT uneventful. I was way wrong about that one.
*image via
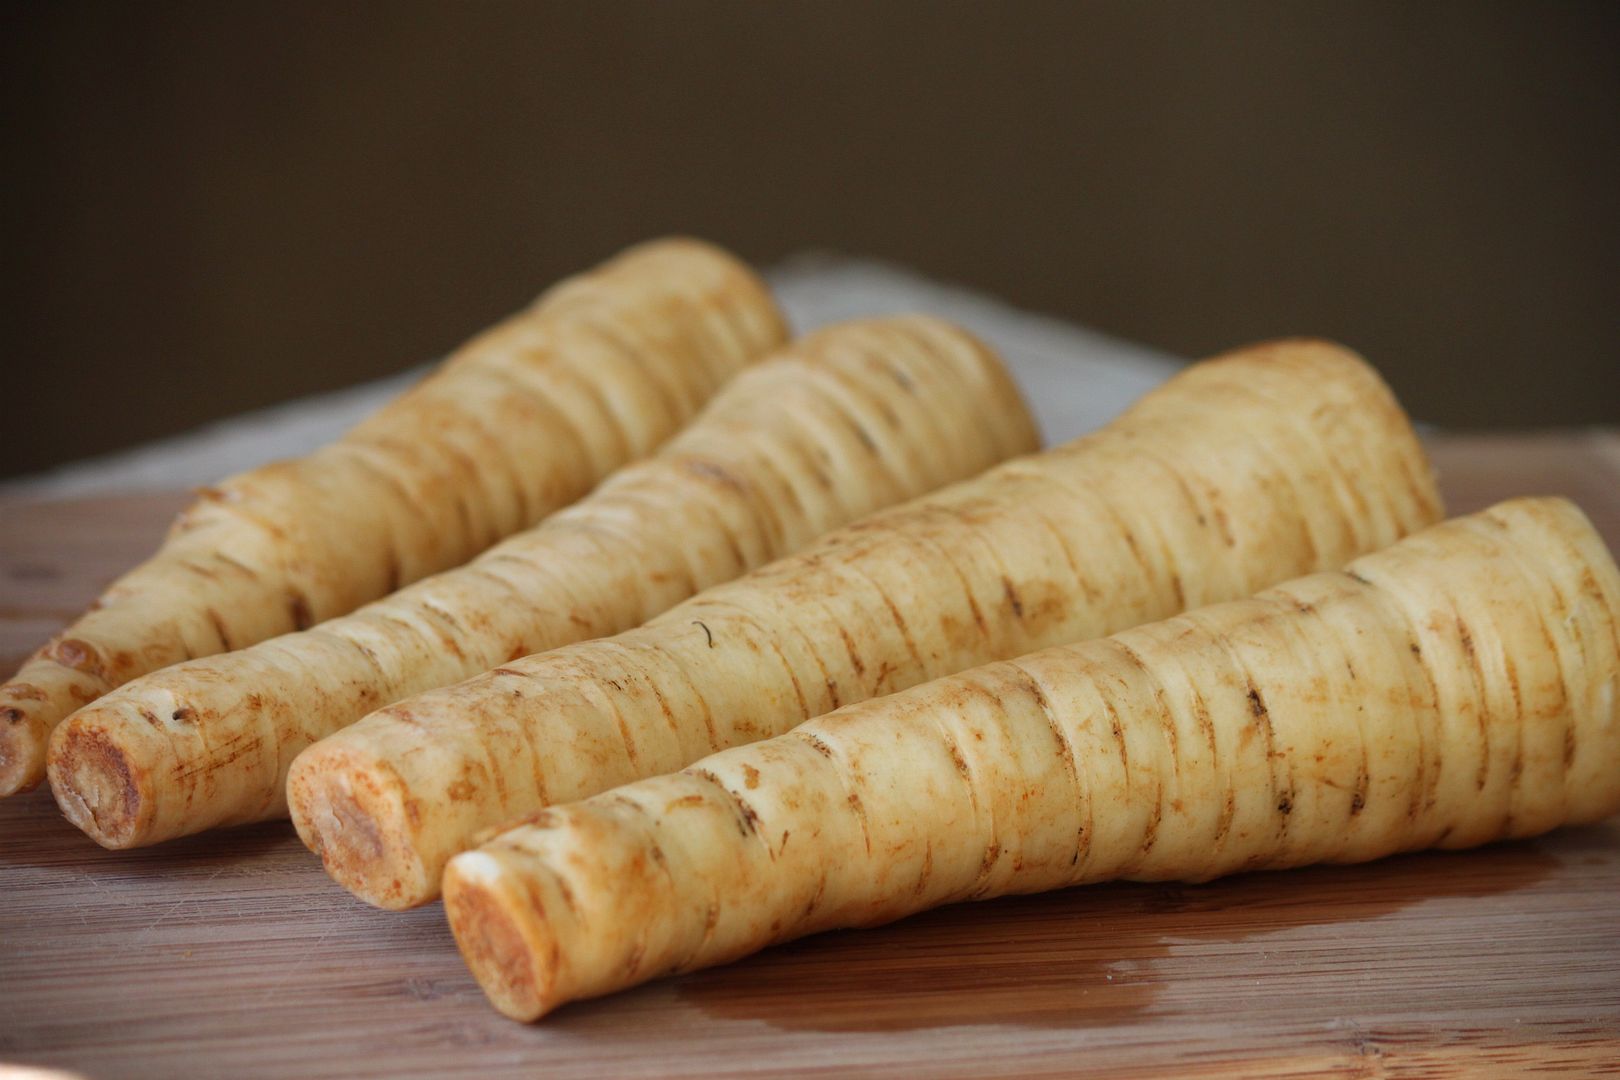 I had no clue what a parsnip was until I ventured into the land of homemade baby food making and started doing a little research. My son LOVED carrots (so much that he started turning orange) and I read that parsnips were very similar to carrots.
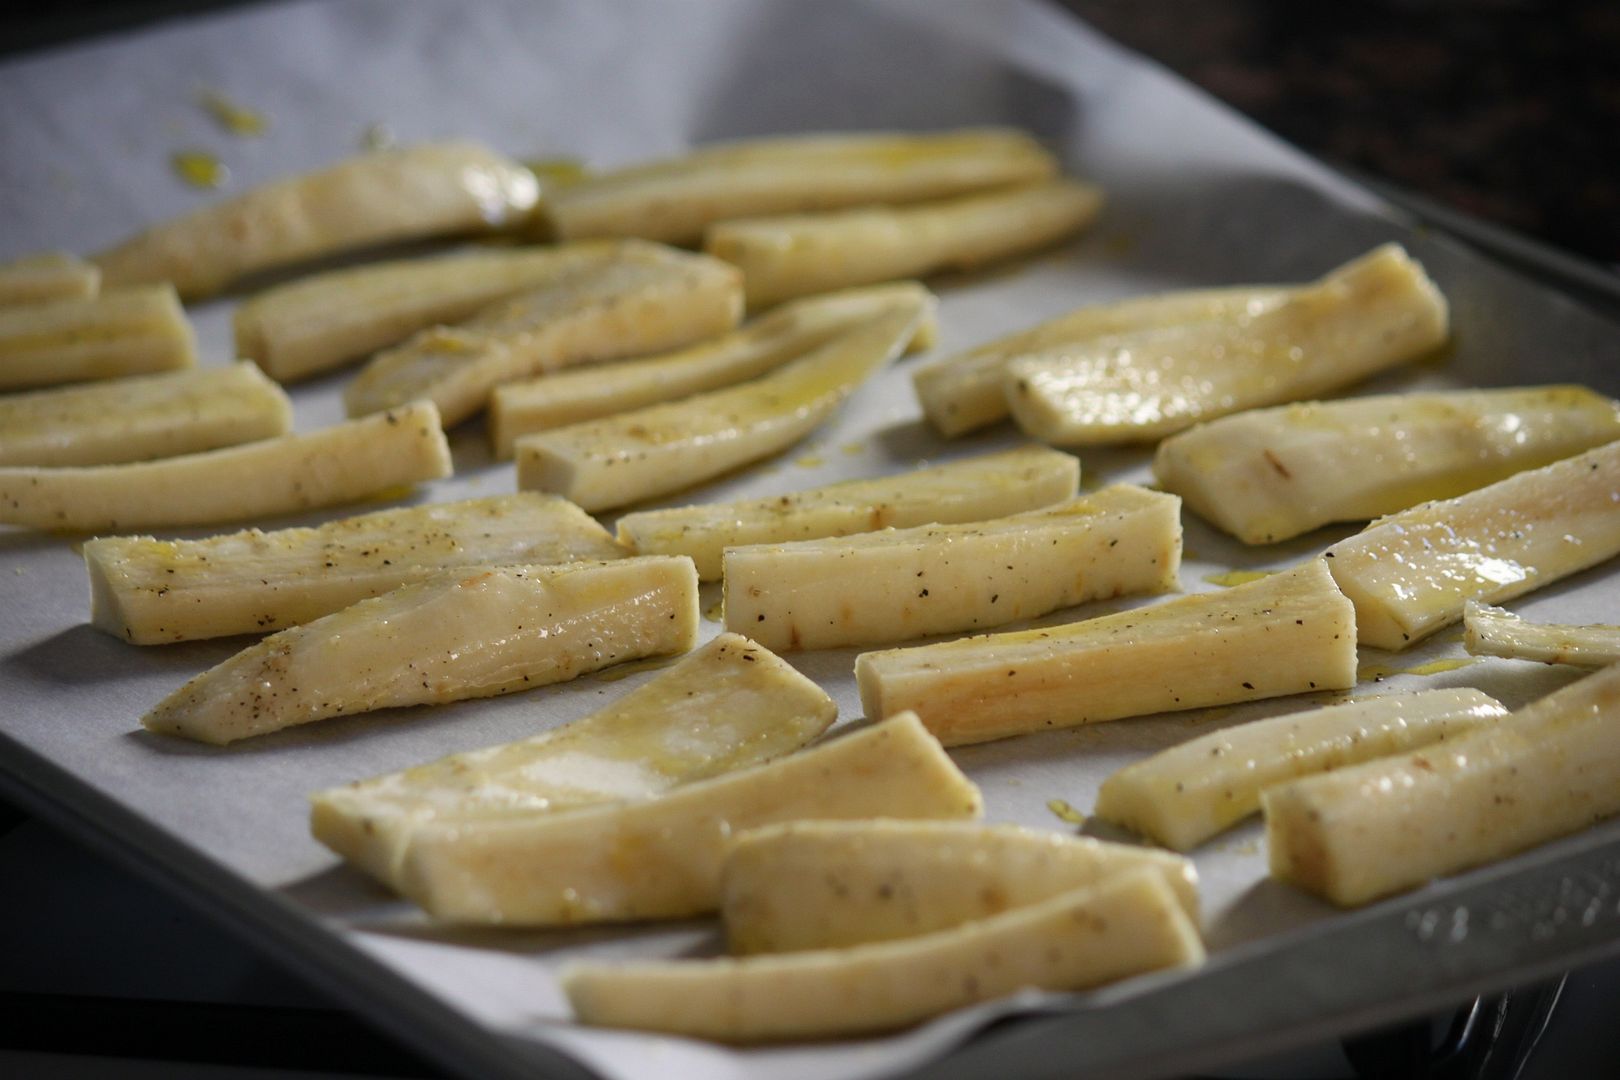
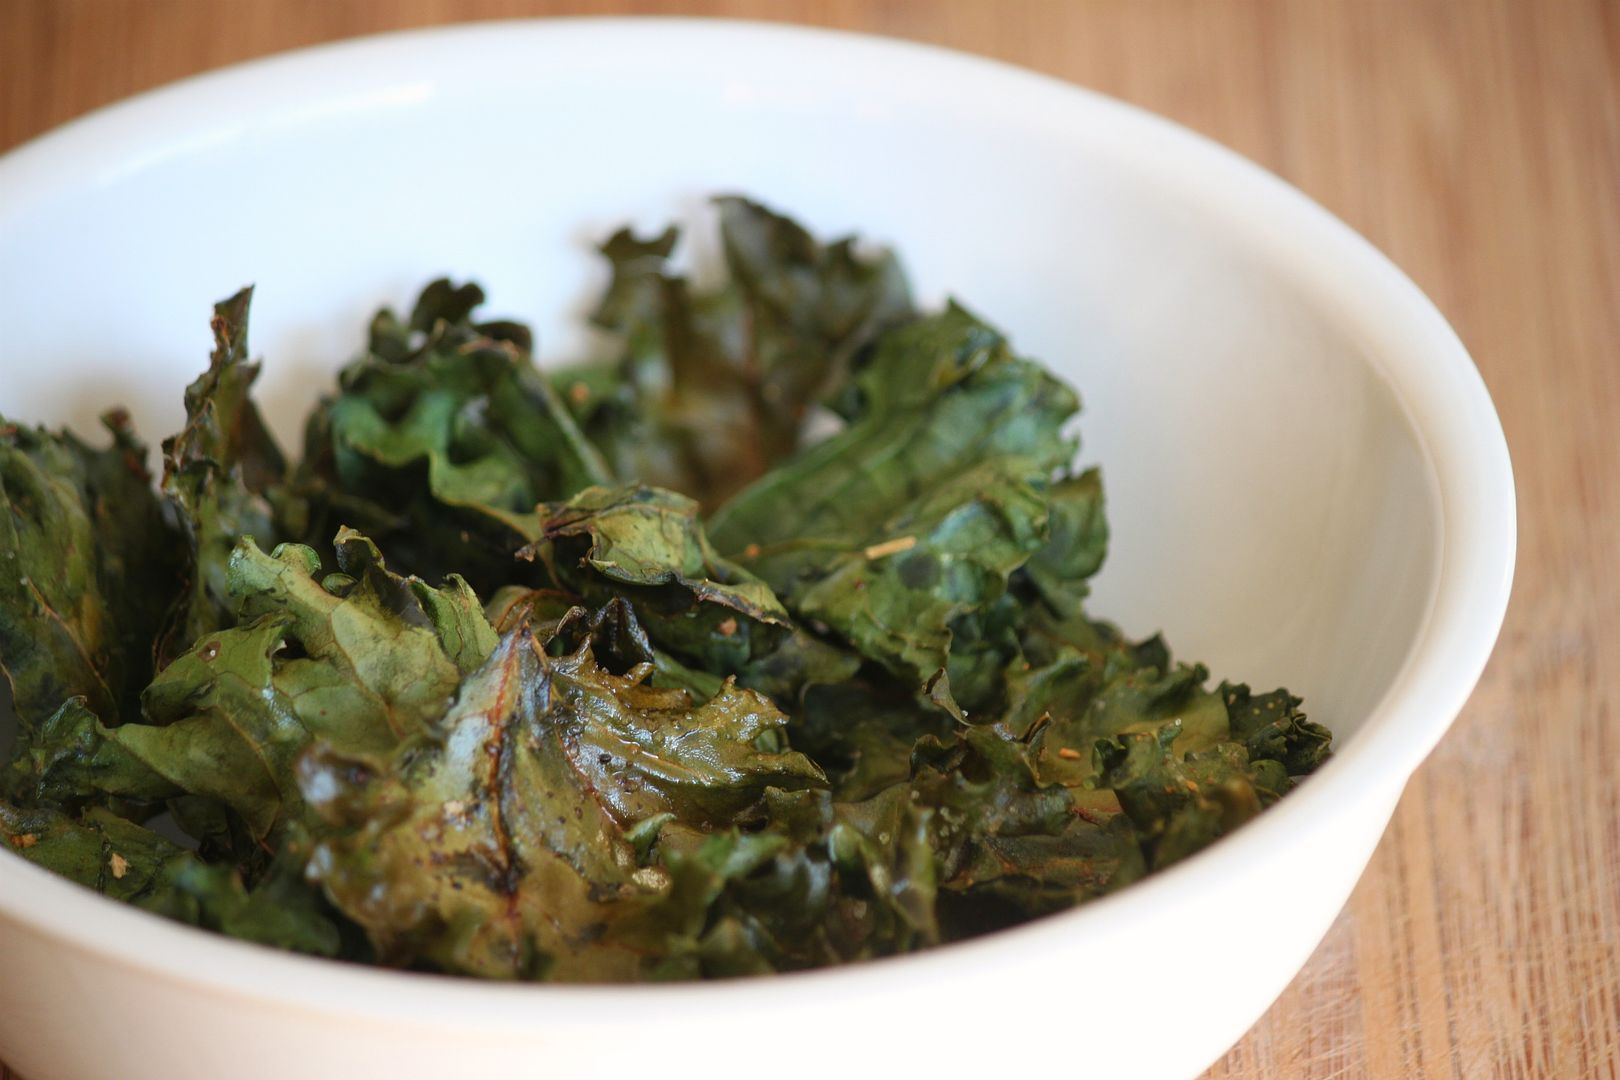
 The sweet/slightly spicy taste of the parsnip really comes out when they are baked. If you like regular french fries I guarantee you will love these!
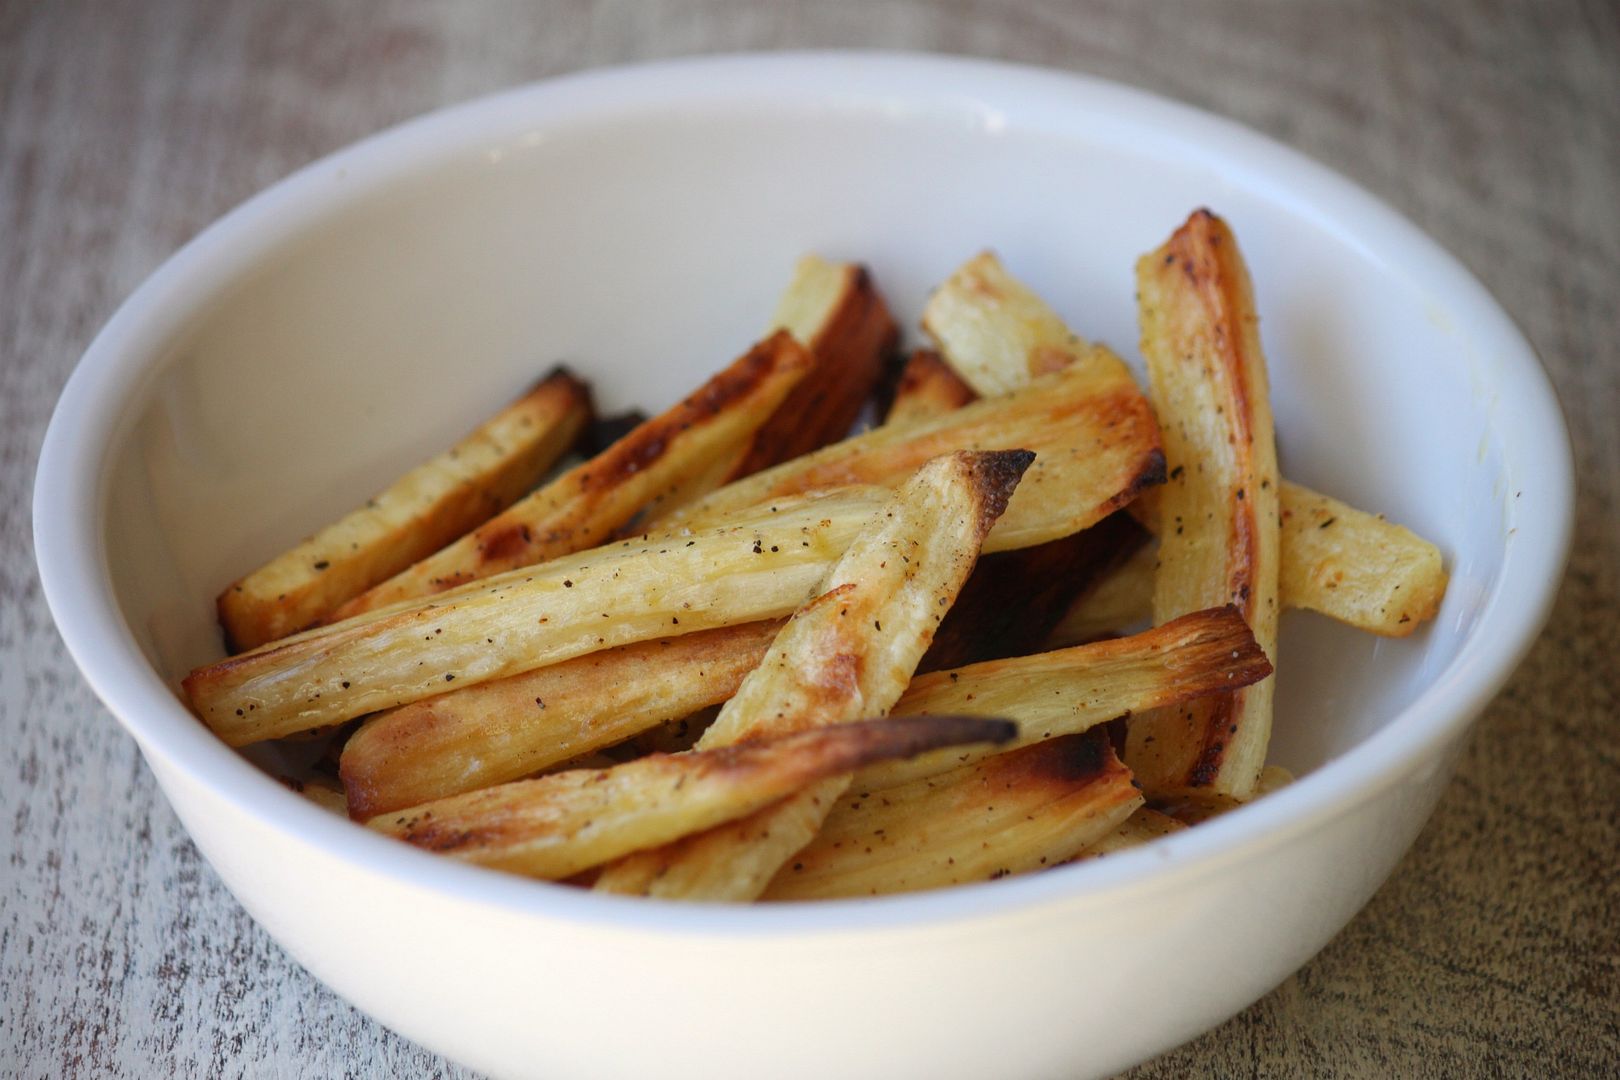
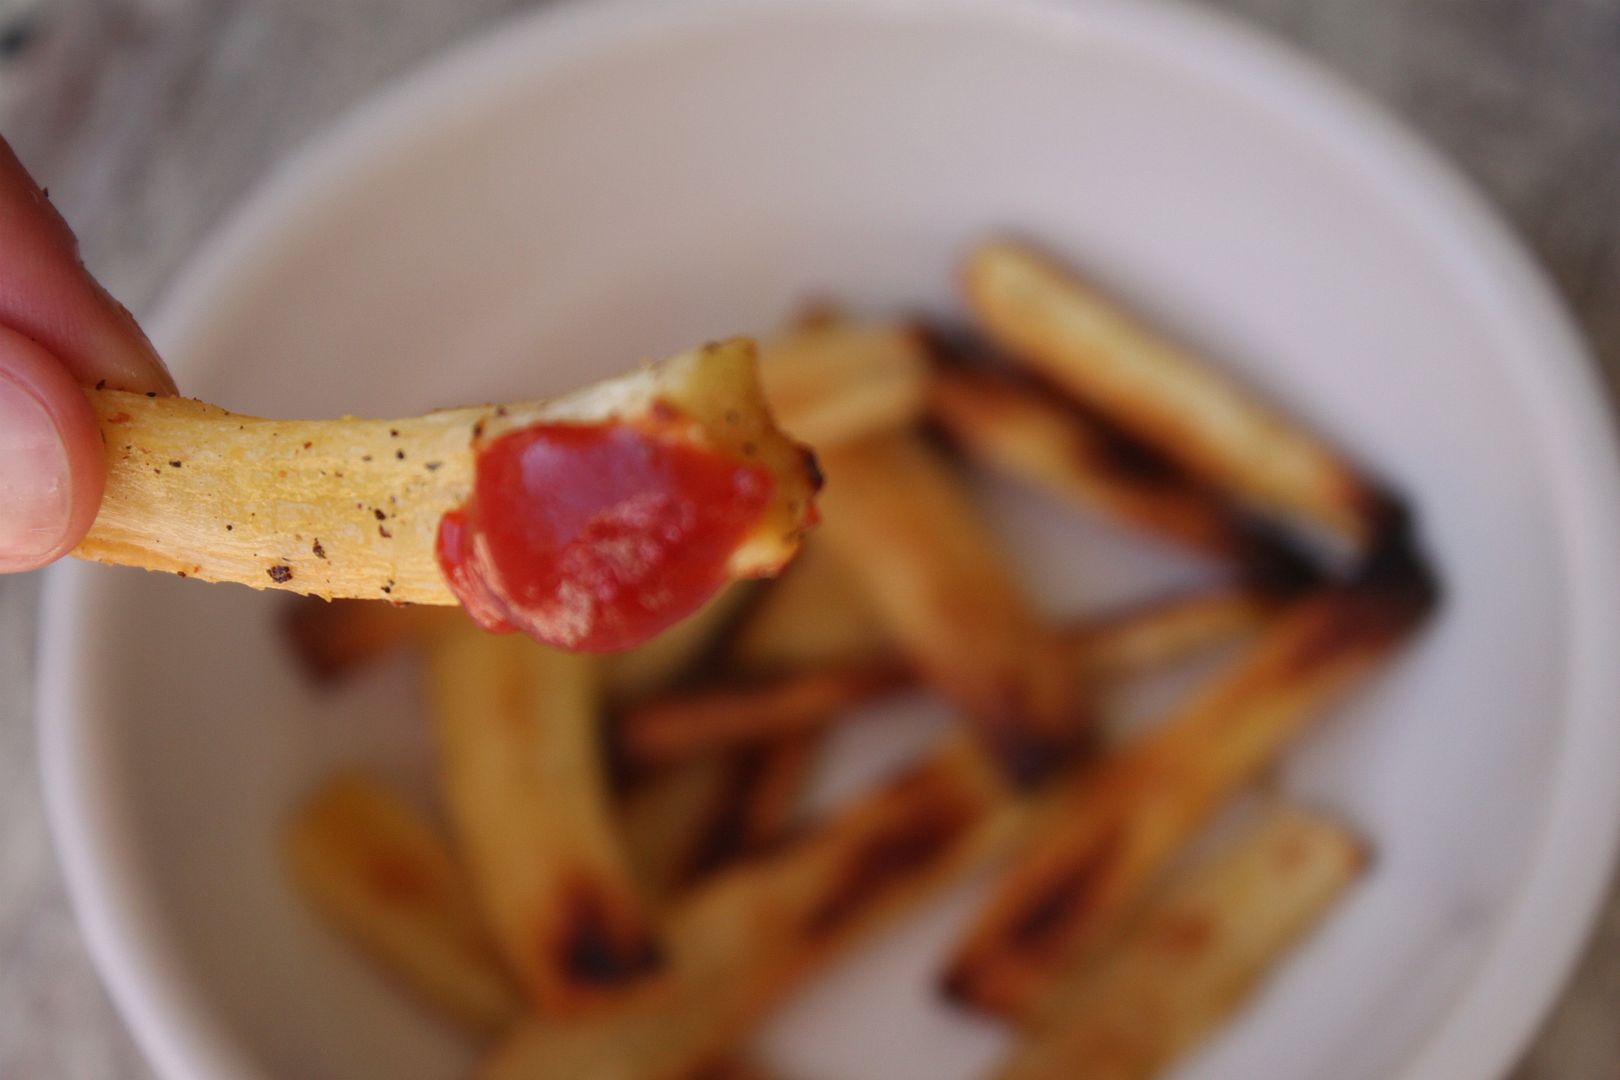 I will be making a giant batch of these for Super Bowl per my husband's request. The reason the bowl looks half empty is because by the time I actually got around to snapping a picture I had already consumed half of them. So yummy!


