Today I have one of the cutest Momma's around taking over my blog and I could not be more excited about it!Hi Delighted Momma readers, I'm Andrea from
For the Love Of, and I'm so happy to be here guest posting for Lindsay so that she can get some nesting done before baby Ronin arrives. Thank you Lindsay for having me today!
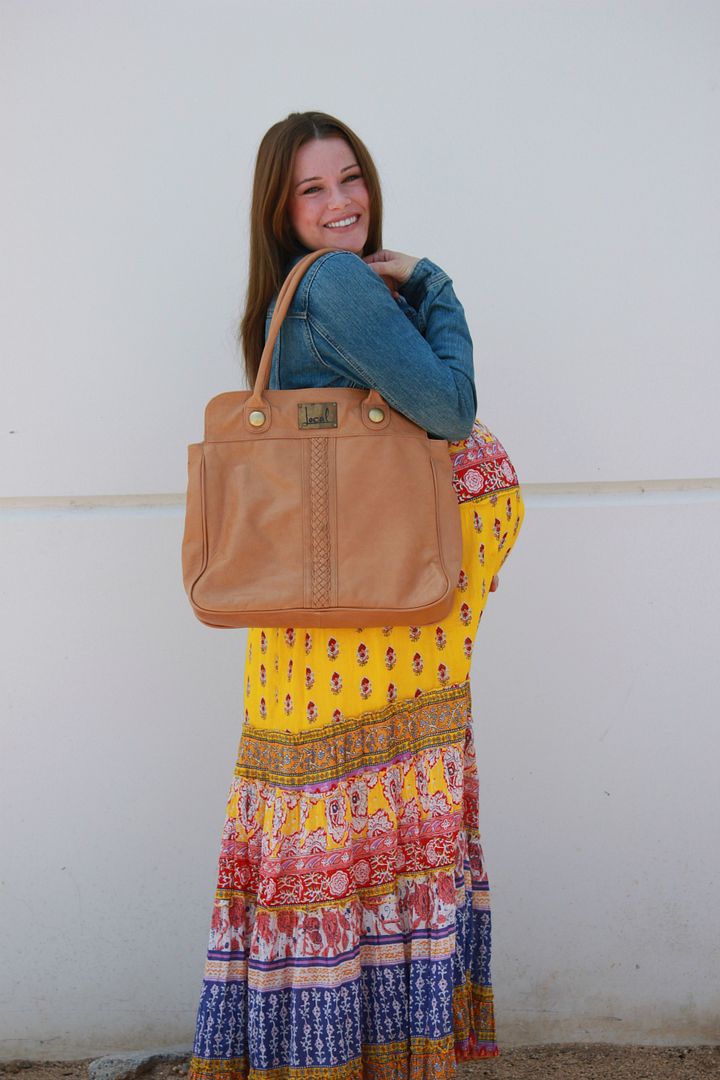
Today I wanted to share a few pregnancy styling tips that have been crucial for me this time around. Since it's my 3rd and final pregnancy, I really wanted to enjoy it and even treat myself a bit, which means not sacrificing style for comfort, but figuring out how to combine both. I'm passionate about style, after all I made it my career for over 13 years, and think that at no other time does the saying "look good, feel good", ring more true as it does when you're pregnant. Here are my top 5 tips for maintaining your personal style, even during pregnancy.
Elastic Waists - I hate maternity jeans and pants. There, I said it. I think they're all uncomfortable, whether you buy the Target pair or the designer pair. The waistbands are either too short so you're constantly pulling your pants up, or they're too high and you have to stretch that ridiculously huge belly panel over your belly, which is just sort of a humiliating feeling. Since they are a necessary evil, I only wear 1 or 2 pair when I absolutely have to wear pants, and then opt in for non maternity pants, shorts and skirts that have an elastic waist. They ride and sit low, under the belly, but I just make sure to wear tops that are long enough to cover the bump and I'm good to go.
 (elastic waist shorts from Target with Gap Maternity tank top)Empire Waist Dresses
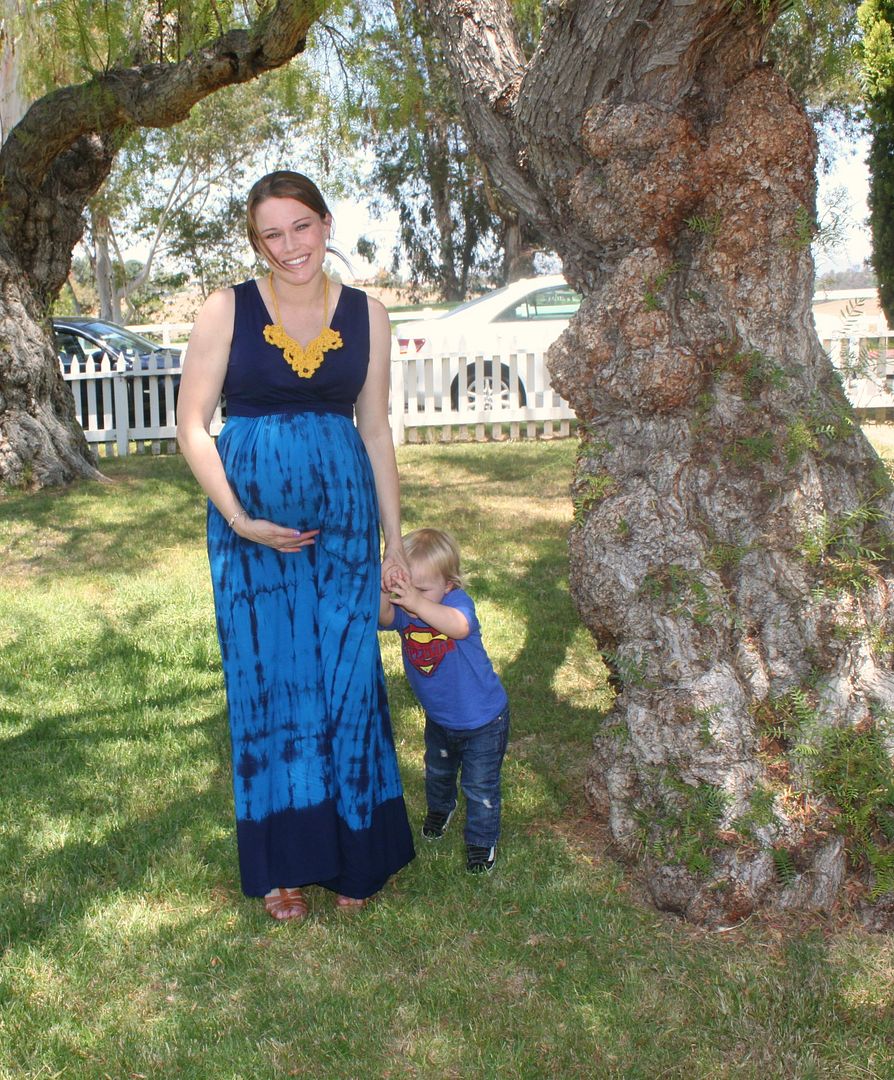
 - For the most part my upper body doesn't change in size much when I'm pregnant; it's the bottom half that experiences the most change. Because of this, I'm usually able to continue to fit into non-maternity dresses and tops that have an empire waist. The empire waist sits right above the belly and allows for ample room. Best part is I can stretch my wardrobe since I can continue to wear items like this in my closet, and I can buy a cute non maternity dress when I'm pregnant, knowing I'll continue to get use out of it after the baby is born.
 (this dress was a recent purchase from Forever 21; it's flowy silhouette fits perfectly over my bump)Layering Pieces
 - Whenever I'm feeling a bit frumpy I've noticed that adding a layering piece, such as a blazer or sweater from my existing closet, makes me feel pulled together and also ties me back into my old body and the body I'll hopefully go back to. It reminds me that my body will only be this way for a short time and that I can still enjoy pieces from my old body just the same. If anything this trick is more of a morale booster and helps me treasure this time in my life that much more.
(this mint cotton blazer from Zara has been my favorite purchase during this pregnancy and I've worn it more times than I can count, and will continue to wear it after the baby is born)Accessories - When in doubt, just add an accessory or two to help get you out of a pregnancy styling slump. I always keep it simple by adding a statement necklace or a bunch of bracelets, since after all I've still got young children to care for. But nothing adds instant style to an outfit than a sweet pair of earrings or a perfect necklace.
(this bright jade statement necklace was a recent DIY, set against an ASOS maternity dress, it's hard not to feel good wearing so many cheerful colors!)Know Your Resources - The last time I was pregnant 5 years ago maternity ware looked a lot different. Places like Pea In the Pod, Baby Style and Japanese Weekend were about the only places you could hope to find anything remotely stylish, but everything was a fortune! Now though, there are so many other options for maternity style including online resources like
TopShop and
ASOS. Prices are way affordable and the styles are current and pretty. I love having many different options to find cute and affordable maternity clothes, so do a little research and don't feel like you have to settle with the boring standard maternity shops.
I hope you've found these tips useful and true, and please share any other tips you may have! I always love to hear what other women find useful in helping them feel good. Thanks again for having me!
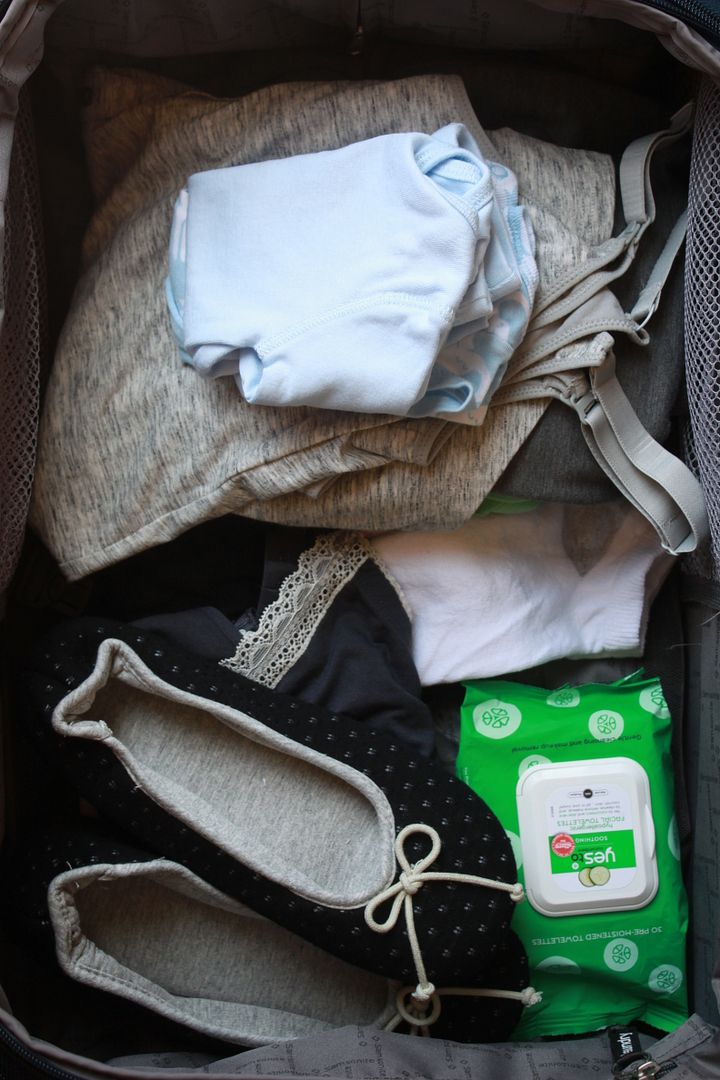
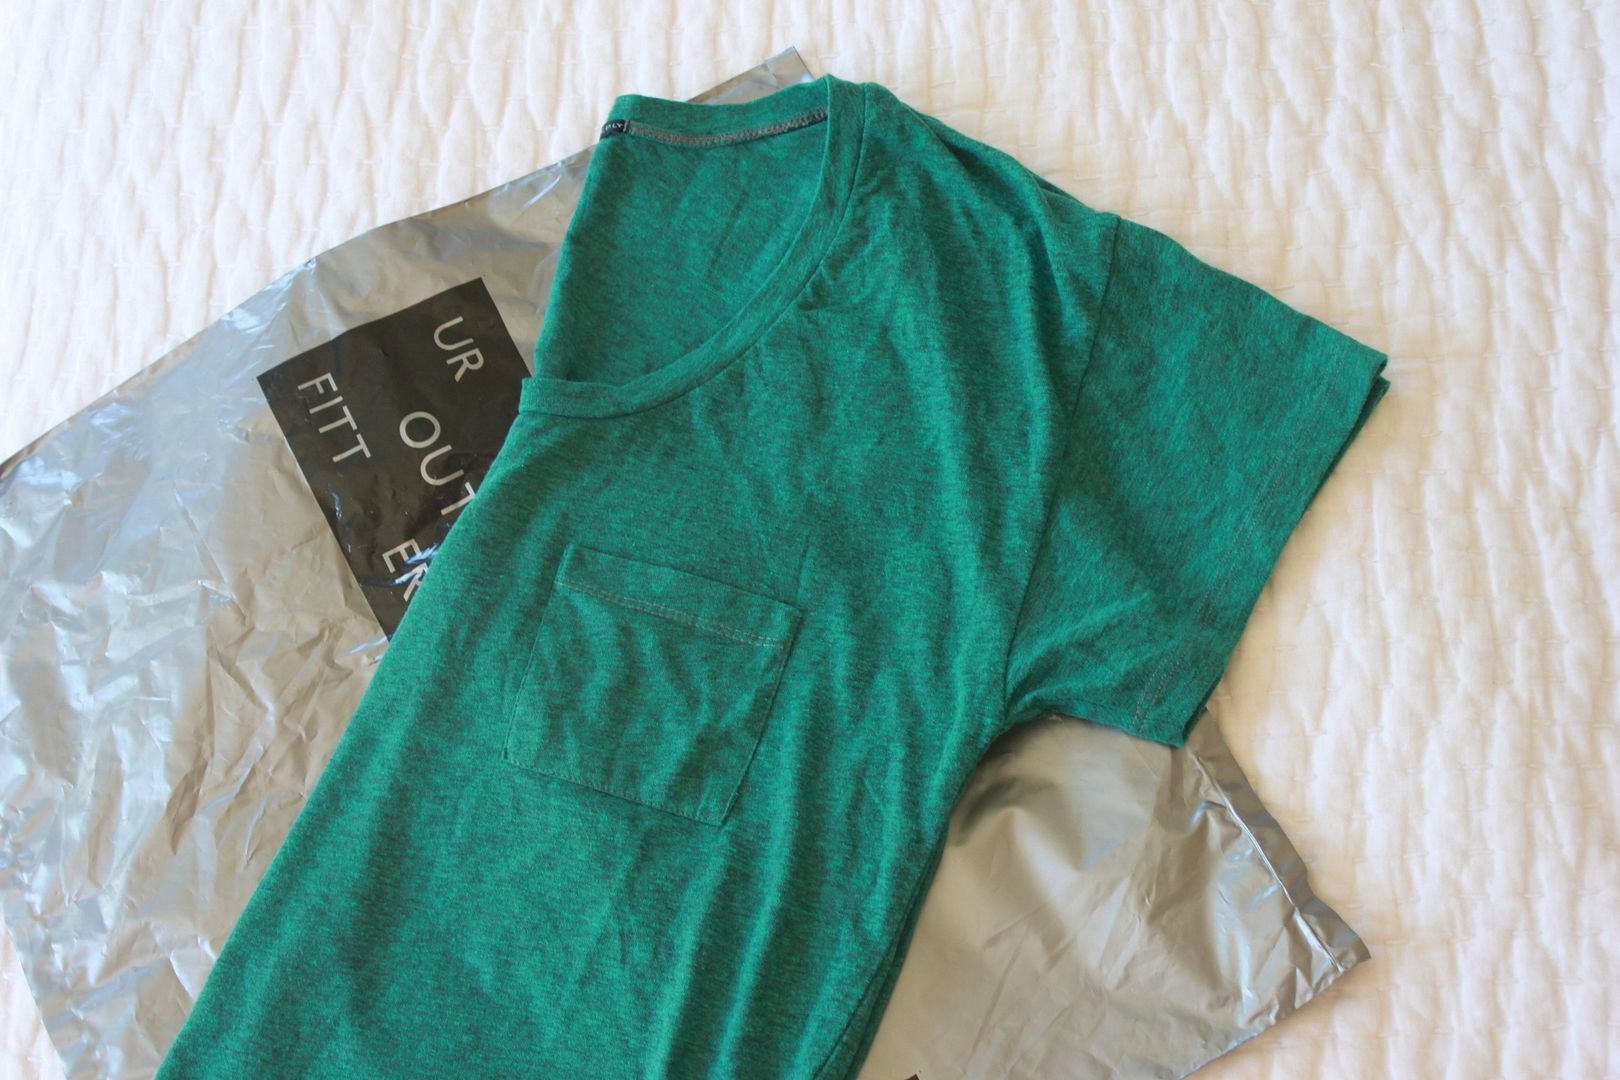
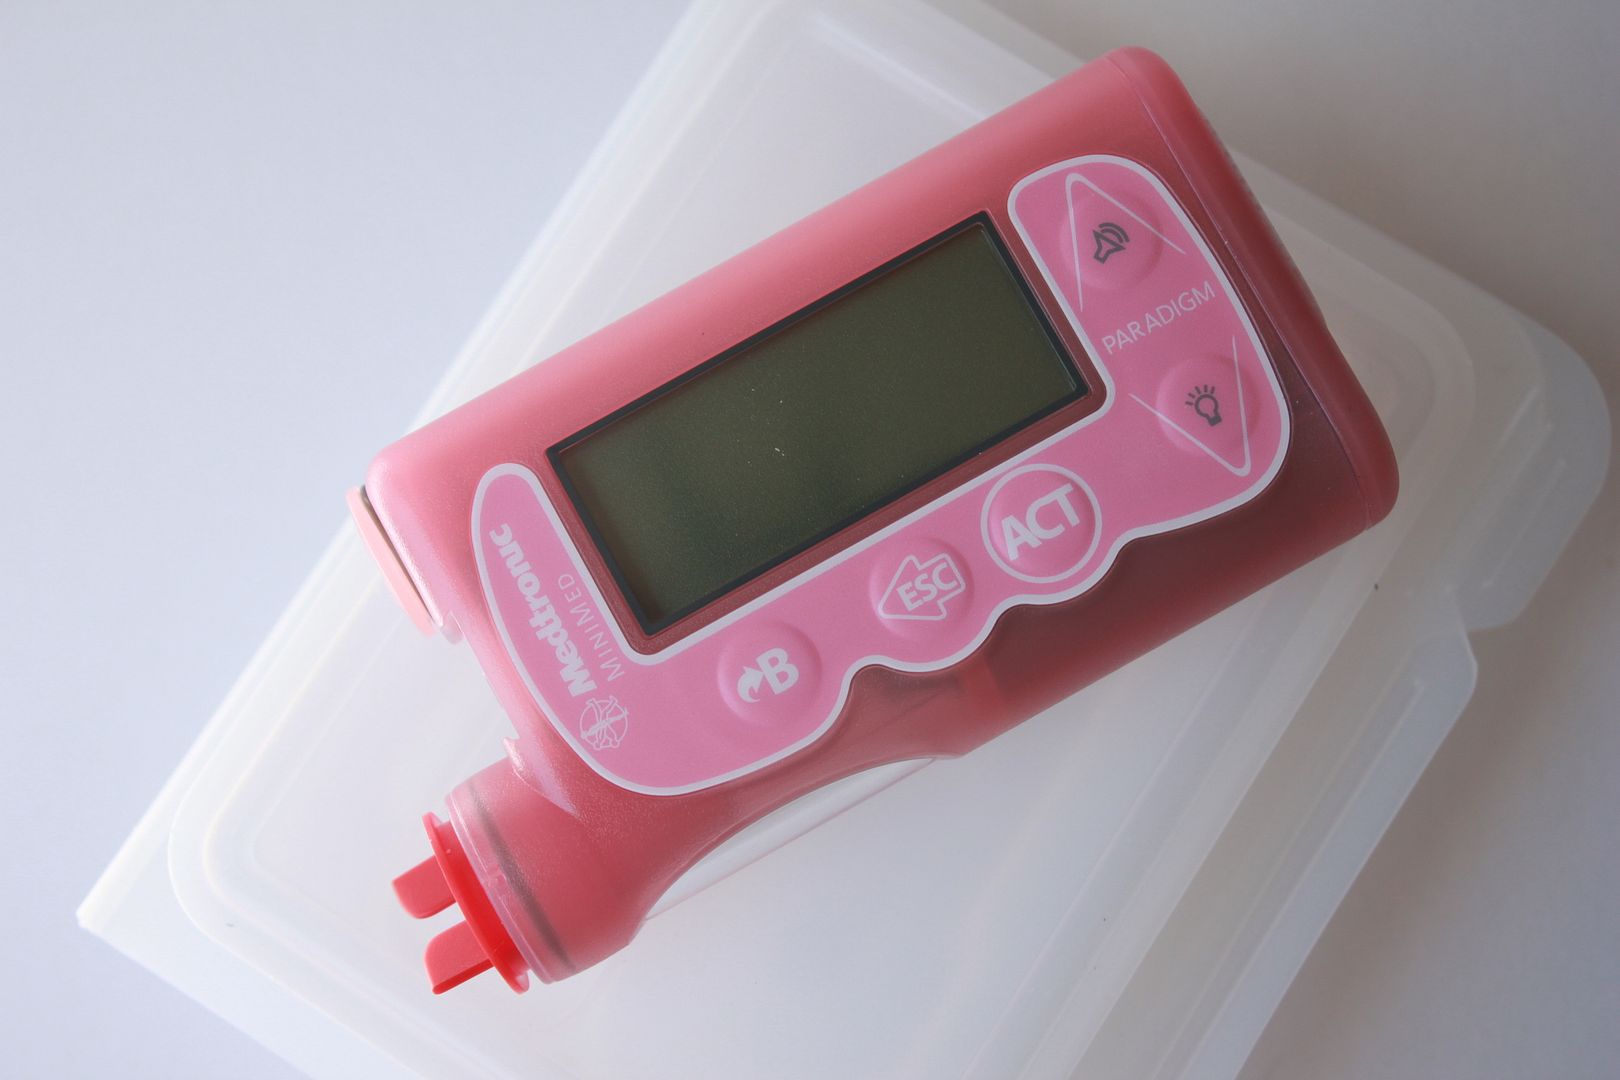
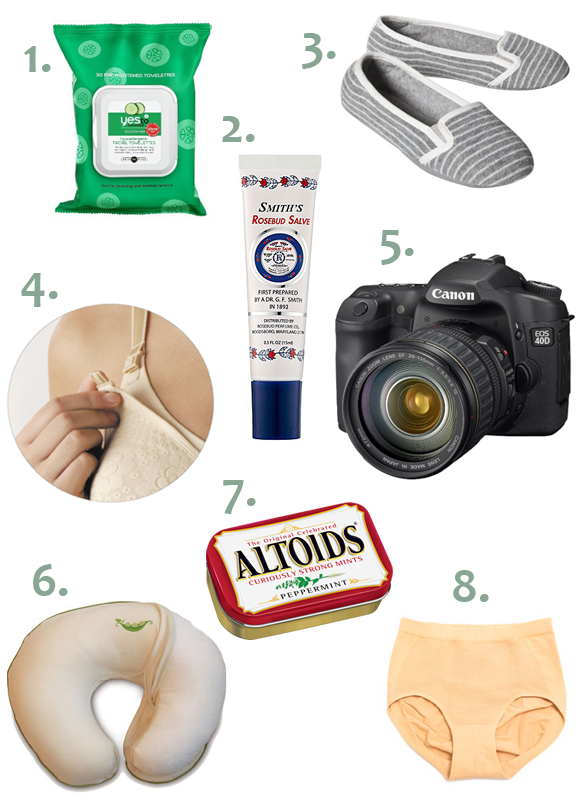 #1) My post delivery essentials. I am officially all packed and ready to go. All of the above items are in my suitcase.
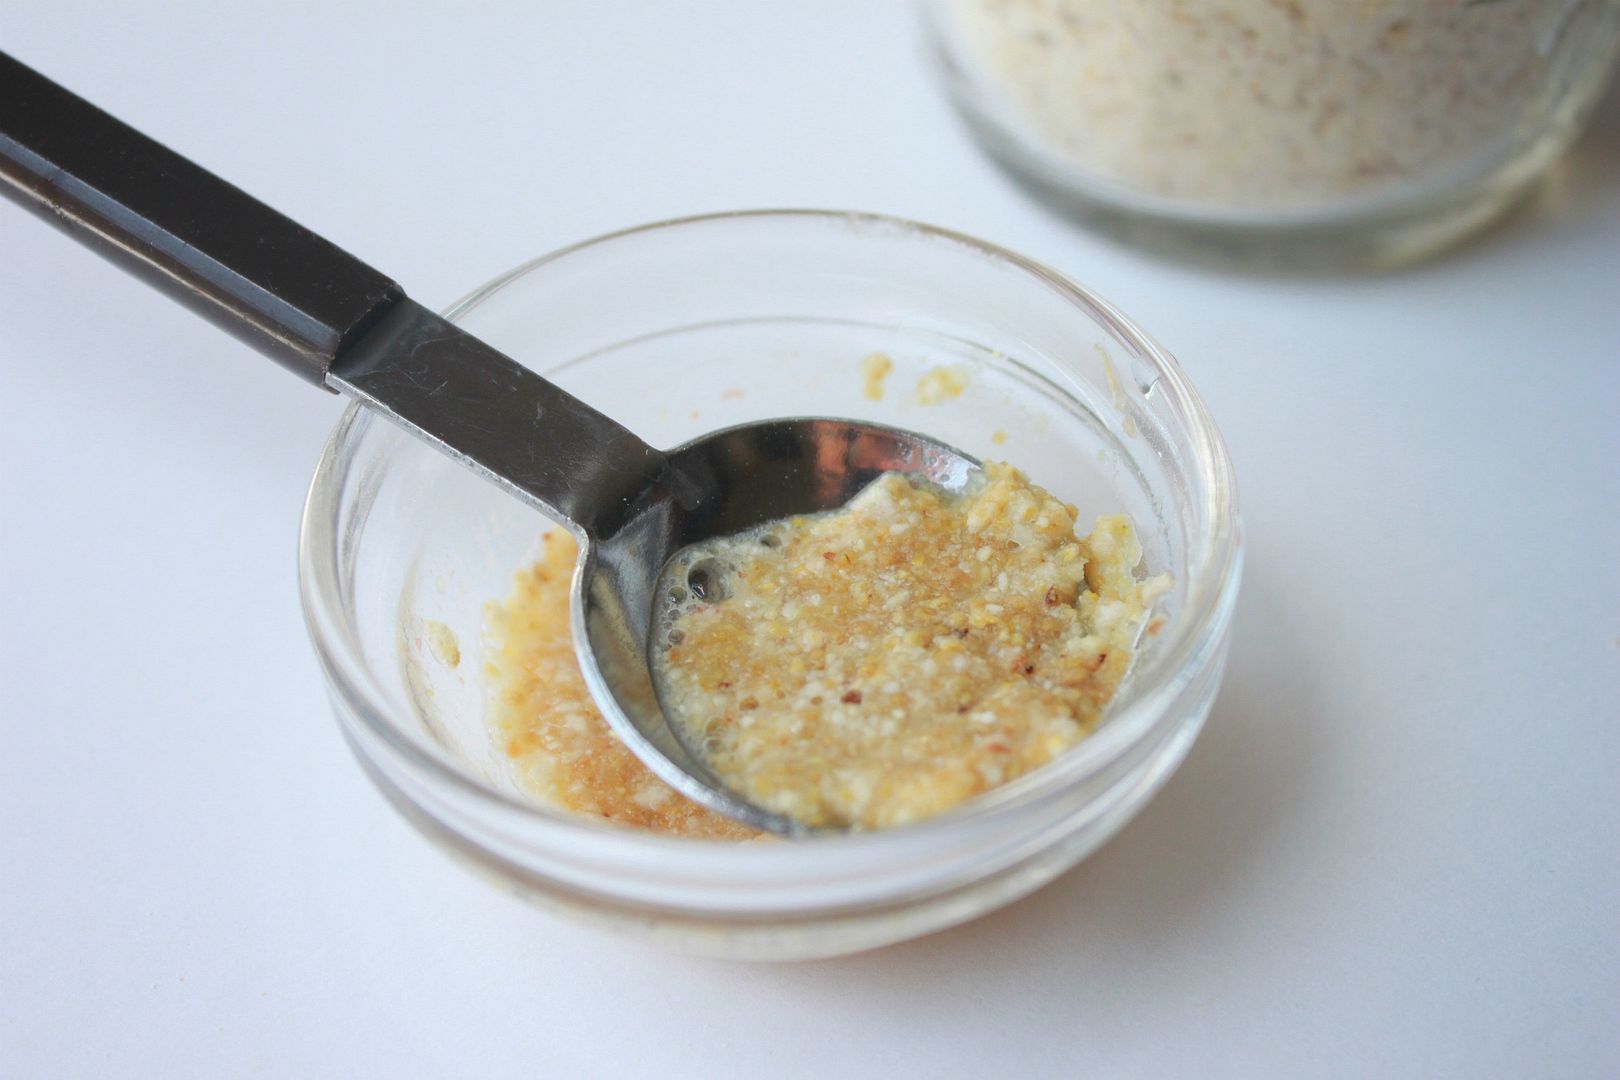
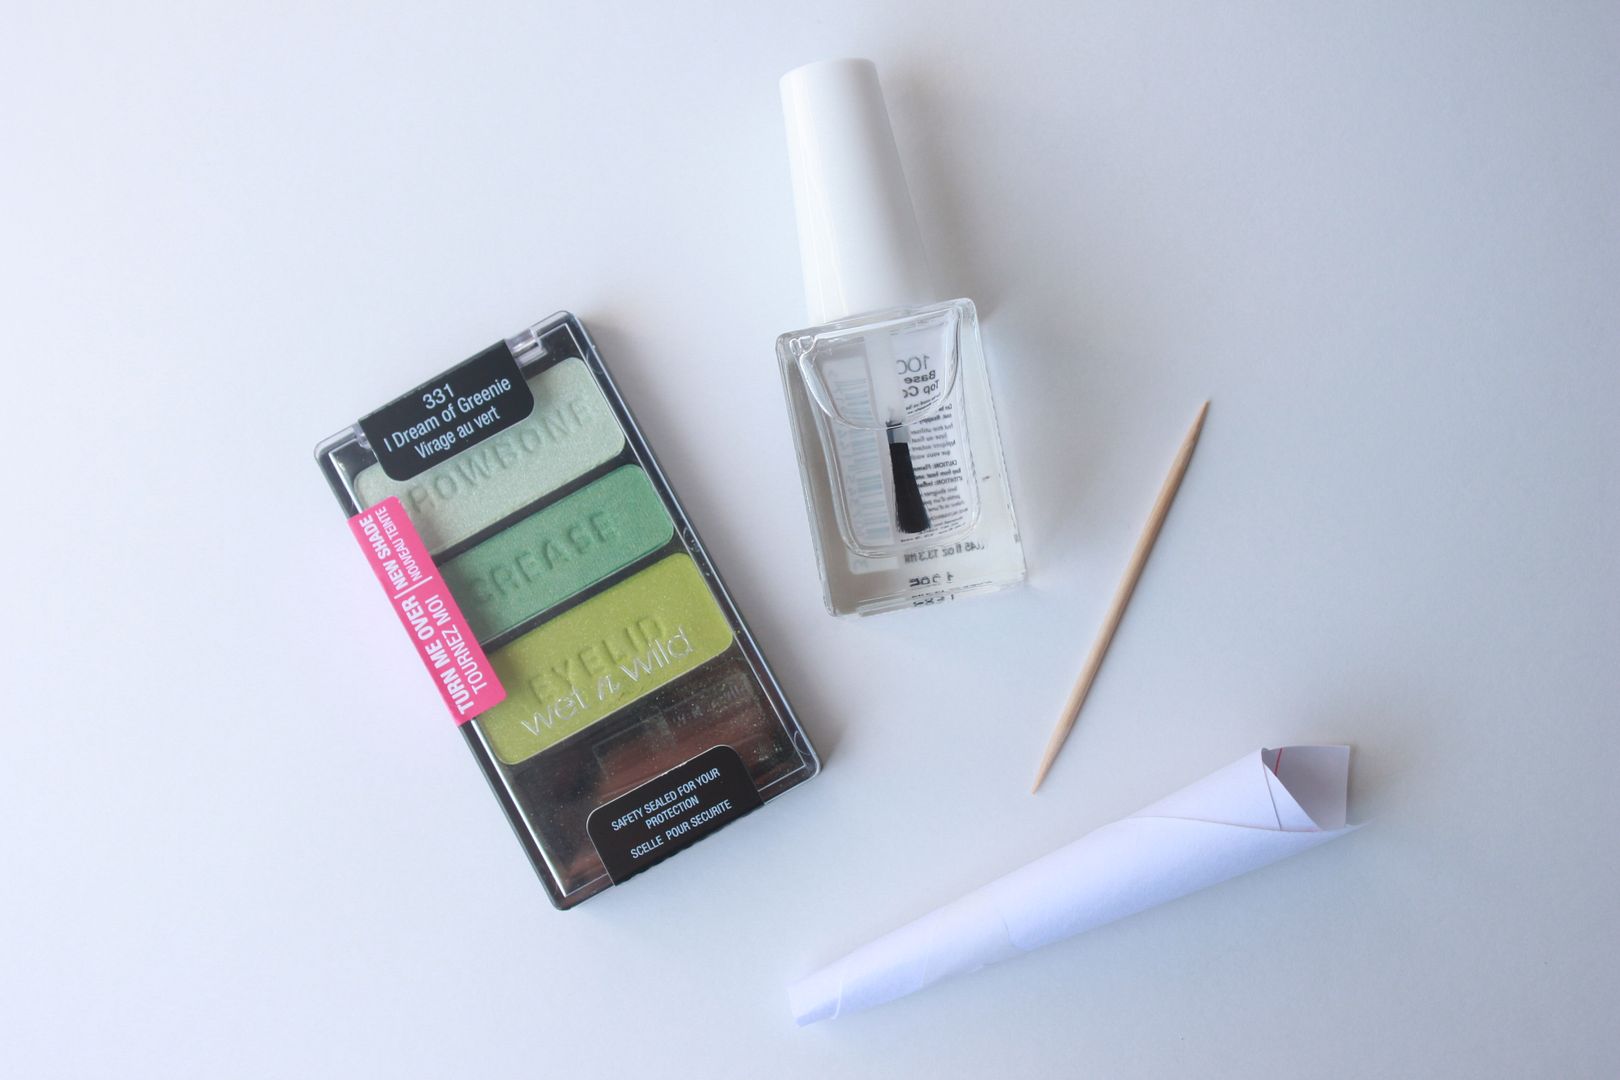
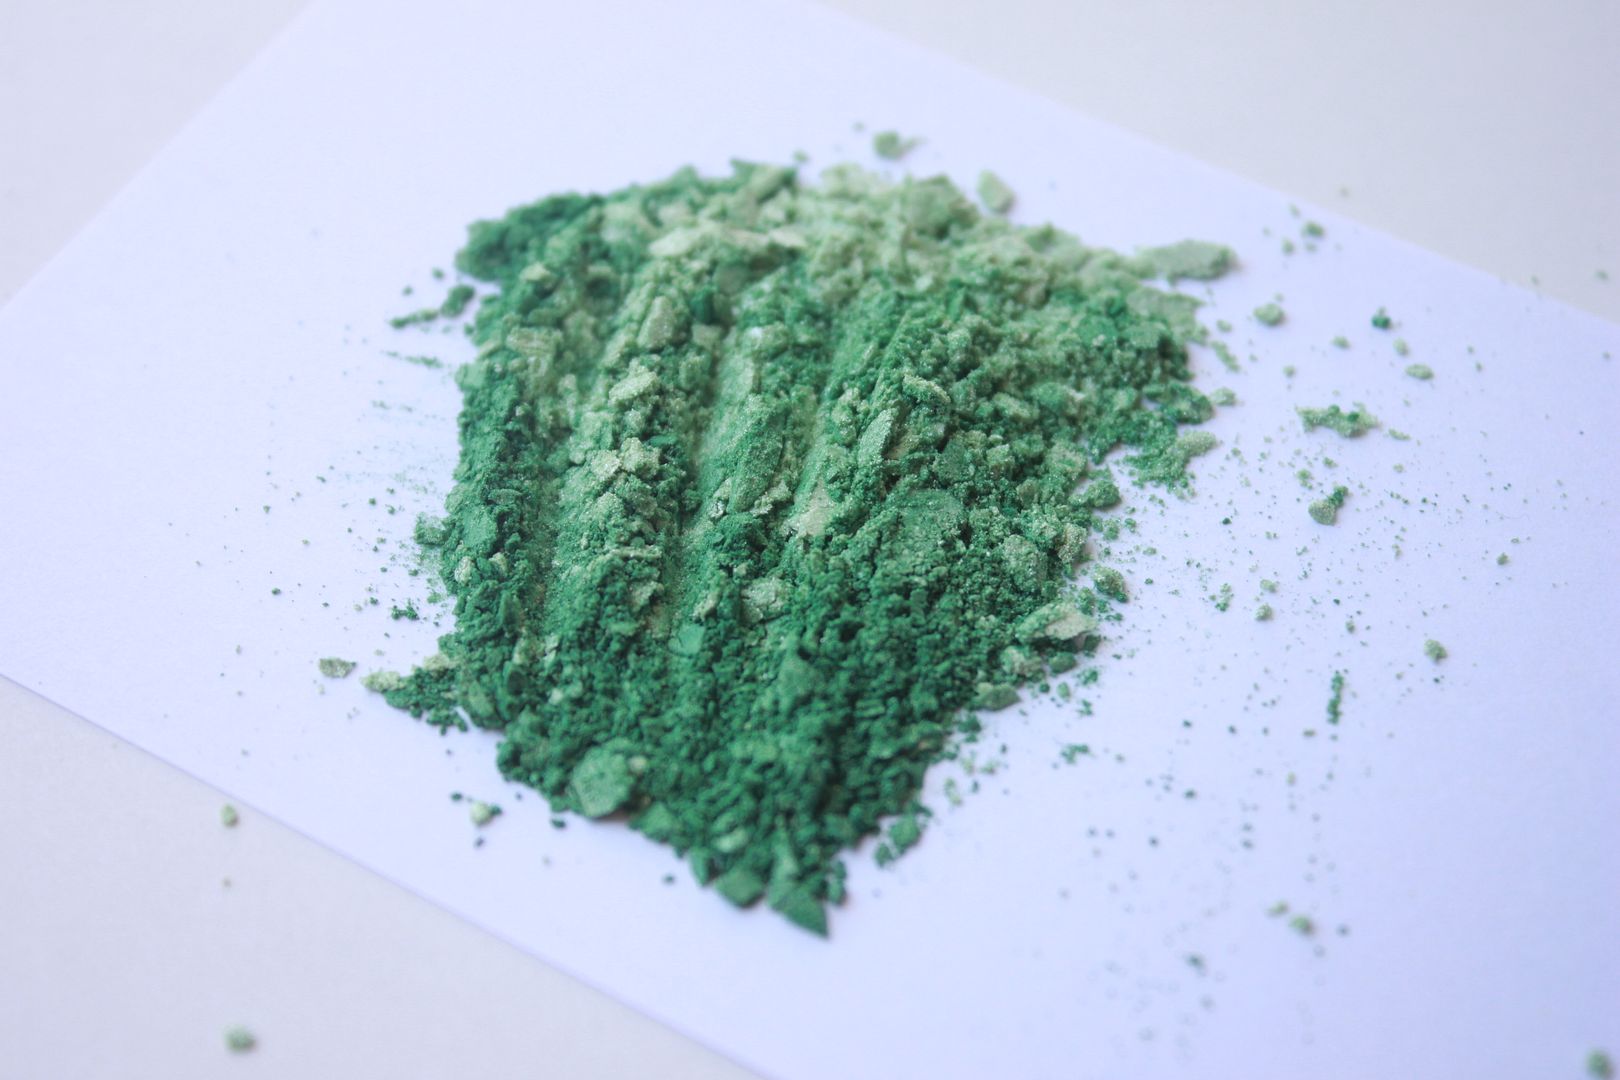
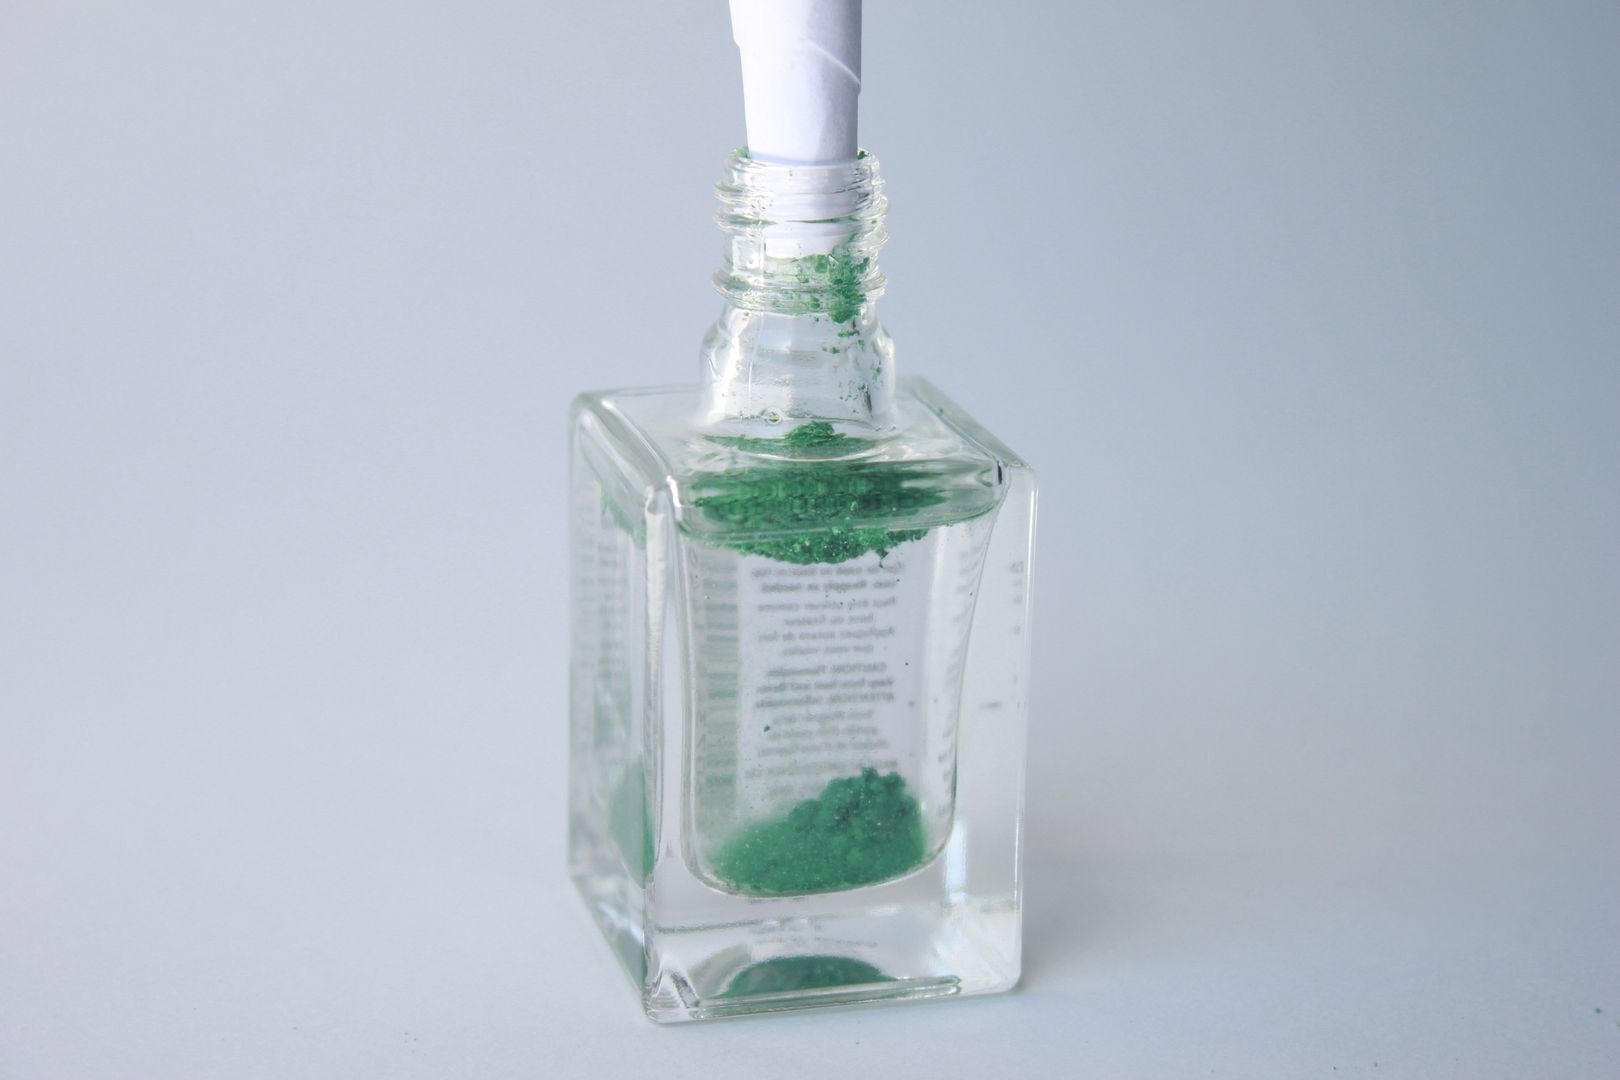
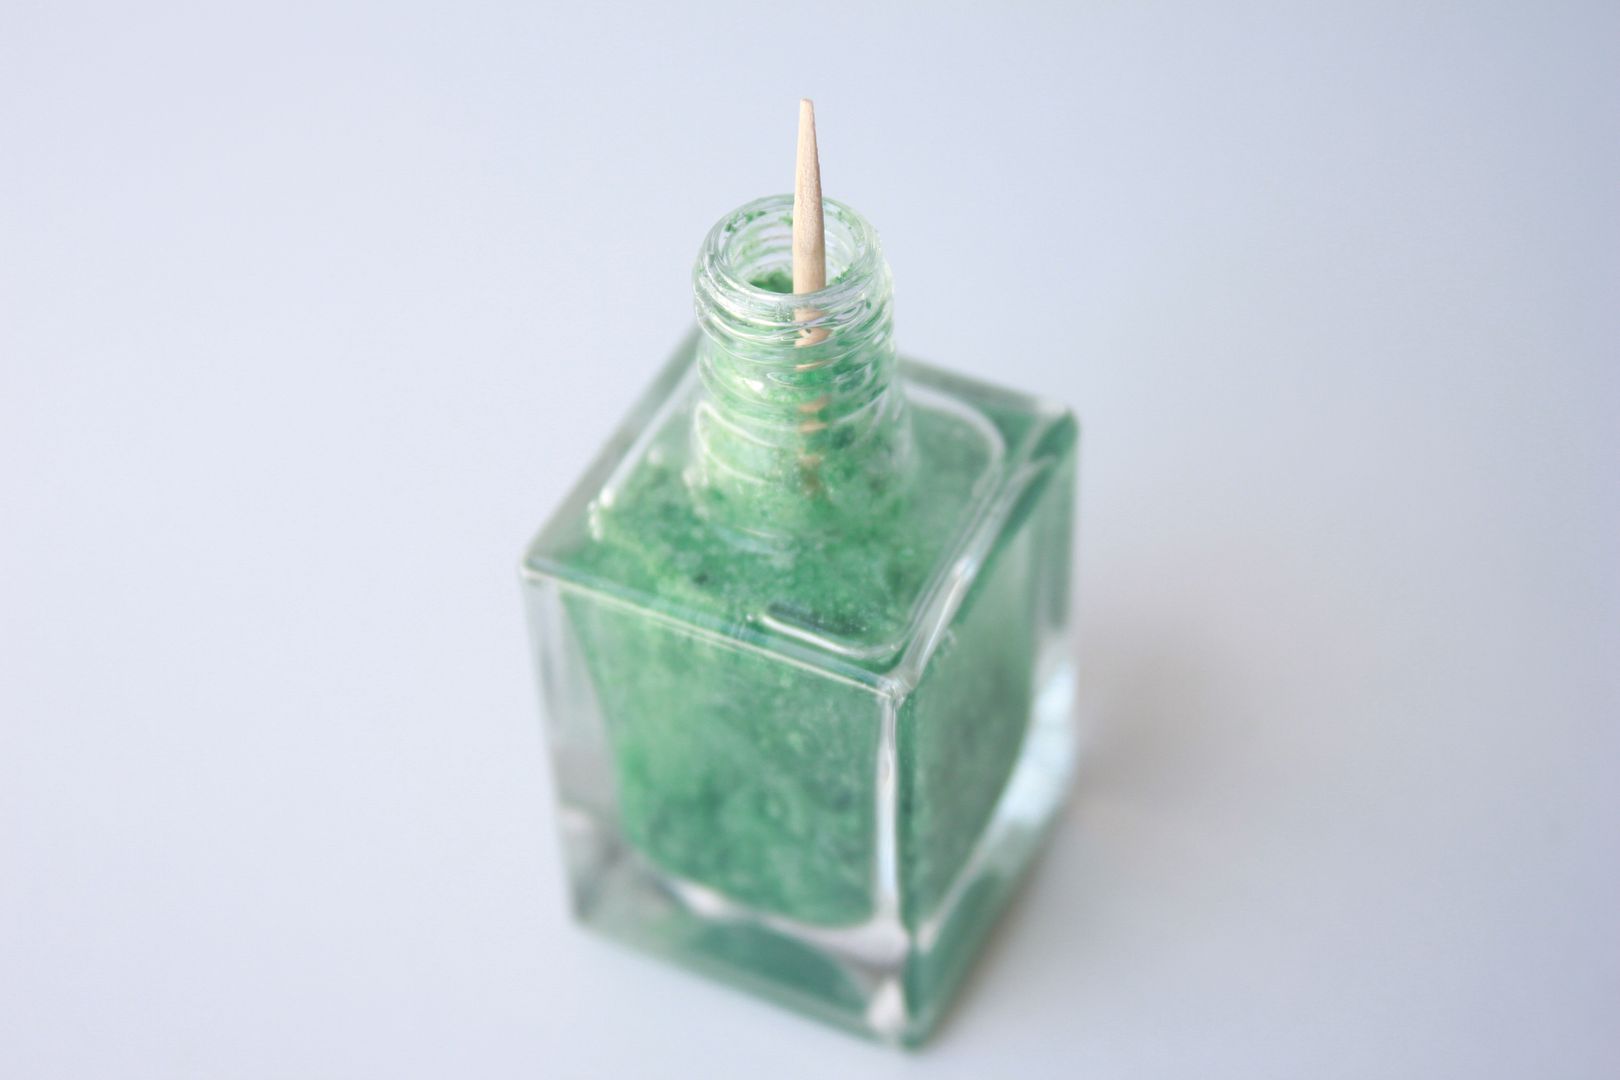
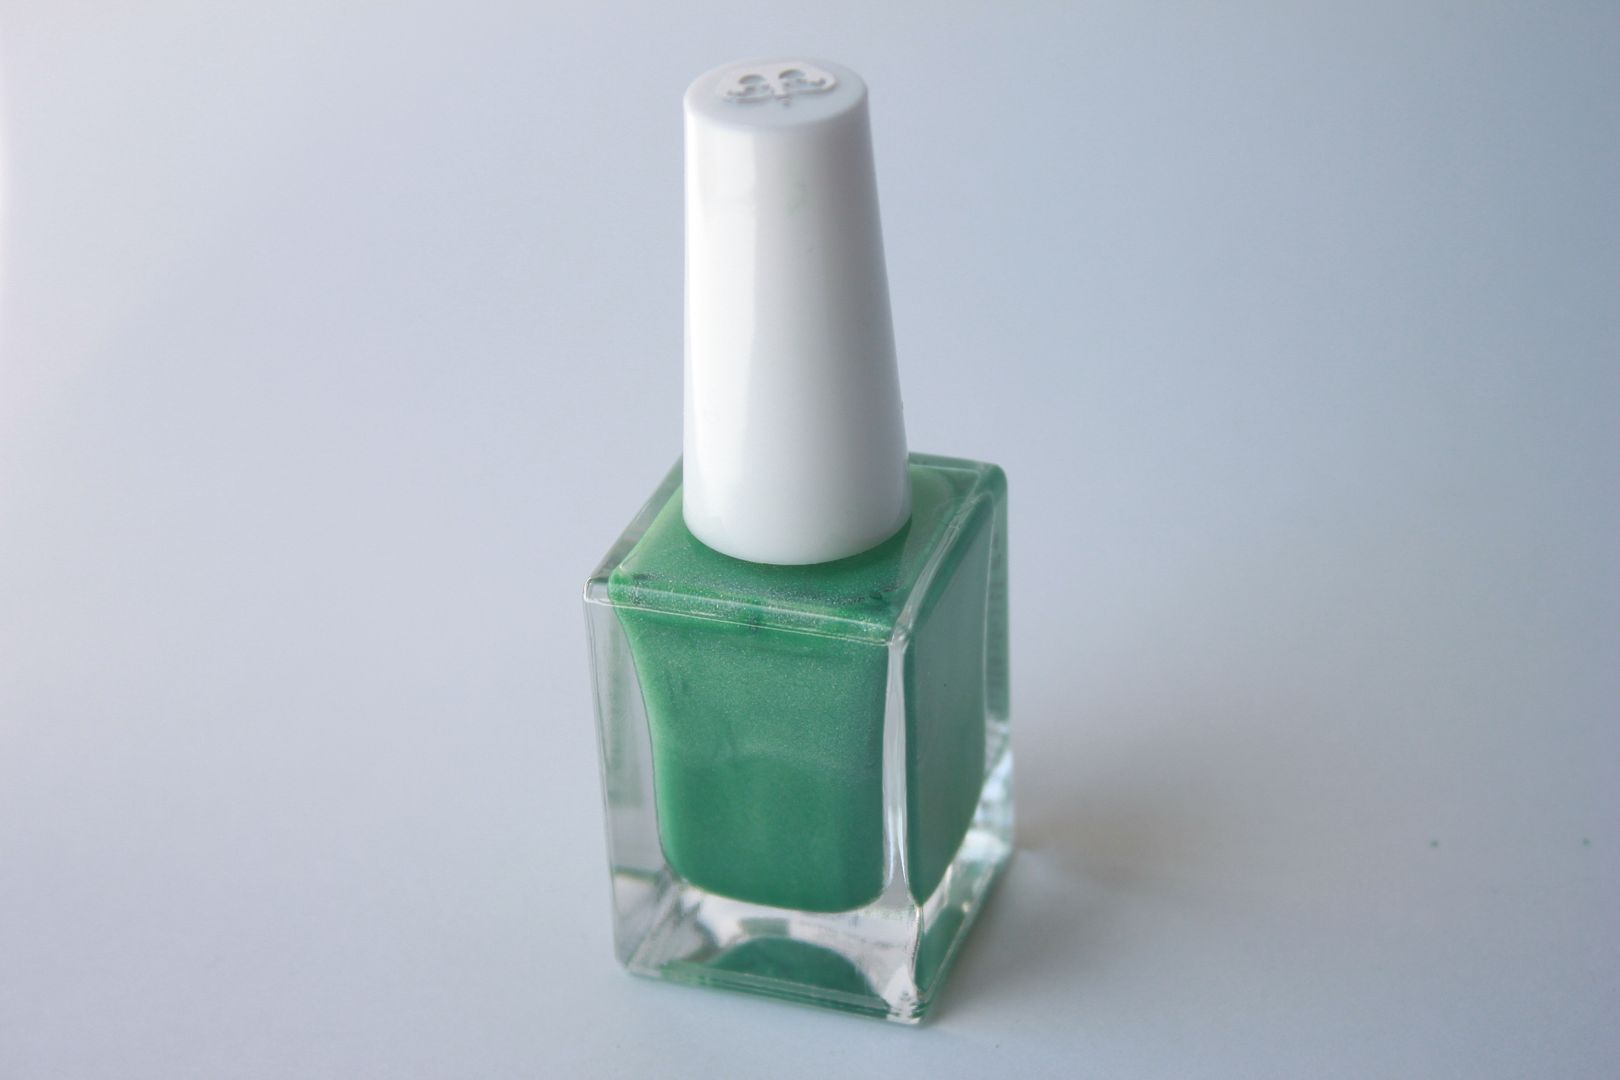
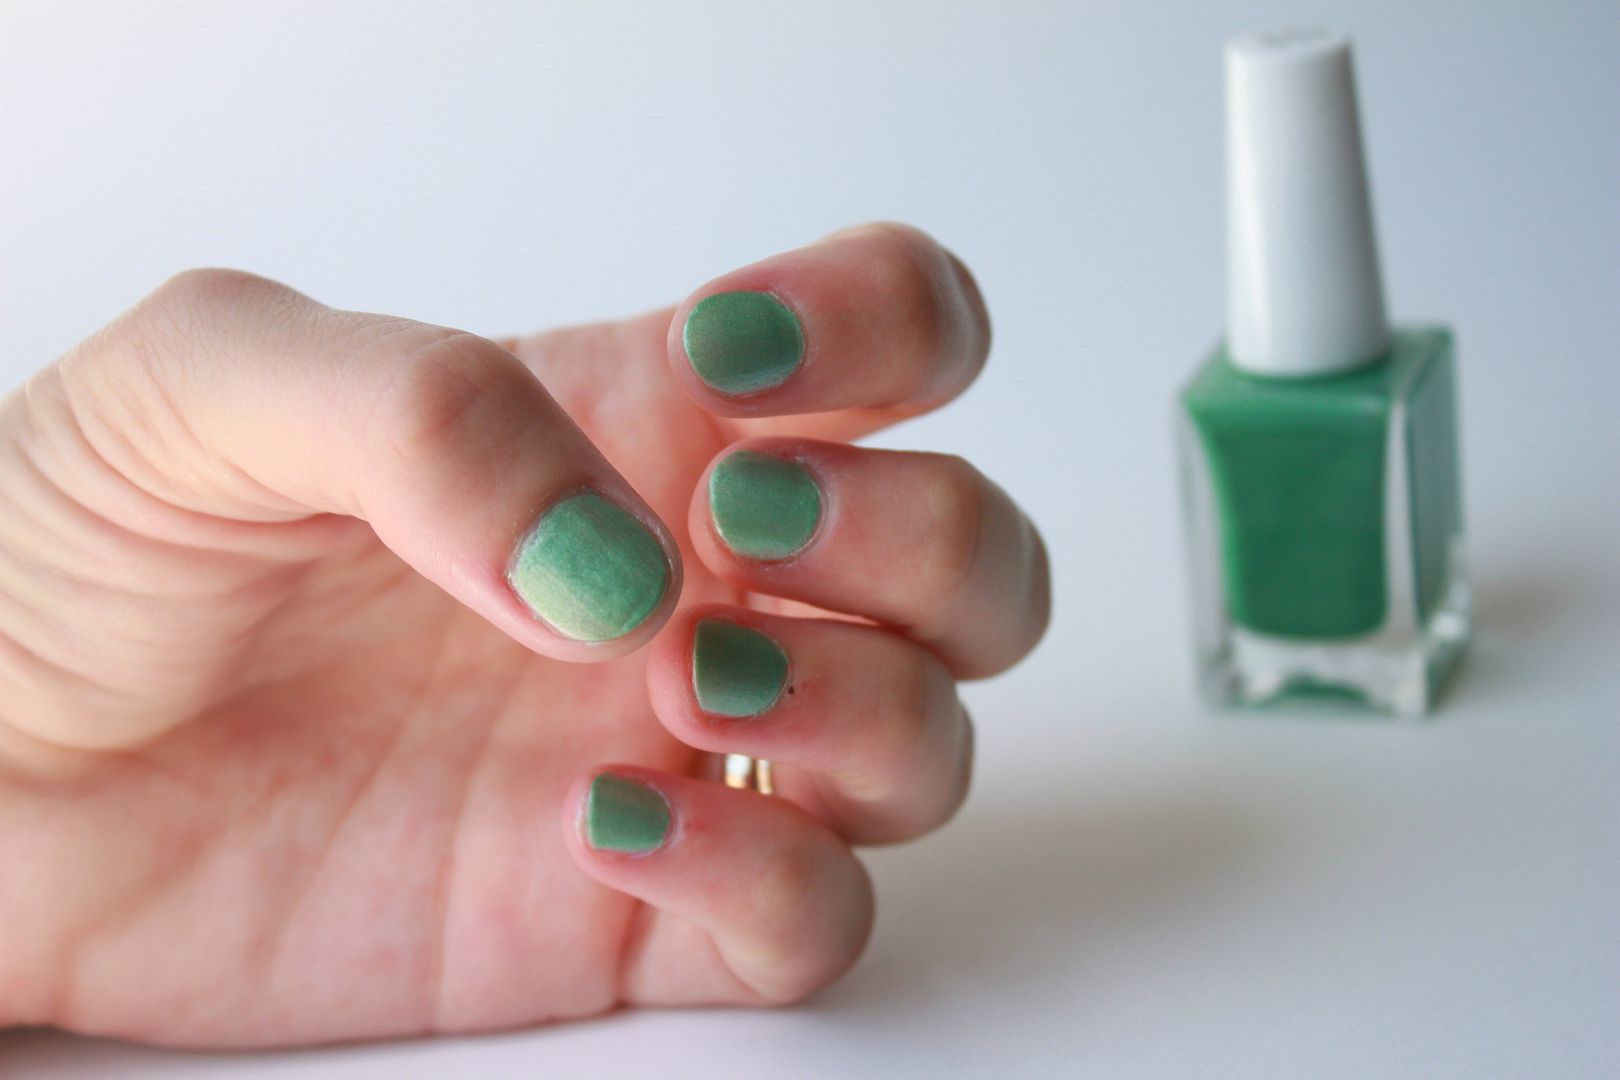 #2) How to make your own nail polish in any color. This is such a fun way to make that shade you want but cant seem to find anywhere.
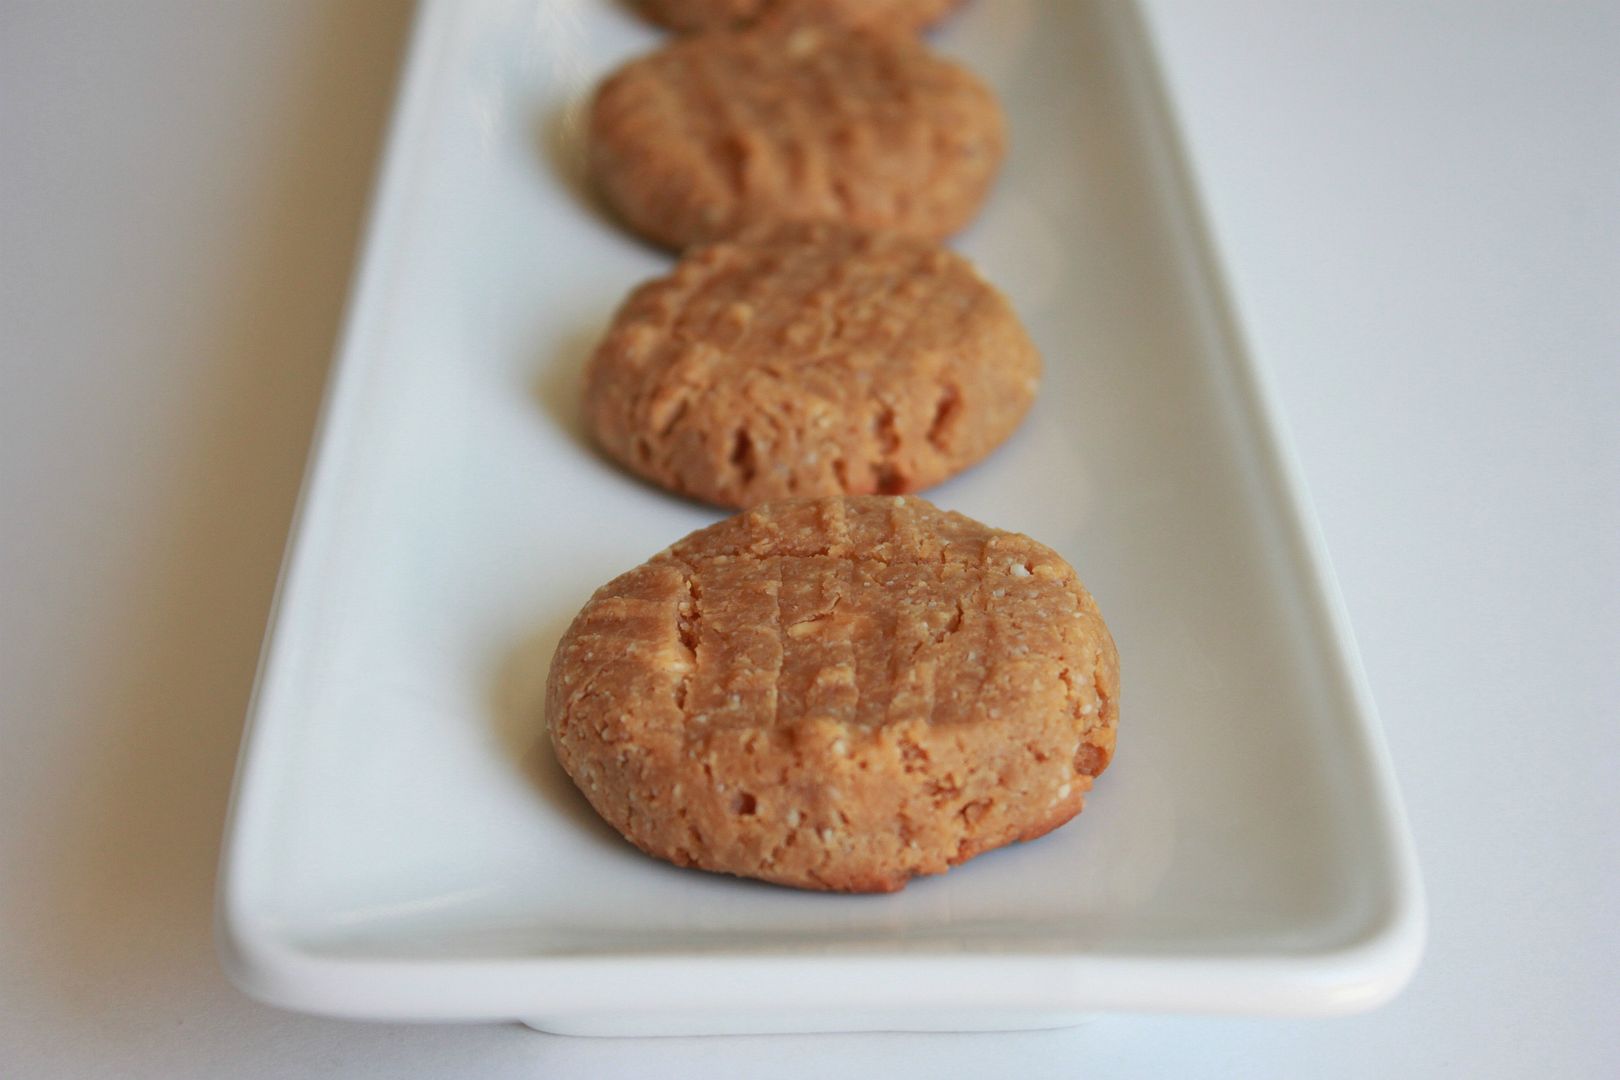
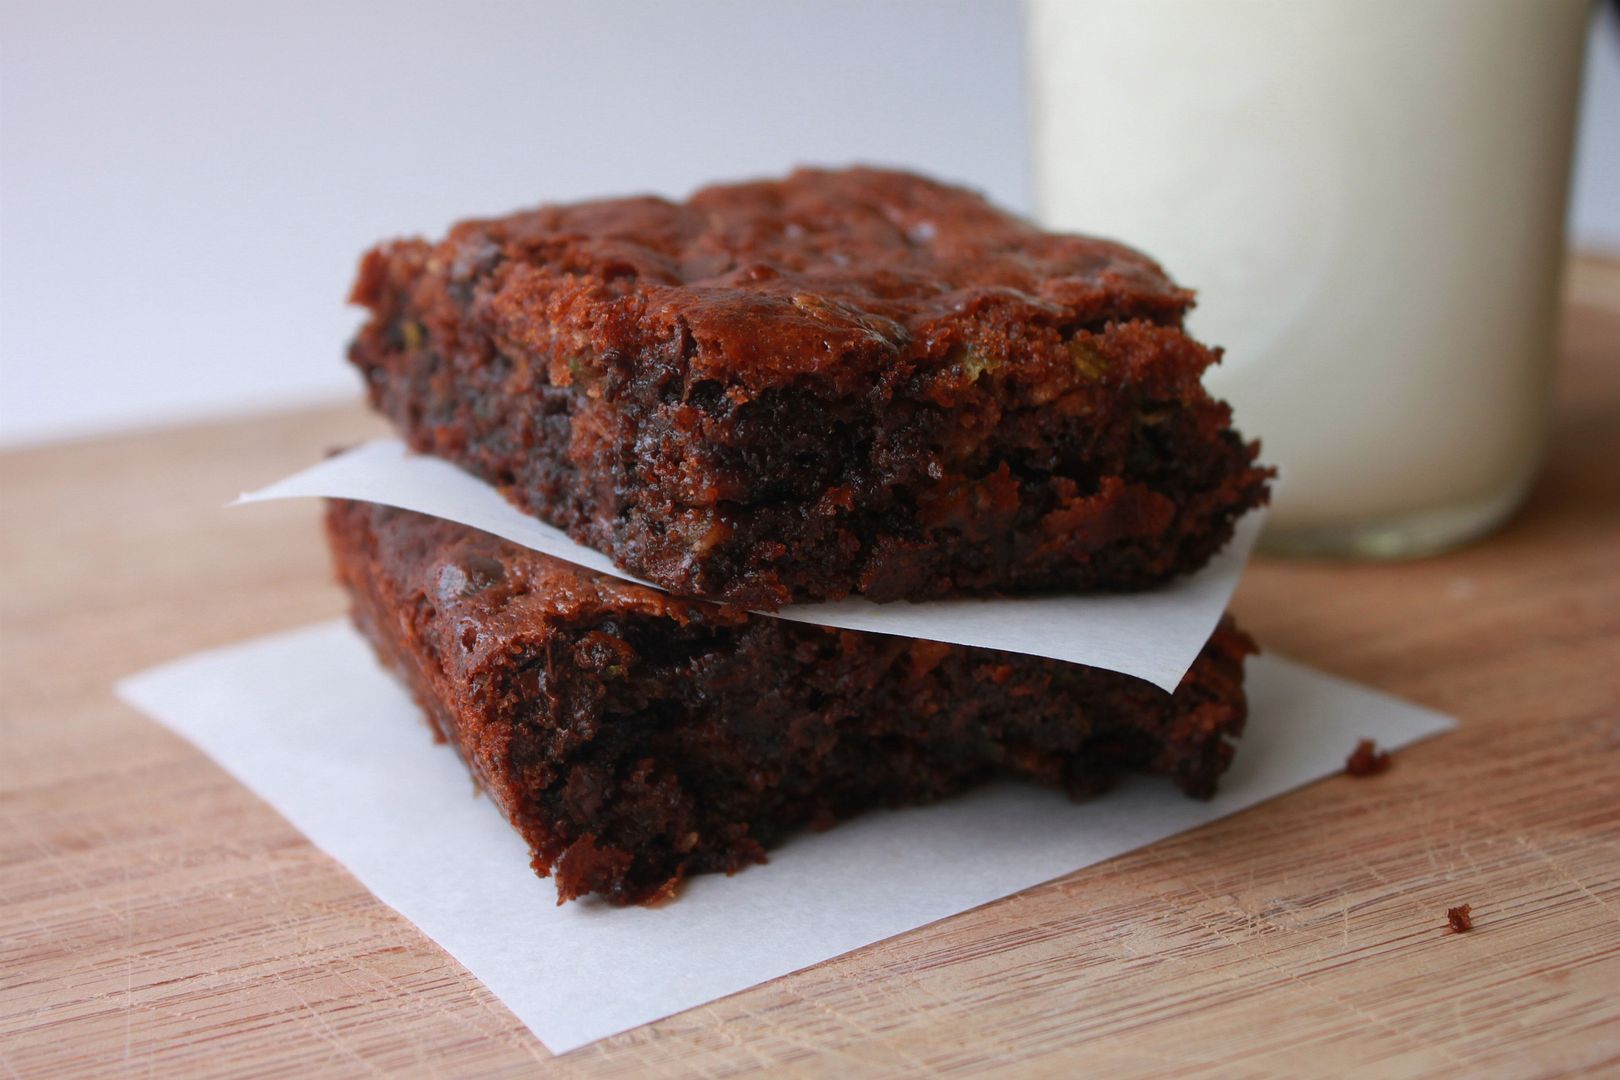 #3) Flourless zucchini brownies. I am a little embarrassed to admit that I have made these about 4 times since posting the recipe ;)
 #4) DIY half circle polymer clay necklace. The great part about this diy is it only costs about $2 to make it yourself.
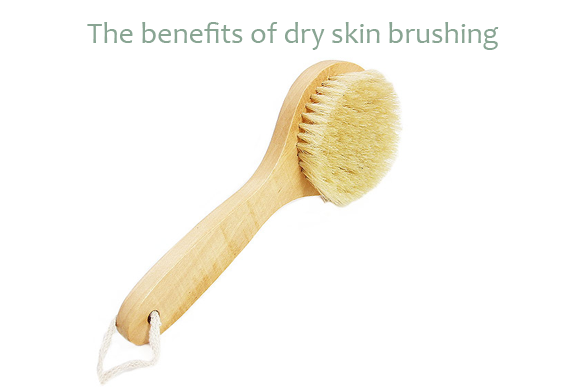 #5) The benefits of dry skin brushing. Have you ever tried this? It is amazing how wonderful and refreshed it makes your skin feel.