
My original plan for Ronin's headboard was to use the old barn siding that I had saved from demolition. BUT after putting it together it weighed about 200 pounds (not even joking) and I decided that the goal here was not to DIY how to knock out your child while they are sleeping so I saved that wood for another project and moved on to something that was much lighter...fence picket wood! You can find fence picket wood at Home Depot for around $2 a pop and its super light weight. Plus, they can cut it right there for you to any length you want, which saves you some fingers and time.
So here is how I built this super duper easy bed frame...
What you will need:
- 5 pieces of wood fencing (I had each piece cut to 46" for a twin sized headboard. So if you are making a larger headboard adjust the lengths accordingly)
- 2 -- 1" x 4"s each cut to be 60" long
- A bunch of 1.5" wood screws
- Drill
- 150 grit sand paper
- Danish Oil in Natural
Here is how to make it:
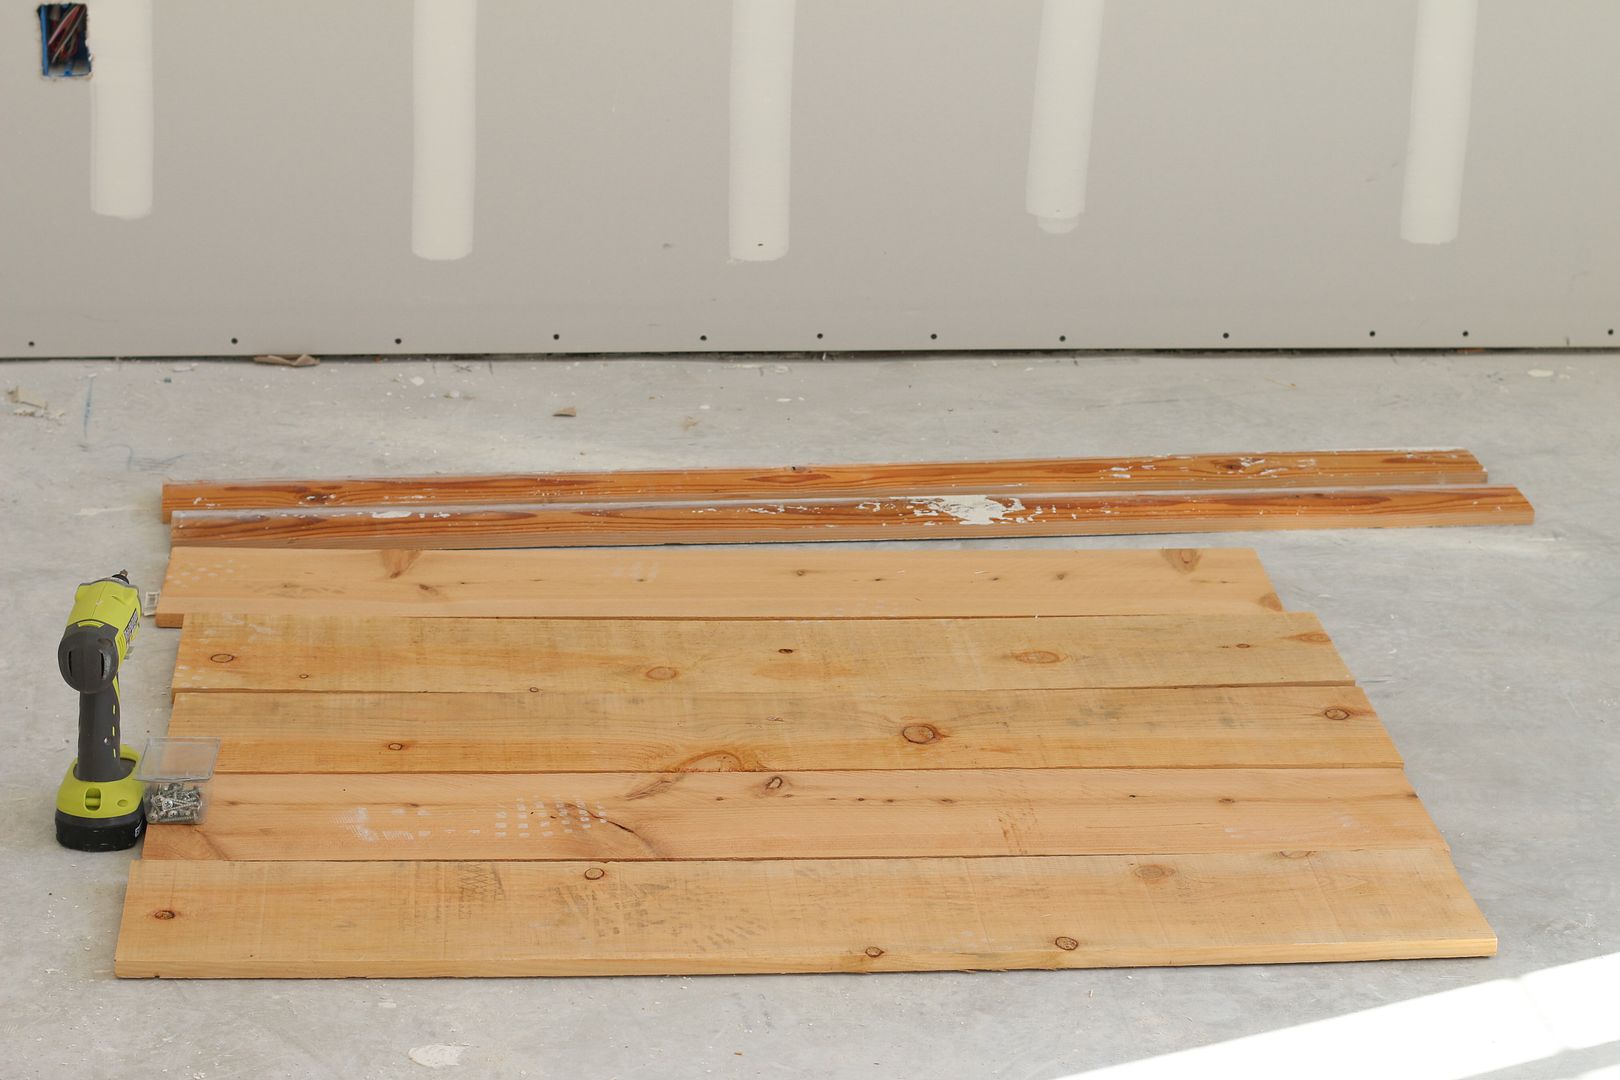
Lay your pre cut pieces of wood on the ground in the order that you want.
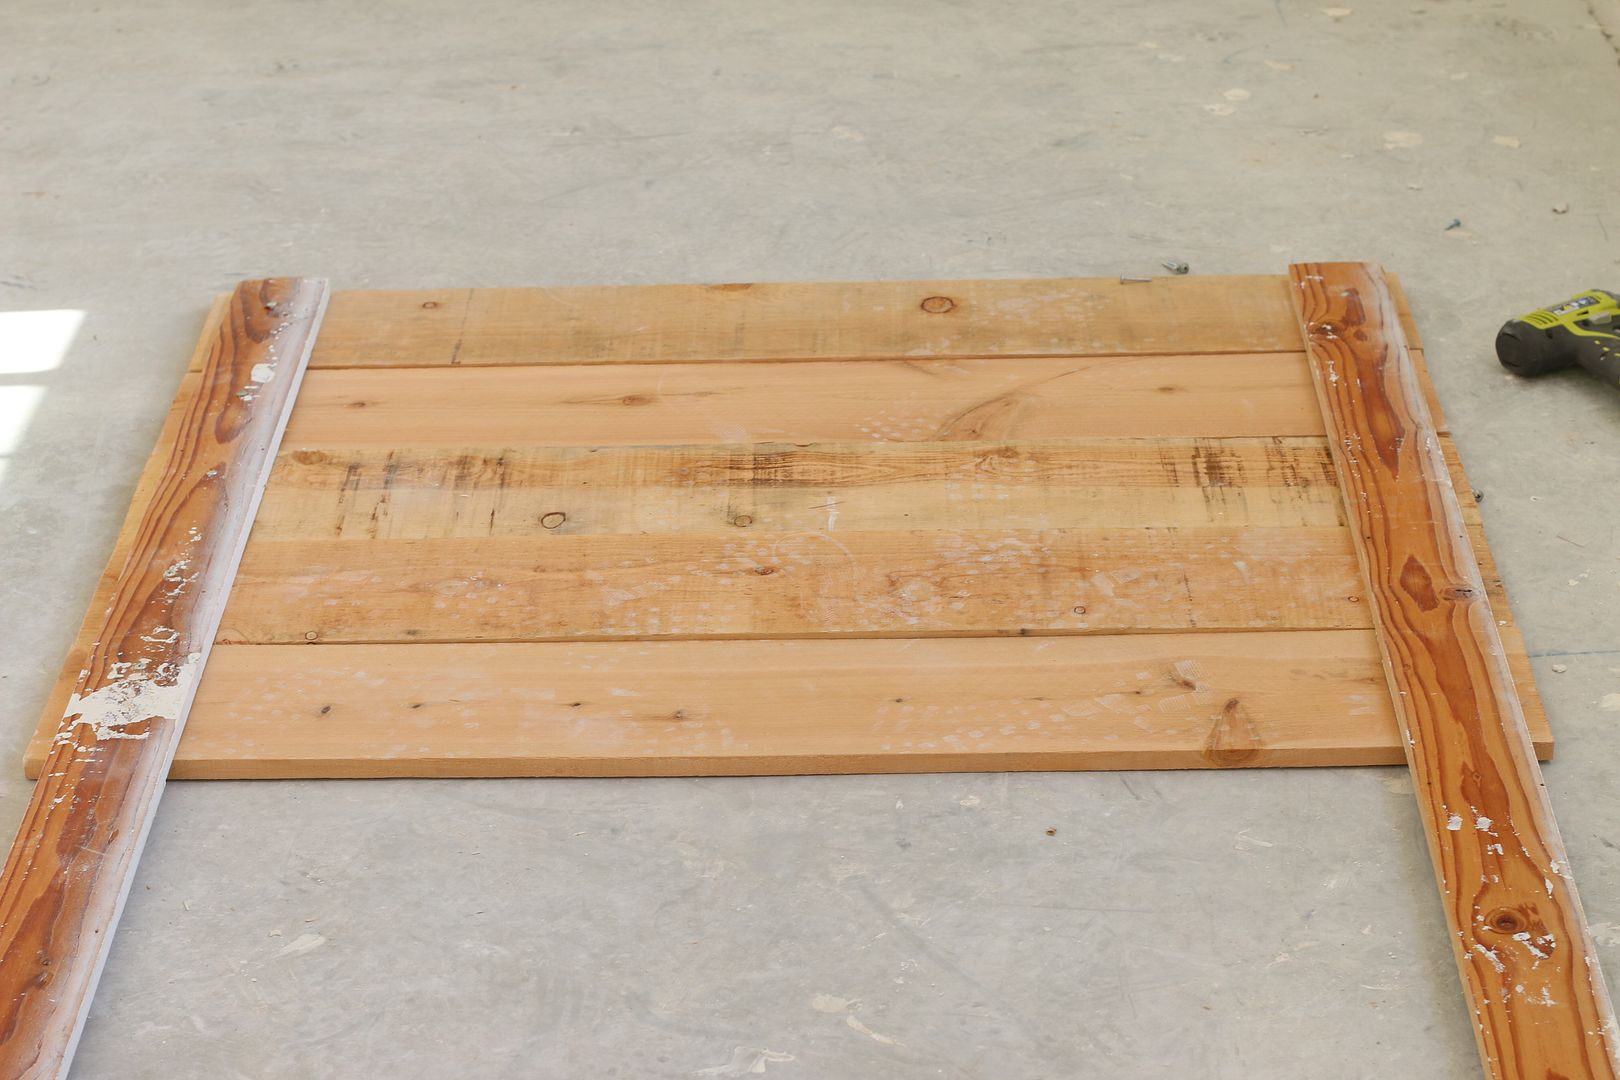
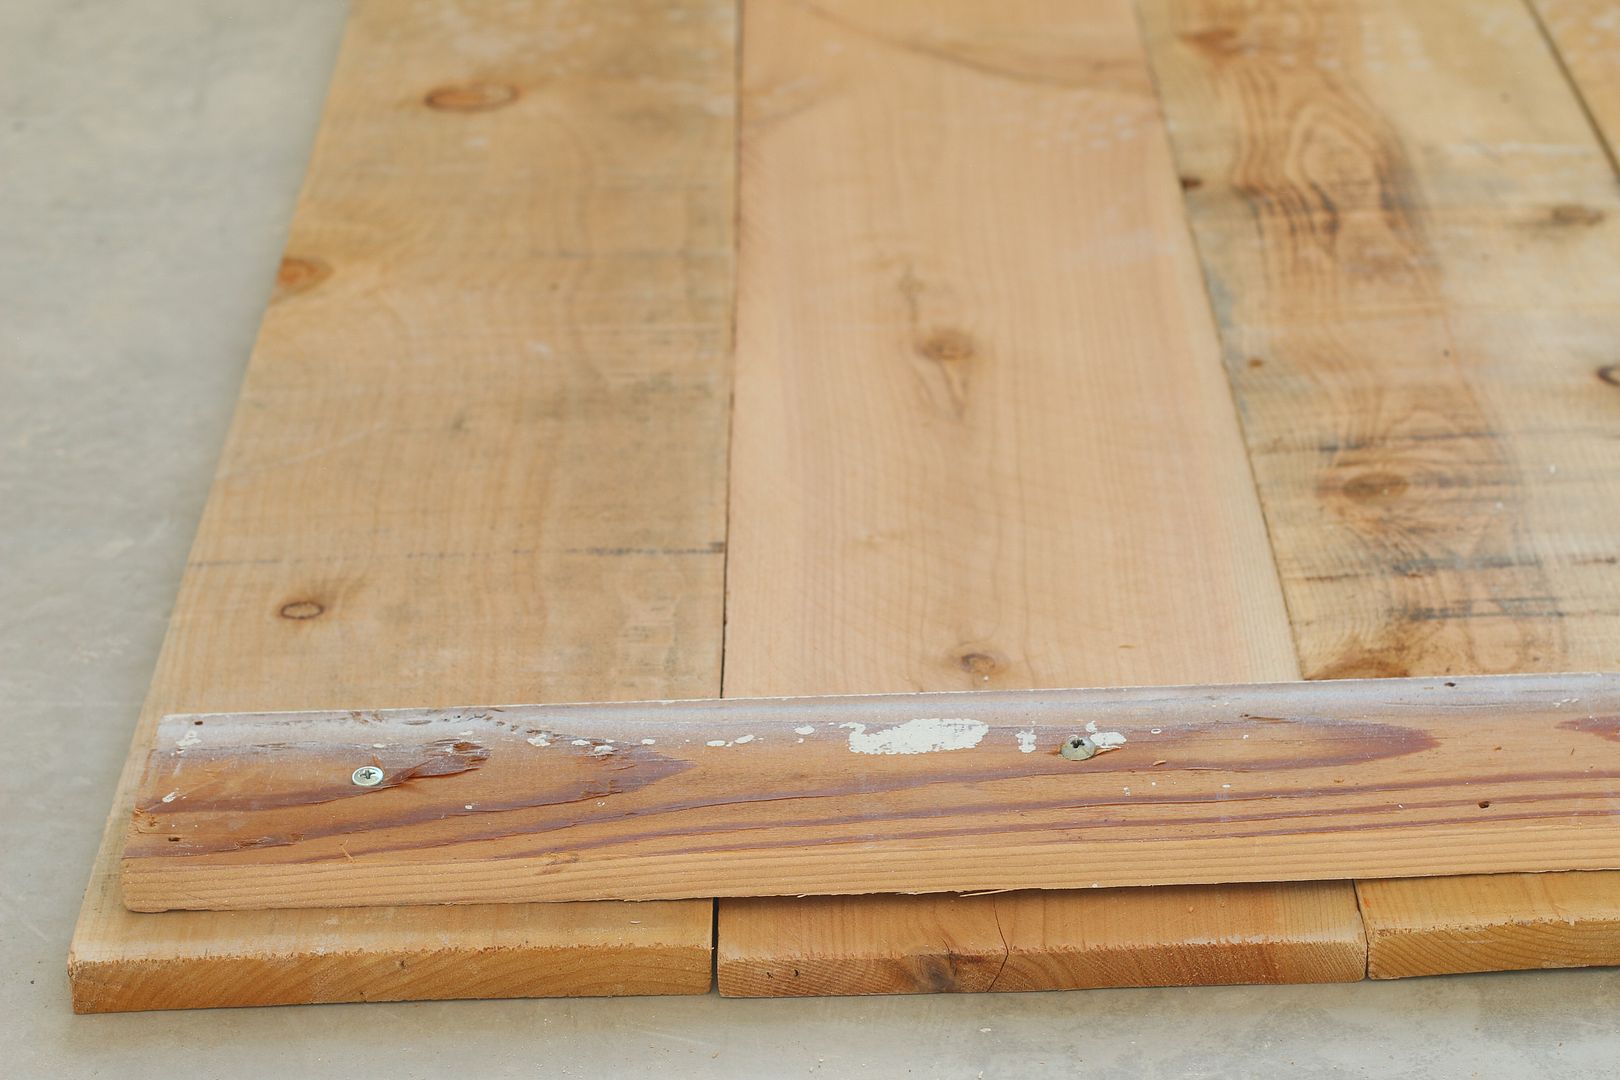

Place the 1" x 4"s evenly on each side of your headboard like shown above. Using the drill, screw your legs into the fence wood from the top to the bottom. I wanted a little extra support, so I also drilled in a few scrap pieces in the middle.

Once your headboard is fully secured with the legs, turn it over and give it a good sand with 150 grit sand paper. Wipe off all the dust after you are done sanding and evenly apply a coat of Danish Oil. Make sure to apply oil in the direction of the natural wood grain. You could also use a dark wood stain, but since I loved the raw natural color I decided to just brighten it up a bit with the oil.
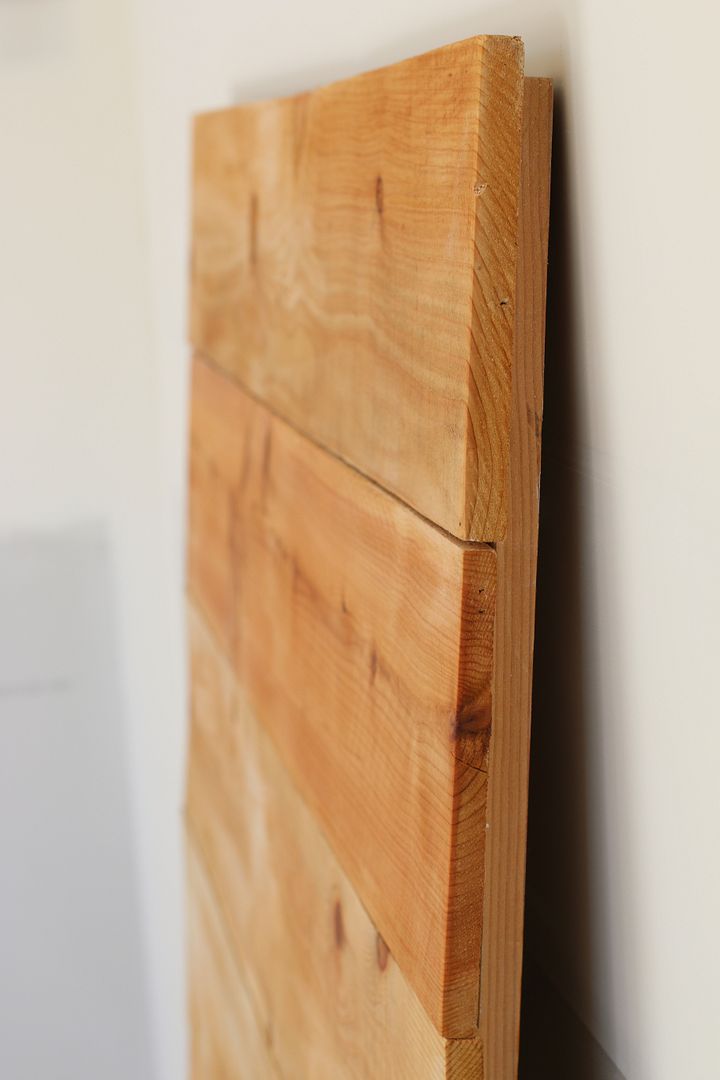
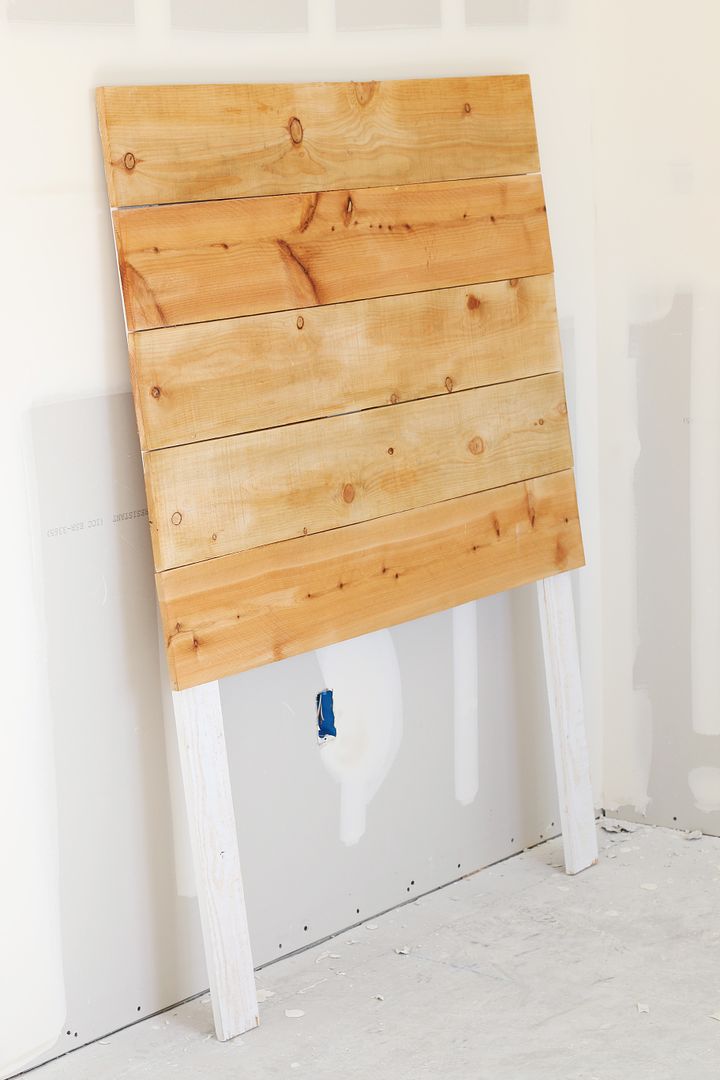
Next, stand your headboard up and you're done! My plan is to secure the headboard to a metal frame using bolts. You could also just secure it to the wall if you don't plan on moving it.
