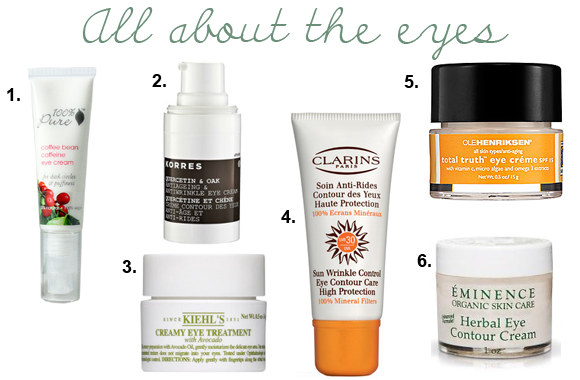
I have decided to do a mini series within my
Skin Care Series. For the next couple of weeks I will be talking all about the eyes. I will be sharing some of my favorite products, eye treatment diys and little tips and tricks for your precious peepers!
This week I am going to discuss eye creams. So many of you have sent e-mails wondering if you really need one and if so, which one?
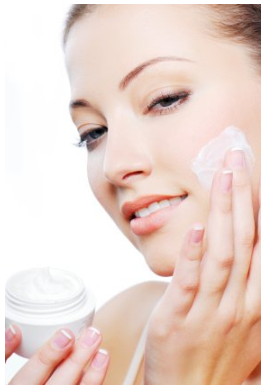
The eye area is the most delicate area of the face. It is also the area in which the skin is the thinnest, making it very prone to fine lines, dryness, wrinkles and aging. Most of the time your daily moisturizer is not suitable for the eye area. This is why there are products designed specifically for the eyes.
What is the purpose of an eye cream?- Depending on which eye cream you use, it can help moisturize, hydrate, de-puff, minimize dark circles and temporarily tighten the eye area.
Is an eye cream really that important to use?- That is totally up to you. Eye cream is one of those products I always recommended to my clients without fail. It is never too late to start taking better care of your skin, eye area included.
When should you use it?- Typically you use an eye cream morning and night. Read
this post to see where it would fit into your skin care routine.
How much should you use?- Eye creams are very concentrated. This is why they usually come in miniature size containers and tubes. You only need about the size of a pencil eraser.
How do you apply eye cream?- Start at the inner corner of your eye and gently massage and pat using your ring finger towards the outer corner of your eye.
All of the eye creams listed above are fantastic. My two personal favorites are
#1 and
#3.
Next week I will be sharing a great diy under eye treatment.
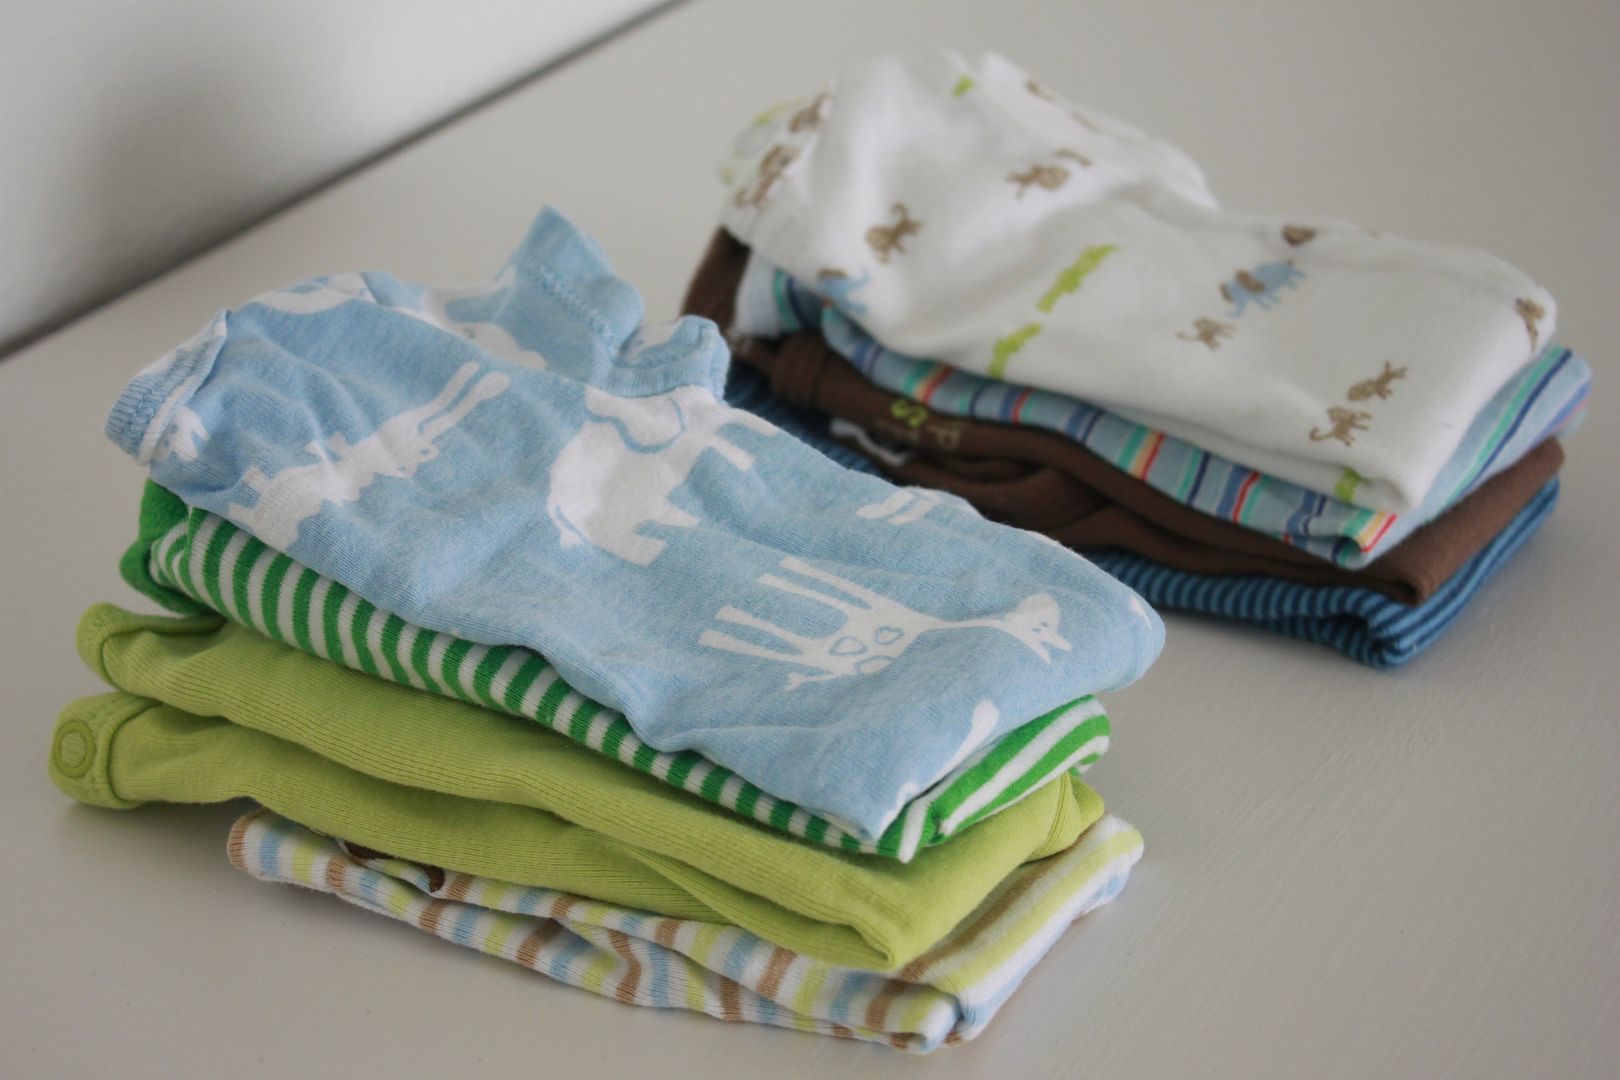 Folding little tiny baby clothes and getting the drawers all organized and ready.
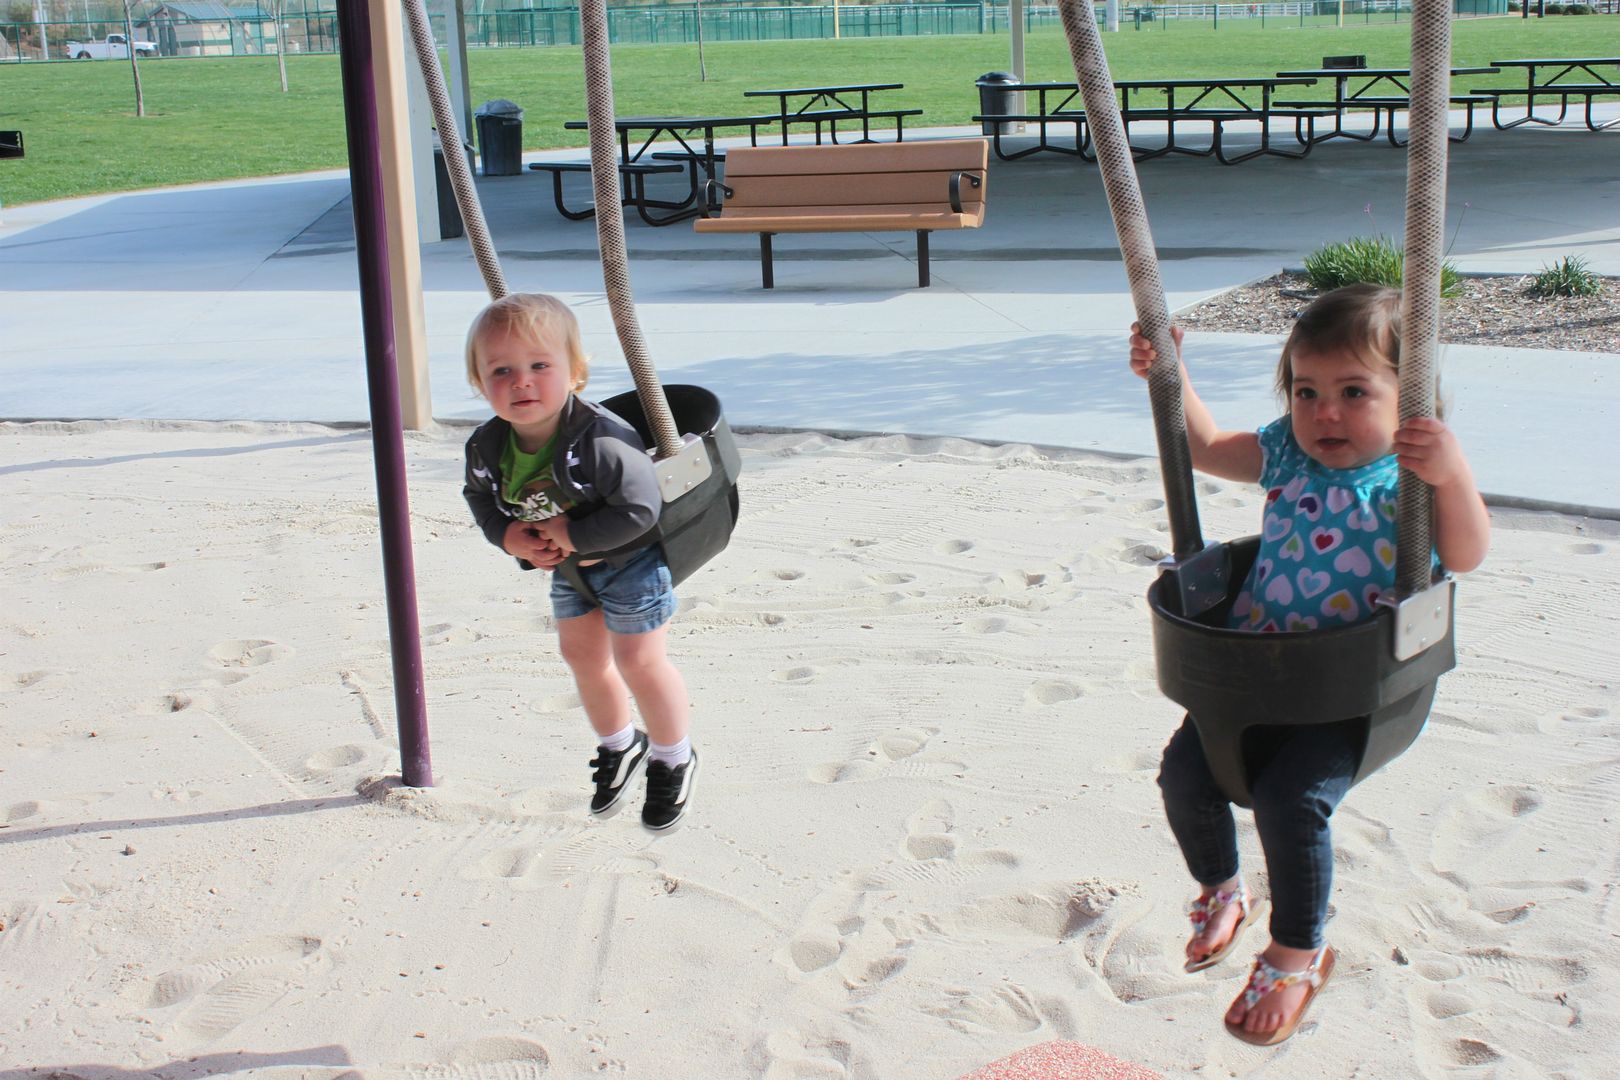 Park play dates with friends. Apparently Max shows affection by pouring sand on his playmate's head...she was a good sport!
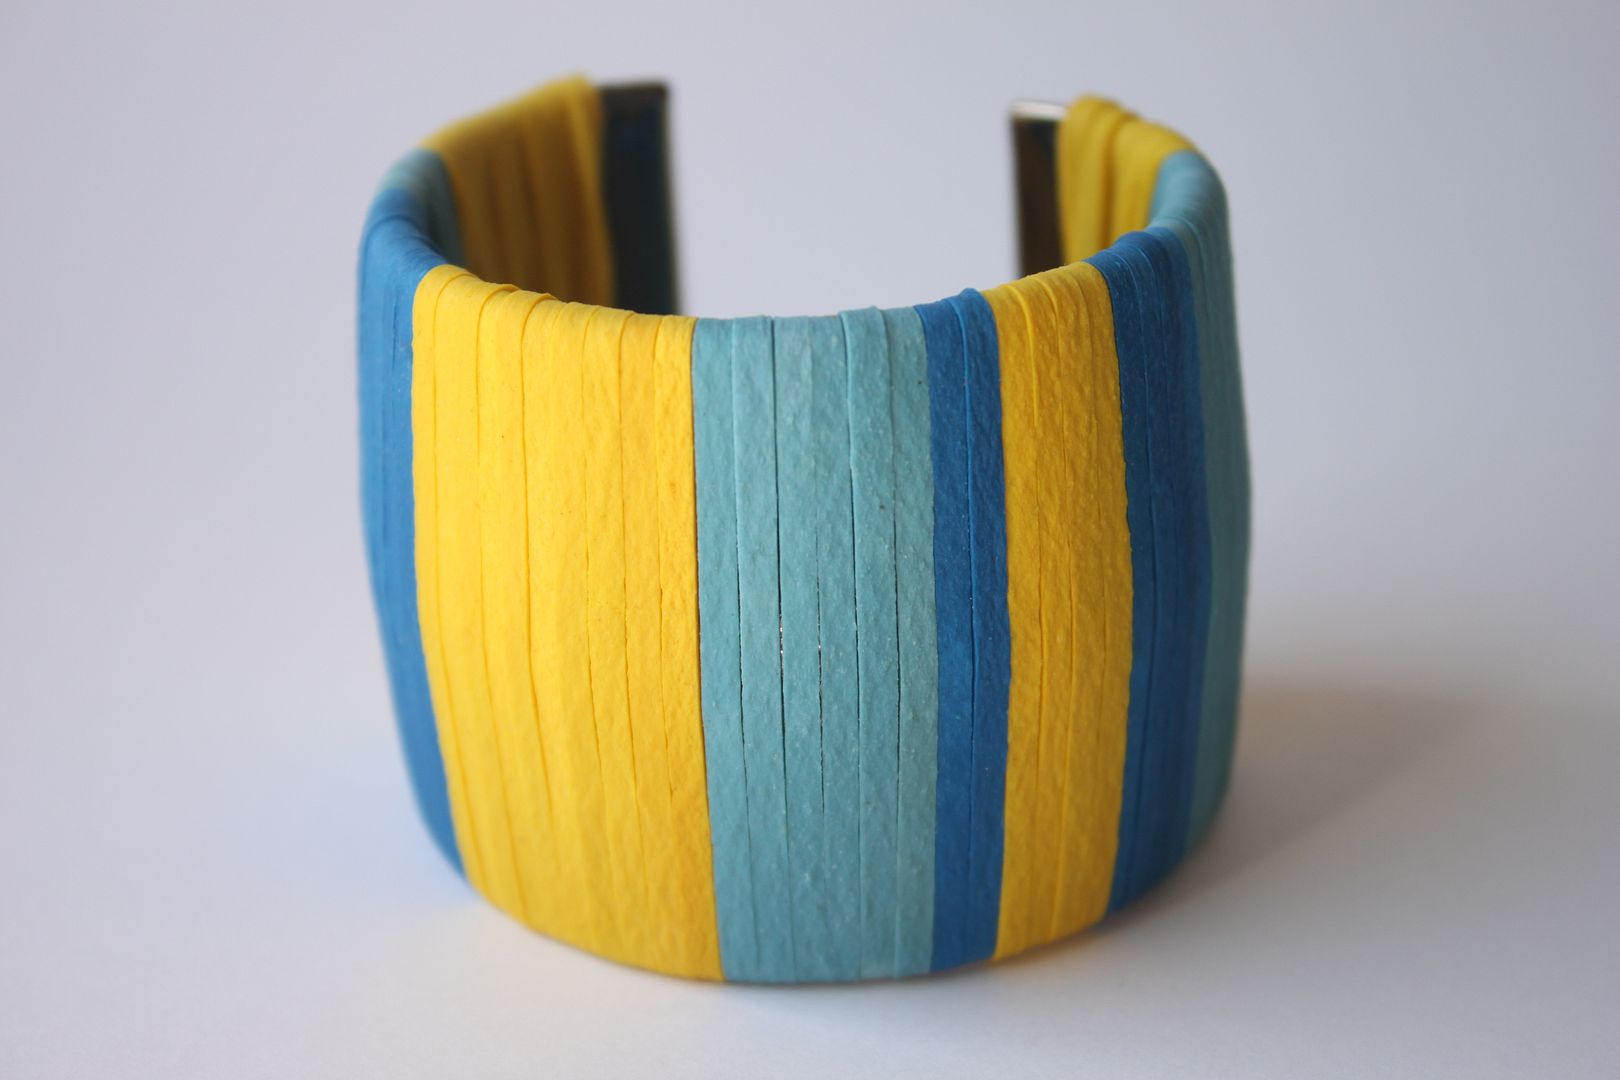
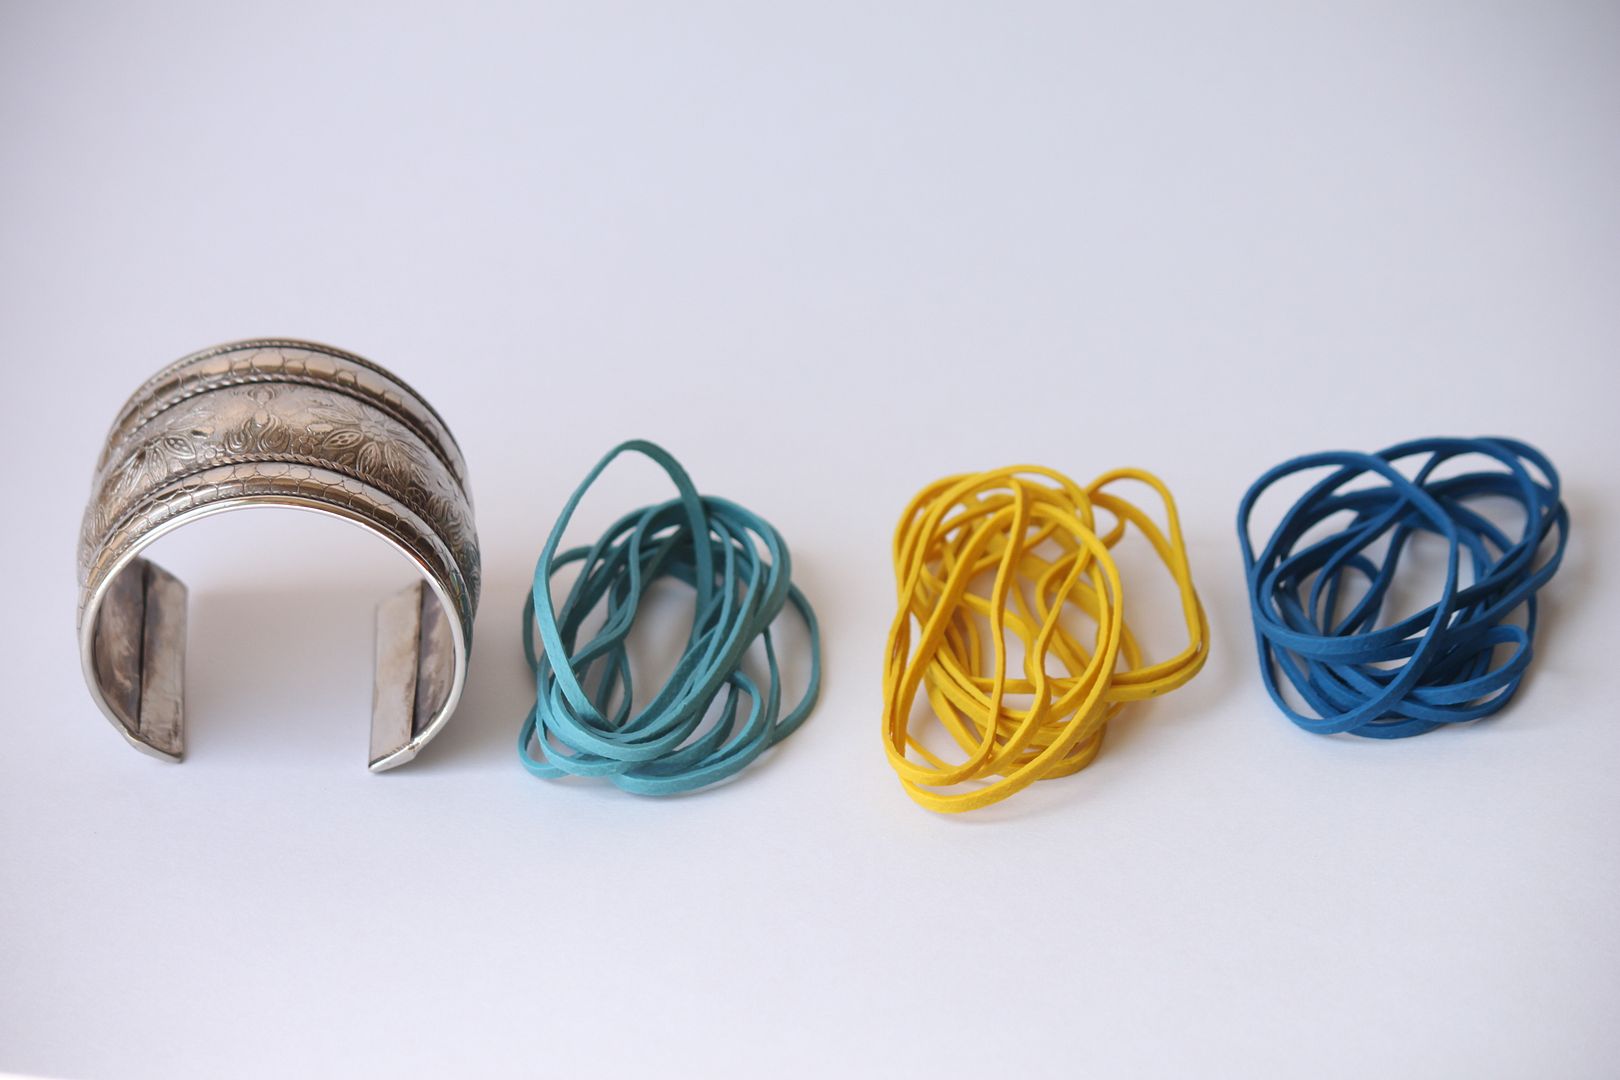
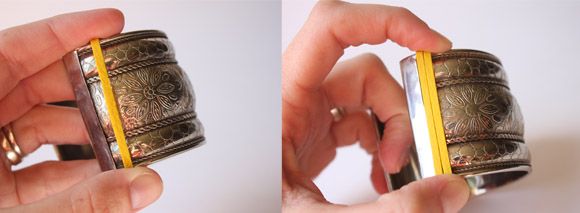
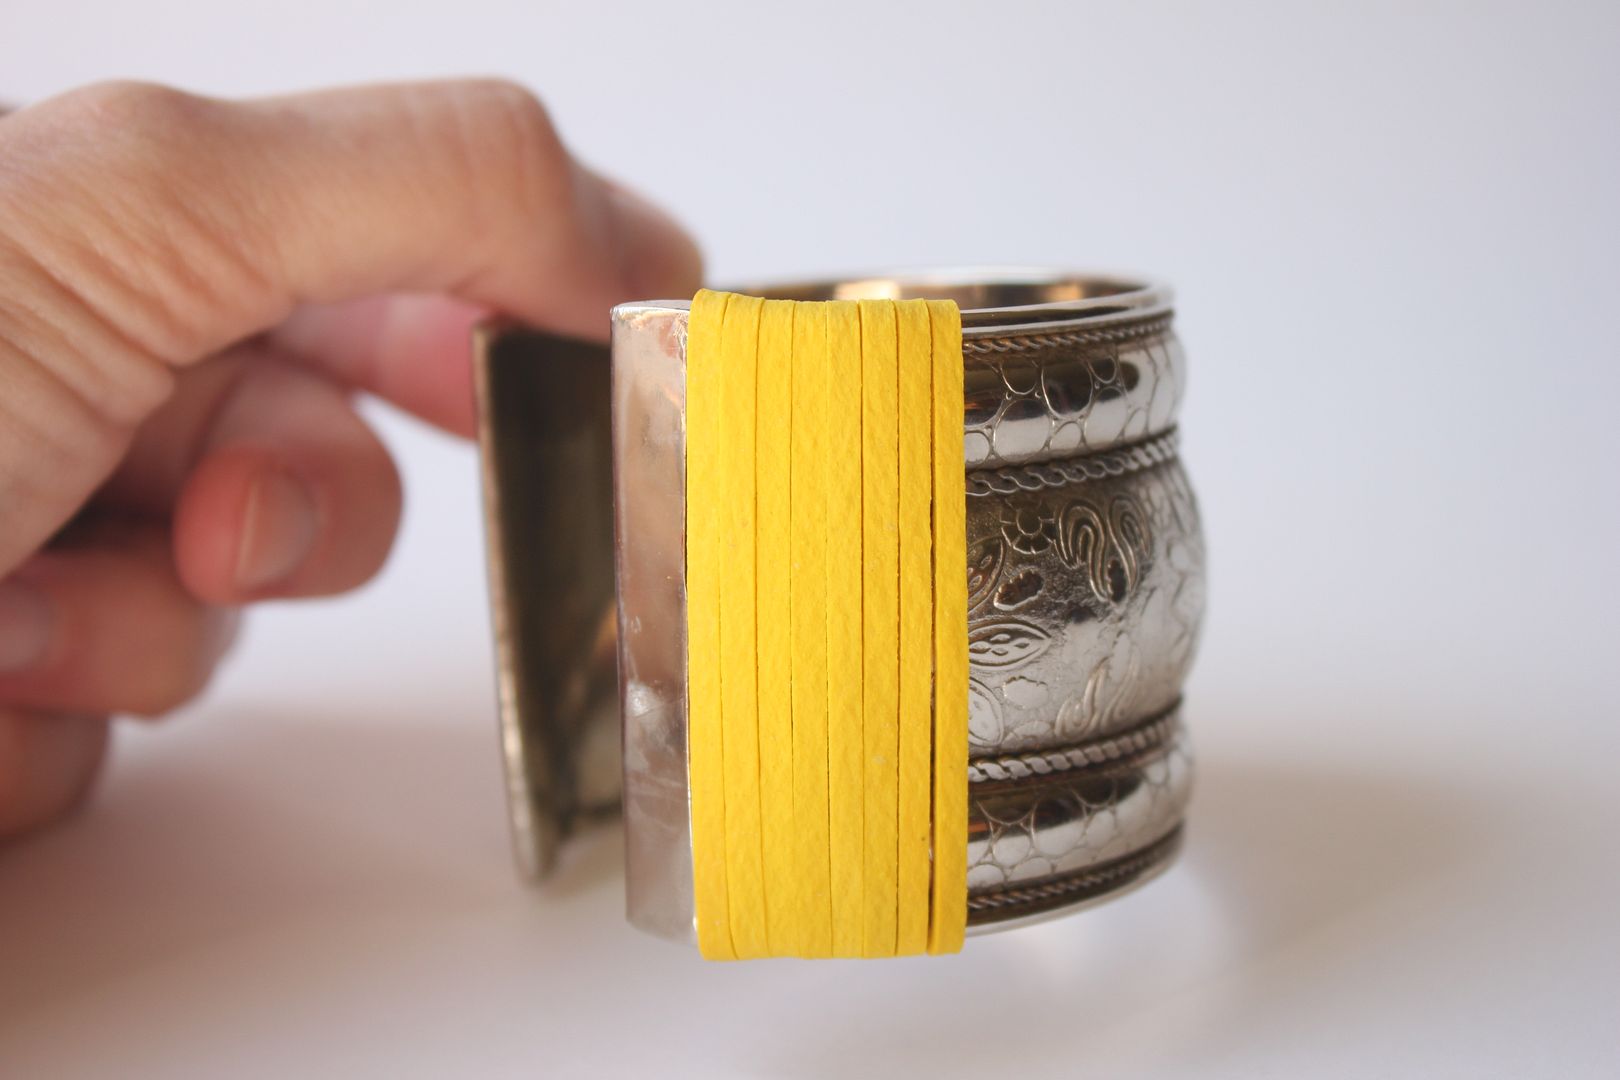
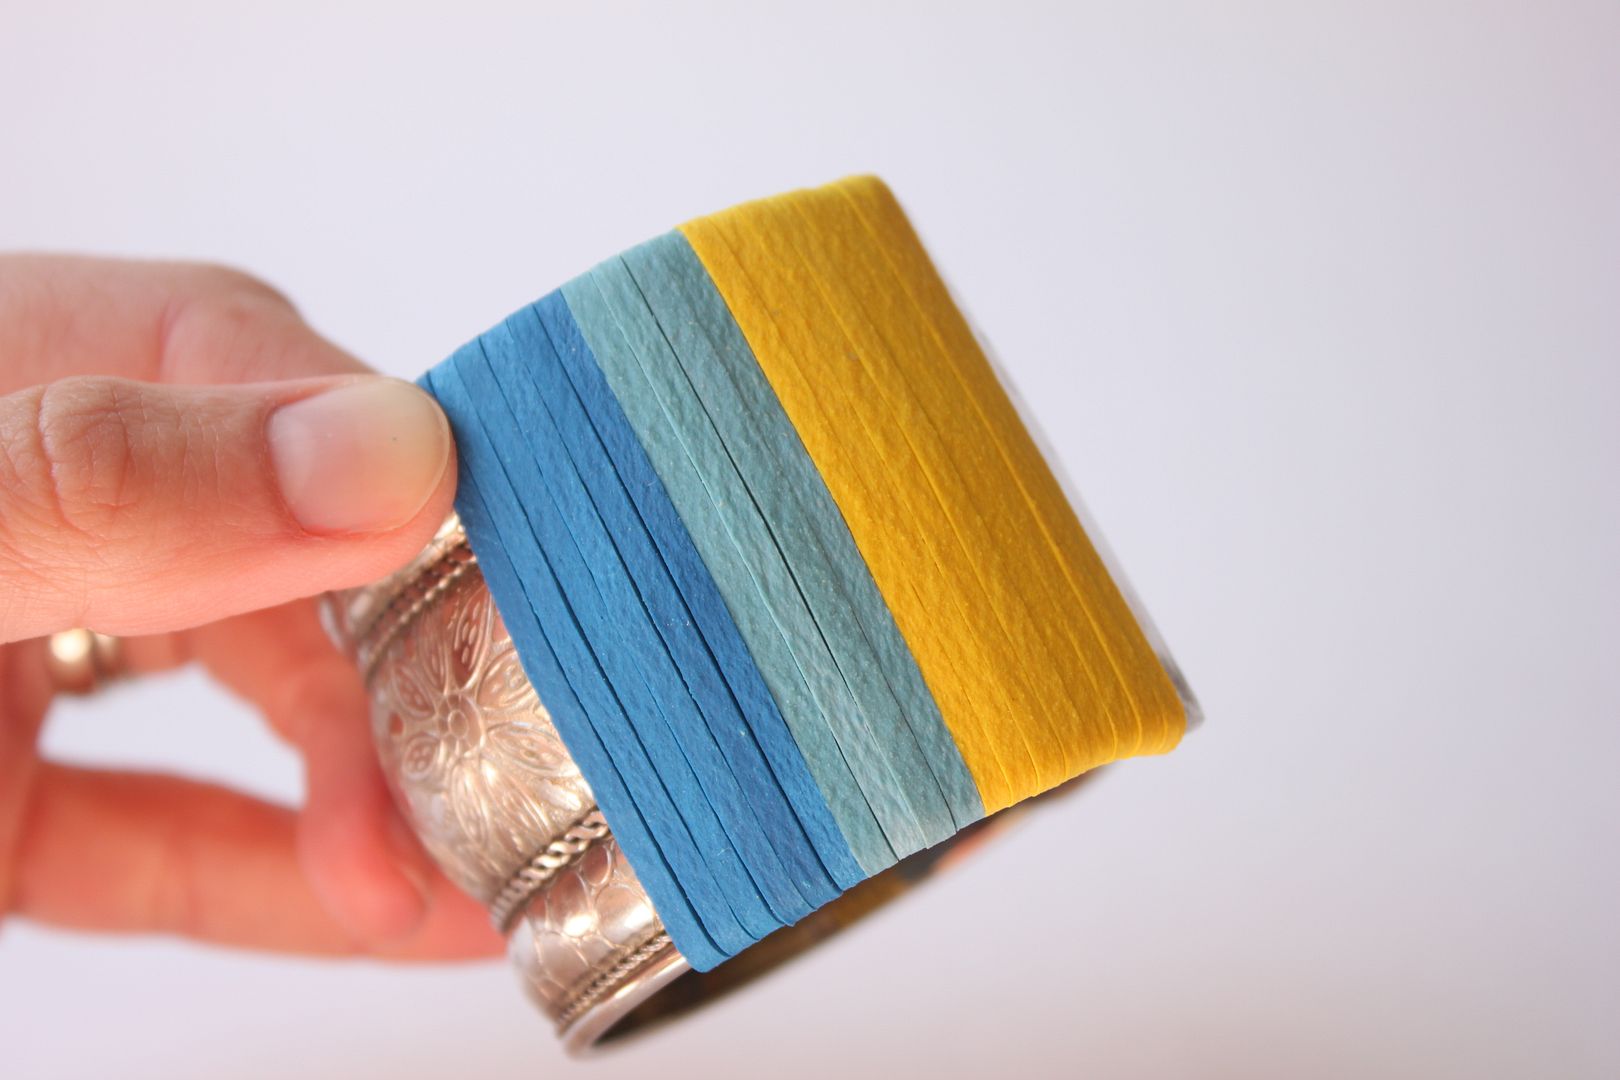
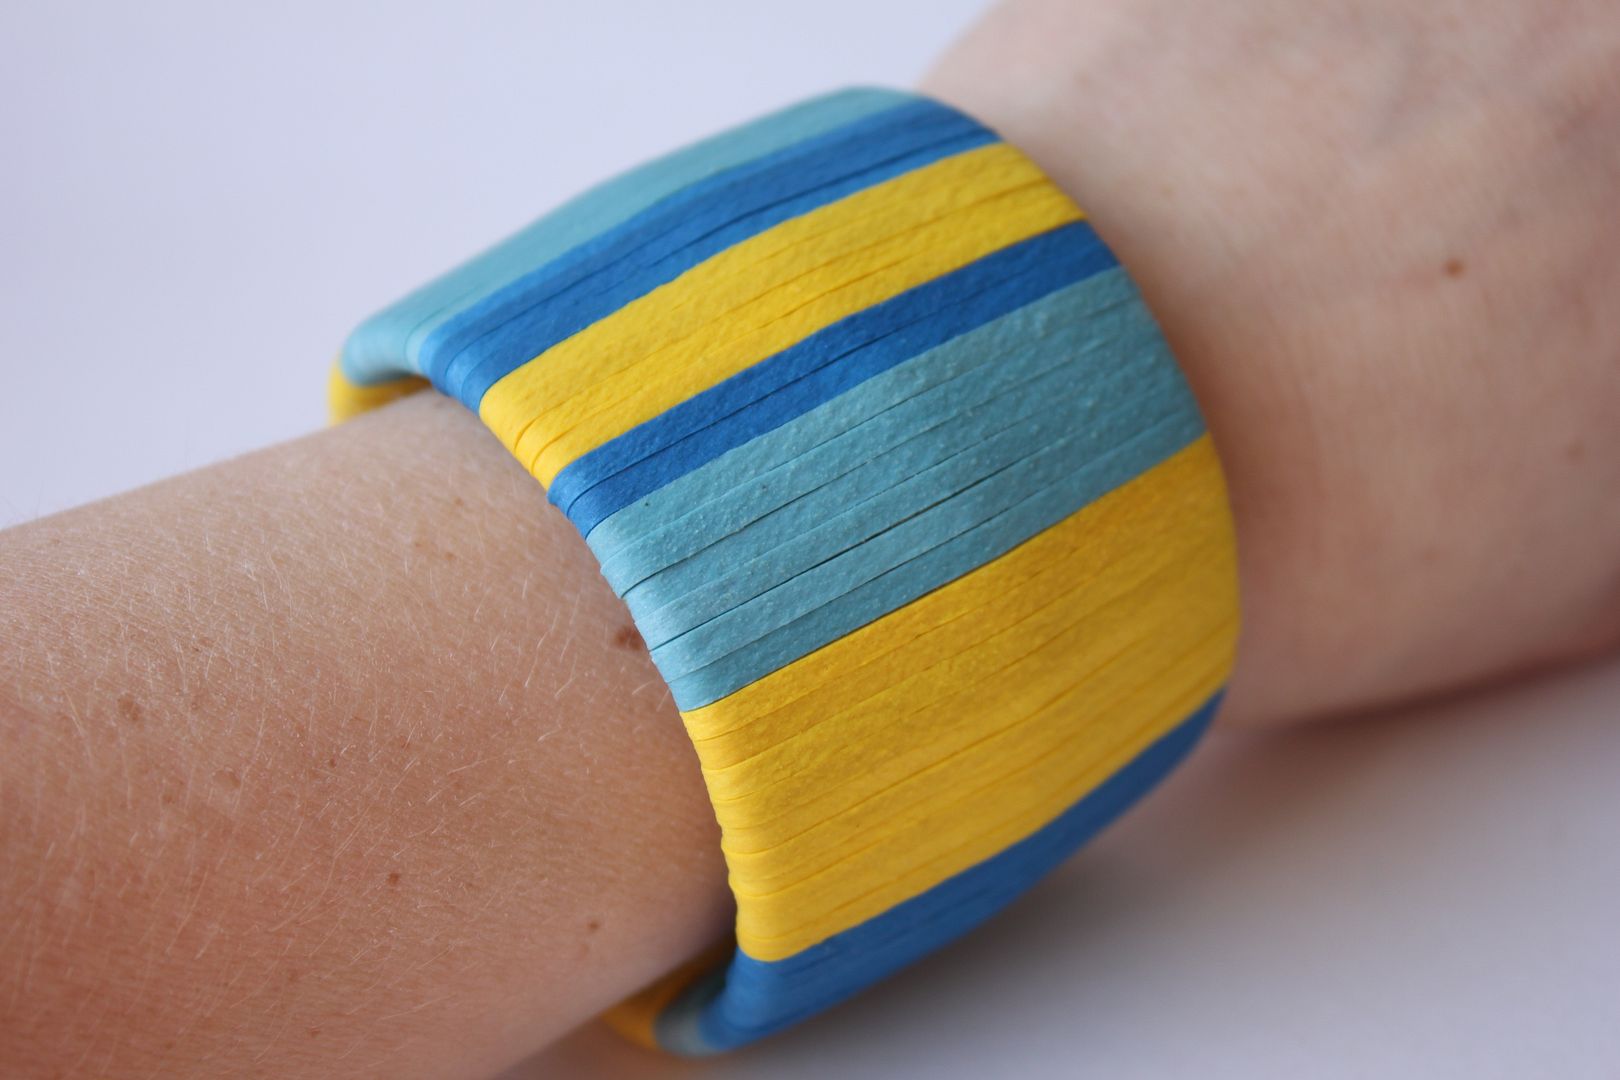
 A coral inspired polymer clay bracelet that I recently made. I think it's my favorite one yet. I will be sharing how to make it yourself next week.
 Discovering the piano at Nana's house. Max was so excited about this...Nana was a little nervous I think at how violent he was with the keys ha!
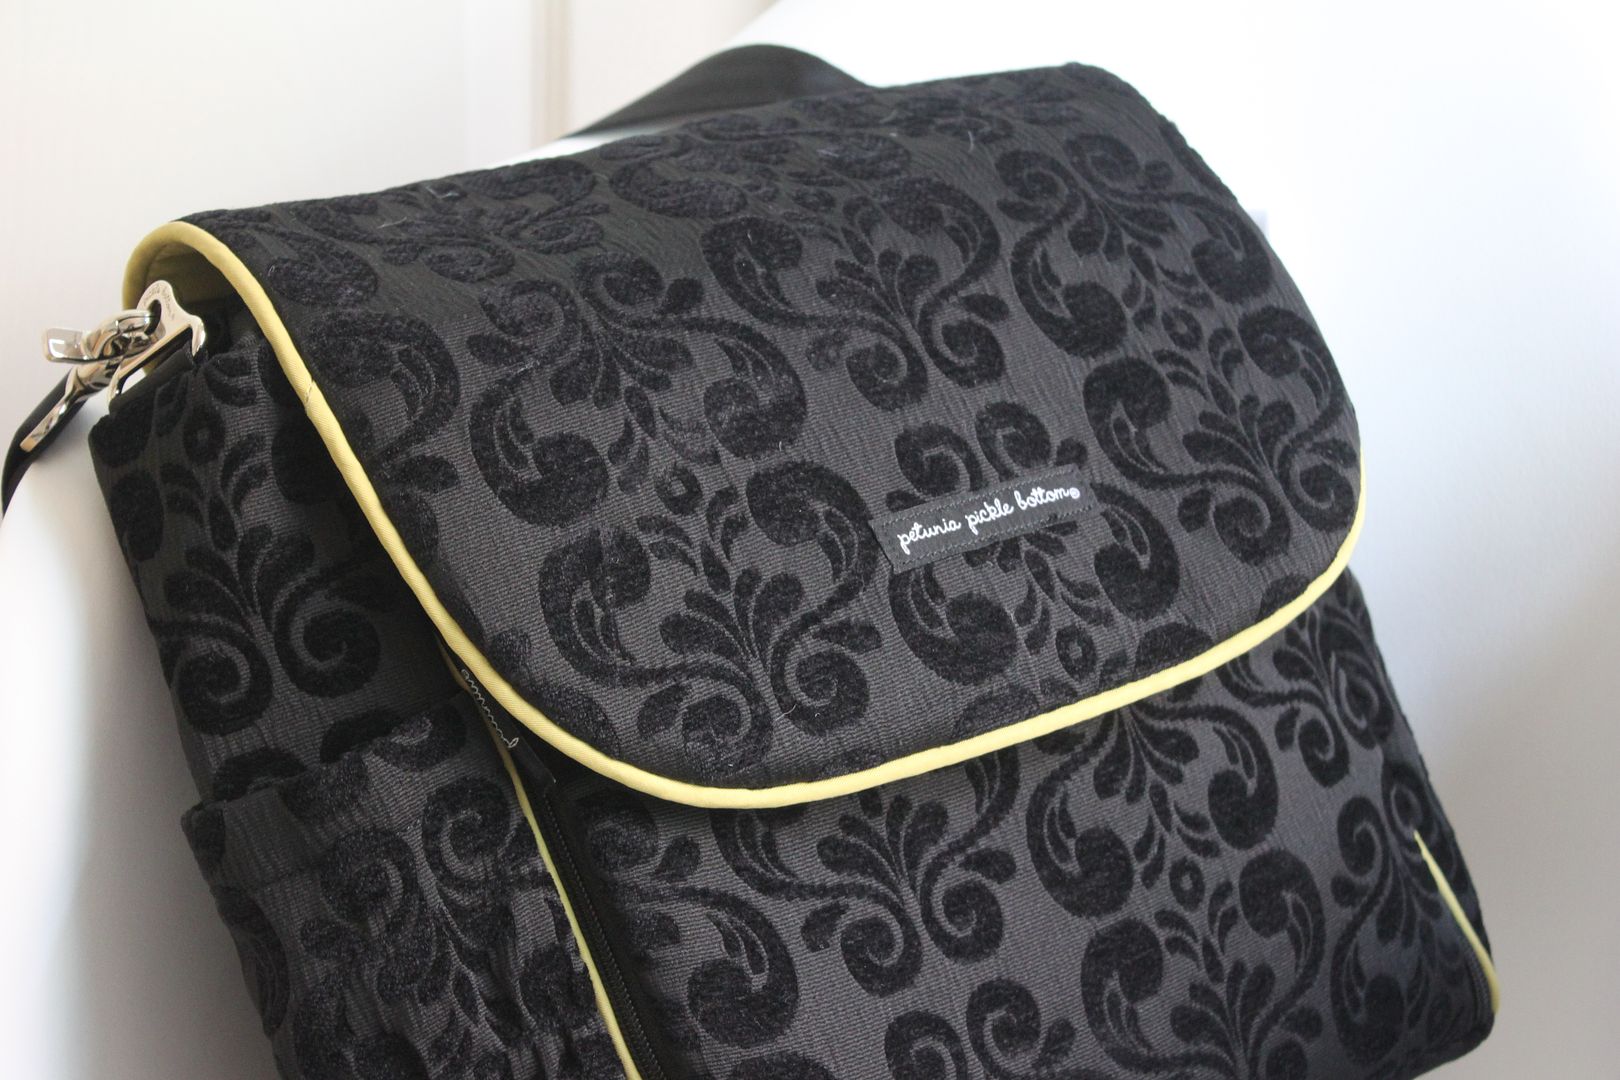 My new diaper bag. My old one was just plain sad (and gross). Thank you Amazon for such a great deal.


