Things That Make Me Say Yeay

Friday, February 28, 2014


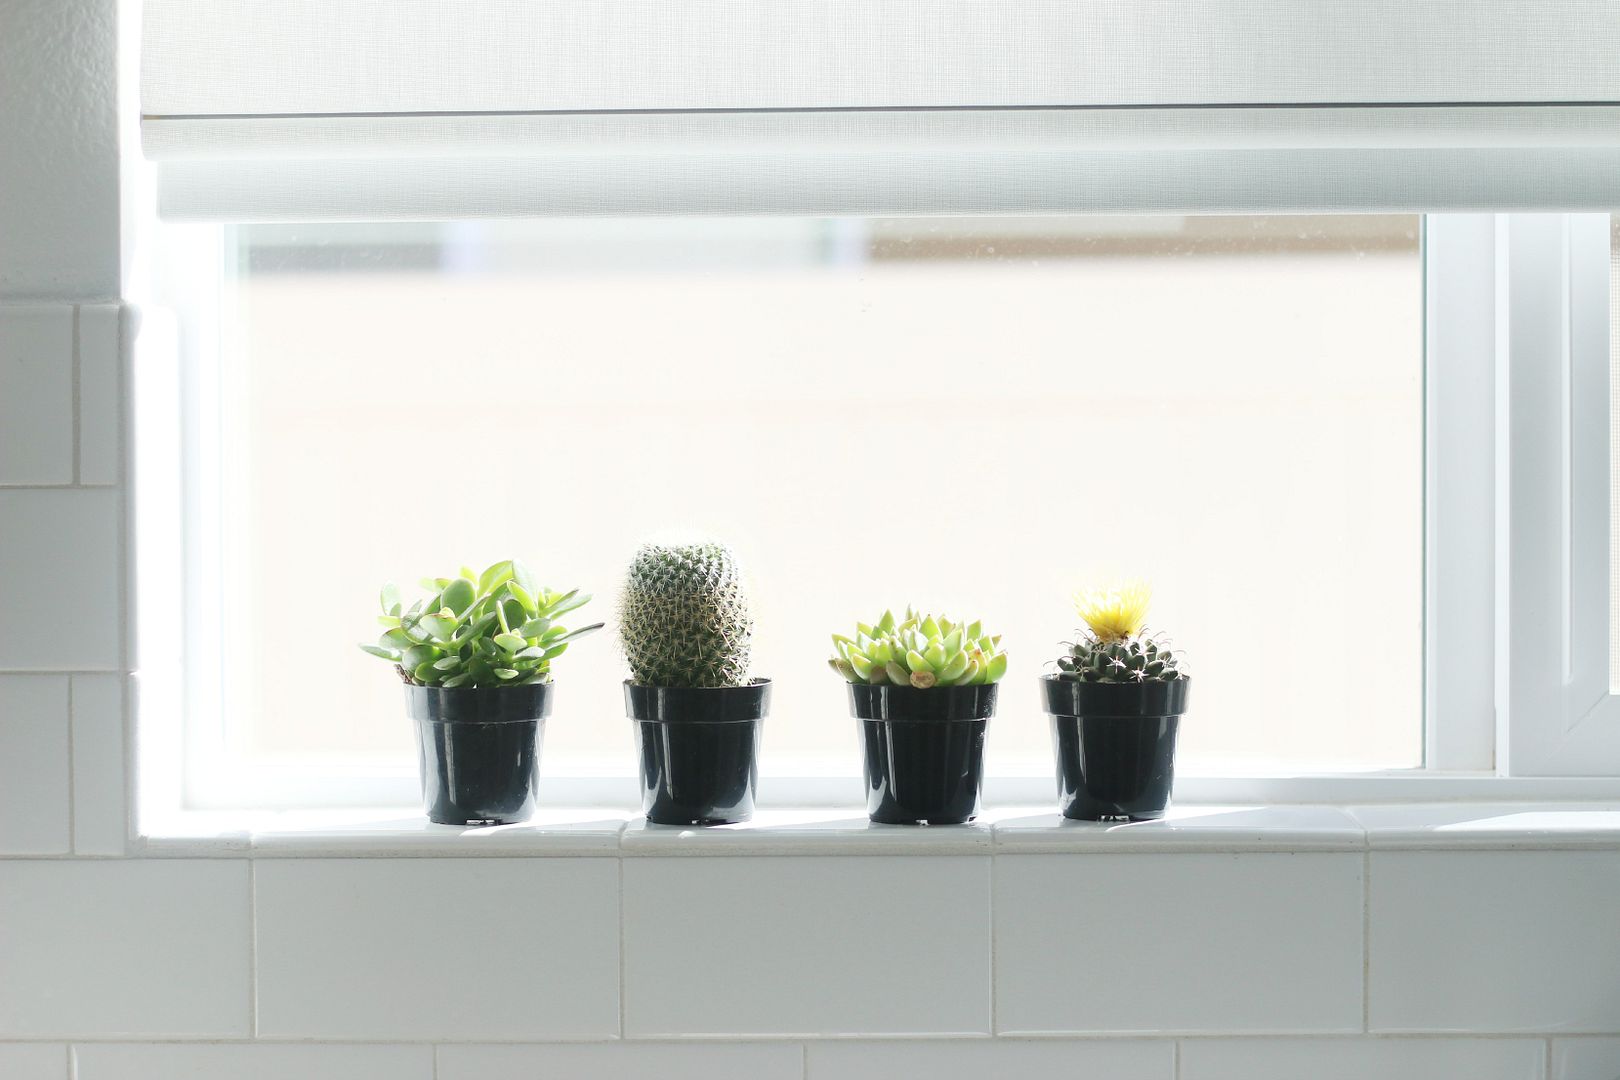
Tiny little succulents in my kitchen window.  I found these cute mini ones at Lowes for a dollar each.  Not a bad deal!


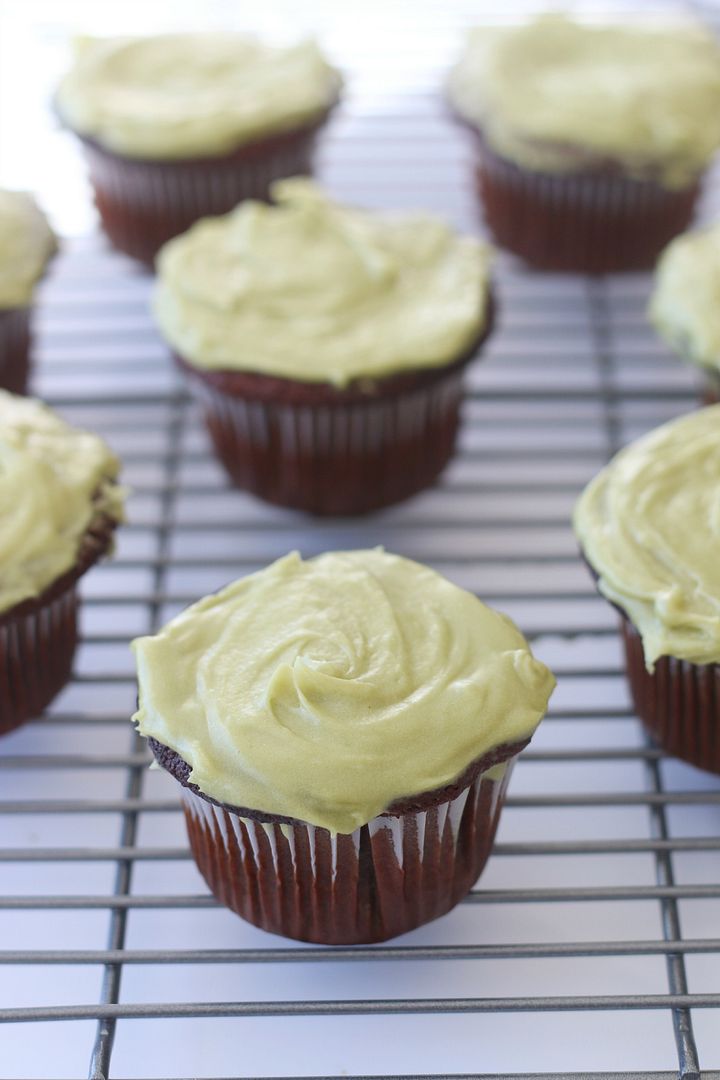
Flourless chocolate cupcakes with a Paleo "buttercream" matcha green tea frosting.  They were so yummy and I plan on making them again for St. Patty's day.

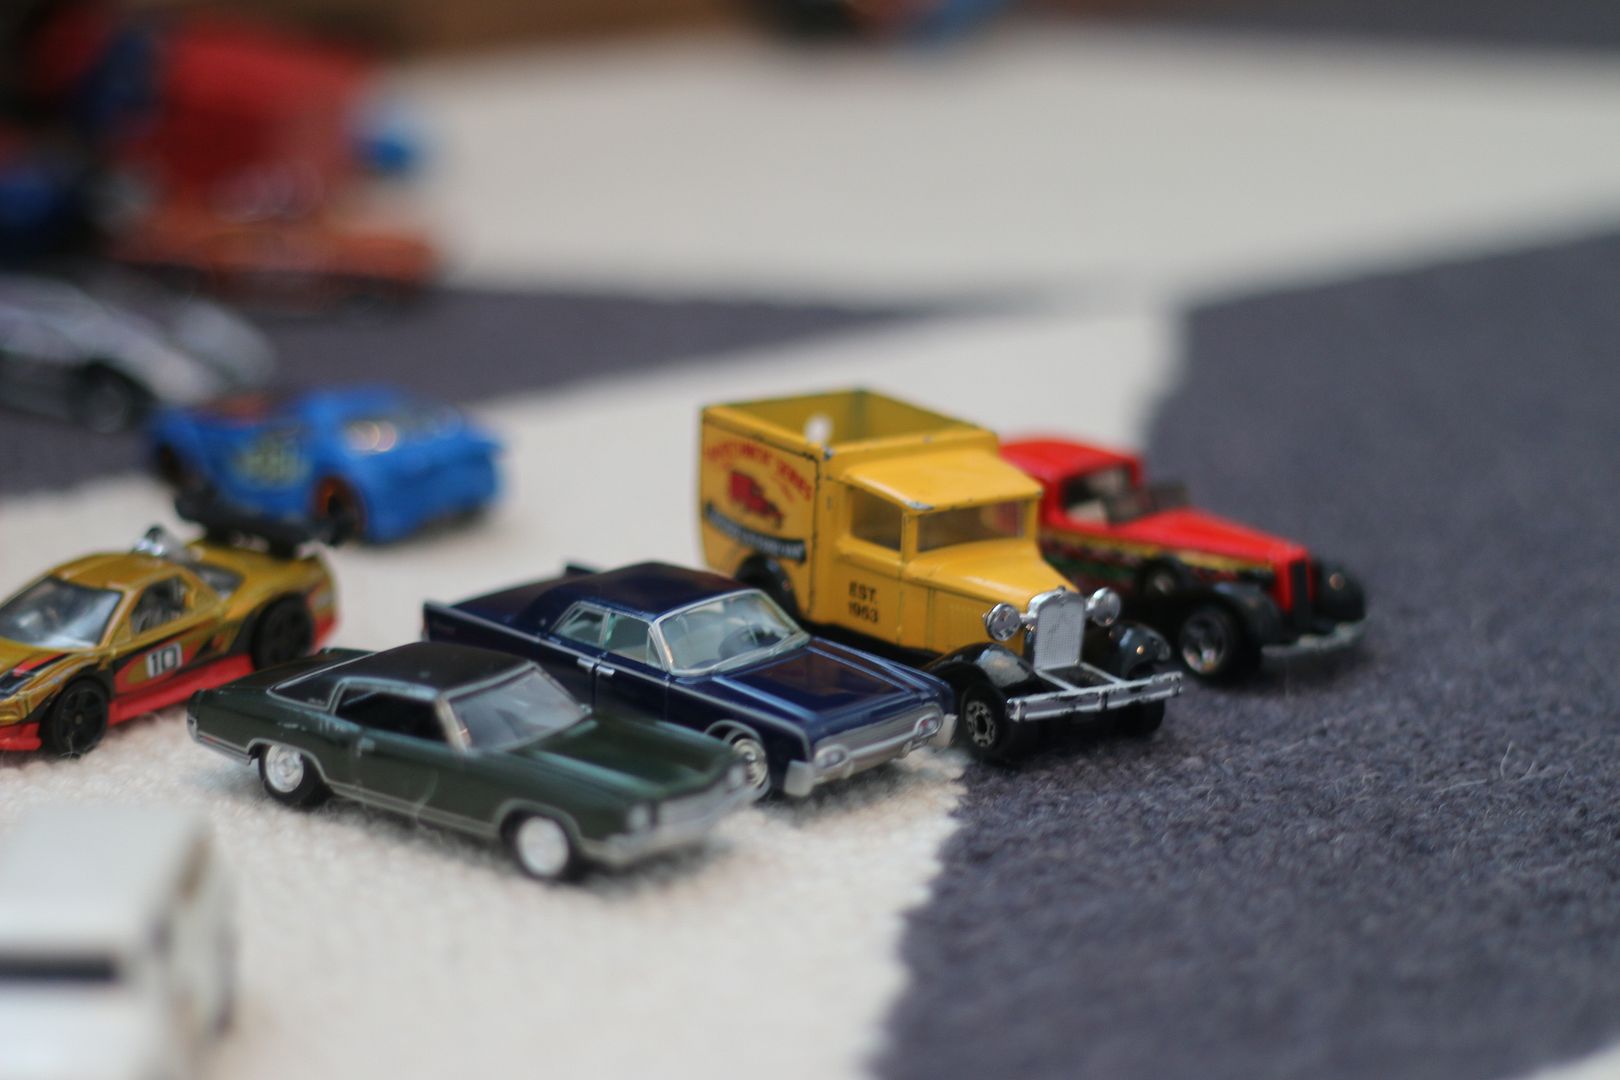
Car races that the boys set up in their rooms every morning.  I love eavesdropping and listening to them pretend they are racing real cars with gnarly sounding engines. 


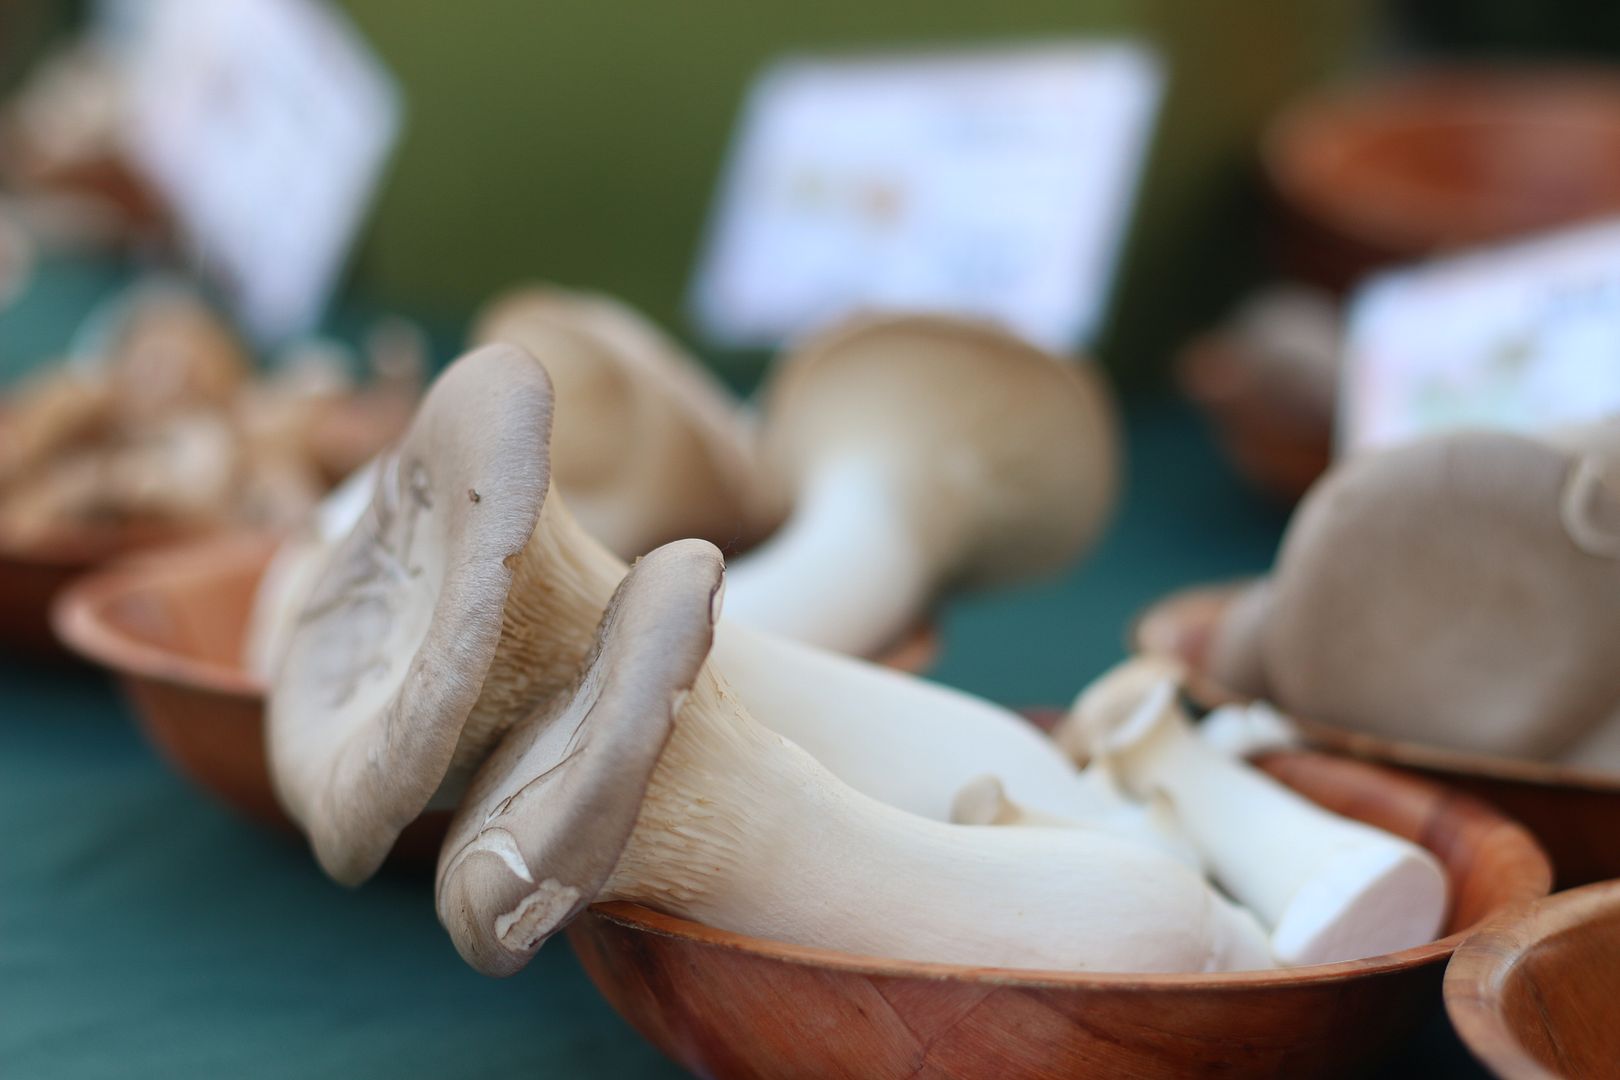
A stand full of interesting looking mushrooms at the Farmer's Market.  I bought a few of these, sliced them and sautéed them up with a little ghee!  So good.


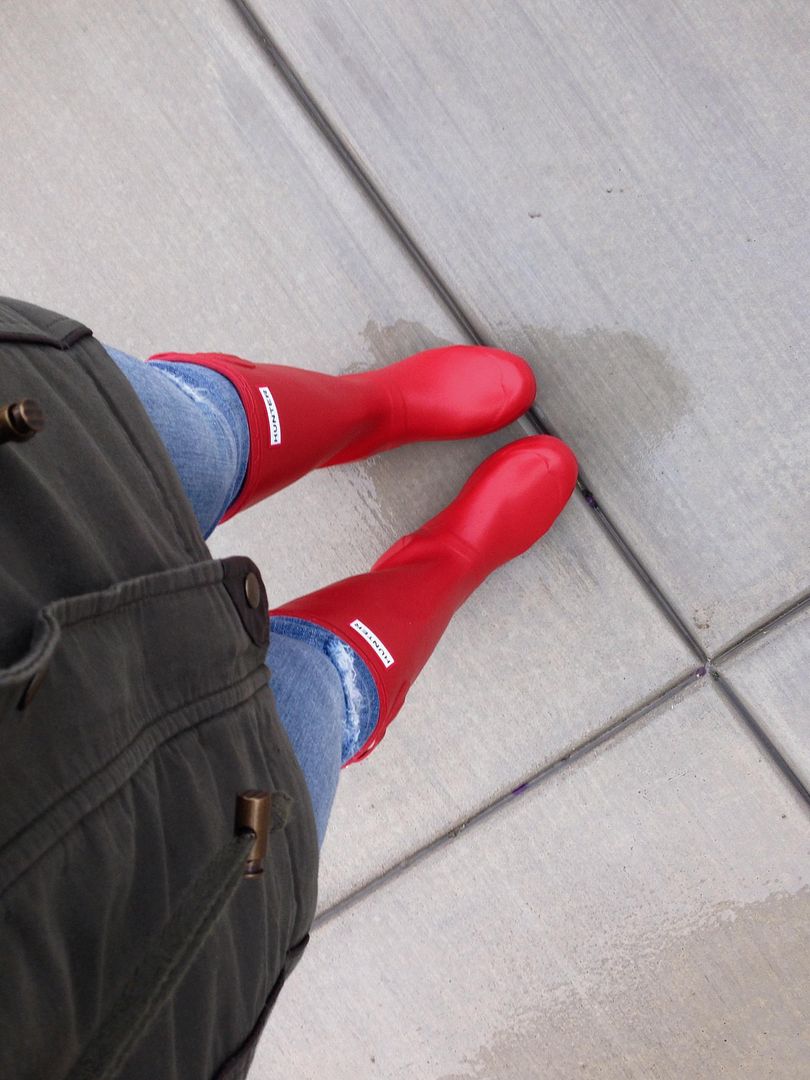
It finally rained in California!  Too bad it only lasted about an hour though.  And why do people (me included) go pigeon toed when taking pictures of their feet?  Who knows but I always end up doing it.

Have a wonderful weekend!

Have you Heard of The Bee Venom Mask?

Thursday, February 27, 2014


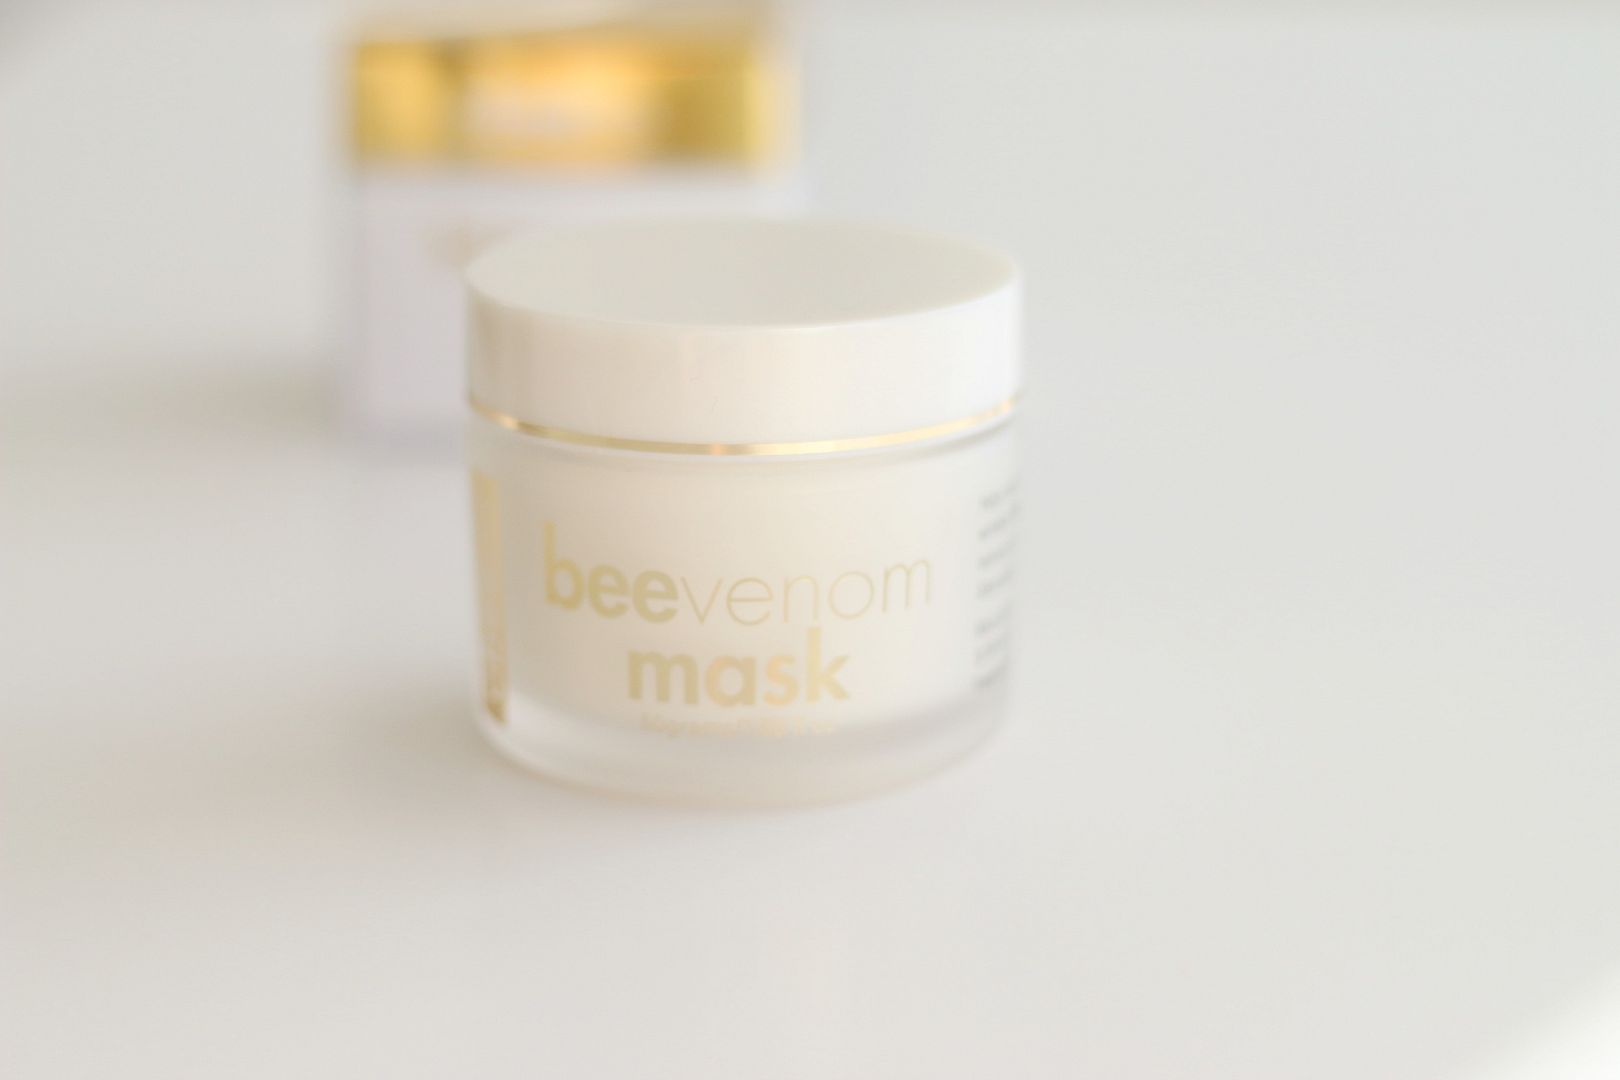
I was recently sent this Abeeco Bee Venom Mask to try and I am totally hooked!  I only ever give reviews on products that I think are amazing and this was exactly that.

Have you heard about this yet?  It has become quite a hit as of recently since Kate Middleton, Gwyneth Paltrow and Victoria Beckham have reported using this as part of their skin care routine.  The mask plumps and firms the skin and lord knows this momma could use a little plumping every now and then!  The Bee Venom contained in the mask works by fooling the skin into thinking it has been lightly stung.  This in turn increases blood flow to your face and gives you the ultimate refreshed glow!

My husband was a little concerned when I told him what I was about to put on my face the first time I used it but I love trying new and different products so I slathered it on and let it work its magic.  I did experience a slight tingling sensation but nothing painful or uncomfortable like an actual bee sting...haha that would be bad.

I also love that it is paraben free and some of the key ingredients are Manuka honey (SO good for your skin), shea butter, Vitamin C and lavender oil.

The Bee Venom is collected by expert New Zealand beekeepers.  They follow ironclad guidelines to ensure that no bees are harmed during the extraction process.

Do you think this is something you would try?  If you have tried this or something similar I would love to hear your opinion as well.

The Highs & Lows of Type 1 Diabetes: Common Statements/Misconceptions about Type 1 Diabetes That I Feel Compelled to Address

Monday, February 24, 2014

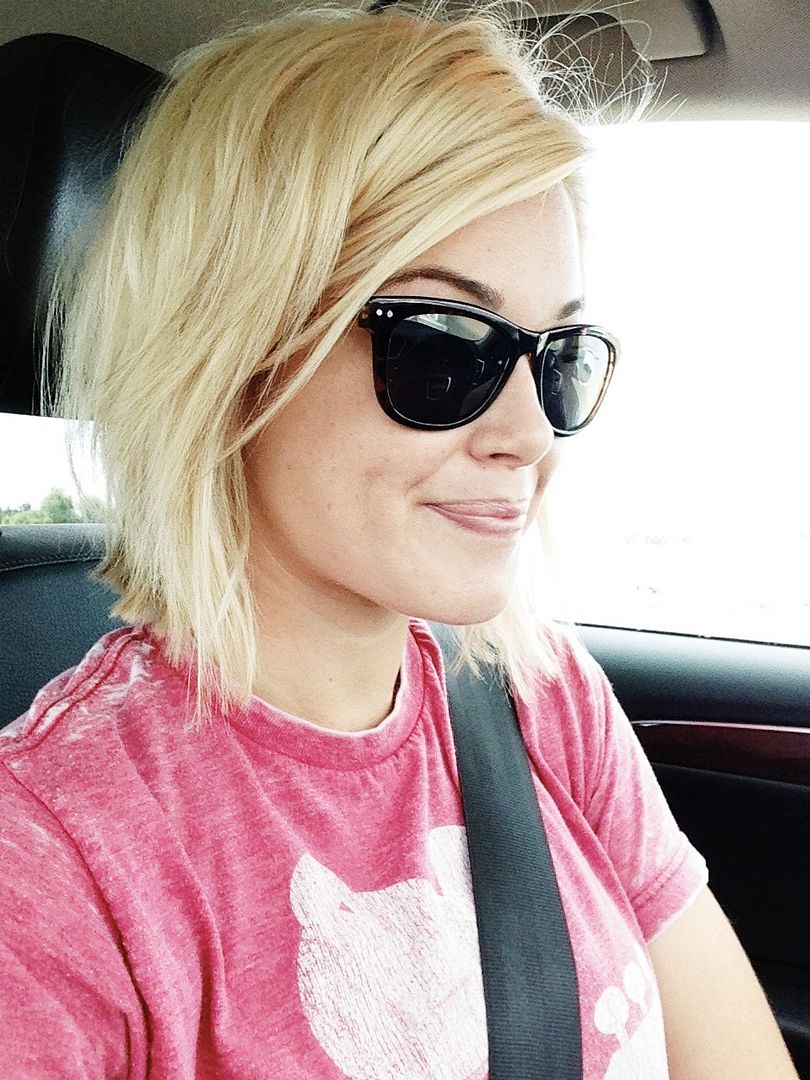
A semi weird picture of me but hey I have type 1 diabetes and this post is about that so it felt relevant.   

I have heard it all and nothing really surprises me anymore.  You can't really get mad at the people addressing the questions or statements because they are just simply uneducated with the world of type 1 diabetes and I prefer to give people the benefit of the doubt when it comes to this kinda stuff.

The following are either questions or statements that people have actually really said to me.  I felt like it was important to clarify and address some of them.

1. "But you're not fat.  How you do have diabetes?"  I will never forget this question asked in high school by a boy a few grades older.
- Type 1 diabetics are not typically overweight.  In fact when I was diagnosed (at age 7) I had lost 10 pounds.  The media often portrays diabetics as being chubby little kids or overweight adults and that is because they are talking about type 2, which is different in terms of diagnosis and overall treatment.  Type 2 is a growing epidemic because of horrible diets and obesity.  Type 2 diabetes is actually preventable and reversable if diet and exercise are made a priority.  Type 1 diabetes is not something that is curable...as of right now.

2. "I've heard diabetics do not live a very long life."
-  I have heard that unhealthy people in general do not live a very long life.  So if you are type 1 diabetic and not making your health a priority then yes, the odds are not in your favor.  BUT if you are healthy and taking care of yourself and making your health a priority then you have an even better chance of living a full life just like anyone else.  So may the odds be ever in your favor :)

3. "I am worried that you might not have healthy children because you are type 1 diabetic."  Yes, this was really said to me by someone close.
- Type 1 diabetics do have a higher chance of miscarriages and complications BUT again if you make the health of you and your baby a full time priority for a full 9 months your odds of having a perfectly  healthy baby are just as good as any one else's.

4. "Your medical bills and insurance must be so expensive!"
- Yep they are there is no way of getting around that.  I am so thankful that I have a husband who makes me a priority and would do anything to make sure I have everything I need.

5. "Oh you're diabetic?! My Grandpa/Grandma had diabetes and lost their leg or went blind because of it!"
- Well thanks for that little story that I have heard a million times.  To be honest, if you have diabetes complications it does not just happen over night.  It takes years of neglect to get to that point.  Diabetes medical advancements have also come a long way since any grandma or grandpa had it so that is also a plus.

If you have ever had someone ask or say something to you that made you say, "What?!" I would love to hear.

See all the posts of this series here.

How To Find Great Art Prints For Under $20

Wednesday, February 19, 2014


Who knew starting a gallery wall and adding art around my home would be so expensive.  I actually underestimated how much it would all cost until we moved into our new house.  $50 here, $30 there and so on really started adding up and I reached a point where I needed to start getting a little more creative with how I was going about collecting art for my home.

I recently discovered two (awesome) ways to incorporate new art into my house that is beyond affordable.

1) Purchase white canvases from your local craft or framing store and paint something abstract or unique on it yourself.  Small canvases will run anywhere from $5 to $10.  My local framing store recently had a buy one get one free sale so I stocked up and got a great deal on a small little stack of canvases.  My husband is actually the artistic one in the house so he already had all the acrylic paint.  I simply drew out my designs with a charcoal pencil and they painted over the tracing with my paint. I could not have been more happy with how they turned out!

2) Search for art in thrift shops.  If you can look past the ugly chipped frames and stained dusty dirty glass you can find some really incredible artwork!  Re-framing a piece of beautiful art is easy so all you need is a little vision.  You can also find great frames at thrift stores.  So if you love the frames and don't love the art you can buy the frames and toss the art.  Another thing to keep in mind is that most thrift shops have days where they have 50% off sales.  So if you really want a great deal ask the shop when they are having a sale.  Sometimes you can even negotiate if you talk to the right person.  It never hurts to ask!   I found the lion print above in a dusty corner of my local thrift shop.  Originally it was in a really hideous black bamboo frame and the glass was stained and beyond dirty.  It was something that could have easily been overlooked but I loved the print so much I snatched it up immediately.  I paid $7 for it and walked out doing a little happy dance.  The deer print was also a little gem that I found in a thrift shop.  It was $3!  I put both of them in simple black frames that I already had and they are perfect additions to Ronin's room.  I will be continuing to scour my local thrift shops to find more fun pieces for my walls.


Do you have a favorite affordable source for finding great artwork?  I would love to hear!


Latest Life Snippets

Friday, February 14, 2014


Happy Valentine's Day!  This is the first year since we have had kids that one of the grandparents actually volunteered to watch the boys so we could have a date! Thank you, Mom.

Here are a few latest life snippets according to my iPhone and Instagram (@Delightedmomma)...
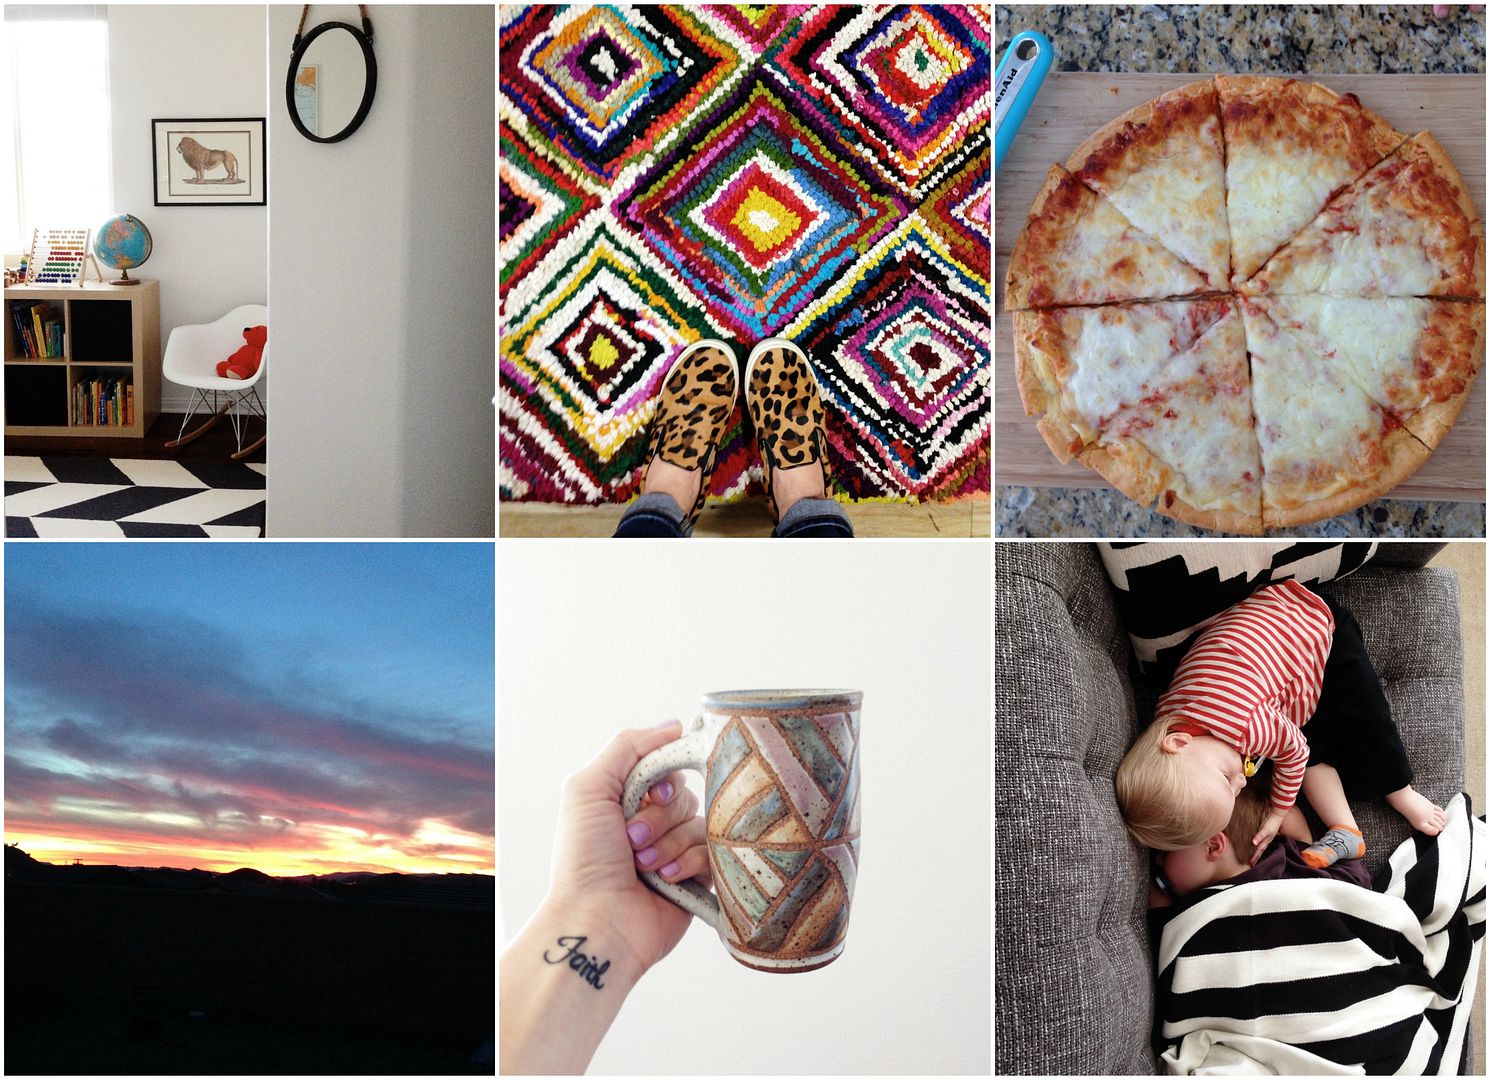
  1. A little look into Ronin's room.  I recently added a few new things and I am so happy with how it has all come together. 
  2. A seriously awesome HomeGoods find that I just had to have for my kitchen.  My husband on the other hand said it reminded him of a vegan eating, cat hoarding lady who lives alone in San Francisco.  HAHA!  I actually kind of liked that description so I kept it.
  3. My best friend of 15 years flew down from Hawaii this week and we had a catch up session over the best gluten free (that phrase is starting to bug me) pizza from Against The Grain.  If your local heath food store carries it you must try it!  
  4. Sunset view from our backyard.  This scene will never get old. 
  5. Waking up before anyone else and enjoying a up of coffee all my myself.  Heaven. 
  6. Last week when Max was not feeling the best his little brother was so worried.  I snapped this sweet picture of Ronin giving Max a hug while he was sleeping.  They are the best of pals.  
Have a wonderful weekend! 

The Highs and Lows of Type 1 Diabetes: Having a Diabetes Burnout and How I Got Over It

Thursday, February 13, 2014


A reader recently asked me if I have ever experienced a "burnout," and if so how I got back on the right track.  I loved this question and thought it was really important to address.

The answer is yes.  I have most definitely experienced a diabetes burnout.  It was when I was 18.  I am sure everyones definition of what exactly a burnout means to them is slightly different but my definition of a diabetes burnout means you are just over it, and for a little moment in time you neglect your diabetes.

I moved out with my friend the week after I graduated high school.  We got a little apartment in Huntington Beach where we were both going to school.  Living on my own was exciting.  I made a ton of new friends and started getting my self into a little trouble. Most of my friends were over 21 so I started drinking, staying out super late, eating horrible, testing my blood less frequently and "guessing" when it came to my insulin shots.  I was a mess for a little bit there.  I just wanted diabetes to go away and I was not dealing with it very well.  I remember I would drink a few beers with my friends and then we would order a giant pizza and I would eat it just like I was a regular non diabetic girl.  It started to become normal for me to go really high and then crash late at night.  There was even a few times where I would get low in my apartment and realize I did not have any juice and had to get really creative with weird things in my cupboard or fridge.  I just was not caring about my self like I should have.

My burnout lasted almost a whole year.  I remember feeling tired and depressed because no one really knew what I was going through.  I was over feeling sick and knew I needed to change and start caring about myself again.

My husband has a lot to do with me coming out of my burnout phase.  I have known Ian since I was in elementary school and we had even dated for a brief time in high school but after I moved away we lost contact.  I had come home to visit my family for a few days and randomly ran into him... well not totally randomly but that's for a different post :)  He was HOT (like really really hot) and I was single haha.  He got my number and that night we went out to a movie.  We started spending more and more time together and  soon after we made it official.  He truly cared about me.  He would always ask me how my blood sugars were and would always make sure I had juice with me and in my apartment.  I loved him and the way he loved me made me want to change, so I did.  We became healthy together and it was the best feeling.

Since then whenever I start to have a day or week where I feel overwhelmed or frustrated with my diabetes I remind myself that it's normal and I do not need to feel guilty for having a disease that sometimes does it own thing no matter how hard I try.  For me personally the best way to avoid long burnouts is by making my health a priority.  I do need to exercise and I do need to eat healthy on a daily basis.  I also remind myself that it is okay if I decide to take a few days off from the gym or I want to enjoy a not so healthy meal every now and then.  It is all about balance and when the balance gets thrown off completely that is when I notice I struggle.

If you are type 1 diabetic and have ever experienced a burnout, I would love to hear your story and how you dealt with it.

See all the posts of this series here

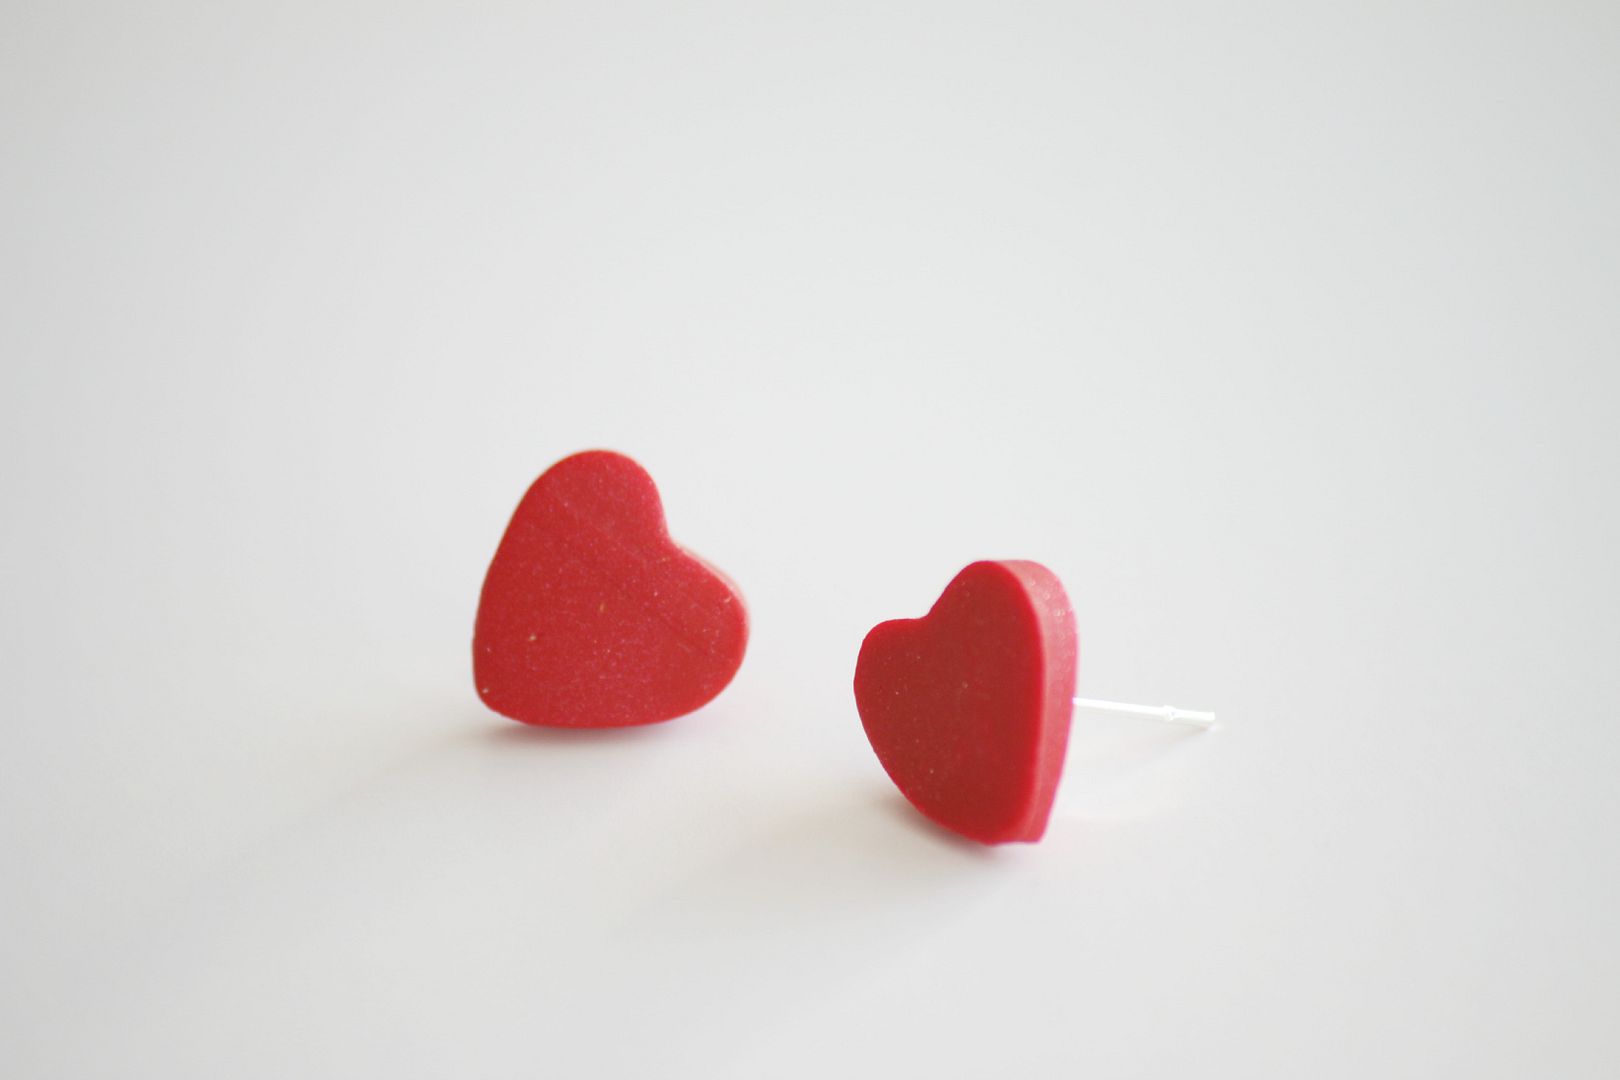
DIY Simple Heart Polymer Clay Earrings

Tuesday, February 11, 2014


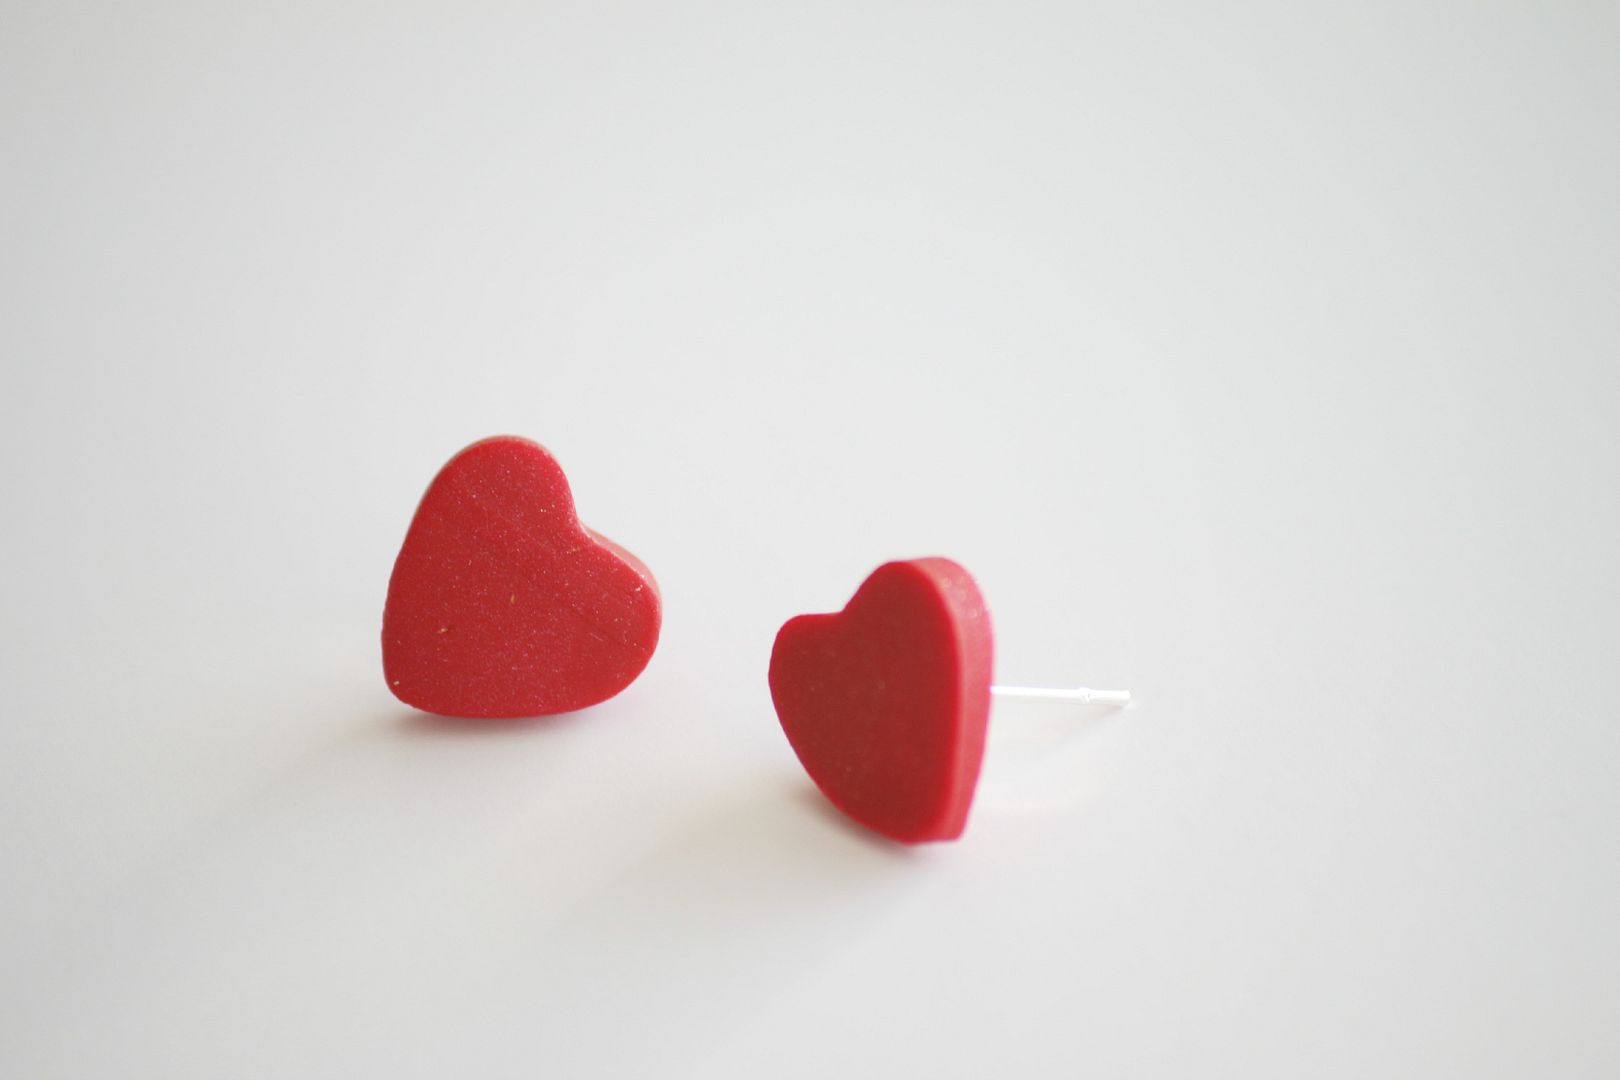
For the most part I tend to overthink things.  I also tend to make things that are best suited to be simple waaaaaay overcomplicated.  Take these little heart earrings for example.  Today I got this great (not so great) idea to dip the hearts in gold paint.  Long story short I hated them.  They looked all goopy (it's a real word according to Urban Dictionary) and I got gold paint freaking everywhere.  I loved them plain and simple so that's how I ended up leaving them.

This is literally the easiest polymer clay project ever and if you are in need of a little last minute love in your ears for Valentine's Day then this is the project for you.  I just proofread this little sentence to my husband and he said it sounded really creepy and I probably should not say that.  I decided to leave it anyway :)  

What you will need:
  • A small chunk of red polymer clay
  • A heart cut out (found in the clay section of a craft store) 
  • earring front and backs (found at a craft store) 
  • E 6000 glue 
Directions:
  1. Condition the polymer clay up in between your hands so that it is easier to work with.   
  2. Using a thick marker or a clay roller, roll out an even piece of clay.
  3. Take your heart cutout and make two hearts.  To get the hearts out use the eraser part of a pencil and gently push it out. 
  4. Place your hearts on a designated craft baking sheet and bake according to your clay's directions. 
  5. Once your hearts have cooled apply a small amount of glue to each heart back and press the back part of your earring into the glue making sure it adheres to the clay. 
  6. Let the glue dry and enjoy your new pair of earrings!
This project took a whole ten minutes, minus baking time.  So easy and I will be wearing these year long because I love hearts regardless of Valentine's Day or not.


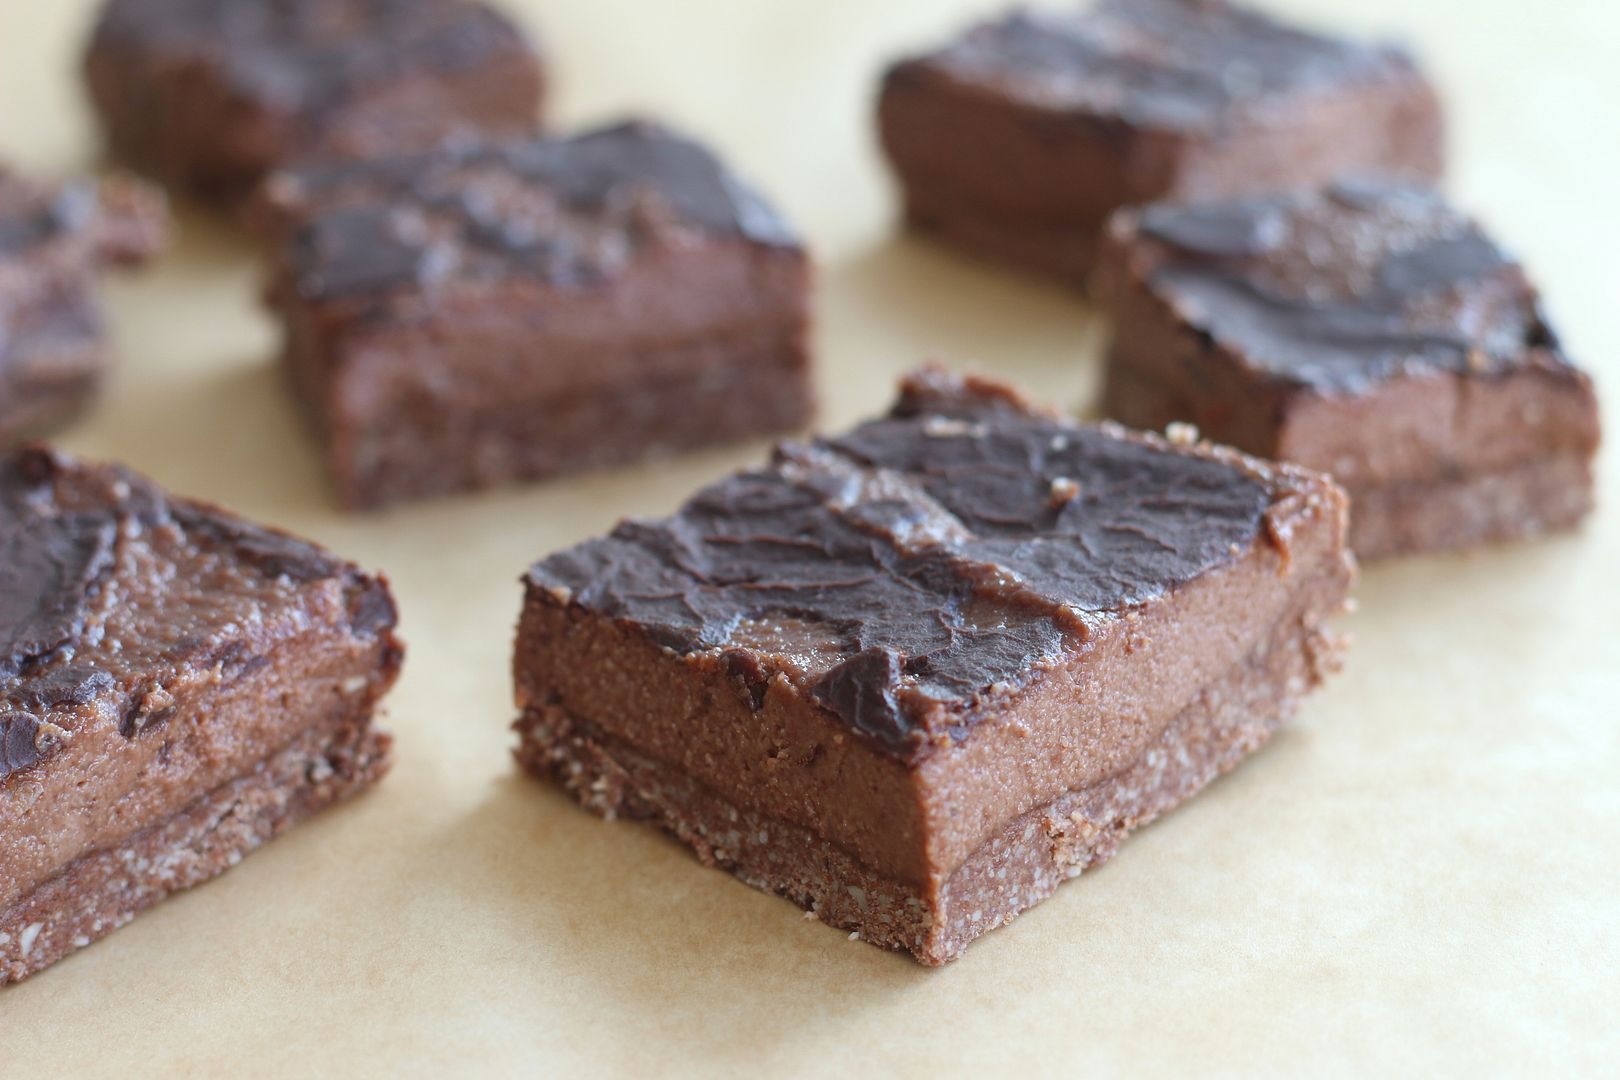
Raw Chocolate Almond Butter Cheesecake Bars (Vegan, Paleo)


When it comes to dessert eating I am not even really sure what is considered "normal."  Is it normal to make a big giant batch of something on a Friday and then by Saturday night every last bit is gone? Maybe that's not completely normal but that's almost always what happens whenever I make something fun.  My family has no concept of the whole savoring of desserts thing.

Ever since I made these I have been kind of obsessed with the idea that I can make all the desserts that I had almost written off forever (due to the mass amounts of dairy and sugar) with my new favorite low carb, healthy cheesecake filling twin... cashew cream. Whew that was a big run on sentence but I am not changing it.  If making desserts with cashew cream is something new to you, you must try it and better yet don't tell anyone how you made your dessert and let your skeptical healthy dessert eating family and friends be the judge.  They will not know the difference and they will think you are a baking goddess.  I pinky promise.

What you will need for the crust:
  • 2 cups of almonds
  • 3 tbs of unsweetened cocoa powder 
  • 3 1/2 tbs of honey (sub maple syrup if you want to make these vegan) 
  • 2 tbs of coconut oil 
What you will need for the filling:
  • 2 cups of raw cashews * 
  • 1/3 cup of almond butter 
  • 1/4 cup of fresh lemon juice
  • 1/3 cup of honey (sub maple syrup if you want to make these vegan) 
  • 1/4 cup of unsweetened cocoa powder
  • 1 tbs of vanilla 

* Soaking your cashews over night in a bowl of water will make the filling so much more creamy and that much more delicious!  If you have time for this extra step I highly recommend it. 

For the topping I simply melted together a little coconut oil, honey and cocoa powder until I had a sauce consistency and drizzled it over the top before freezing. 

Directions:
  1. Place all of the ingredients for the crust in a food processor.  Process until everything can easily stick together.  If your crust does not seem to be sticky add a little more coconut oil and then continue to process. 
  2. Line a 8x8 baking dish with parchment paper and evenly distribute the crust ingredients along the bottom.  Press down firmly with your fingers or a spoon so that the crust will stick and hold together. 
  3. Place all the ingredients for the filling inside your food processor.  Process until you have a smooth cheesecake filling consistency. 
  4. Layer the filling on top of the crust. 
  5. Drizzle (I love that word) the chocolate sauce over the top. 
  6. Place in the freezer for about an hour or until the cheesecake is set.  And that's it!
  7. Enjoy! 


My husband and I both agreed that this was even yummier (if that is even possible) the next day after it had been frozen overnight.

If you make this please make sure to come back to let me know what you thought! 


DIY Split End & Dry Hair Treatment

Monday, February 10, 2014


A few days ago I took a close up picture with Max and the first thing I noticed (other than my tired looking eyes) was that my hair looked super dry, yikes!  I have been color treating my hair (sounds better than saying bleaching) for years so it's not that big of a surprise, but that doesn't mean I can't try to help out my poor strands.

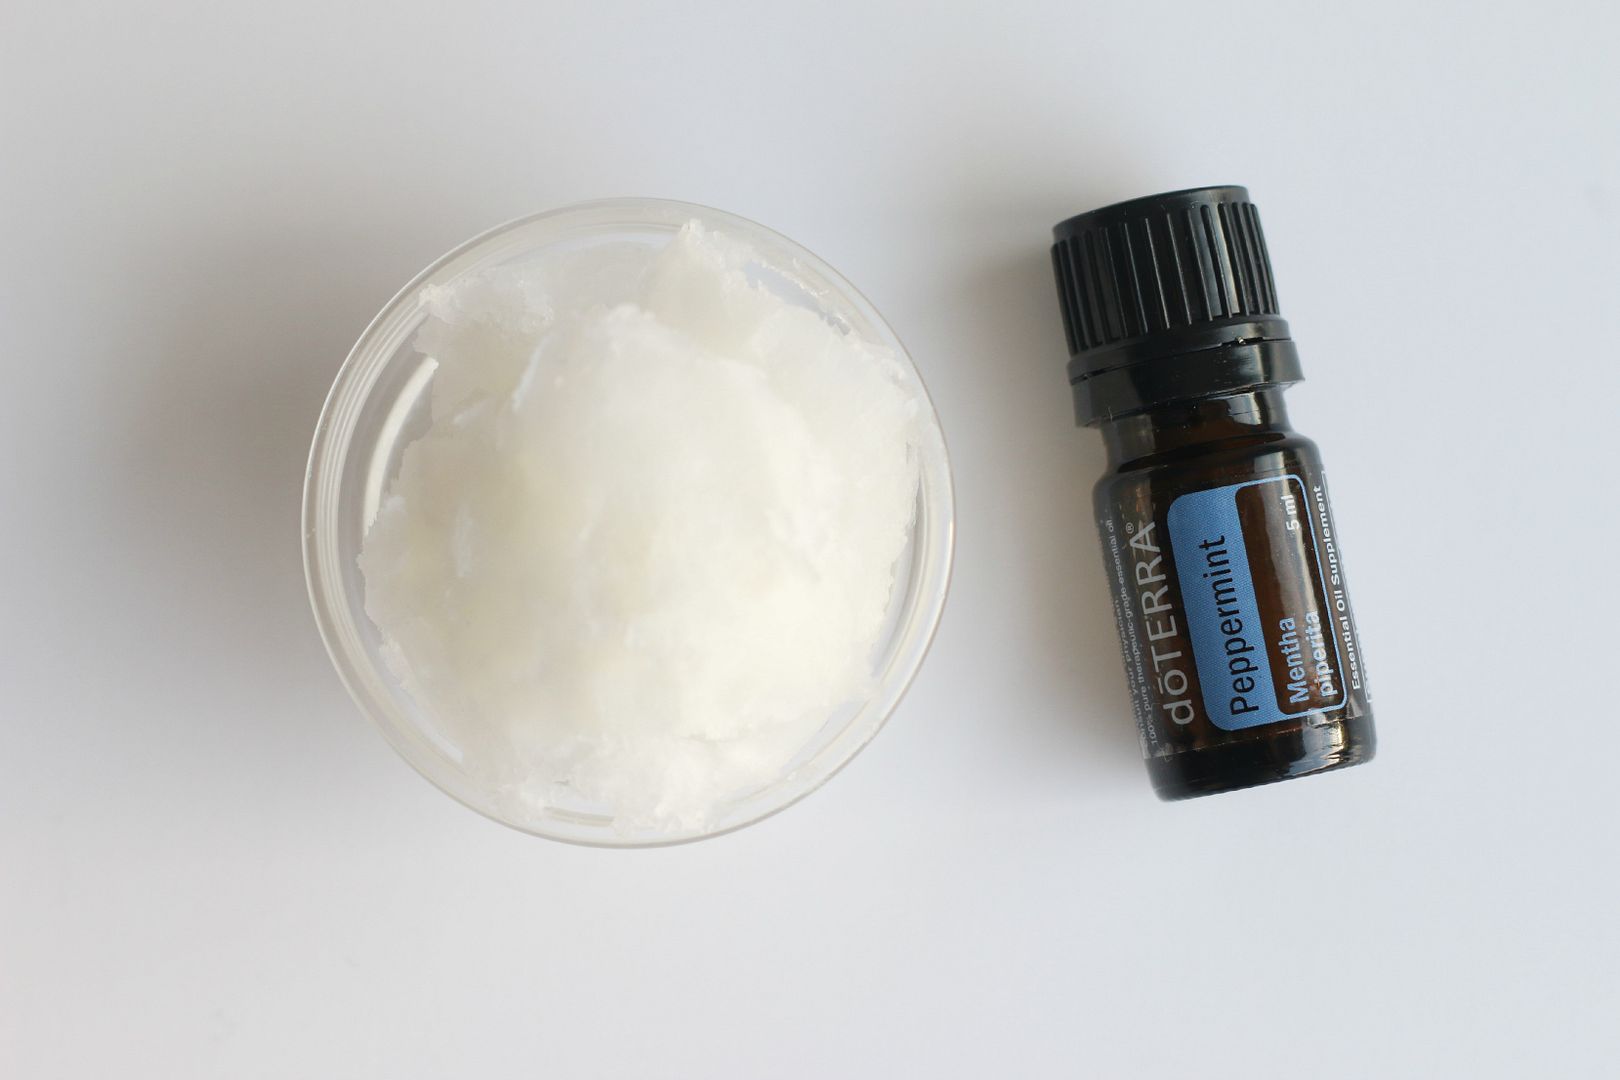
I am a huge fan of coconut oil and decided to give this age old remedy a try, with a little added invigorating peppermint oil twist.

UM WOW! This was awesome.  After I washed it out my hair looked healthy, silky (not greasy) and hydrated.  I was so impressed with this super simple treatment and 3 days later my hair still looks and feels great.

What you will need:
Directions:
  1. Scoop out a good amount of coconut oil (I used about a tsp but my hair is short). 
  2. Mix the coconut oil with the peppermint oil and apply to your hair really working it into the scalp and down through the ends. 
  3. If your hair is long twist it up into a bun.  Cover your hair with a shower cap or a damp (clean) towel.
  4. Let the treatment sit for 30 minutes.
  5. Shampoo and condition in the shower to make sure you get all of the coconut oil out.
  6. Blow dry and style like you normally would.  You will be amazed at how soft and beautiful your hair looks and feels! 
If you try this, or have tried this I would love to hear your thoughts! 


It's Been a Weird Week But I Made Something Fun!

Thursday, February 6, 2014


This week has been one of those foggy ones where the days are just rolling into each other.  The boys have been super sick and I have been battling an ugly sinus infection.  I was actually supposed to be in New York with my husband this week BUT stayed home since the idea of leaving while the kids were sick was about the worst thing ever.  The good news is that today we are all starting to finally feel better and my husband comes home from his business trip today! Yeay to all of that!

On a happy note I was asked this week to contribute a post to one of my favorite blogs ever, Design*Sponge!  I think I was more shocked to find out that they knew I existed!  I could not have been more honored to be featured and you can check out my post here.
Related Posts Plugin for WordPress, Blogger...