Things That Make Me Say Yeay

Friday, January 29, 2016


Ronin, feeling extra proud of himself as he walks across the "plank" without falling.  I love special little moments like this where you watch your kids conquer something they didn't think they could do.


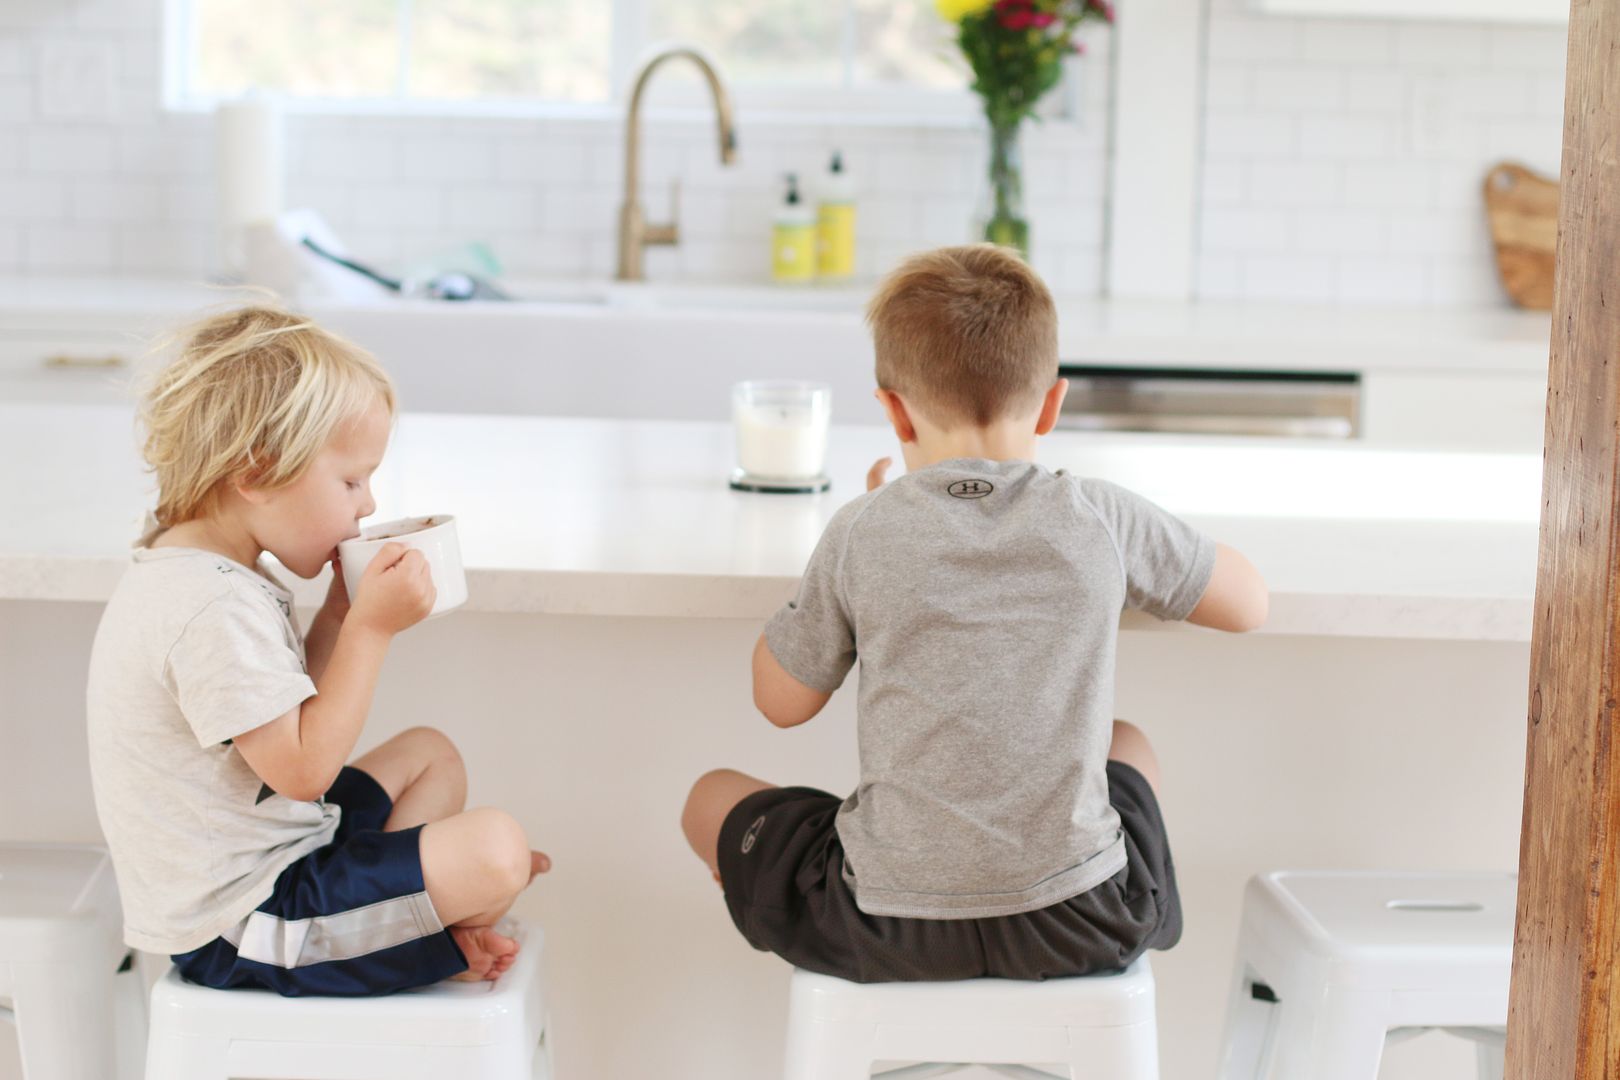
A strawberry pie cream pop, which was sooo good.  I think winter forgot about us here in Southern California, and I am actually totally fine with that.  Summer forever please.


Freshly painted white walls in the hallway.  This makes me happier than it probably should.


After school shenanigans with scooter and skateboard jumps (built by the little dudes) on our property.


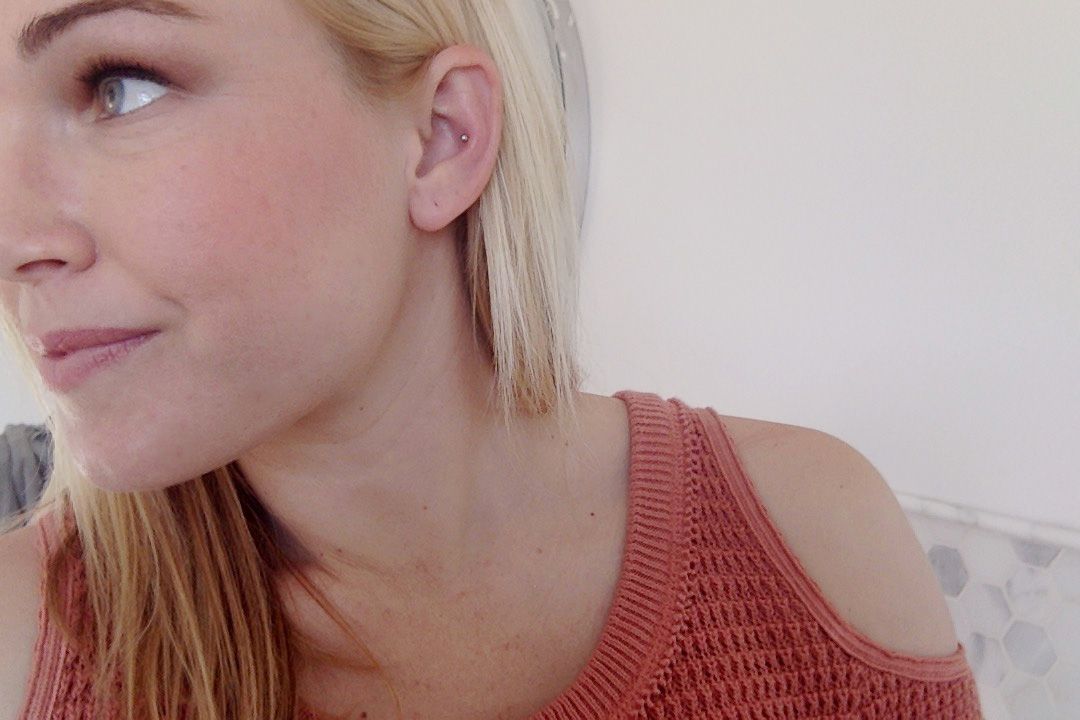
I recently purchased my first ever lipstick (such an adult now) and I LOVE it.  It's called Pink Nude by Bobbi Brown.

 Happy Friday! Have an awesome weekend.

Beauty Tip to Try: Multitasking Masking

Wednesday, January 27, 2016


Yes, I look completely ridiculous but it was necessary for demonstration purposes ha! Anywhoo...

An easy way to make some positive improvements with your skin, is to incorporate a mask 2-3 times a week.  Today's Beauty Tip to Try takes masking to a whole new amped up level.  It's called Multitasking Masking, and its awesome.

Multitasking masking addresses all of your skin care needs in one single treatment. BOOM.  How it works is you apply different masks to different areas of your face based on your individual skincare needs.

For example: if your under eye area looks tired and dry, you could apply a firming and lifting mask there.  If your chin and jawline area are prone to breakouts, you could apply a purifying mask. Or maybe your cheeks are looking dull and flaky?  You could apply a hydrating mask to those areas.  So in a nutshell, you apply masks based on your skin zone's needs, and by focusing on specific areas you are able to target all your skincare concerns in one treatment.  Make sense?

Here are the masks I am using above:
Let me know what you think if you end up trying this or have tried in the past. 

How To Beat a Cold With Oil of Oregano [updated]

Monday, January 25, 2016


With cold and flu season in full swing, I thought it would be a good idea to re-visit a popular post that I shared about 2 years ago.  Also, all the comments in the original post are pretty incredible. You wold not believe how many people absolutely swear by this!

Here is the original post:

With the changing of the weather and cold and flu season quickly approaching, I wanted to share a new to me natural remedy called Oil of Oregano.  This magical little herb has recently helped ward off several colds that I had coming on in the past few months.  And when I say ward off I mean I wake up with a cold or a sore throat, I take a few drops and by the next morning any sign of a cold is gone.

I heard about this awesome stuff from the slightly hippie-ish yet knowledgeable herb specialist at my local natural grocery store.  I told her I was feeling a cold coming on and she instantly directed me to a little (expensive) bottle of Oil of Oregano.  She said this is all I need and it should do the trick.  She called it "nature's antibiotic."  I decided to trust her and I paid around $32 for the bottle.  She warned me that it was strong and she suggested I take it with water.  The moment I got in my car I opened the bottle and put 4 drops on my tongue.  I looked around for my water bottle and realized I had left it at home.  Bad idea.  Let's just say this is the grossest stuff ever and it makes apple cider vinegar taste like sweet apple pie in comparison, BUT the outcome is worth it.  The next morning my sore throat was gone.  Since then I swear by this.  Any time I feel achy or sick I take a few drops and about 24 hours later I feel 100% again.  Now I am not a doctor or an herb specialist. I am just simply sharing this with you because it's awesome and it works. 

So if you feel a cold or flu coming on and want to try a natural remedy here is what you can do:
  • Take 3-4 drops of Oil of Oregano 2-3 times daily until you feel better.  
  • Make sure you have water handy to chase it (it's not the best tasting stuff) or you can dilute it with water. I personally like to just get it over with. 

*You can find Oil of Oregano at your local natural health food store or online here

Have you ever used Oil of Oregano before?  I wold love to hear about your experience if so!  

Things That Make Me Say Yeay

Friday, January 22, 2016


I did it! I got my conch pierced, and I love it. I would say I have a pretty good pain tolerance, but OH MANNNNN this thing freakin hurt!  For now I have to keep in the stud that they put in at the shop, but once it heals I plan on changing it out with a small gold hoop.


Max and Ronin pretending their hot coco was coffee the other morning and cracking me up.


The sunsets lately have been unreal.


Beautiful paper flowers attached to a tree branch. I loved this decor idea, which I saw hanging over a table at one of our favorite local spots.


The cutest little vintage school chairs for the boy's playroom. I got them off of Craigslist for $15! Yeay me :)

Have a wonderful weekend!

Conch Piercings: Yeay or Nay?

Tuesday, January 19, 2016

Okay so I noticed a weird little thing about me in my 30 years of life.  Every 6 or so months I get this crazy urge to do something to change things up. Sometimes it's a new haircut or hair color, a new tattoo (although I think I am all set on the tattoo department for now) or...whatever. So do I always act on it? No, but sometimes I do just go for it...as long as it's within reason and my husband agrees ;)

So recently I cant stop thinking about getting a new piercing. I mean...that's something that's sorta temporary right? If I don't like it I just take it out and it closes up. The end and its like it never really happened.  Expect for my belly button piercing that I did when I was 17. That poor thing never really returned back to normal after I had the boys.  But anywho! 

So this is what I want to do... It's called a "conch piercing," which just might be the worst name for a piercing ever haha! 


So what do you think? Are you yeay or nay for the not so typical ear piercings?

I'm really thinking about it!

Things That Make Me Say Yeay

Friday, January 15, 2016


Black hexagon tile in the powder bath, and proof that not everything in my house is white ;)


Daily step tracking with my Fitbit, which I love so far.  My daily goal is 10,000 steps and so far so good!


Max, after his new haircut. He was feelin pretty fly at this exact moment :) Such a little stud muffin.


A new vegetable I am excited to try, which is called a Romanesco Cauliflower.  Pretty cool looking right?  Also... by the looks of this picture I am in major need of some lotion ASAP.


Finished up painting the open shelving in my kitchen yesterday.  It just needs a few more minor things and it will officially be done. I will share all the details of the after soon!

Have a wonderful weekend!

Chocolate Chip Almond Butter Blender Muffins

Wednesday, January 13, 2016


Say the name of this recipe 5 times fast. Ha!  Coming up with recipe names is seriously one of my favorite parts.  

Anywhooooo....

You guyyyssss I finally have a full working kitchen! You have no idea how freaking excited I am about this.  Especially considering our temporary kitchen for the last 7 months was dark, tiny and dusty (from all the construction) 24/7.  So you can imagine how un-motivating it was to cook and bake in there.  I am now back on the wagon and ready to share so many new recipes I have been testing out. 

For those of you who have been long time readers, you know I love easy, minimal, no fuss recipes and these blender muffins fit that bill perfectly. They literally take 5 minutes to put together, which makes them even more appealing when most of you are already strapped for time as is.  I know I am. 

What you will need:
  • 1 large ripe banana
  • 1/2 cup of creamy maple almond butter (or you can use another nut butter of your choice) 
  • 1 egg
  • 1/4 cup of honey
  • 1/2 cup of Enjoy Life Chocolate Chips 
  • 1/2 tsp of vanilla extract 
  • 1/4 tsp of baking powder
Directions: 
  1. Preheat oven to 400 degrees.
  2. Throw all of the ingredients above into a blender. I LOVE my Ninja blender, which I literally use for everything.
  3. Blend for about 30 seconds or until you have a smooth consistency. 
  4. Place muffin liners in a muffin tin* and fill each muffin cup with batter. 
  5. Bake for 10-12 minutes or until knife or toothpick comes out clean. 
  6. Let them cool and then enjoy! 
* I used paper muffin liners (versus a silicone baking pan) for the second batch and they held up much better.


These are incredibly moist and delicious!  Plus, this is the most easy and hassle free recipe ever. Recipe makes about 7 regular sized muffins but you could easily double everything to make a bigger batch. 

New Things for the NEW YEAR at Delighted Momma

Monday, January 11, 2016


It's 2000 freaking 16!  A new year means a new start and since almost half of last year was consumed with our renovation, I am so ready to let out some of this major pent up creativity and share my new outlook for my blog and what is to become of Delighted Momma.

So lets kick off 2016 with a recap of what I have been up to...

We started off last year with the crazy idea of buying a horse barn and transforming it into our dream home.  Well, fast forward 6 1/2 months later and we are DONE! We freaking did it. We barely did it, but we did it.  My original plan was to share every step of the way, but I soon realized that was nearly impossible since Ian and I were so heavily involved in the renovation all my extra time was devoted to that.  BUT lots of posts will be coming up with after reveals very soon.

With the new year I am ready to bring my blog back to more of its original roots, and basically think and worry less about each and every post and just have fun with this space again.  I plan on getting back to sharing more tidbits about my life and the journey of being a momma, fun beauty tips and trends, healthy recipes, DIYs, and whatever else I am feeling inspired by at the moment.  My blogging style has always been a tad bit ADD, but that works for me :)

Thank you for reading and I look forward to getting back to regular sharing here soon!
Related Posts Plugin for WordPress, Blogger...