Showing posts with label beauty tips. Show all posts

Beauty Tip to Try: Multitasking Masking

Wednesday, January 27, 2016


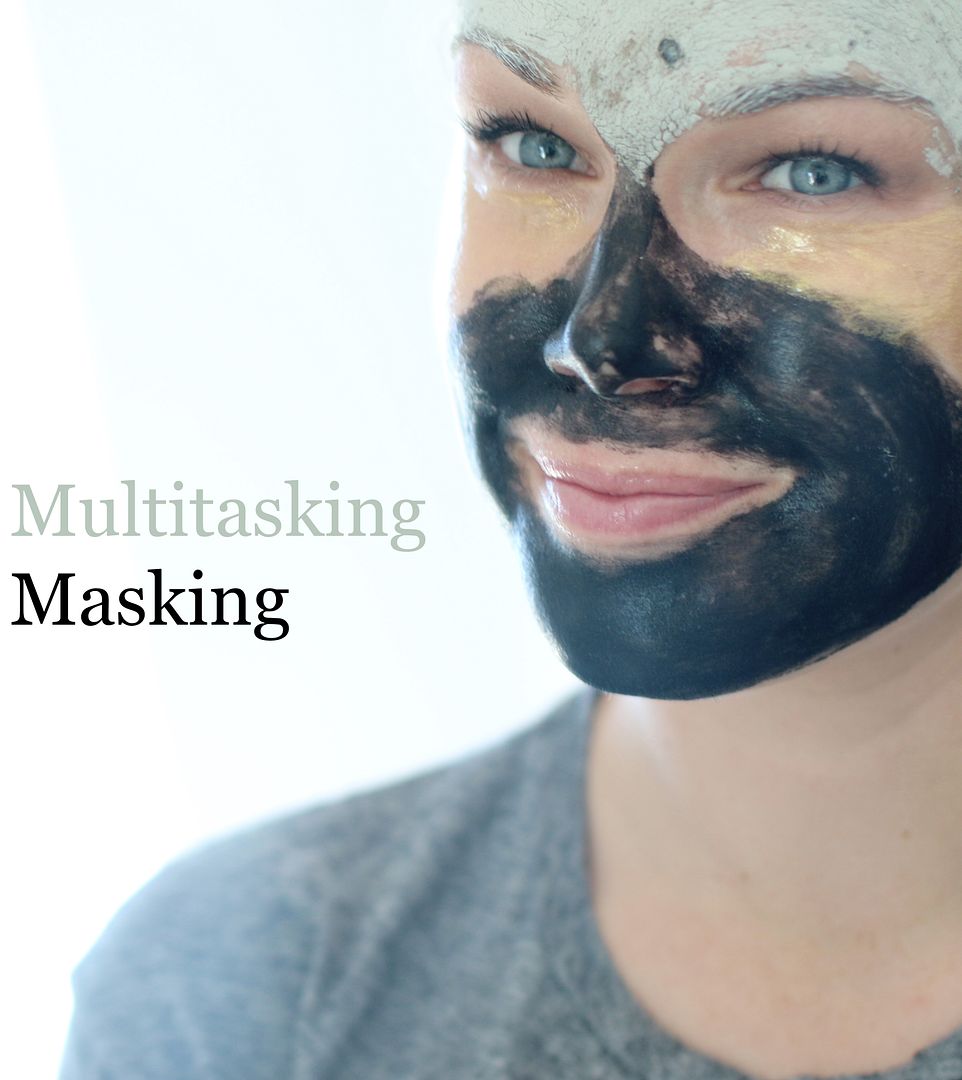
Yes, I look completely ridiculous but it was necessary for demonstration purposes ha! Anywhoo...

An easy way to make some positive improvements with your skin, is to incorporate a mask 2-3 times a week.  Today's Beauty Tip to Try takes masking to a whole new amped up level.  It's called Multitasking Masking, and its awesome.

Multitasking masking addresses all of your skin care needs in one single treatment. BOOM.  How it works is you apply different masks to different areas of your face based on your individual skincare needs.

For example: if your under eye area looks tired and dry, you could apply a firming and lifting mask there.  If your chin and jawline area are prone to breakouts, you could apply a purifying mask. Or maybe your cheeks are looking dull and flaky?  You could apply a hydrating mask to those areas.  So in a nutshell, you apply masks based on your skin zone's needs, and by focusing on specific areas you are able to target all your skincare concerns in one treatment.  Make sense?

Here are the masks I am using above:
Let me know what you think if you end up trying this or have tried in the past. 

Beauty Favorites From the Nordstrom Anniversary Sale

Tuesday, July 21, 2015


I'm a huge online shopper.  Maybe it's because going shopping with my two minions is pretty much impossible nowadays, but regardless I love the convenience of online shopping while I sip coffee or wine in my own home with no rush at all to hurry up and leave a store because one of my kids is over it.

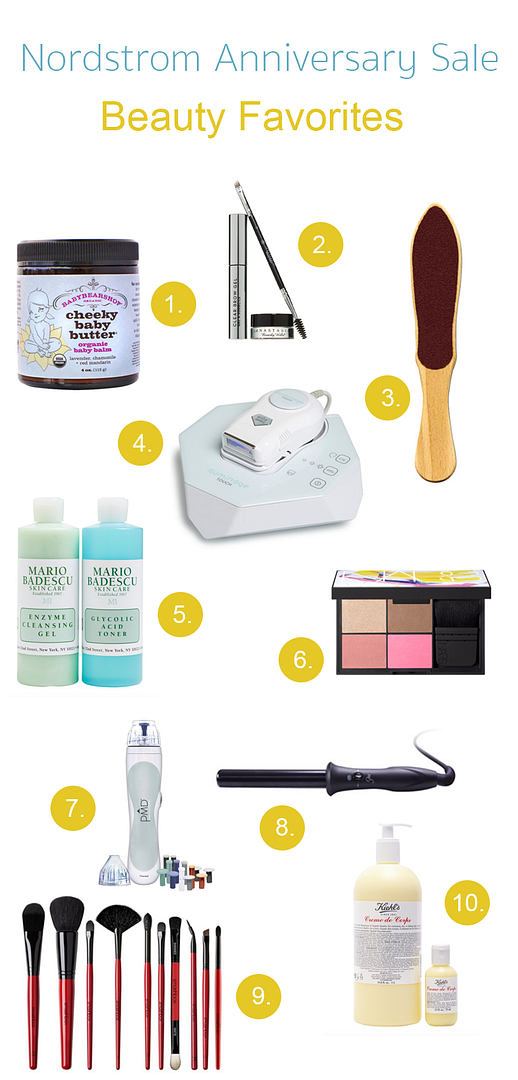
You may or may not already be aware that the best shopping sale of the season is now here at Nordstrom.  The sales are just ridiculous and if there is something that you have been eyeing, now is the time to buy. Since some of my favorites beauty tools and products are being featured in the sale (we are talking big discounts on them) I decided to share some of the things that I love and recommend.  This way you don't even have to leave your favorite spot in your house. You're welcome.

1. Cheeky Baby Butter - This organic (and not just for babies) butter is truly incredible. It can be used on scars, stretch marks and dry skin.  It is gentle and extremely hydrating.

2. Anastasia Beverly Hills Brow Studio Set - Your brows will thank you for this.  Up until last year I had no idea as to how much brow filler-inners could actually make a difference, and this product was a total game changer.

3. Swiss Foot File - Okay I totally get that talking about cracked heels is not the sexiest of things but I assure you that this will solve all your cracked heel problems. No more searching the aisles of your local drug store for the best foot scrubber. This is it by a landslide.

4. iluminage TOUCH Permanent Hair Reduction System - This is the next thing on my beauty tester list! I have heard SO many amazing things about this and I can't wait to try it!

5. Mario Badescu Glowing Complexion Kit - This enzyme cleaning gel + glycolic acid toner will leave your skin feeling flawless and fresh.

6. NARS Cheek Palette - All of my favorite NARS blush colors in one compact!  What's better than that?

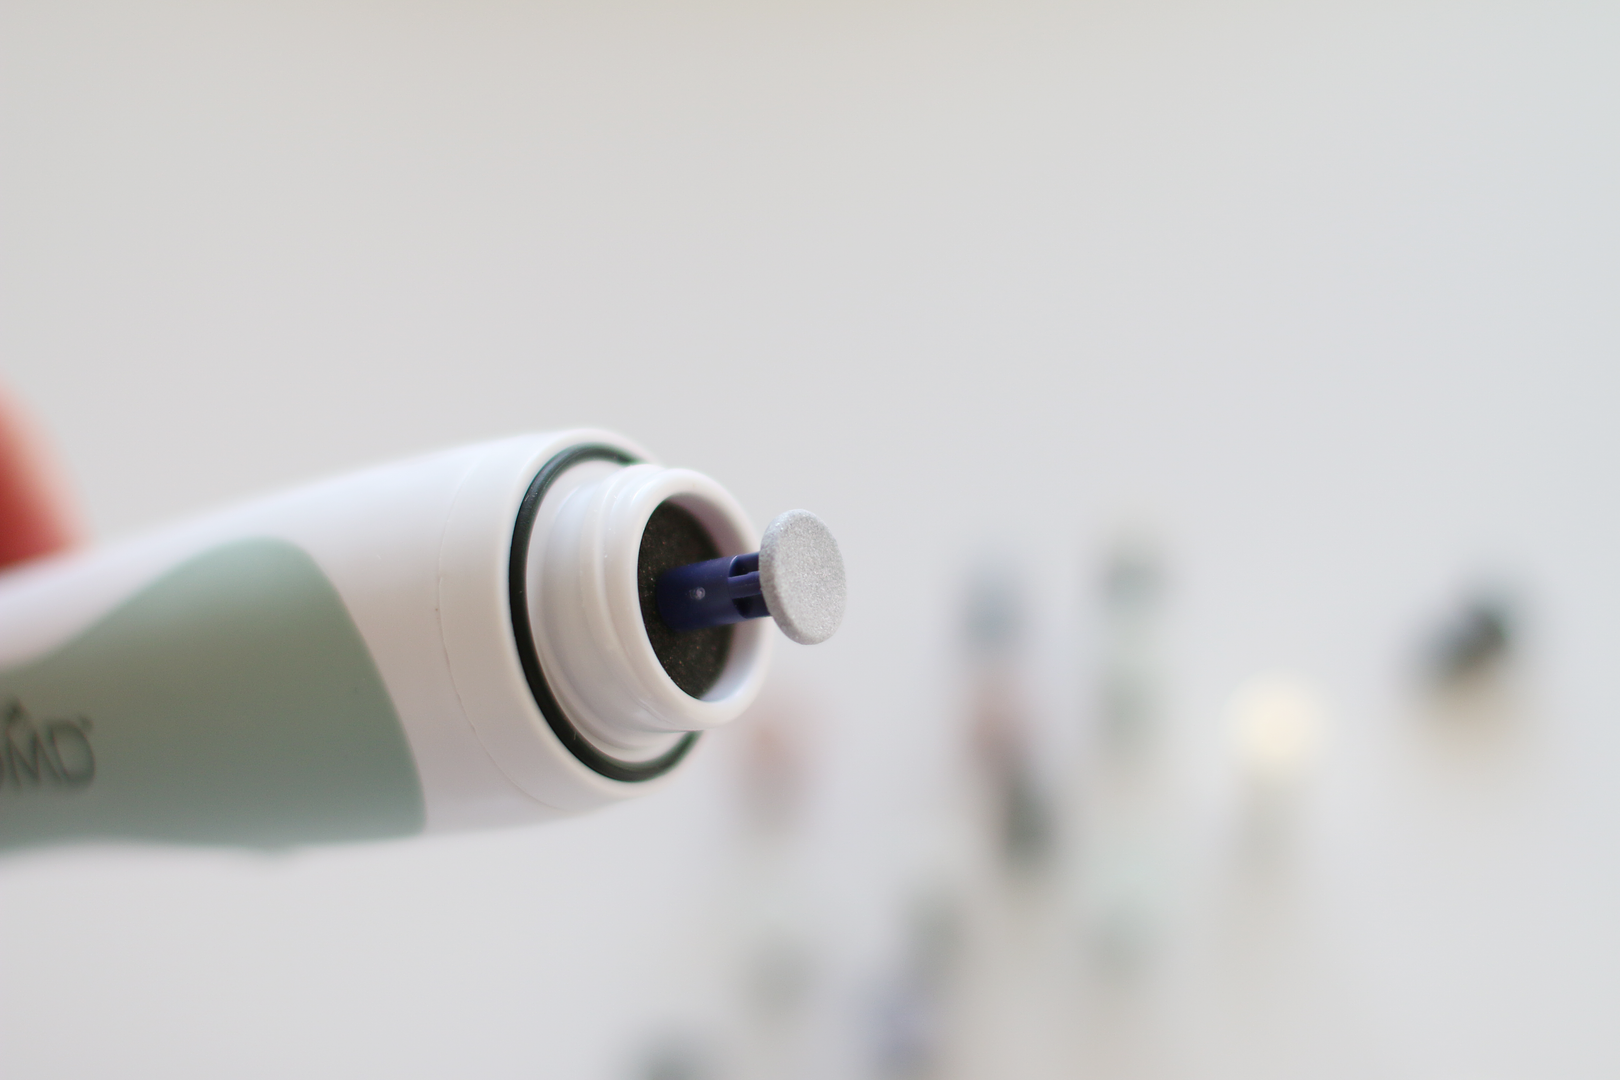
7. PMD Personal Microderm - My all time favorite beauty tool to date. I even did a whole review on it here.

8. The Bombshell Rod Curling Iron - I recently upgraded to this baby and I love it!  It gives me those perfectly soft beach waves that last all day long.

9. Smashbox Studio Pro 10 Piece Brush Set - Not only does this set include all the brushes you will ever need for a flawless face, but each brush is labeled with what exactly it is used for, which I find incredibly helpful.

10. Kiehl's Creme de Corps Home & Away Duo - A recent everyday lotion discovery that leaves my skin feeling soft and moisturized all day long.  I can't get enough of this stuff.

5 Simple Beauty Tips For Better Skin

Monday, June 8, 2015

Maintaining healthy skin is sometimes easier said than done so today I am sharing 5 simple tips that can help keep your skin looking its best.

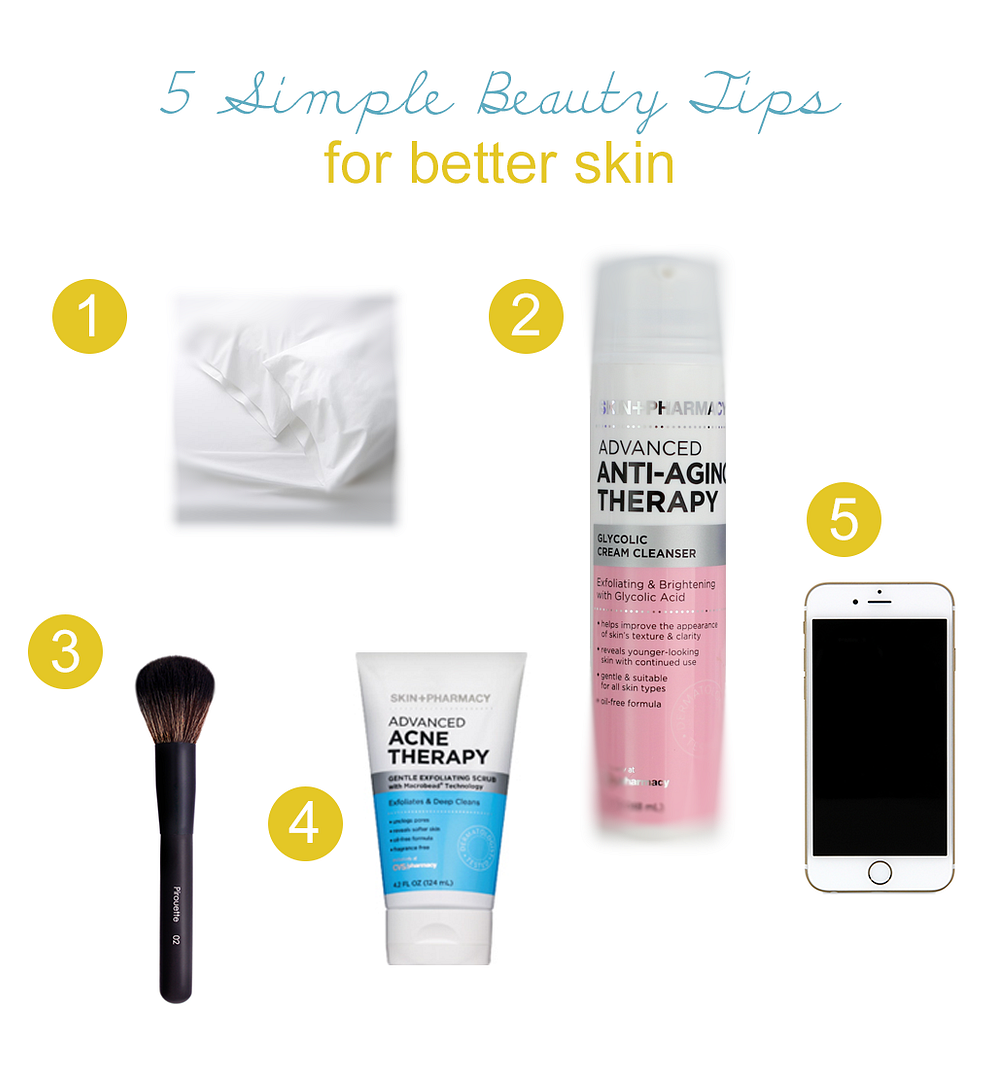
1.  Change your pillowcase more often.  This is always the first instruction I give my clients after a facial treatment.  When your skin has been deeply exfoliated either at a spa or using Glycolic Peel Pads (a new addition to my skincare routine!) you are more susceptible to bacteria. So my rule of thumb is to change your pillowcase at least twice a week.  During sleep, you sweat, drool, and toss around, resulting in the collection of dead skin cells on your pillowcase. If you keep placing your face on the same pillowcase night after night without changing it more often, you may be causing unnecessary breakouts.  

2. Do not over cleanse your face.  Cleansing your face more than twice a day can strip your skin of its natural oils and can actually cause your skin to produce more oil. Even if you are prone to breakouts, or have super oily skin you should still only wash your face with a cleanser morning and night. A great gentle cleaner is the Skin+Pharmacy Glycolic Cream Cleanser.  It helps reveal younger looking skin with continued use (without over drying!) and is suitable for all skin types. 

3. Clean your makeup brushes.  I recommend cleaning your makeup brushes at least once a month. Otherwise, they become a breeding ground for bacteria.

4.  Exfoliate twice a week.  Exfoliating your skin twice a week will not only give you a crucial deep cleanse but it will also help eliminate clogged pores and dry/rough patches.  If you are looking for a gentle and effective exfoliator, I recommend the Skin+Pharmacy Gentle Exfoliating Scrub, which will leave your skin feeling so clean and fresh afterwards.  A few things to keep in mind when exfoliating are: a dime size is all you need, always exfoliate at night, use gentle upward motions and follow up with a moisturizer and eye cream.  A wonderful nightly eye cream that I recommend is the Skin+Pharmacy Anti-Aging Therapy Retinol Eye Cream, which helps reduce fine lines, wrinkles, and dark circles.  I use a tiny bit and gently pat until it is fully absorbed.  

5. Clean your cell phone daily.  Contact acne from objects is very common and can easily be avoided by simply wiping your cell phone screen with a very damp, clean cloth.  If you do happen to get a breakout, an excellent product to treat the blemish with is the Skin+Pharmacy Acne Therapy Spot Treatment.  It's formulated with benzoyl peroxide to kill acne-causing bacteria. 

And there you have it! If you have any questions regarding these tips, you can leave them in the comment section and I will be happy to answer. 

Skin+Pharmacy is exclusively available at CVS, so if you're interested in testing out any of the products listed above, make sure you sign up for CVS Beauty Club. Members receive $5 extra bucks after every $50 spent on beauty products, so if you decide to try out these products, you'll be well on your way to getting rewarded!

* This post is in partnership with CVS pharmacy.  All opinions are my own. Thank you for supporting the brands that help support this blog.

Why I Will Never Get Eyelash Extensions Again +The Best Natural Hair Growth Remedy

Tuesday, June 2, 2015


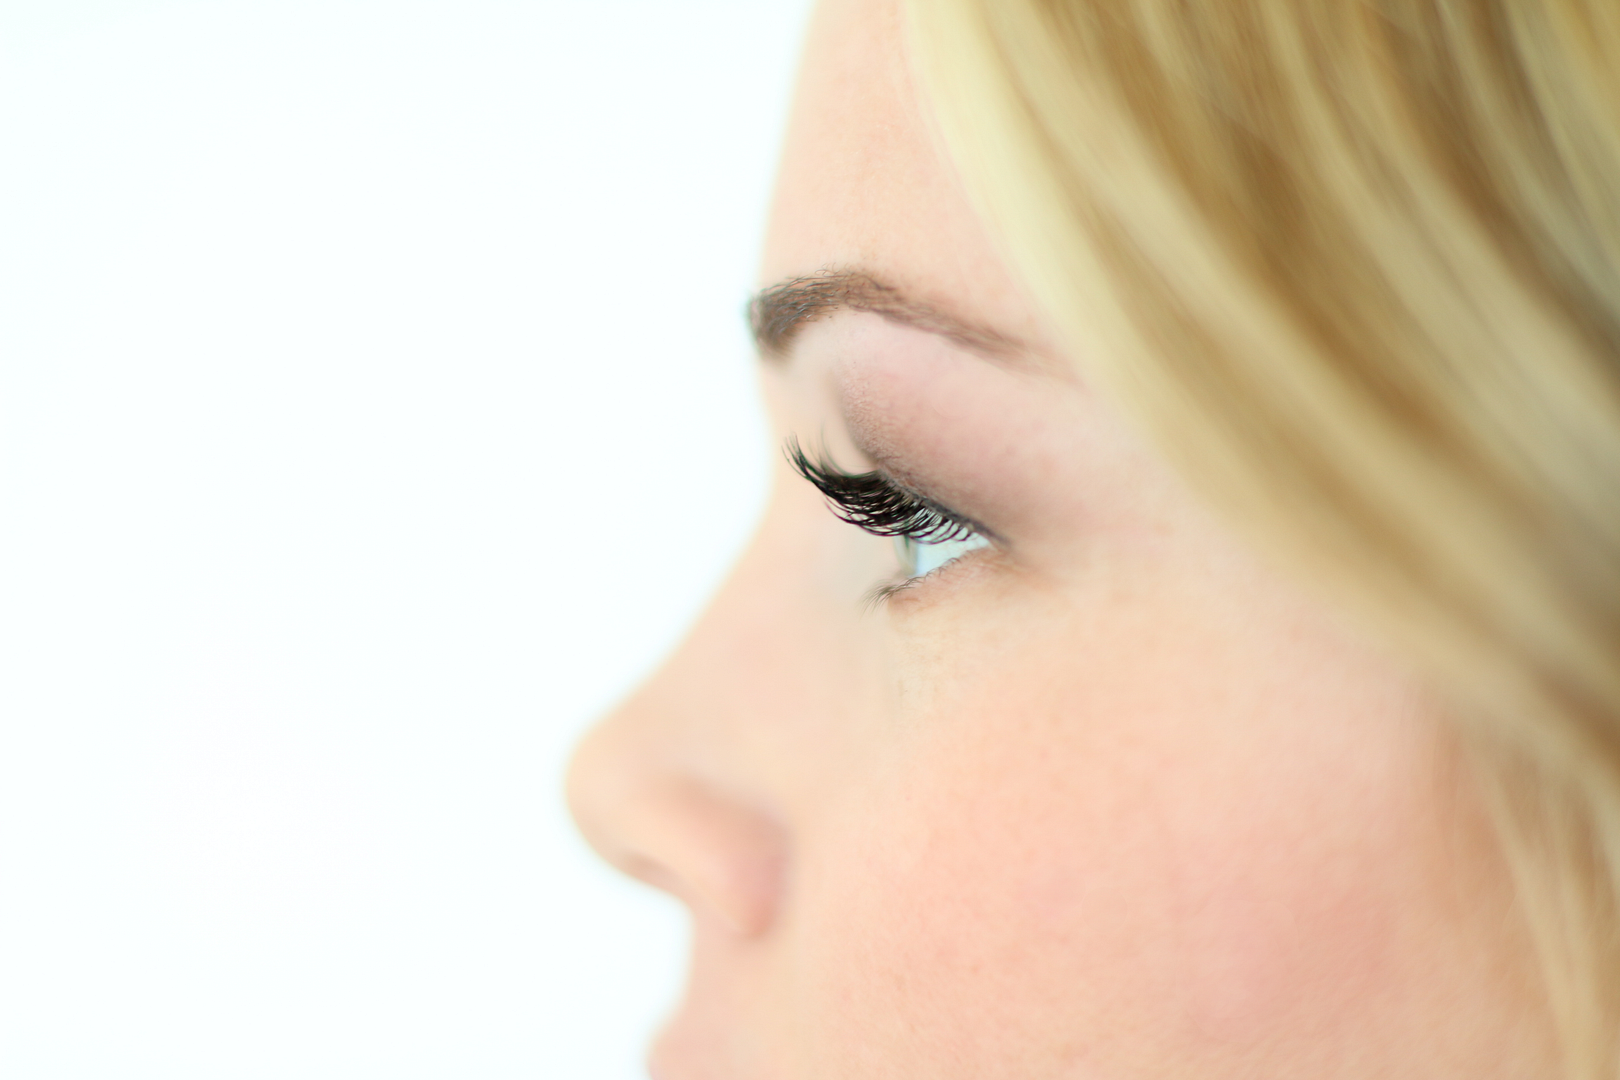
About three weeks ago I decided to get eyelash extensions again for the second time.  My hope was that this around I wouldn't pull them out like a total crackhead weirdo while I lay bed at night waiting to fall asleep.  Well, turns out I am a total weirdo and just like the first time I pulled each and every single eyelash extension out (along with my real lashes)...all at once.  I don't recommend this, ha!  The next morning I woke up and seriously scared myself when I looked in the mirror.  I had grossly swollen eyelids and these sparse (I could count all my lashes on two hands) itty bitty short, hardly noticeable blonde hairs that would have looked perfectly on my face if I was an albino.  Not a good look, people.  So as a follow-up to this beauty tester, I now give eyelash extensions an F...as in I'm never eFFing doing them again.

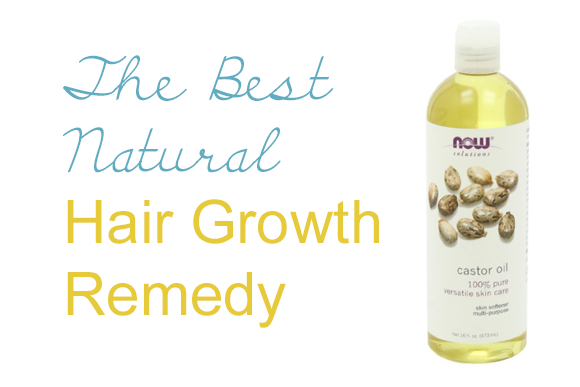
So that morning I frantically searched the web for the best natural remedy for growing back my eyelashes and everywhere I read said that castor oil will rapidly stimulate hair growth.  I read dozens of testimonials on Amazon and I just couldn't believe it.  People were raving about their results!  Some people even said that because of the castor oil, they no longer have to use prescription hair growth products. I mean, wow!

Since last week I have been applying it directly to my lash line twice a day.  It has only been a week but I am slowly but surely starting to notice a little bit of a difference on the areas where I literally did not have one single eyelash.  I can now see little tiny eyelash sprouts where just a few days prior I had nothing! SO YEAY!

Maybe it's just the natural growth process or perhaps maybe the castor oil is really working and stimulating hair growth! Either way I wanted to pass this little natural tip along, since I am sure I can't be the only weird one out there that likes to pull of their own eyelashes.

This also works on eyebrows and any other areas where you have hair loss, so I say give it a try if you need a little extra help in the hair growth department!

See also:
DIY Split End & Dry Hair Treatment 
Unusual Beauty Uses of Coconut Oil


Splurge vs Save Skin Care

Thursday, April 30, 2015

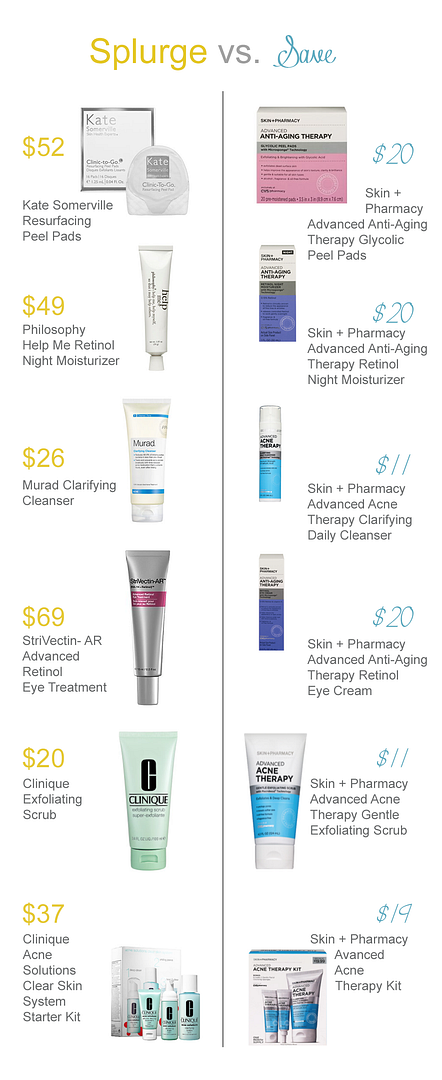
As a licensed esthetician for almost 10 years now, I am all about results oriented skincare products. So when I was recently contacted by the CVS/pharmacy beauty team to test out their new CVS/pharmacy exclusive skincare line, Skin+Pharmacy, the first thing I did was research.  I checked out the line, read more about the ingredients and was very impressed.  Not only are Skin+Pharmacy products affordable, but all of their products contain performance driven ingredients that are comparable to pricier skincare products that I have used in the past.  Skin+Pharmacy products are also proven to treat specific skin concerns from acne to the signs of aging such as lines and wrinkles, sagging skin and hyper-pigmentation.
Trying out new skincare products can be somewhat intimidating so above you will find products which you may have already heard of on the pricier side, and then the products that I am currently using and loving from Skin+Pharmacy.  Both products are being compared based on similar ingredients.

You can find the CVS Skin+Pharmacy products listed above here: 1/2/3/4/5/6 and read more about what products I have been using below:

1. Skin+Pharmacy Advanced Anti-Aging Therapy Glycolic Pads - These are the best!  They combine the benefits of a light facial peel along with the convenience of using at home.  They are formulated with soothing ingredients such as calendula extract and Vitamin E and formulated without any fragrance, alcohol or oil.  I have noticed my skin looks brighter and more refreshed since using them.

2. Skin+Pharmacy Advanced Anti-Aging Therapy Retinol Night Moisturizer - I have been loving this!  This contains an overnight time release of retinol as well as Vitamins C and E.  It has been giving my skin that extra hydration that it was craving over night.

3. Skin+Pharmacy Advanced Anti-Aging Therapy Daily Cleanser - This soothing cleanser contains shea butter and Vitamin A, C and E to help fight free radicals. I love how it makes my skin feel clean and soft without over drying it.

4. Skin+Pharmacy Advanced Anti-Aging Therapy Retinol Eye Cream - This contains Vitamin K to help diminish dark circles and reduce the appearance of fine lines and wrinkles around the eye area. I have been loving this! The delicate skin around my eyes appears smoother and the dark circles which always seem present are slowly beginning to lighten. Yeay for that!

If you're interested in testing out the brand for your skincare needs, sign up for CVS Beauty Club (if you're not already a member) for extra savings. Members will receive a 10% off beauty shopping pass after enrollment plus ExtraBucks on your birthday and after every $50 spent on beauty products.  So make sure to sign up so you can start saving!


This post is in partnership with CVS pharmacy.  All opinions are my own. Thank you for supporting the brands that help support this blog.

DIY Simple and All Natural Tinted Lipgloss

Wednesday, April 22, 2015


I would say I am definitely a lipgloss over lipstick kinda gal.  I have tried so many different lipsticks (thanks a lot Pinterest haha) and each time I put it on I feel like I am seven again wearing my mom's lipstick and it just doesn't feel like me.  Lipgloss on the other hand, always feels light enough to wear daily and yet still glam enough to wear on a night out.

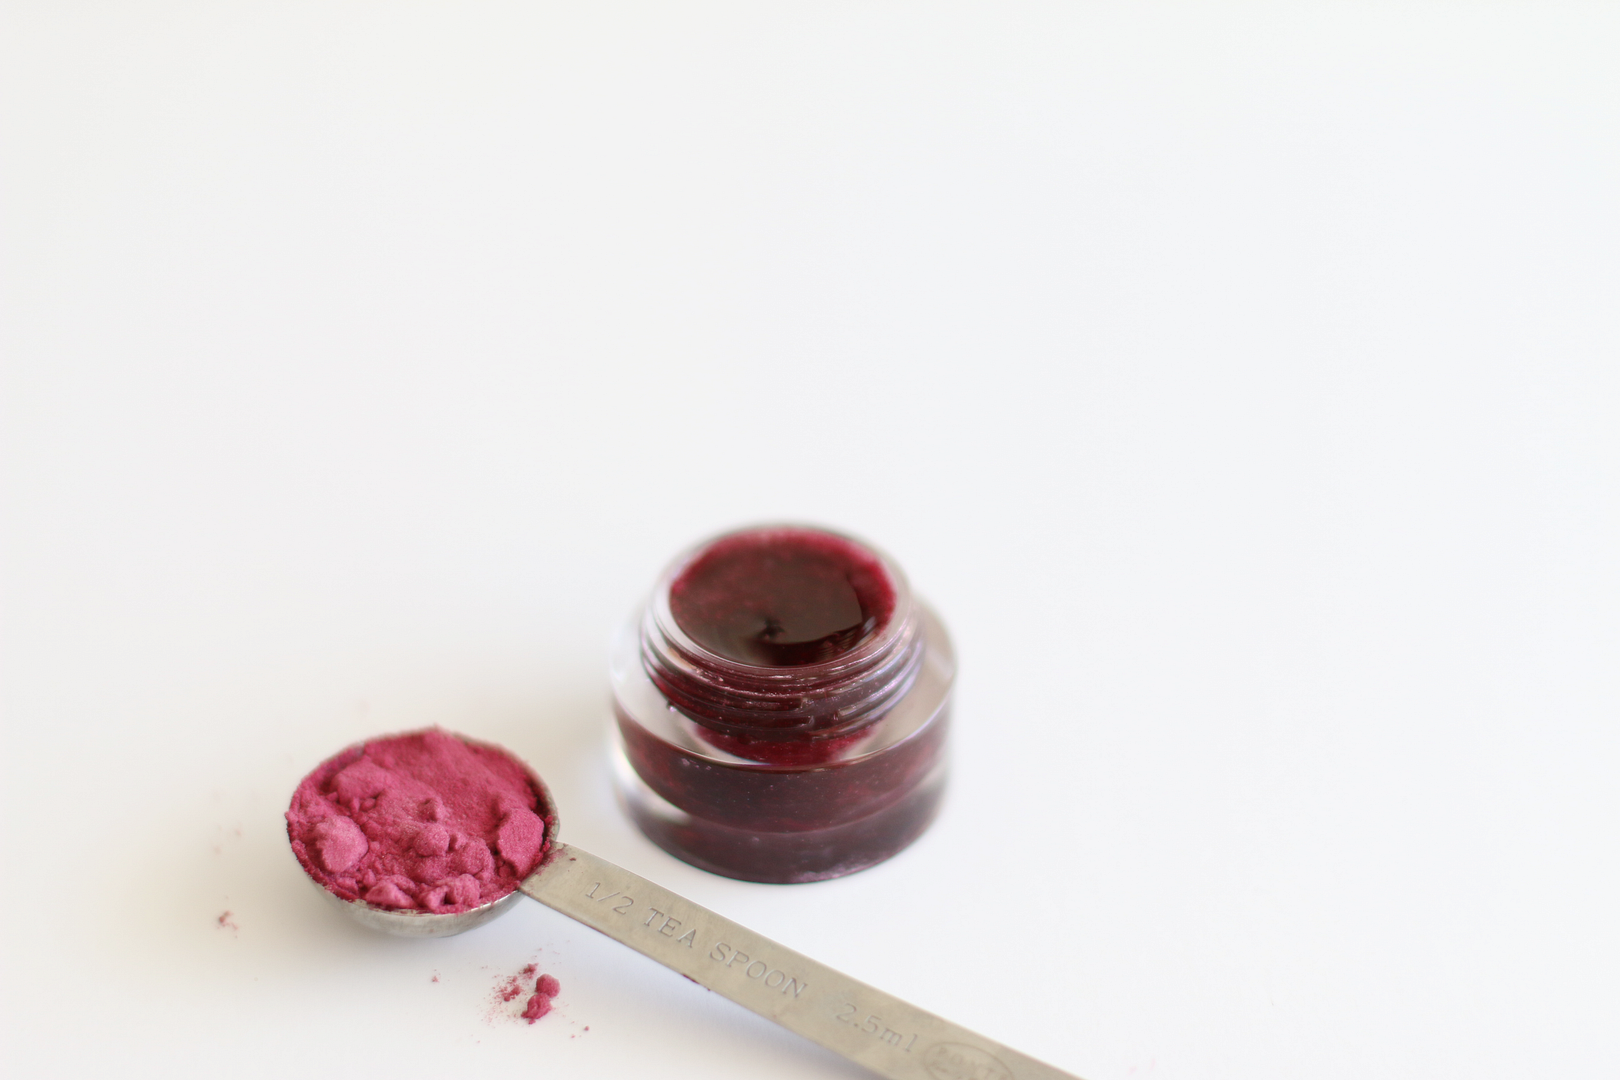
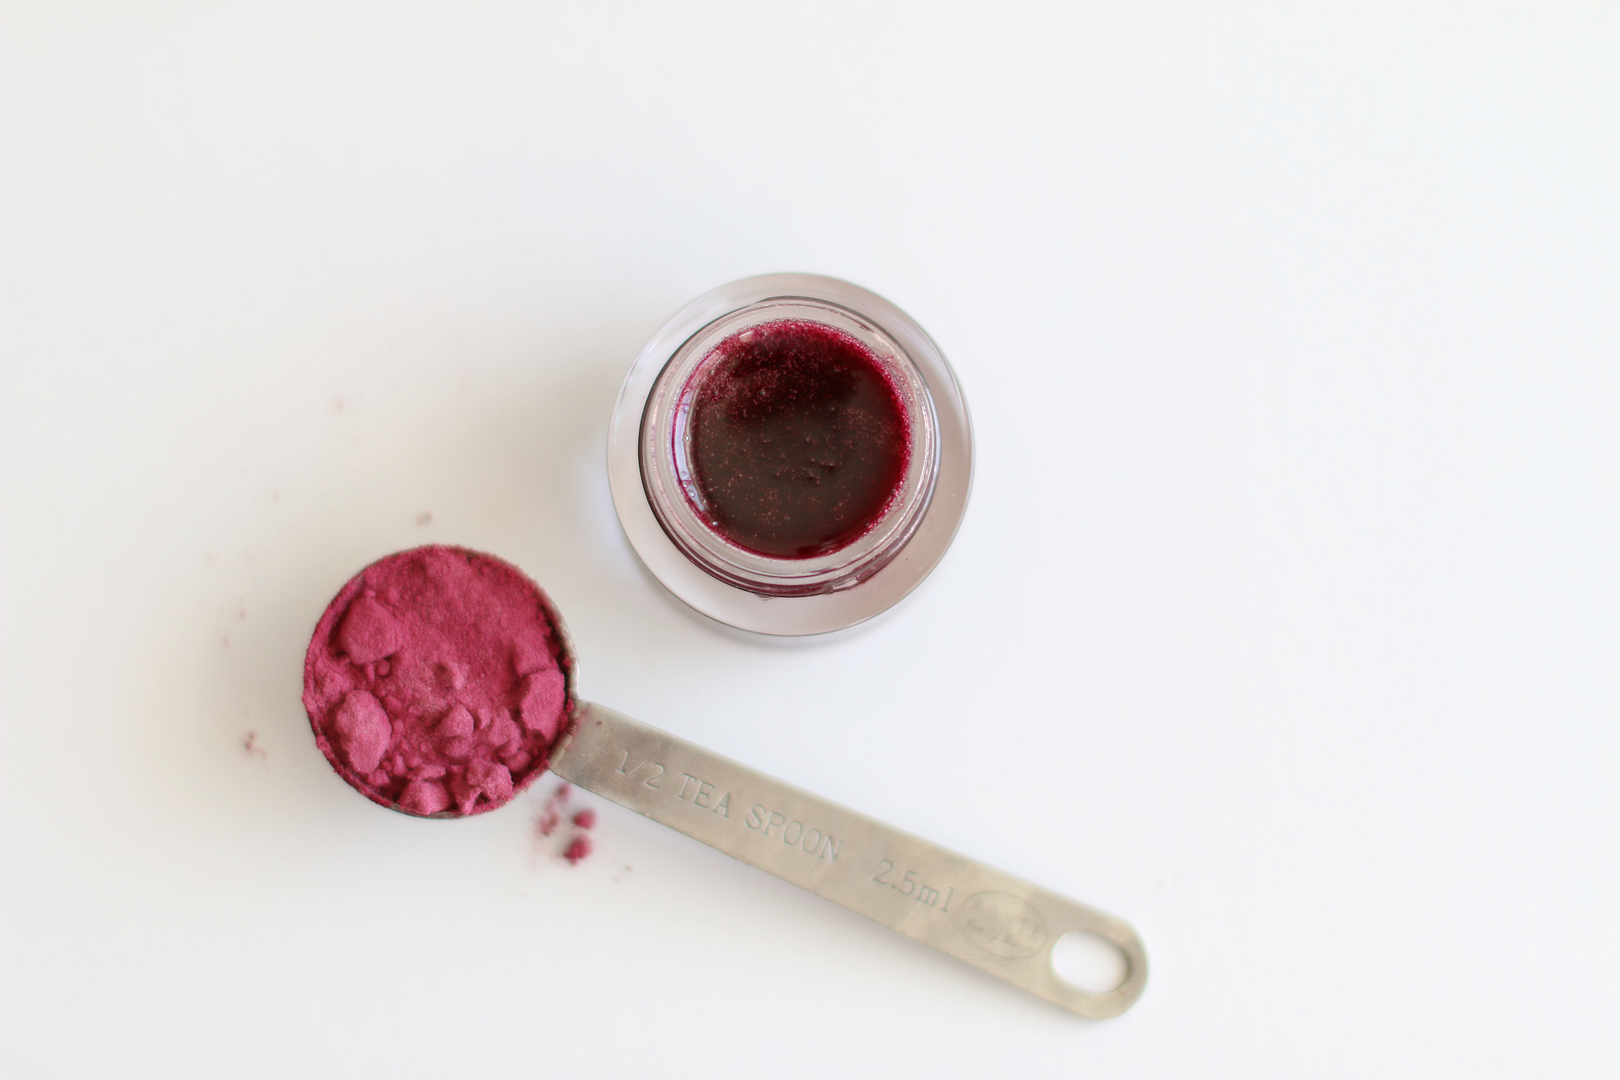
After my recent success with this all natural blush I decided to experiment a little further and try to incorporate beet powder in a lipgloss recipe.  I could not love this more!

What you will need:
  • 1/2 tsp of beet root powder *
  • 1/2 tsp of 100% pure liquid lanolin 
  • 1/2 tsp of almond oil 
* You can find beet root powder in bulk at your local natural grocery store (Whole Foods, Sprouts etc...) or online here

Directions: 
  1. Thoroughly mix all of the ingredients together in a small glass bowl. Make sure you really mash up the beet root powder so there are no clumps. 
  2. Transfer your lipgloss into an empty container with a lid.
  3. Apply and enjoy! 


I love the natural looking, fun punch of color this gives you! If you end up trying this out make sure to come back and let me know what you think!  

Side note: I know most of you want to actually seeeee what the lipgloss as well as natural blush look like on but since I have had a live in gym clothes hot mess looking kind of week I just haven't gotten around to getting cute for a picture.  BUT I pinky promise that I will share a picture of me wearing both in this Friday's post. 


How To Make Natural Blush (only 2 ingredients needed)

Monday, April 13, 2015


Since everything you put on your skin is essentially getting absorbed, I have recently been more and more interested in chemical and fragrance free makeup. Now I promise I am not going total hippie on you and I still plan on wearing normal mascara but I have been experimenting with a few natural beauty DIYs.  Some have been giant ugly disasters and others have been so amazing that I have actually been using them daily in place of my normal makeup.

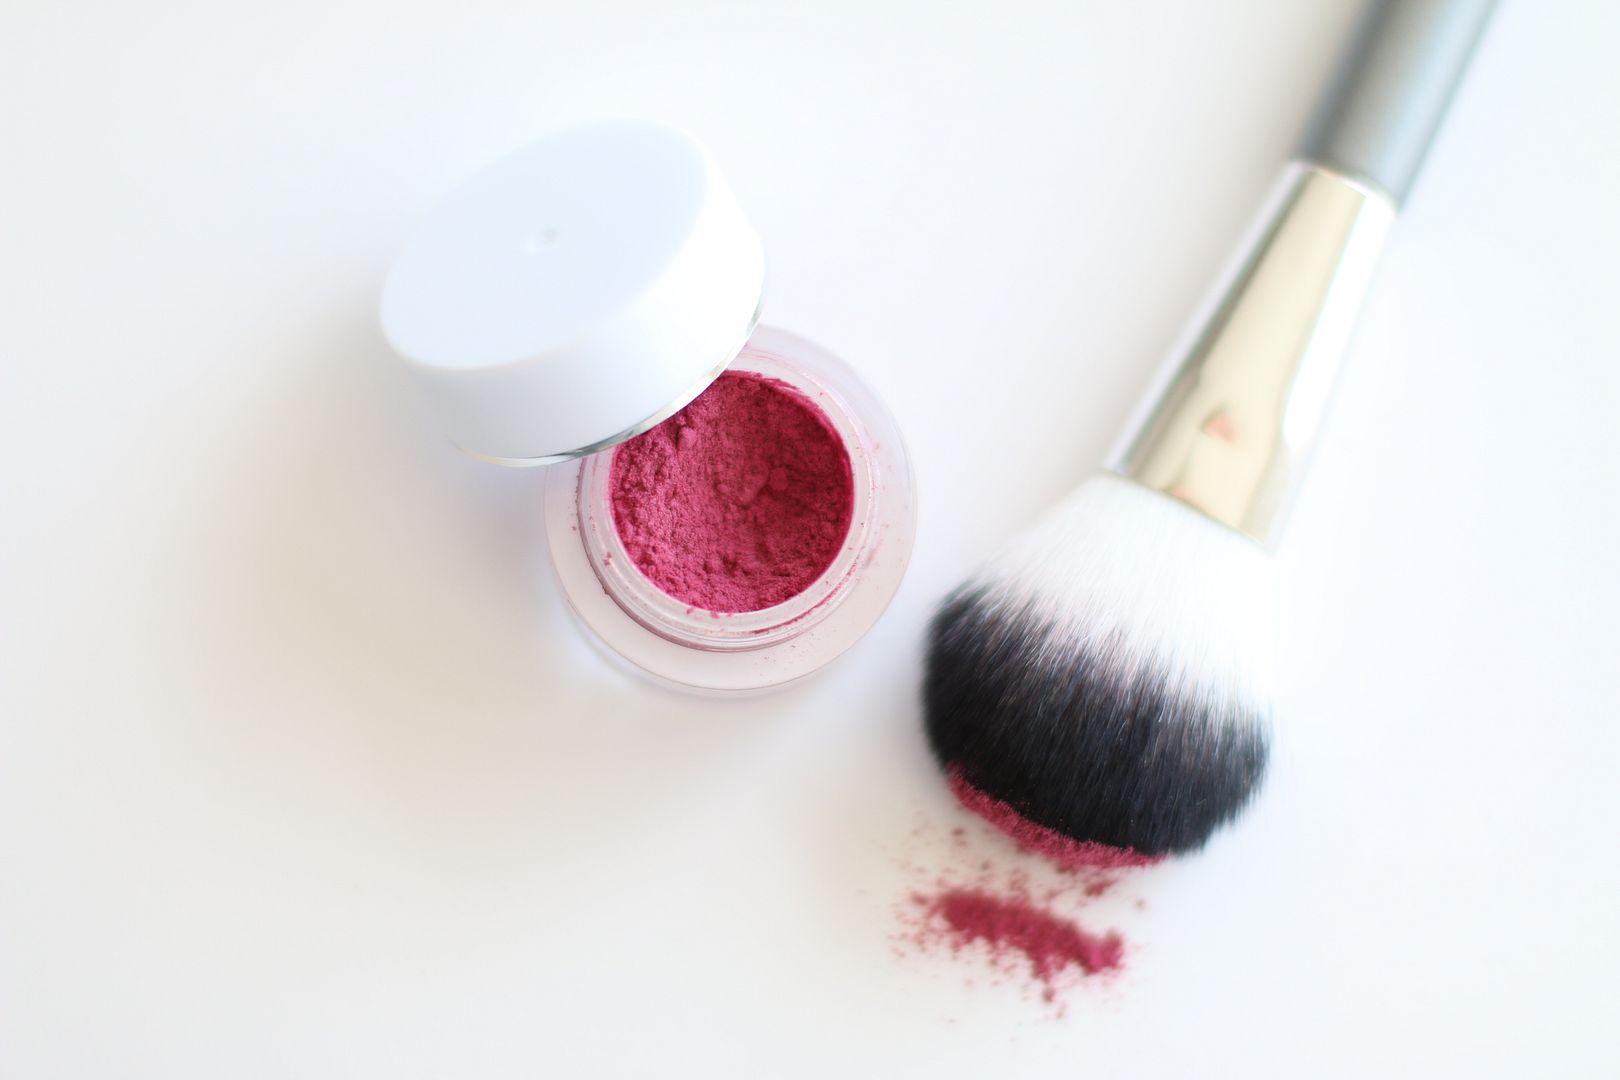
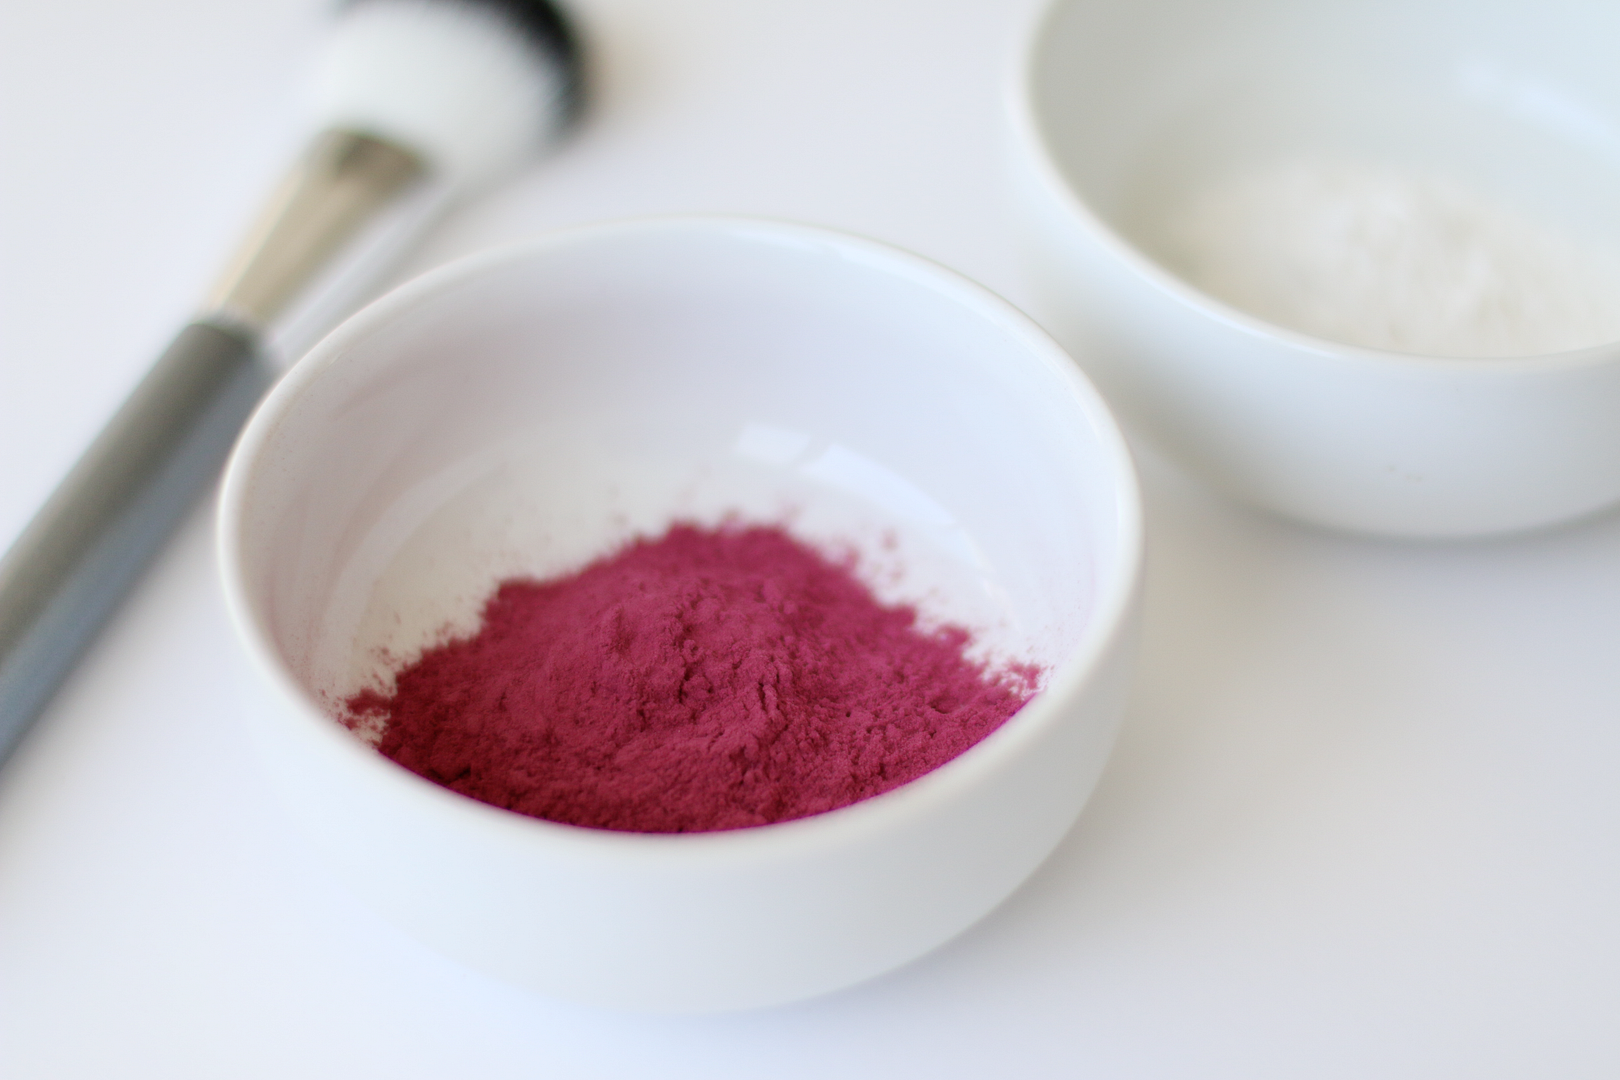
One of my recent favorites has been beet root powder blush.  It's the simplest beauty DIY and takes only seconds to whip up.  The bright pink is beyond perfect for little splash of color for spring and summer.  Plus you can customize how light or dark you want, which makes this even better.

What you will need:
  • A tbs of beet root powder * 
  • Arrowroot powder
  • A small container with a lid to store your blush
* You can find beet root powder in bulk at your local natural grocery store (Whole Foods, Sprouts etc...) or online here

Directions:

1. Place the beet root powder in a small container.  
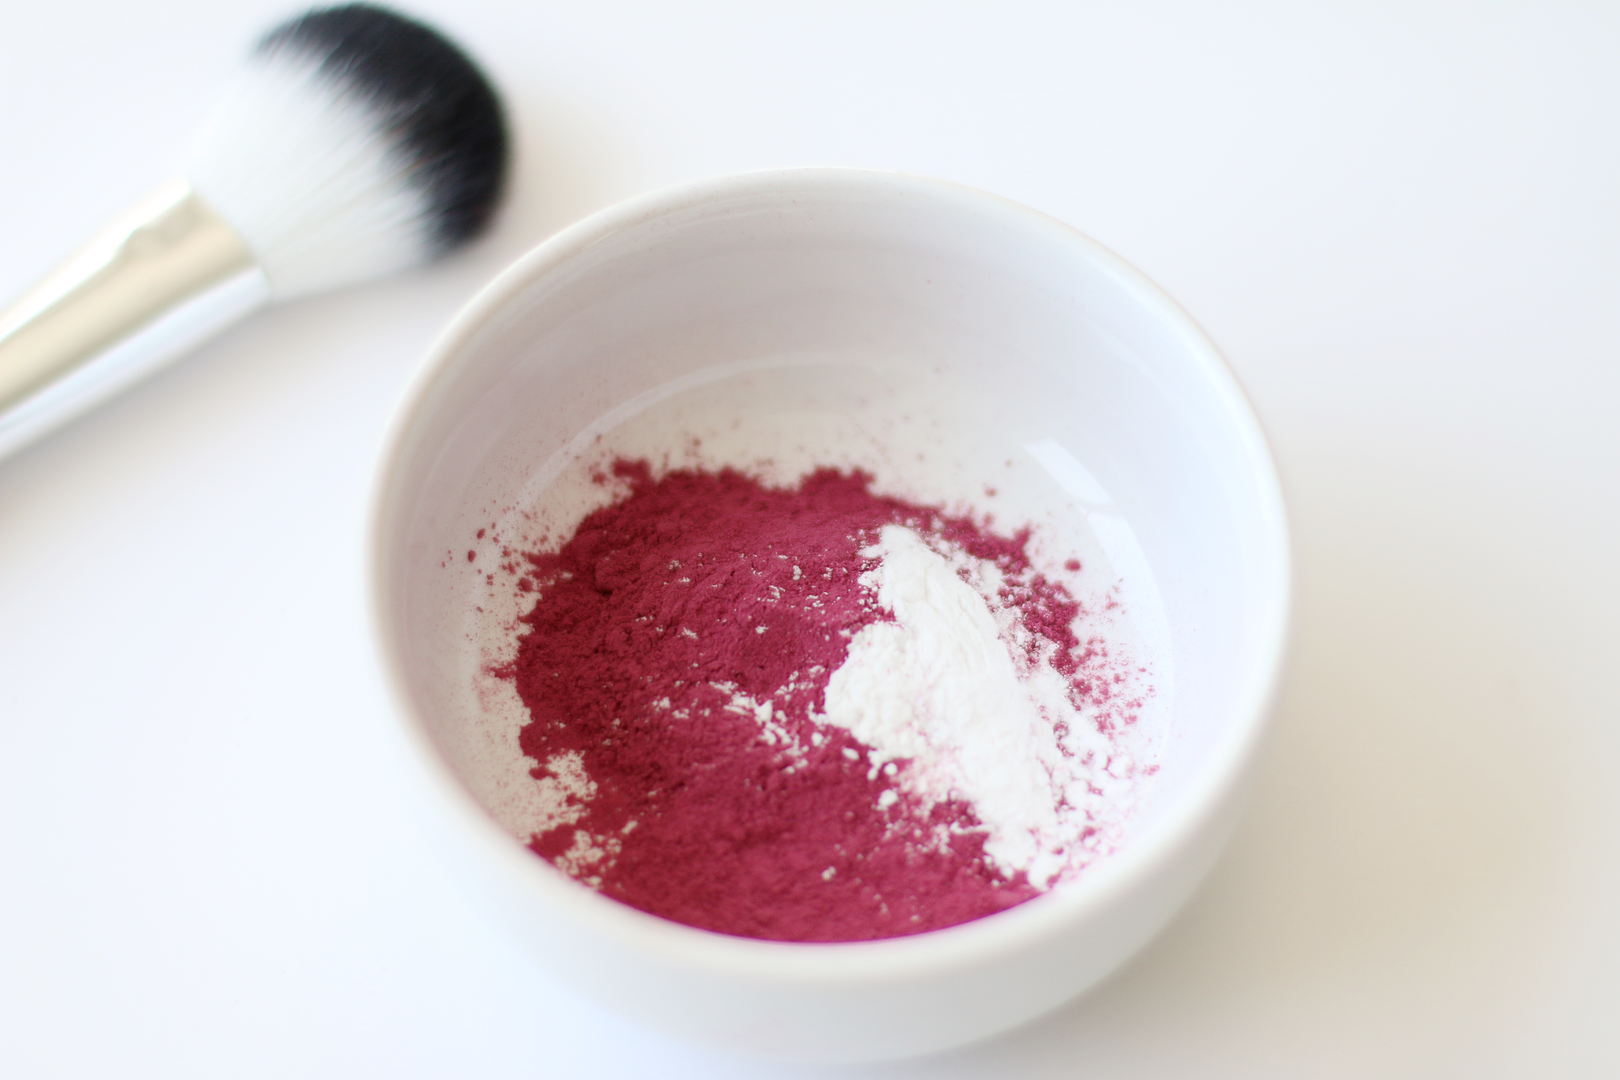
2. Mix in a small amount of arrowroot powder until you have reached the desired lightness of your blush. I only used a very small amount since I prefer more of a vibrant shade.
3. Place your blush into a small container with a lid and store out of the sunlight. 
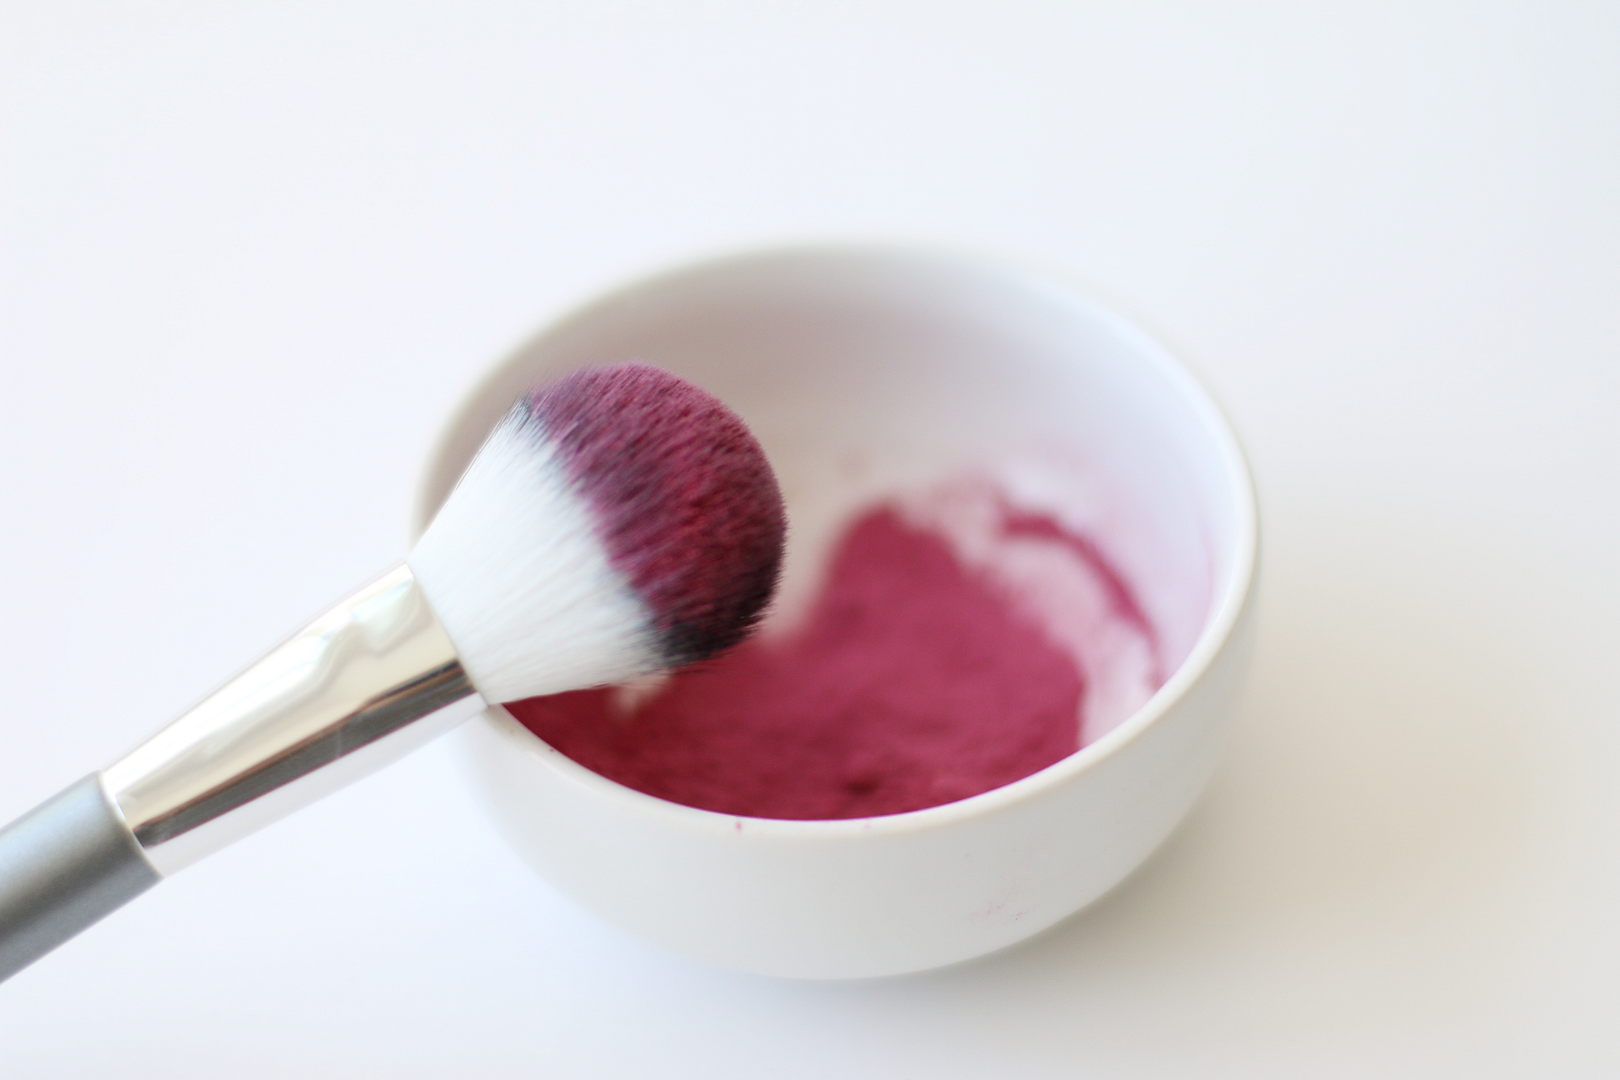
4. Wear just like you would normal blush. 

Since this is all natural and contains no preservatives, make only enough to last you two weeks and then discard and make more! :)


I have been loving this. The result is natural, perfectly flushed cheeks.  If you end up trying this out make sure to come back and let me know what you think! 


The Beauty Tester: PMD (Personal Microdermabrasion)

Monday, February 23, 2015


It's week #3 for The Beauty Tester series and I am so excited to share what I have been recently testing out.

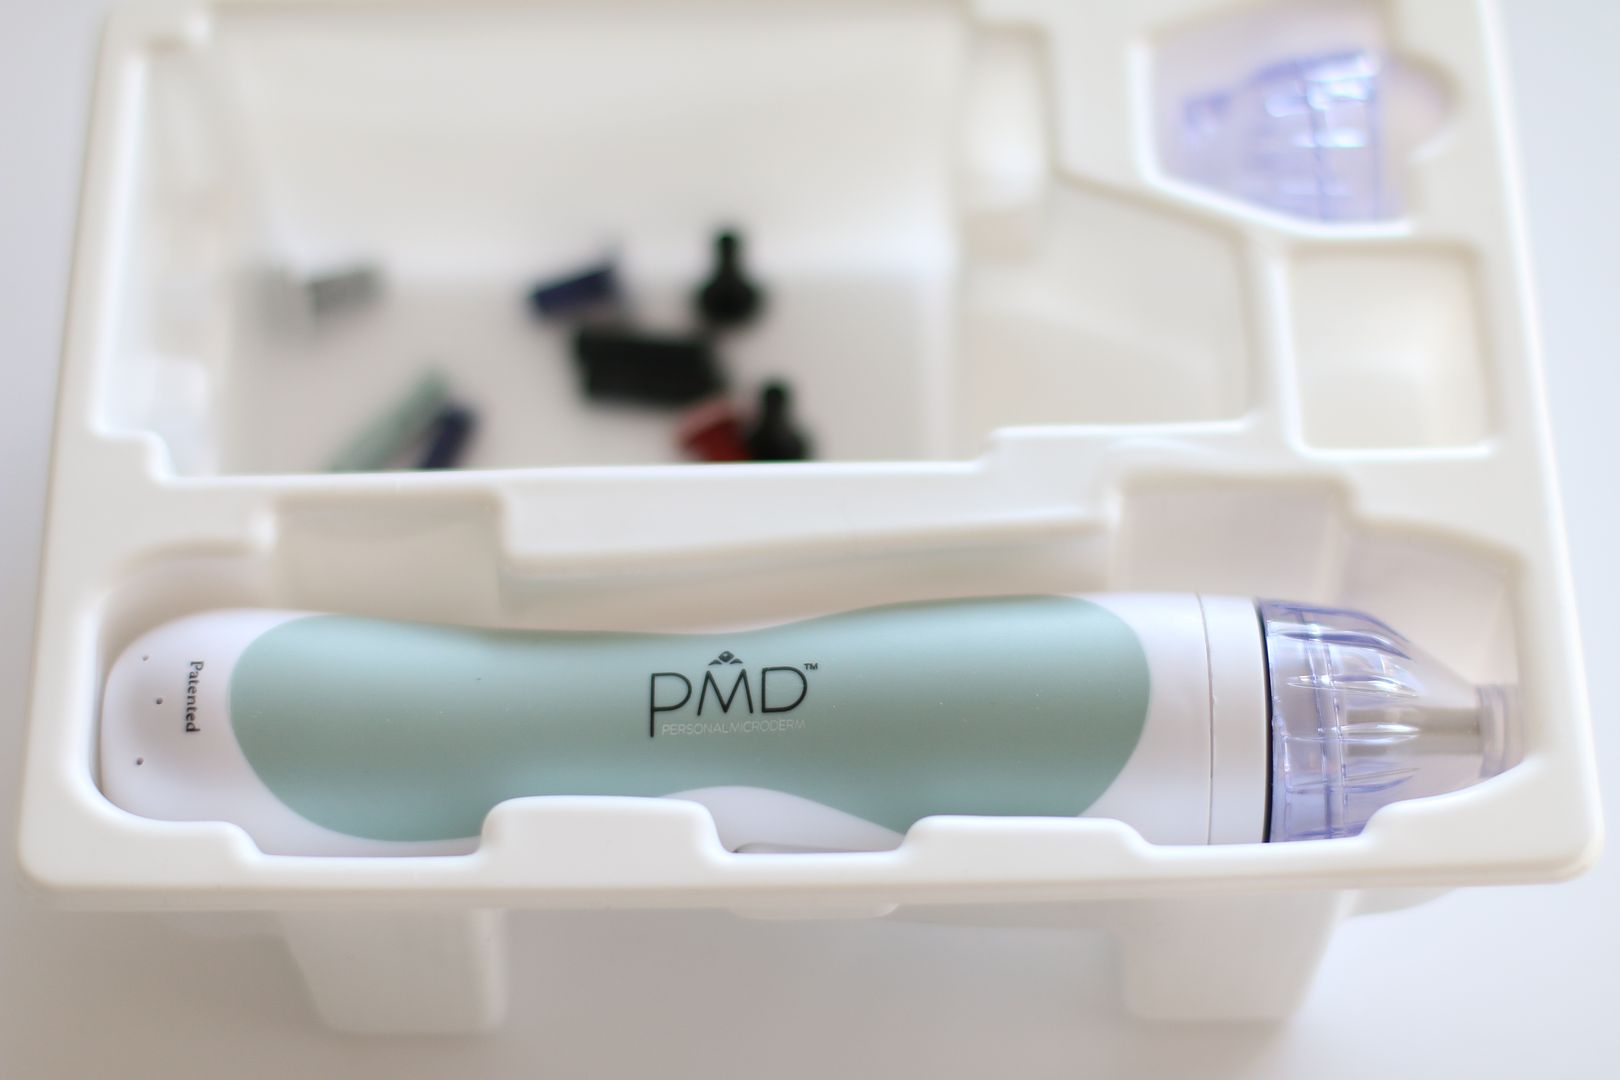
For the past two weeks I have been using the PMD tool. The PMD personal microdermabrasion is a tool that is supposed to replicate a microdermabrasion treatment given by professionals.  I am a licensed esthetician and specialize in microderms so I was beyond intrigued to see if this really did match the treatment you could get done at a spa but at a fraction of the price.

My Expectations Before I Tried It:  Since the PMD tool uses the same aluminum oxide crystals as a  professional microdermabrasion, I had high hopes for this little tool.  I read tons of positive reviews before purchasing and I figured since I am somewhat of an expert in technique etc (poppin collars over here haha) that this would be a breeze to figure out and use.  I was however unsure how comparable the suction feature would be compared to a professional treatment, which is a pretty important aspect when it comes to getting results. Either way I knew this was something that I wanted to test and went ahead with the purchase.

Cost: $159 for the entire kit, which includes a variety of disks for all levels of sensitivity, 2 caps (one large for body exfoliation and one small for facial exfoliation), 1 reusable filter and a how-to DVD. I use to charge $90-$120 for a single microderm so I thought this was a great price.

Prep or Directions: I washed my face and opened the box.  The first thing it said was to watch the DVD and read all the directions. Well, I got a little cocky and figured I knew what I was doing so I did not watch the DVD or read the directions.  I decided to just wing it.  I mean how hard could this be to figure out?  Bad idea. I placed a random disk onto the head and gave it a whirl. OUCHHHHH!  Okay the disk I placed on first was apparently for the bottom of your feet or something because it was rough! I got a nice little flesh wound under my left eye from it.  So from that moment on I decided it was best to read the directions ha!  Once I had it all figured out and knew what discs to use I tried it again.  I held my skin tight with my left hand and used my right hand to swiftly move the tool across my skin.  This thing was a dream!

The Results: Well minus the scrape under my left eye (totally my fault), the final results were pretty amazing.  The suction feature was comparable to a professional treatment and overall it is a clean and easy to use beauty tool.  After only one treatment my skin looked and felt so incredibly soft and healthy.  All the little flakes that I have been experiencing were gone and the pores around my nose and chin were visibly smaller.  I have now been using the PMD for two weeks and I can't say enough good things about it. It has minimized fine lines around my eyes and has made my skin look so much more refreshed and even toned.

My Rating: I give the PMD an A.  I am so thrilled with the results that I have seen so far and I will continue to use this on a weekly basis.  If you are thinking of trying this out, do not even hesitate!  This is totally worth it.


You can find all the details about what is included in the PMD kit here.

If you have any questions regarding this beauty tester, leave them in the comment section below and I will try my best to answer.  Also, if you have any beauty products, treatments or trends that you think would be fun for this series let me know!

*A New Series* The Beauty Tester: Eyelash Extensions

Tuesday, January 20, 2015


I am starting a new series on my blog called the Beauty Tester.  Over the course of the series I will be testing the latest beauty products, trends and treatments and coming back here to report and give it a grade, A-F.  Nothing is off limits when it comes to this series and I will be stepping out of my comfort zone to try new things.  With each post I will include my expectations before I tried it, cost, the prep and directions for the product/treatment, my end result and finally my beauty grade.

Consider me your beauty guinea pig.  I am starting off this series with something that I have been wanting to try out forever, eyelash extensions.

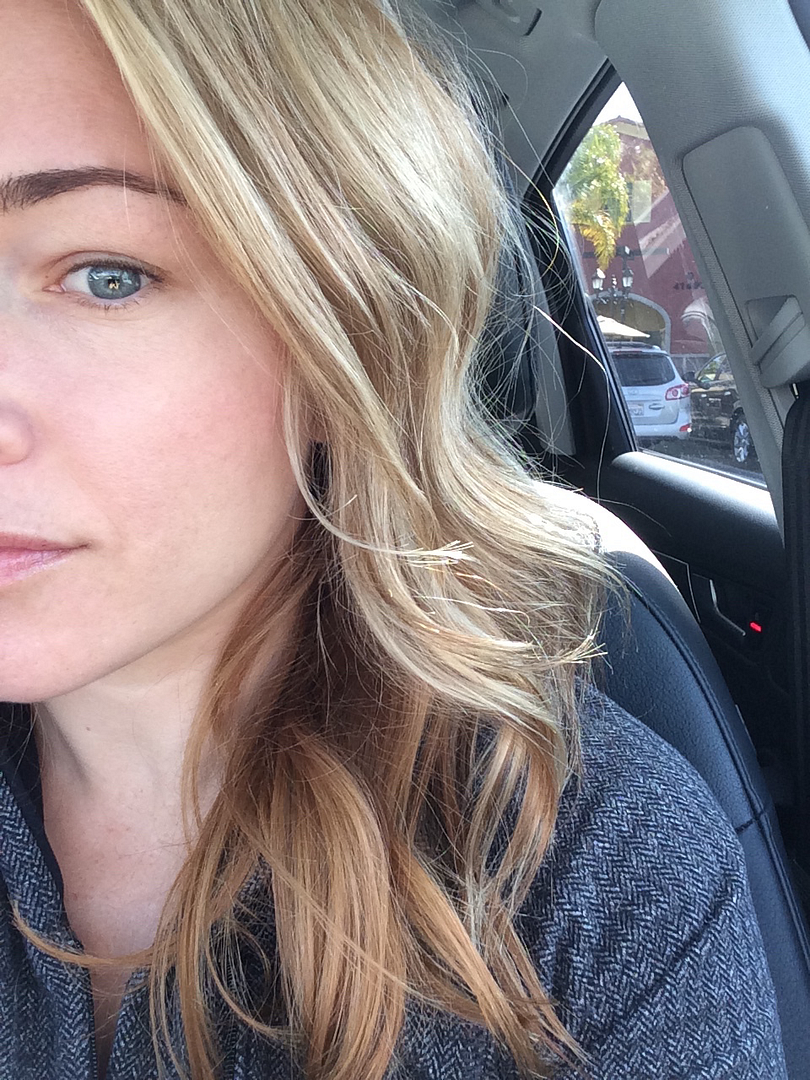
Here is me with no makeup on right before I went in for my appointment...


So ya as you can see my eyelashes look pretty non existent ha!

My Expectations Before I Tried it:  I would say that my eyelashes are average in length and nothing special.  With extensions, I wanted my eyes to pop and have that va va voomy feeling that you have when you have your makeup is on point.  So my expectations were pretty much that I wanted to walk out feeling like Kim Kardashian. Ha!  So maybe I set my expectations a little high... but for the price  I wanted to see and feel something drastic.

Cost: Eyelash extensions can range from $99-$200+ for first time clients.  If you decide to keep them up you will need fills every 2-4 weeks which range from $30-$70 dollars. Not a cheap beauty treatment by any means so make sure you REALLY explain what you want on your first visit.

Prep or Directions:  I was told to come to my appointment with no eye makeup on and to limit caffeine consumption since it can make you jittery and harder for you to keep your eyelids still and closed.  I arrived with zero makeup whatsoever but I am not gonna lie I did have my usual 2 cups of coffee because I NEED IT. Plus I figured I am a total pro at acting calm under mass amounts of caffeine consumption so I had that under control.  The technician was super sweet and had me lay down on a facial bed.  She asked me what "look" I was going for and that is where my original plan went array.  I told her I wanted them to look "natural and like I am not wearing crazy extensions."  Okay it is true I wear minimal makeup on a daily basis and I tend to lean more towards the natural look when it comes to things but...WHO AM I?!.. I am a confused lady thats who!!  So my plan of looking va va voomy and all Kim K went out the window when I gave that description.  So I remained there for the next hour with my eyes closed while we chatted about all kinds of things as she applied natural looking "J Shaped" lashes to each existing lash.  The whole process was completely painless and easy.

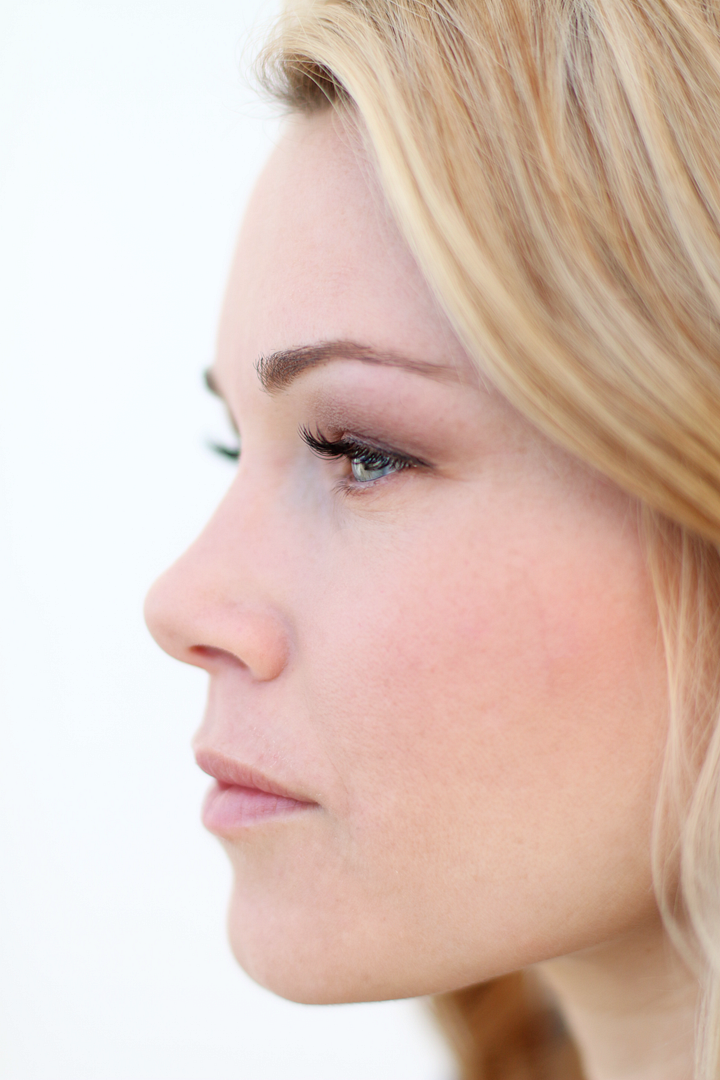
The Results:  After she was finished she handed me the mirror....drumroll please! Okay so I LOVED them, I had dark beautiful lashes that looked oh so natural just like I had explained.  BUT... at that very moment I realized I had been too conservative (like usual UGHHHH) with my original explanation and my result was exactly what I had asked for.  This is a pretty pricy treatment to keep up with so I think I will only do this again if I have a special occasion planned.

My Rating: I give my eyelash extensions an A because my technician gave me exactly what I asked for to a T.  But next time I would go a little more drastic and be a little more brave with the length and volume.


I would love to hear your feedback on this series and if there is any crazy (non crazy is totally cool too ha) beauty treatments or products that you have been curious about and would like me to test out I would love to hear about it in the comment section below.


Have You Heard of That Crazy Body Wrap Thing Yet?! I Tried it and This is What I Thought...

Monday, September 29, 2014


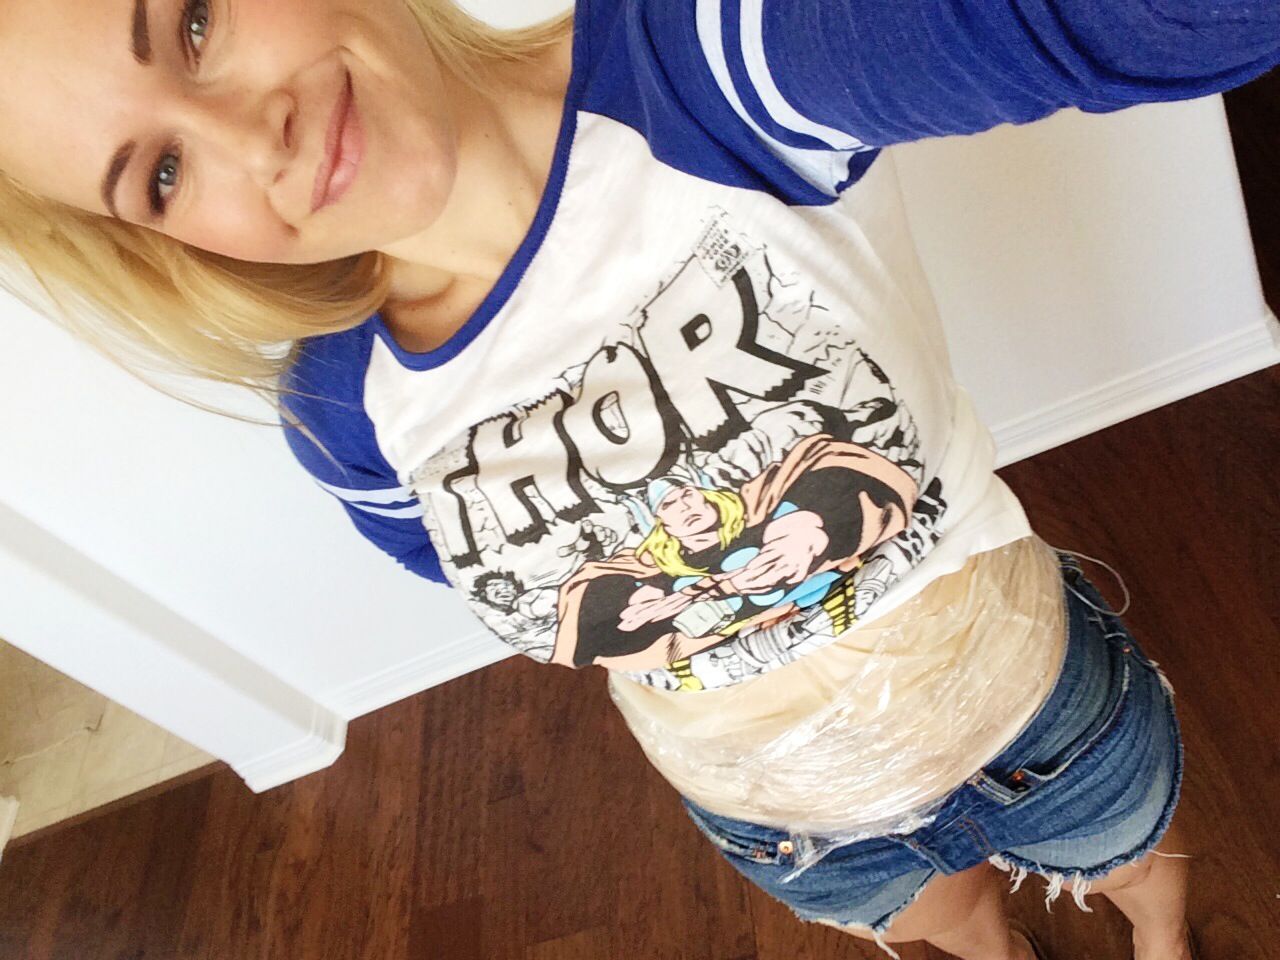
Trying to take a normal looking selfie with one of these things on is nearly impossible ;)

Unless you have been living under a rock (hey it's totally possible) you have probably heard of body wraps and wondered to yourself if they really do work.  Until I recently tried one I was skeptical but I am here to tell you that they do in fact "work" and I am beyond excited about a new product I am on board with, but first a little back story...

If you are a long time reader you are probably already aware that I have been a licensed esthetician for over 8 years.  I have worked for doctors, plastic surgeons, cosmetic dentists and at one point I ran my own esthetics business out of my home.  So I have seen it all as far as skin treatments go.  For the longest time I have been intrigued by the whole body wrap treatment thing but the reality is I just do not have the luxury of actually going to a salon on a regular basis (hey I can barely make it to my hair appointment on time) to try it out.

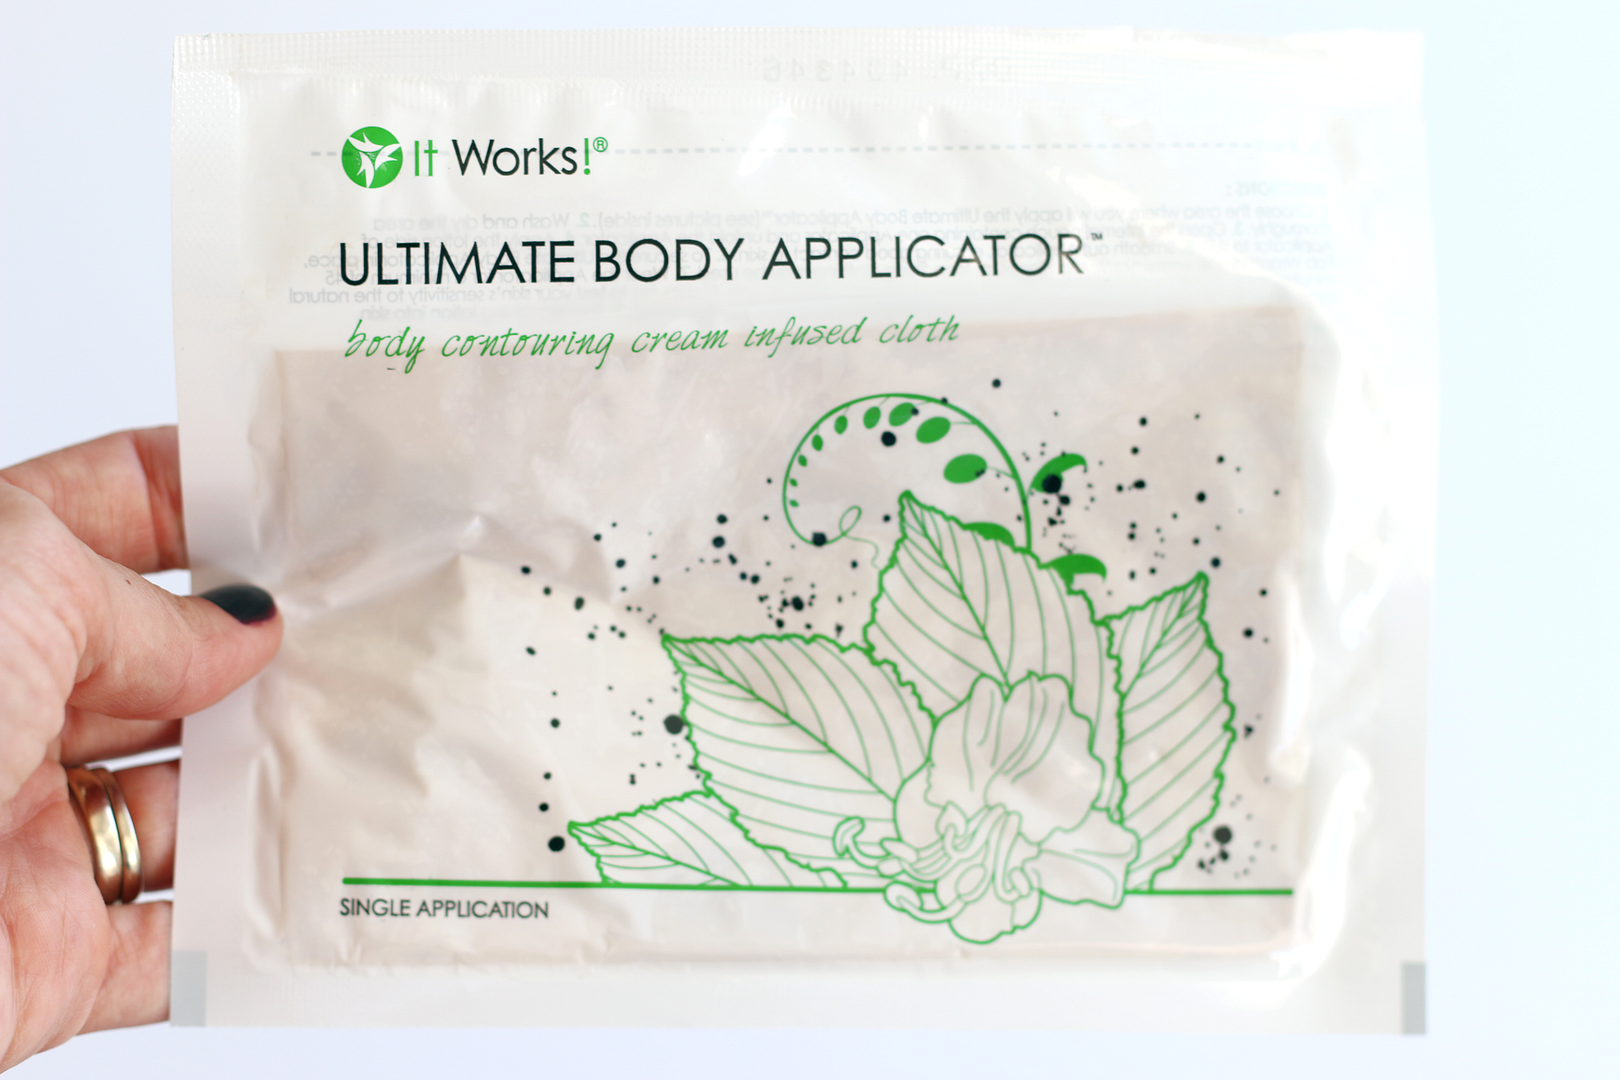
So long story short, one of my good friends recently started selling body wraps.  The hook line and sinker for me was that you could apply the wraps by yourself to specific targeted areas in your own home...what what!! I am a big ingredient whore (yes I am) so I sat there in her kitchen reading all the ingredients before applying and I was sold.  I bought one and took it home to try.

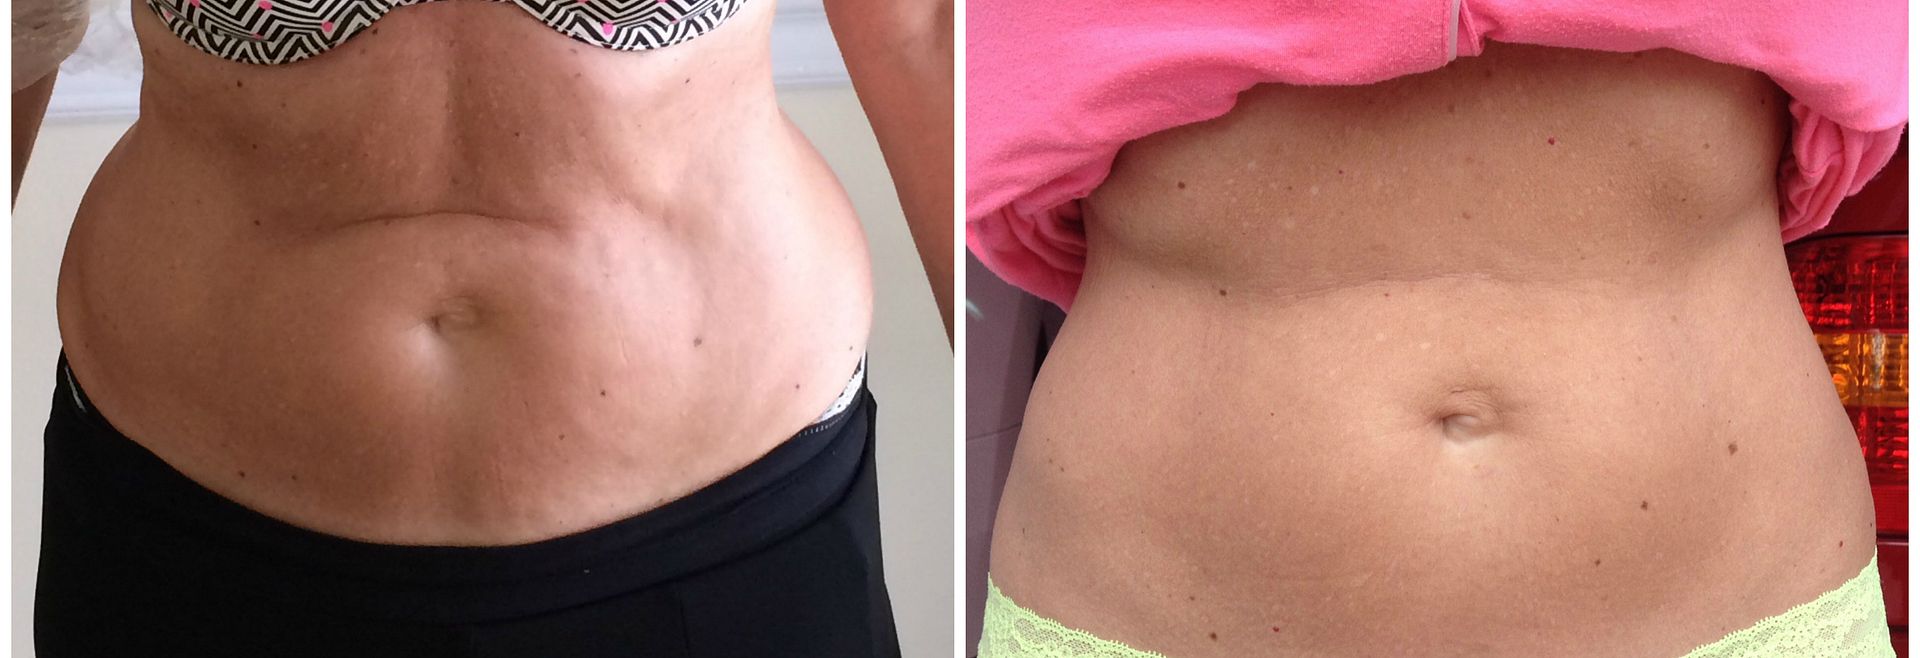
I have used two wraps so far and you guys I was blown away.  My tummy area feels super tight, does not feel bloated (like it always does ughhh) and my jeans in the belly area are actually loose.  To say I am happy is an understatement.

So the number one question that you might be asking yourself is, "Well isn't this just water loss?"
The answer is no. The special blend of botanical ingredients actually works to lighten, tone, and detoxify your fatty tissue below the surface of the skin, leaving you with amazing slimming results that is not related to water loss.

If you would like to try this out for yourself you can find every thing you need here.  If you have any additional questions about how you can get started or how you can get the wraps at my cost you can leave them below or email me at wrapsbylinds@yahoo.com


This is a before and after of a close family friend who has done 2 wraps....she is pretty excited about her results so far!

** Update: some of you did not believe this was a real picture but guyssss this is my mom. (secrets out) It's as real as can get because I took these pictures.

Can't wait to hear from you and if you do end up wrapping make sure to take before pics!


Full Body Detoxifying and Skin Softening Treatment

Tuesday, September 16, 2014


Lately I have been trying to make a conscious effort to take a little bit better care of myself both physically and mentally.  It is so easy to just get stuck in the rut of being a mom and constantly putting yourself last.
So sometimes when the husband is home at night and I get a little alone time in my own house, instead of just drinking wine and browsing the internet (pretty much what usually happens) I have been getting creative with different beauty treatments and I turn my bathroom into a mini spa for like 25 minutes, since that is usually all the time I get before little people come running in ha.  It leaves me feeling relaxed, refreshed and just better in general.

I recently experimented with Pink Himalayan sea salt since it is a natural detoxifying agent and I loved the after results!

Benefits of Himalayan Salt:
  • Helps draw out toxins from your body
  • Improves air quality (so even putting an open jar next to your bath would be wonderful too)
  • Improves energy 
  • Deep cleanses the skin
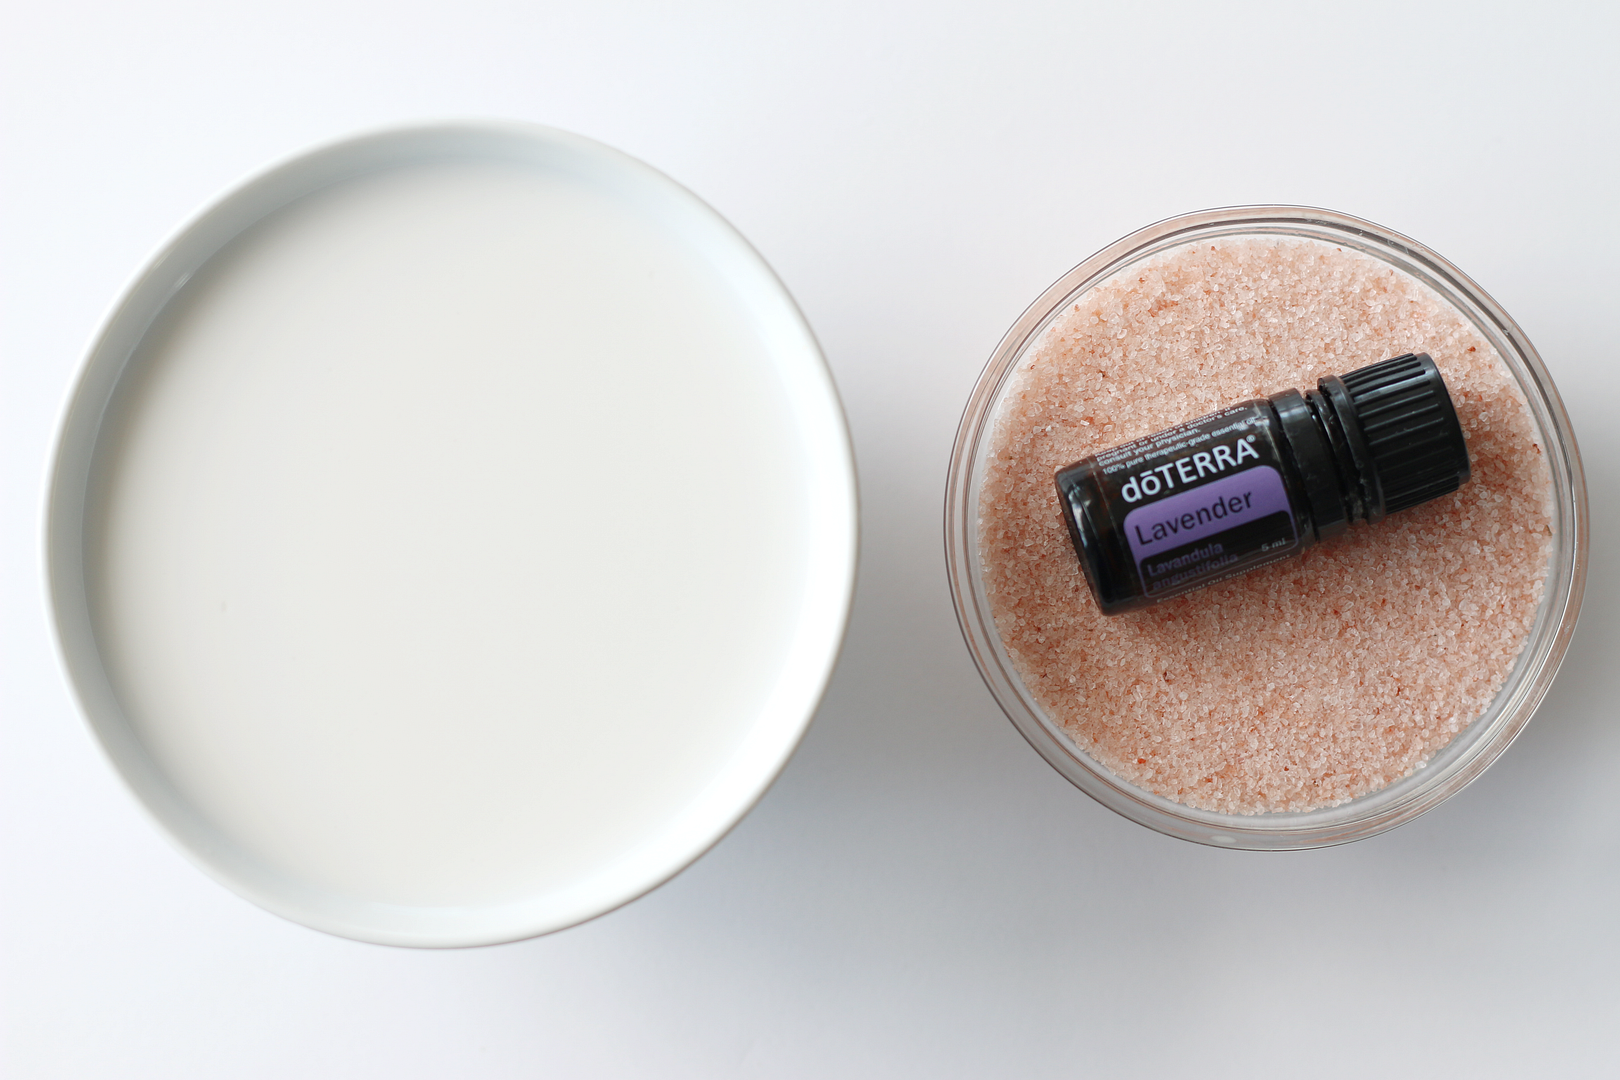
What you need:
  • 1 cup of Himalayan Salt (can be found in bulk at your local health food store) 
  • 1 can of coconut milk (only ingredients should be coconut milk & water) 
  • 6-7 drops of lavender essential oil
Directions:
Add all of ingredients listed above to a warm bath.  Hop in, sit back and relax :) 


DIY Vanilla Cream Dry Oil Body Spray (Non-Greasy)

Wednesday, September 3, 2014


With summer coming to a close you be realizing it is time for some serious moisture repair for your skin.  The problems with most store bought lotions is that they tend to leave your skin feeling like it is sweating (or maybe that's just me ha) and super greasy.  I hate when I go running and then I feel like my lotion is literally sliding off my skin.  Yuck.

I have always loved dry oil sprays but finding one that actually smells good can be challenging.  I recently made my own and not only does it smell amazing but it has been my every day go-to moisturizer for the past couple of weeks and I could not be any happier with the softness and moisture it provides.  If you have never used a dry oil spray before I highly recommend giving this a try!

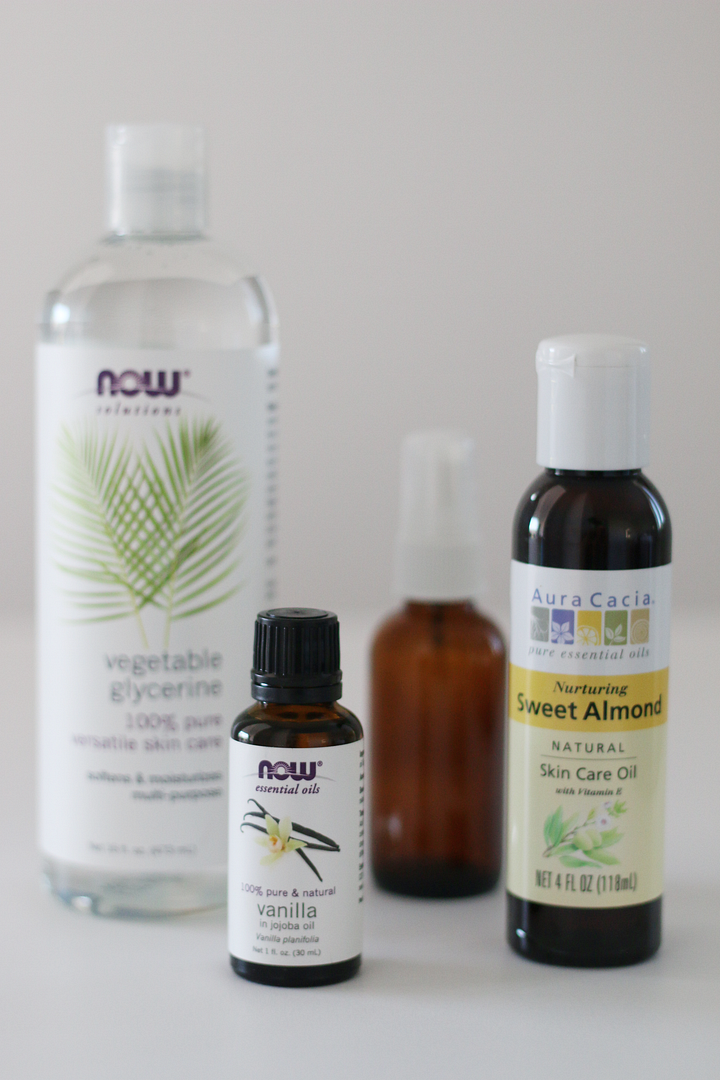
What you will need:
  • 5 tbs of distilled water (you can find this at any grocery store for super cheap) 
  • 2 tbs of 100% pure vegetable glycerine 
  • 2 tbs of sweet almond oil
  • 1/2 tsp of coconut oil
  • 10-12 drops of vanilla essential oil 
Directions:
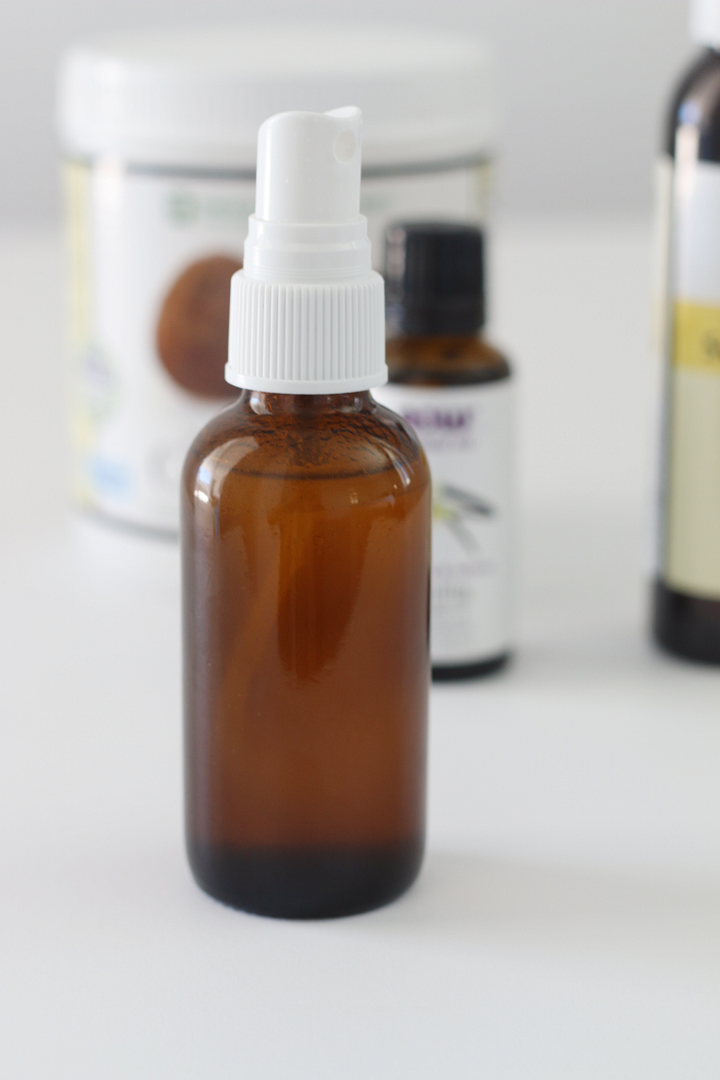
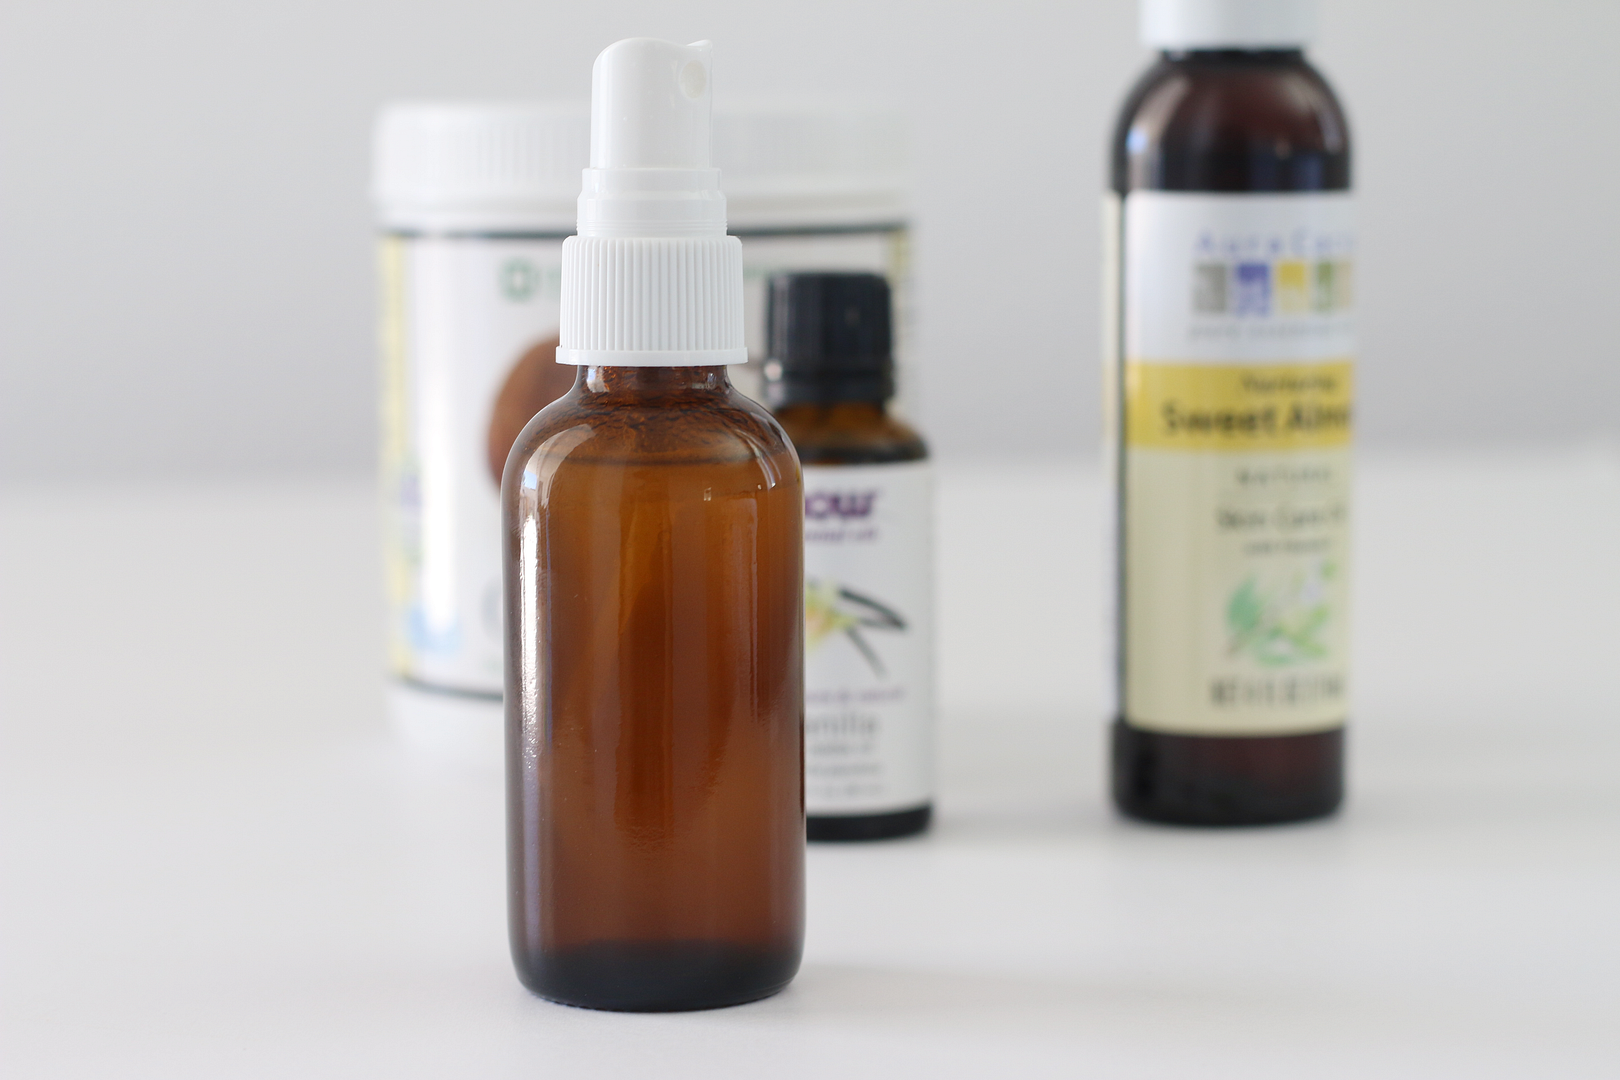
  1. Carefully add all of the ingredients to a small (preferably glass) spray bottle.  Empty bottles like the one used above can be found at most specialty health food stores in the vitamin section or you can find them online here
  2. Once the cap is on, shake up the bottle to combine all of the ingredients. 
  3. Spray onto your skin and rub in just like you would a lotion.  
  4. Keep at room temperature and use within 2-3 weeks. 
  5. Enjoy! 


Your skin will look and feel silky smooth without any greasy residue...and not to mention you will smell like you just walked out of a cupcake bakery.  Who doesn't like that?!  No one that's who.

If you make this please make sure to come back and let me know what you think! 


My Summer Skin & Beauty Must-Haves

Tuesday, June 3, 2014


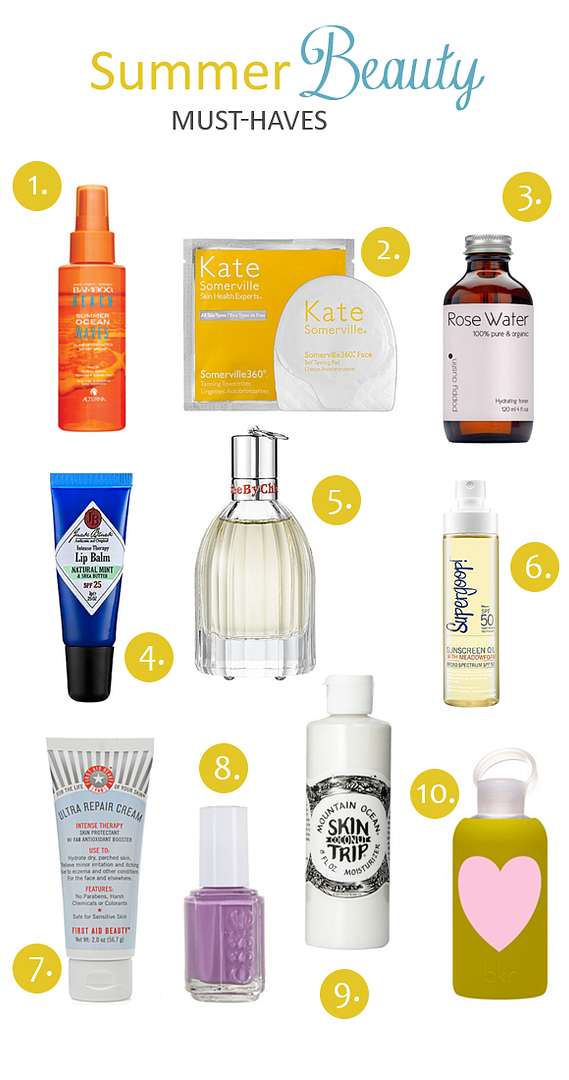
With summer quickly approaching I wanted to share some of my recent favorite skin and beauty must-haves.  During the summer I usually stay away from a ton of makeup and tend to keep things semi minimalist in that department.  Instead, I usually pay more attention to the little details like fun nail colors, creating messy beach waves in my hair and keeping my skin extra hydrated and protected from all the summer sun.

1. Alterna Bamboo Beach Summer Ocean Waves: This product is super light weight, smells fresh and gives you that perfect, "I just got back from the beach" look.  I use it on my hair when it is damp or spray it on after I style it like I did here.

2. Kate Somerville Face and Body Self Tanning Pads: Perfect for when you need a quick, streak free boost of color.  I love these because they give you a natural sun kissed glow without turning your skin orange.  You can also apply as often as you like if you prefer a deeper tan color, which is always nice.

3. Poppy Austin Rose Water Facial Toner: If you aren't up for making your own, this is the next best thing.  This is soothing, refreshing and perfect for after you have had a little too much sun and need a little skin TLC.

4. Jack Black Intense Lip Therapy SPF 25: This is the ultimate lip treatment.  It soothes and protects your lips from sun and wind and keeps them feeling moisturized for hours on end without feeling like you need to keep re-applying.

5. See By Chloe Perfume: My current favorite perfume.  I love that it is light enough to wear every day without it being overwhelming.  It has hints of jasmine and vanilla which makes this the perfect summer time scent.

6. Supergoop! Sun-Defying Sunscreen Oil: You guys...this stuff is amazing.  It is lightweight, non-greasy and provides super antioxidant protection. It is also formulated without parabens and sulfates, which I love.

7. First Aid Beauty Ultra Repair Cream: This amazing whipped, non-greasy emollient cream is perfect for distressed skin that can sometimes become agitated from the dry summer weather. It provides immediate relief and visible improvement. A must have.

8. Essie "Under Where?" nail polish: I am currently obsessed with all shades of purple and this one is my favorite go-to color.

9. Skin Trip Mountain Ocean Coconut Moisturizer:  If you want to smell like a beach goddess then use this all over your body.  It smells heavenly and instantly hydrates your skin.

10. bkr Glass Water Bottle: Okay so this is not really a beauty or skin care product BUT one of the most important things you can do for your skin during the summer is to keep it hydrated.  So why not have a cute bottle that will make you want to drink more water?  That philosophy works for me anyway :)


Do you have any current favorite summer beauty products that you just can't live without?  I would love to hear!

DIY Skin Renewing Treatment

Wednesday, May 28, 2014


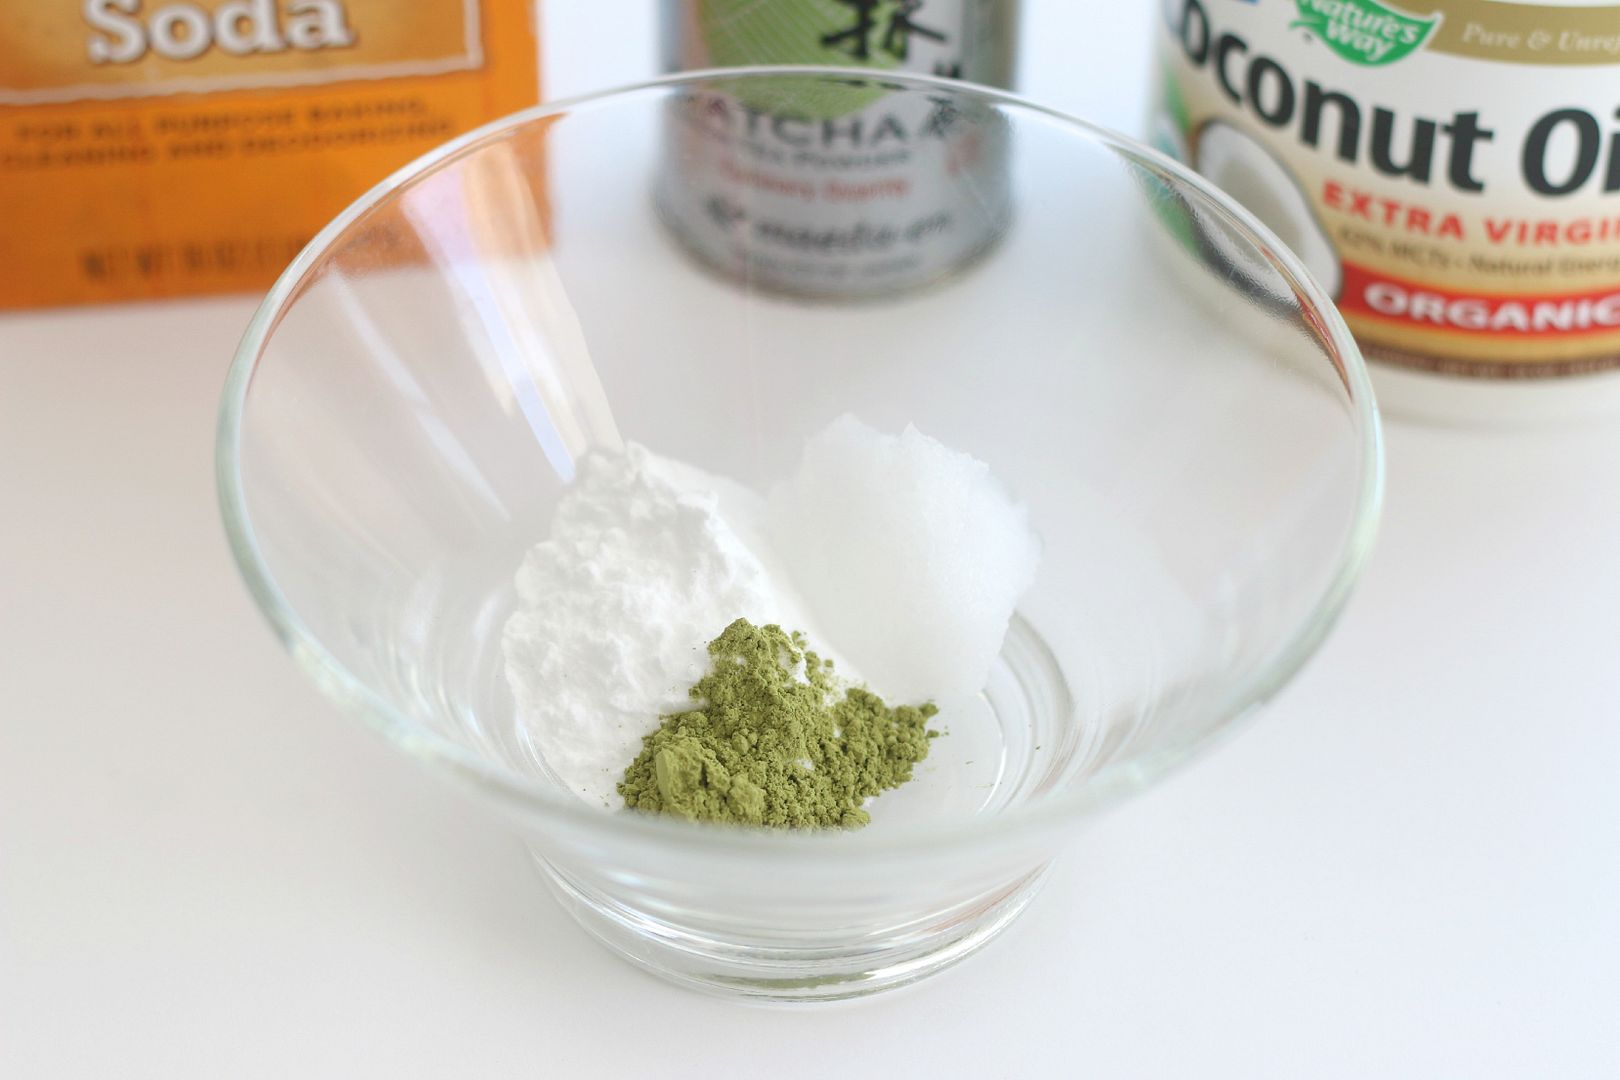
Dry weather, too much sun and too little moisturizing can leave your skin feeling less than amazing.  And sometimes you need a treatment that makes an instant improvement on your skin without having to spend hundreds of dollars to get high quality results.  This skin renewing treatment is not just an over sensationalized DIY with a fancy name, it truly gives you instantly renewed, hydrated baby soft skin that will blow your freaking mind.  Seriously.

The skin enhancing benefits of each ingredient:

Matcha Green Tea Powder: 
  • A powerful antioxidant (it has more antioxidants than blueberries and spinach) 
  • Stimulates dead skin cells
  • It has anti-inflammatory and healing properties
  • Fights bacteria and infections (great for those with acne) 
Baking soda:
  • A wonderful natural and gentle skin exfoliant.  Great for all skin types. See this post for more information. 
Organic coconut oil: (see more uses here and here
  • Perfect all natural skin moisturizer. 
  • Can help reduce the appearance of sun spots.
  • It's naturally antibacterial and anti-fungal 
  • Great for those with rosacea or sensitive skin. 
  • Acne and age fighting properties

What you will need:

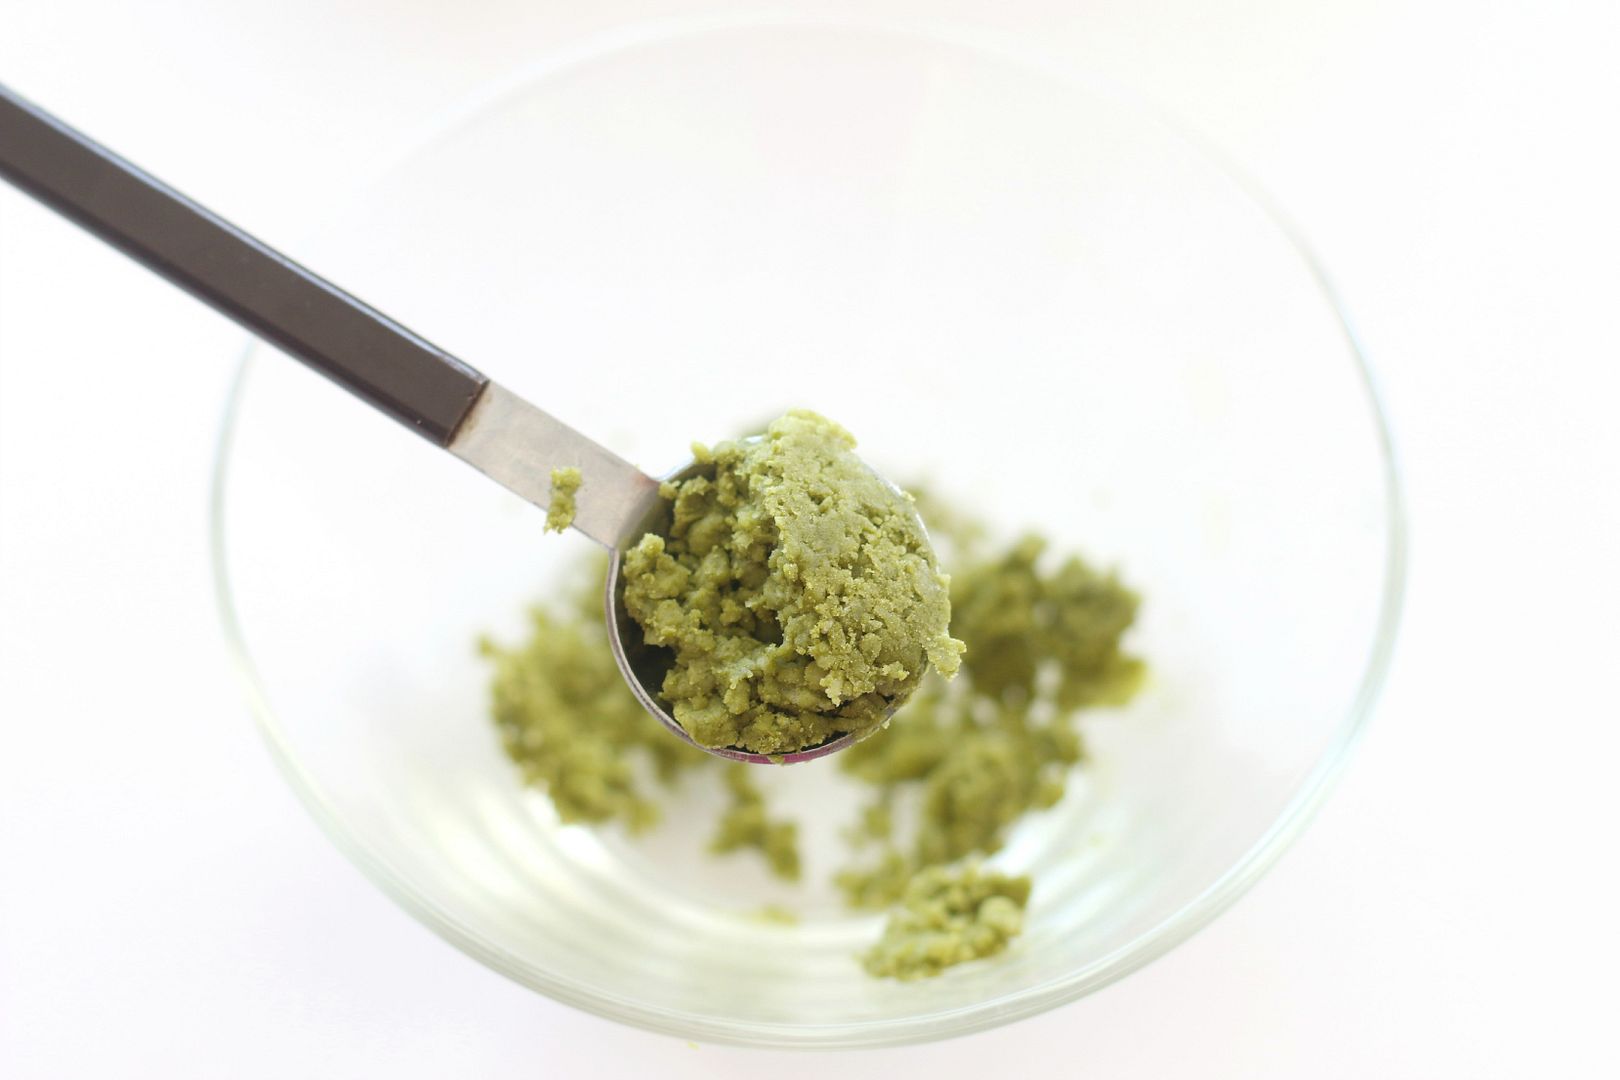
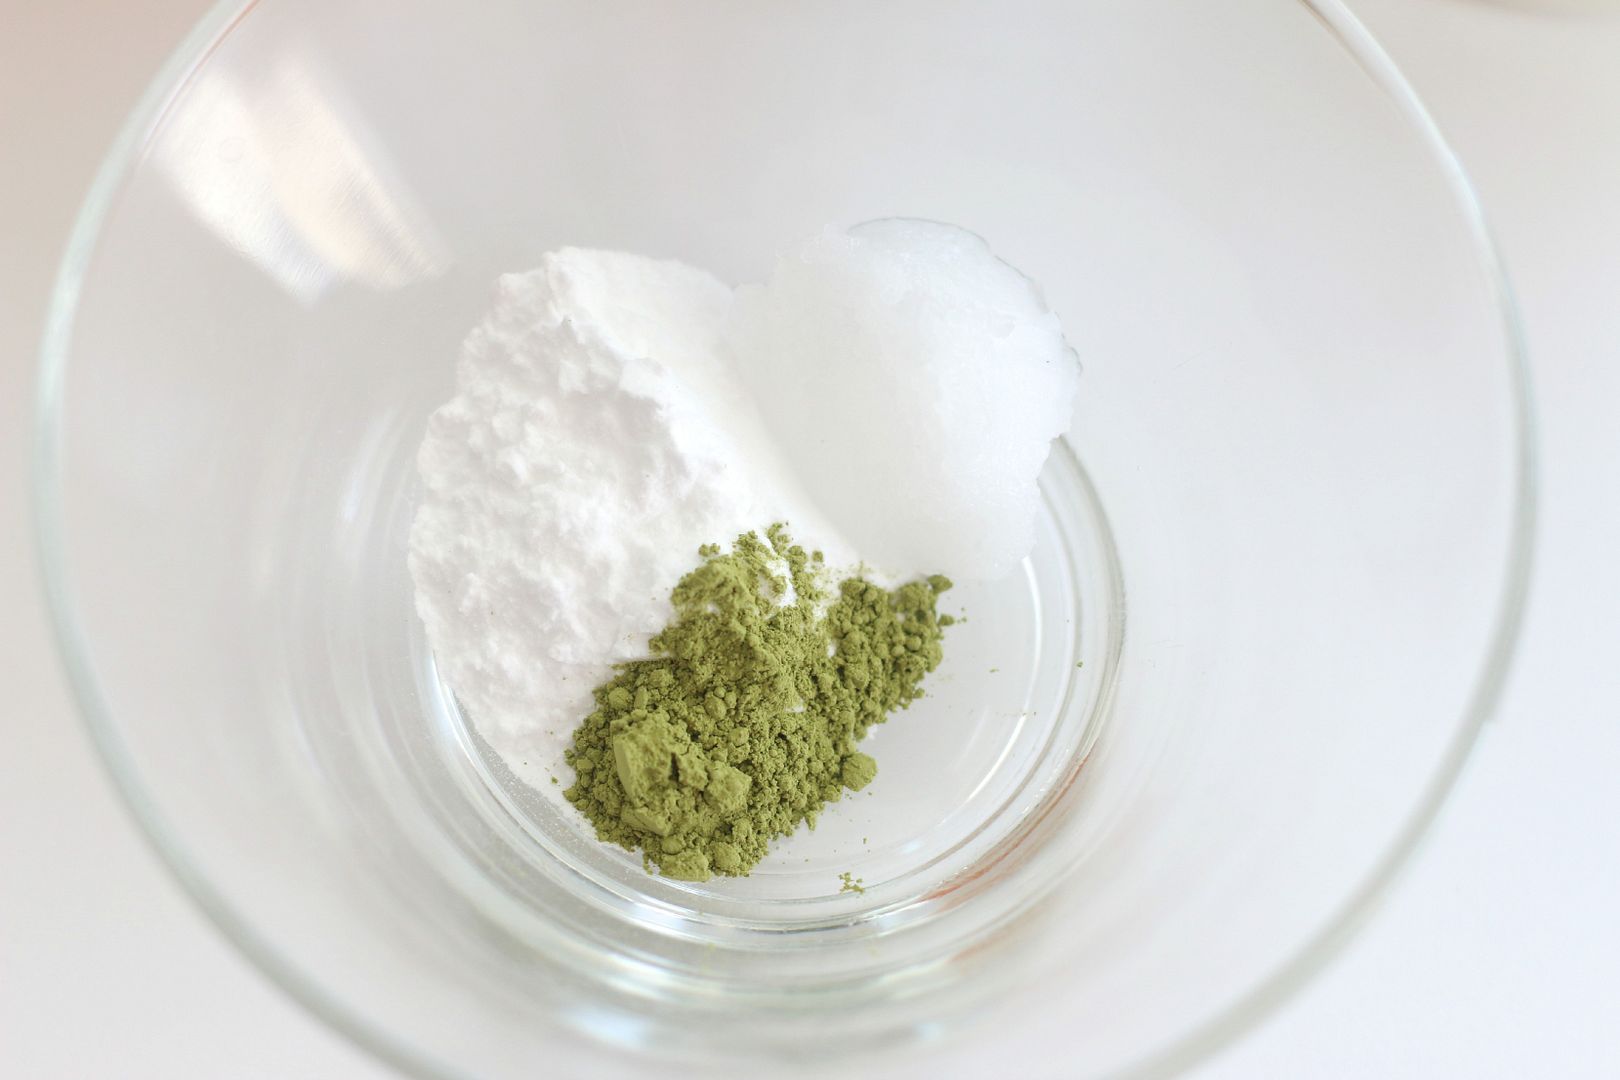
1/4 tsp of Matcha Green Tea Powder
1 tbs of baking soda
1 tsp of organic coconut oil

Directions:
  1. Mix all of the above ingredients together in a small bowl.
  2. Apply to your skin with a facial mask brush or clean fingers.
  3. Leave on for 15-20 minutes.
  4. Remove with a warm washcloth and water.
  5. Feel and look and your skin and be amazed :)
  6. Follow up with a moisturizer. 


I love hearing your feedback when it comes to beauty DIYs so make sure to come back and let me know what you think if you try this!


5 Unique Health and Beauty Benefits of Green Clay

Tuesday, May 6, 2014


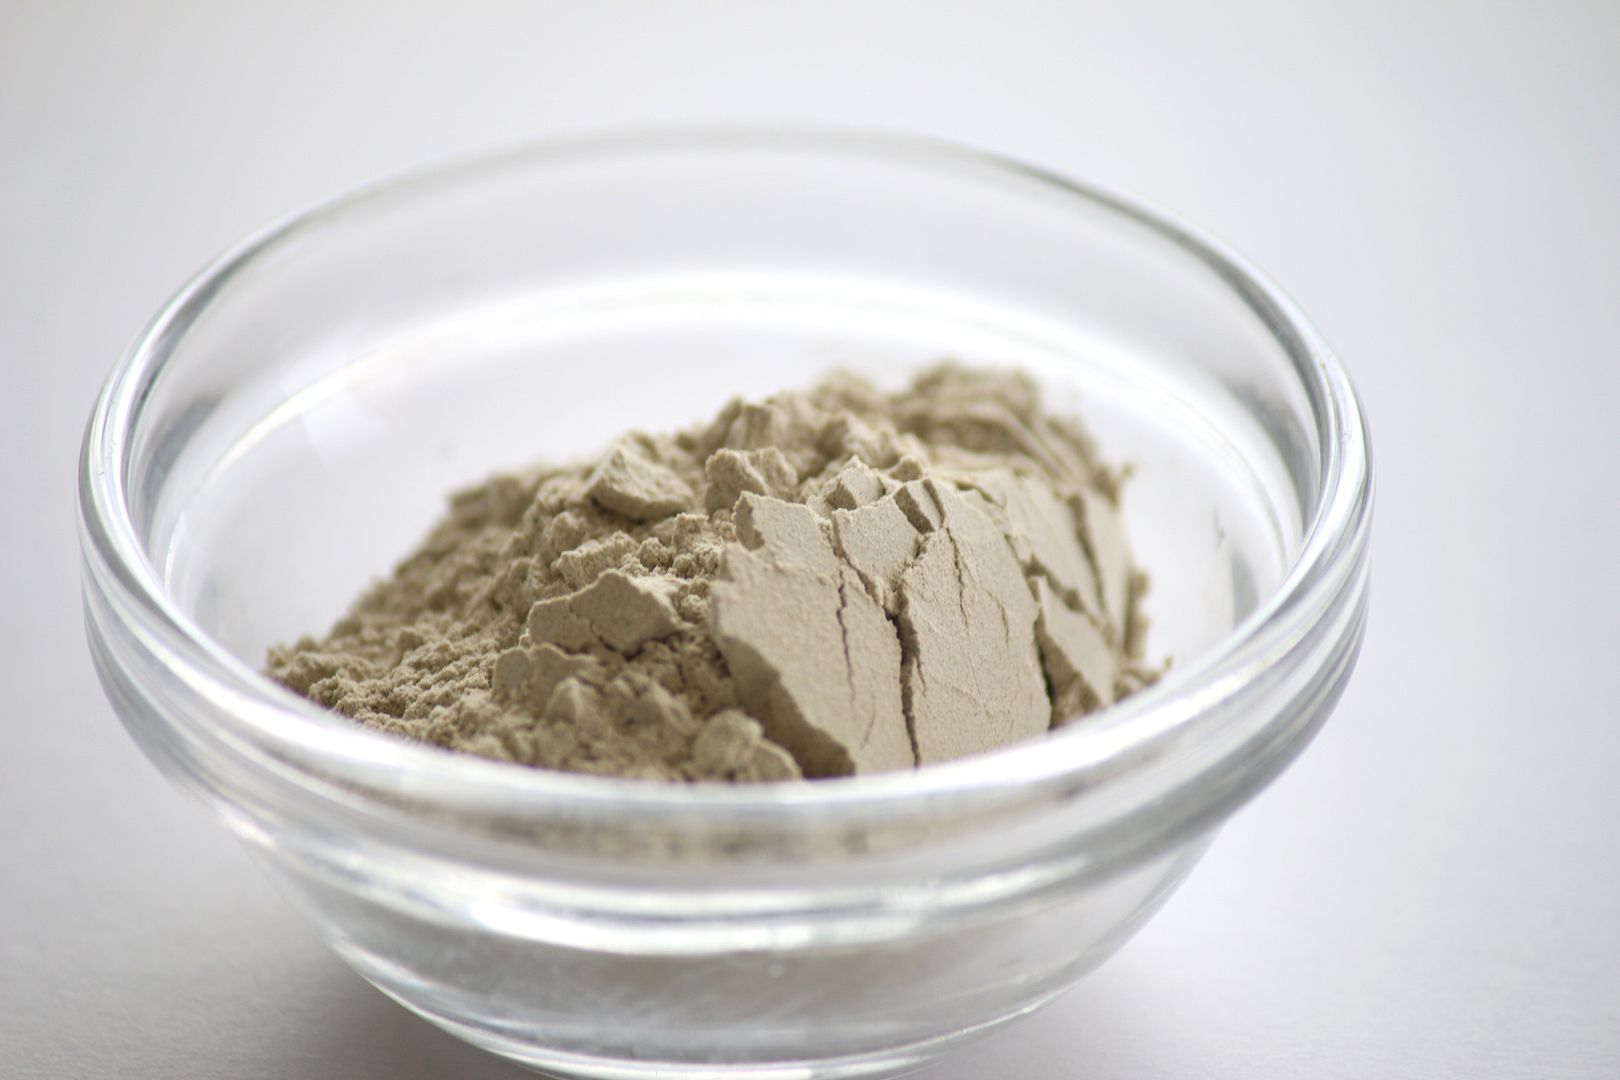
Green clay (also known as natural bentonite clay) is the best!  It is wonderful when used as part of your beauty regime, I swear by it. But did you know it also has quite a few other uses that are just as awesome?  Today i am going to share some of the wonderful other uses that you may or may not know about.

5 Health and Beauty Uses of Green Clay:

1. Enjoy a detoxifying green clay bath.  Clay baths pull toxins out through your pores and soften your skin. Add a few large scoops into your bath and sit back and relax.

2. Help reduce and clear existing acne breakouts with a skin clearing mask.  Read all about that here.

3. Use it on bug bites.  Mix a small about of clay with water until you have a paste.  Apply it directly onto the bite to help reduce swelling and to draw out infection.

4. Use it for eczema and psoriasis.  Mix a paste like above and apply directly to irritated areas.  The clay helps with itching and calms down the skin.

5. Use it as a foot mask for dry callused feet.  Add 1/2 cup of clay mixed with warm water into a container that will fit both of your feet.  Let your feet soak for up to 30 minutes. Repeat this a few times a week until the skin starts to rub off naturally.

You can find green clay at your local health food store in bulk and online here.

And there you go! If you have any other uses for green clay I would love to hear in the comment section.

See also:
The health & beauty benefits of coconut oil (uncommon uses)
5 beauty benefits of witch hazel


Have you Heard of The Bee Venom Mask?

Thursday, February 27, 2014


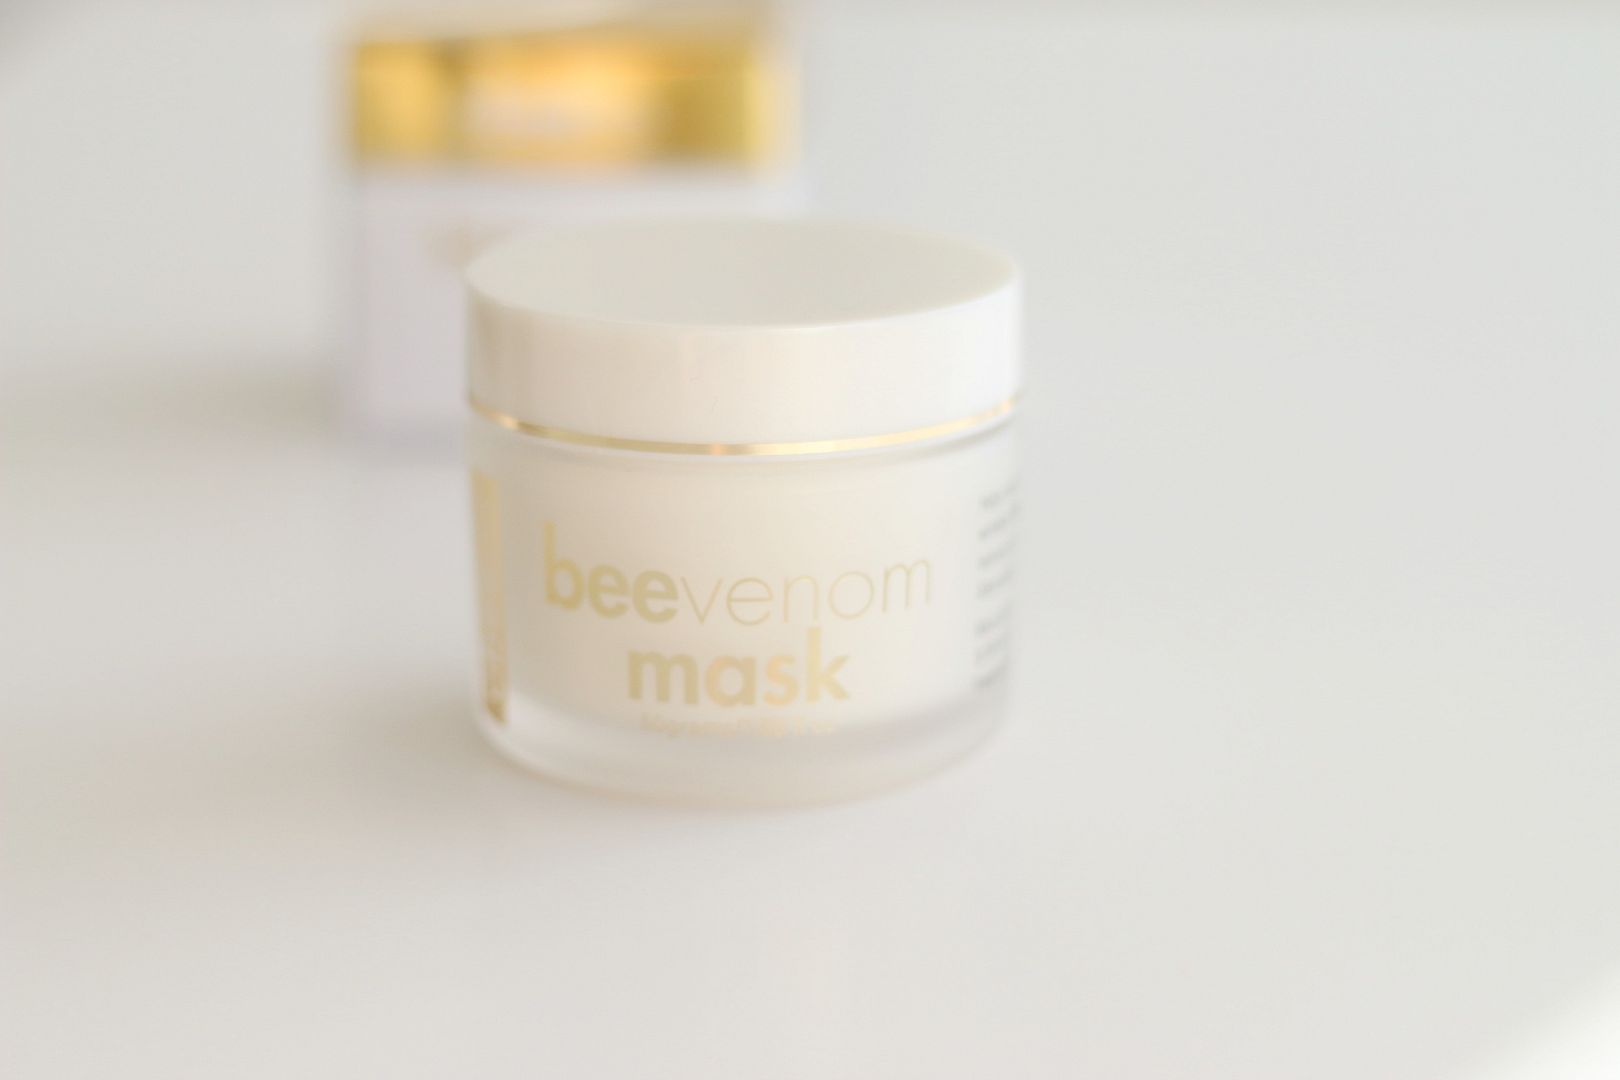
I was recently sent this Abeeco Bee Venom Mask to try and I am totally hooked!  I only ever give reviews on products that I think are amazing and this was exactly that.

Have you heard about this yet?  It has become quite a hit as of recently since Kate Middleton, Gwyneth Paltrow and Victoria Beckham have reported using this as part of their skin care routine.  The mask plumps and firms the skin and lord knows this momma could use a little plumping every now and then!  The Bee Venom contained in the mask works by fooling the skin into thinking it has been lightly stung.  This in turn increases blood flow to your face and gives you the ultimate refreshed glow!

My husband was a little concerned when I told him what I was about to put on my face the first time I used it but I love trying new and different products so I slathered it on and let it work its magic.  I did experience a slight tingling sensation but nothing painful or uncomfortable like an actual bee sting...haha that would be bad.

I also love that it is paraben free and some of the key ingredients are Manuka honey (SO good for your skin), shea butter, Vitamin C and lavender oil.

The Bee Venom is collected by expert New Zealand beekeepers.  They follow ironclad guidelines to ensure that no bees are harmed during the extraction process.

Do you think this is something you would try?  If you have tried this or something similar I would love to hear your opinion as well.

DIY Split End & Dry Hair Treatment

Monday, February 10, 2014


A few days ago I took a close up picture with Max and the first thing I noticed (other than my tired looking eyes) was that my hair looked super dry, yikes!  I have been color treating my hair (sounds better than saying bleaching) for years so it's not that big of a surprise, but that doesn't mean I can't try to help out my poor strands.

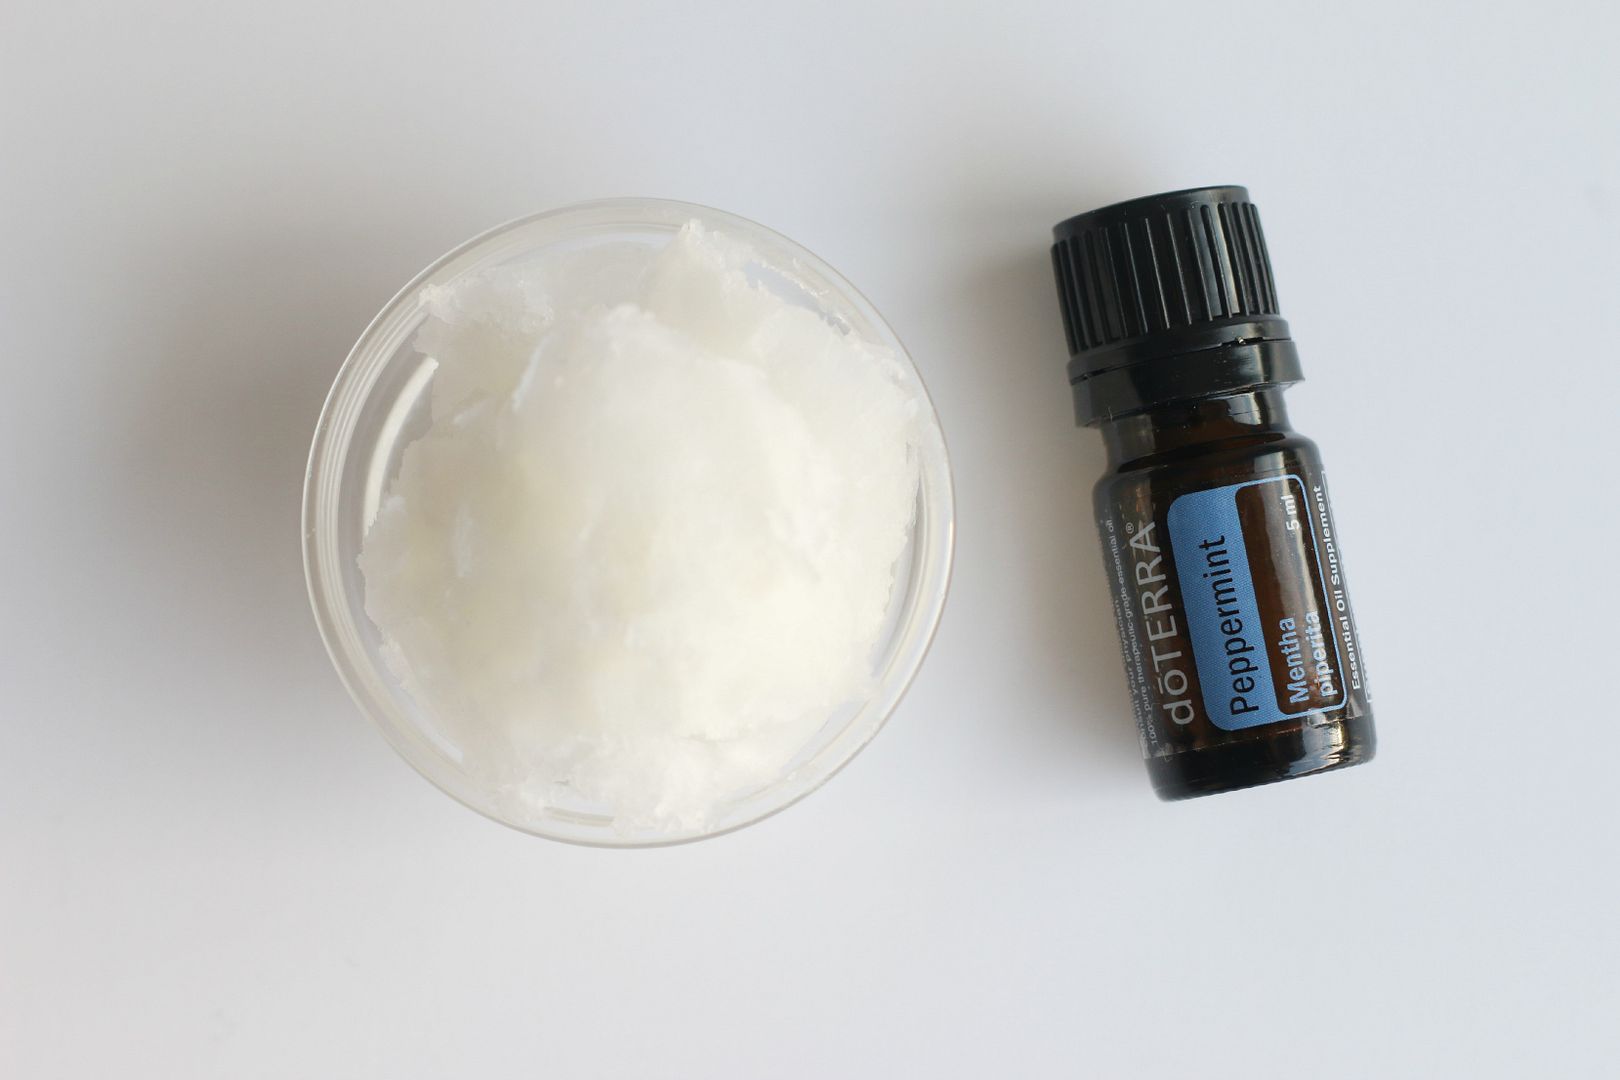
I am a huge fan of coconut oil and decided to give this age old remedy a try, with a little added invigorating peppermint oil twist.
UM WOW! This was awesome.  After I washed it out my hair looked healthy, silky (not greasy) and hydrated.  I was so impressed with this super simple treatment and 3 days later my hair still looks and feels great.
What you will need:
Directions:
  1. Scoop out a good amount of coconut oil (I used about a tsp but my hair is short). 
  2. Mix the coconut oil with the peppermint oil and apply to your hair really working it into the scalp and down through the ends. 
  3. If your hair is long twist it up into a bun.  Cover your hair with a shower cap or a damp (clean) towel.
  4. Let the treatment sit for 30 minutes.
  5. Shampoo and condition in the shower to make sure you get all of the coconut oil out.
  6. Blow dry and style like you normally would.  You will be amazed at how soft and beautiful your hair looks and feels! 
If you try this, or have tried this I would love to hear your thoughts! 


Skin Care Tip of The Week: Treating Acne Breakouts With Turmeric

Monday, January 13, 2014


Random acne breakout's can put a real damper on your otherwise good face day.  The problem with most over the counter spot acne treatments is that they tend to be very drying, which in turn can irritate your skin.

I have previously mentioned the amazing benefits of turmeric powder for anti-aging as well as adding it to your diet as a super food but today I am going to share a simple way to incorporate it into your skin care regime if you are having breakouts.

Turmeric powder is able to fight acne head on because of its potent anti-inflammatory and antiseptic properties.  It is soothing and non irritating, which makes it the perfect ingredient to help stop those pesky breakouts before they become a real pain in the ass.

All you will need to make an all natural turmeric acne spot treatment is turmeric powder and water!

What to do:
  1. Mix a tiny bit of turmeric powder with a few drops of water until you have a paste. 
  2. Apply to the broken out area with clean hands. 
  3. Leave on for 15-20 minutes. 
  4. Gently rinse off (do not use a washcloth as this could irritate the breakout).
  5. Repeat this process daily until the redness and acne breakout is gone. 
Hope you enjoyed this super simple little tip and if you do try this please come back and let me know about your experience.

Related Posts Plugin for WordPress, Blogger...