DIY Hand Carved Polymer Clay Bracelet

Friday, September 30, 2011

After this post I might be known as the crazy polymer clay lady. I was going though my past DIYs and most of them include polymer clay.

It is seriously my favorite material to work with. This DIY is a spin off of this one I did a little while back. I received several (okay 2) e-mails with readers requesting a how-to tutorial on how I made these bracelets. So I will share!

What you will need:
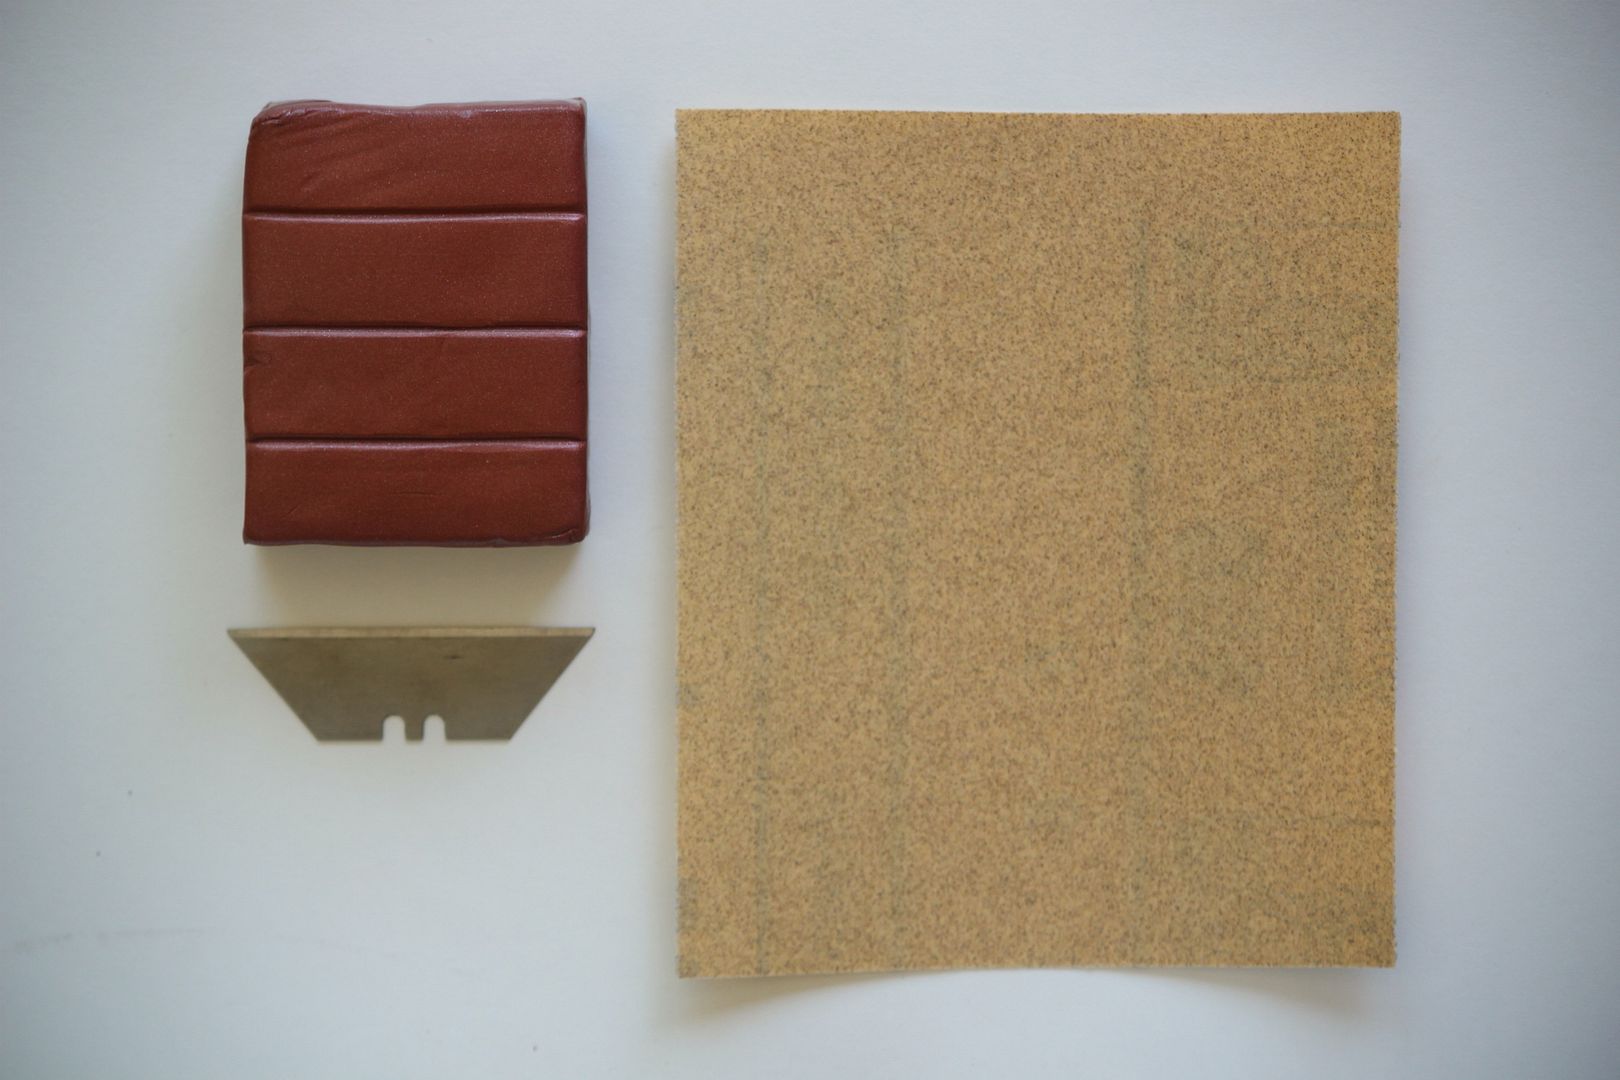
  • Polymer Clay
  • Razor Blade
  • Sand paper

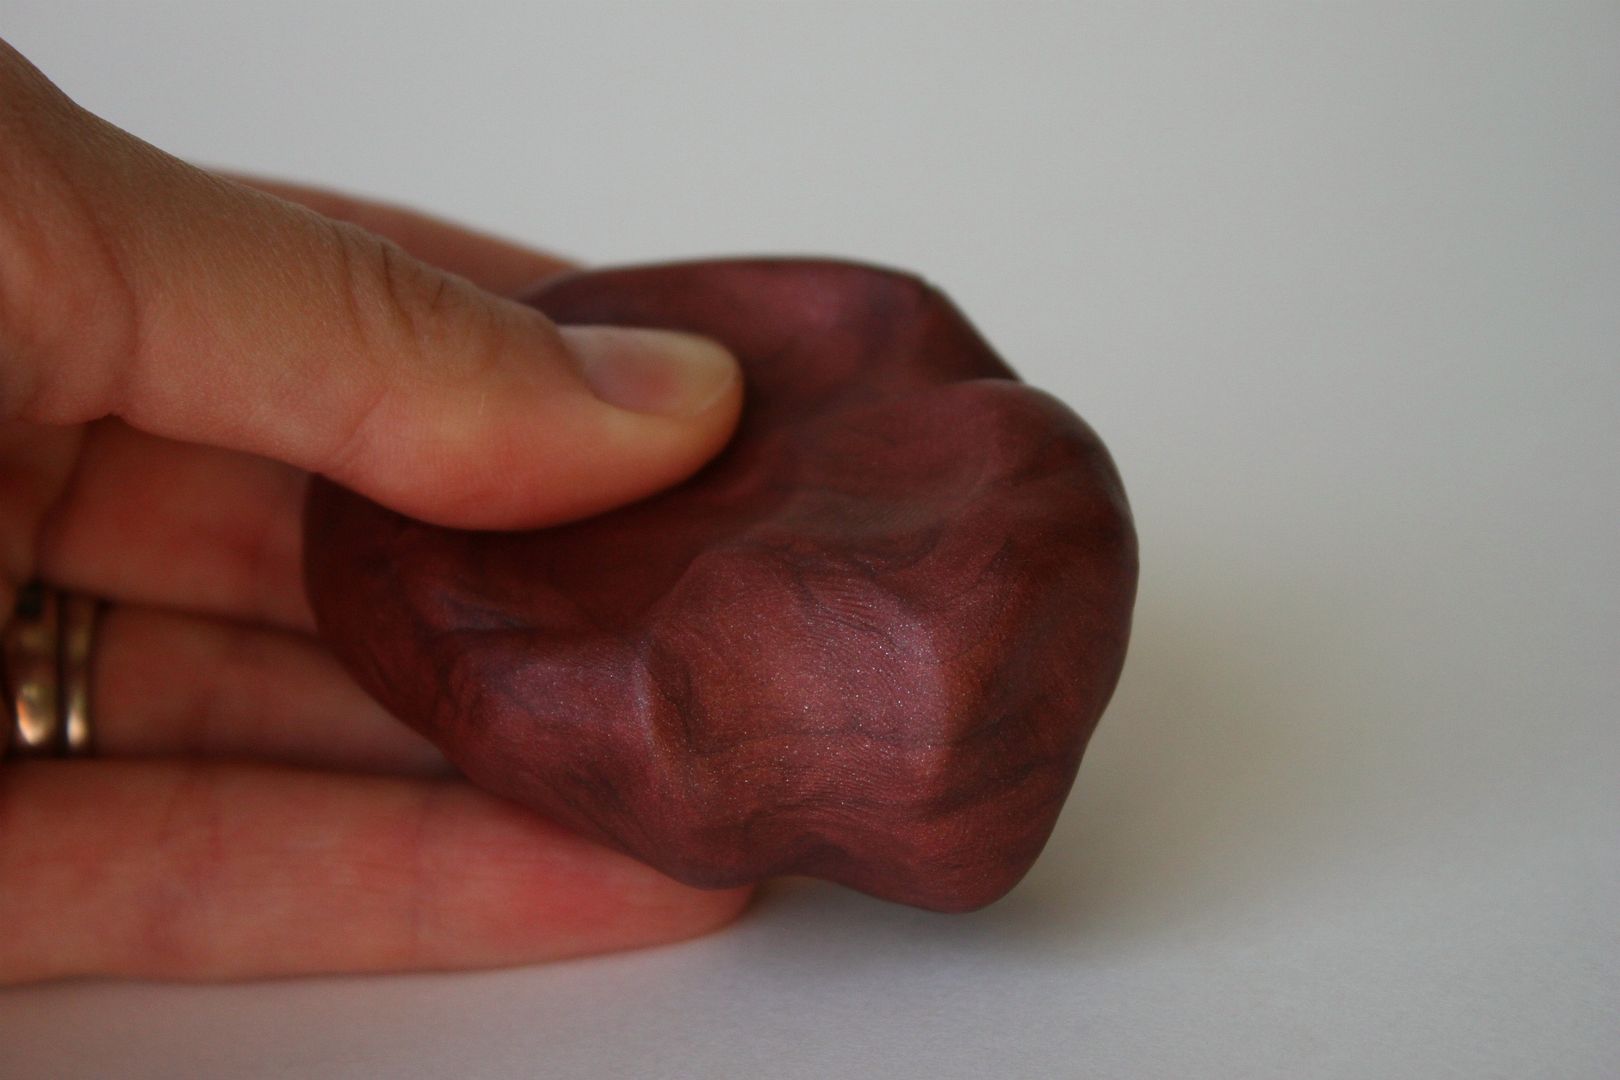
Prepare your clay by kneading it between your hands until it is soft and pliable.

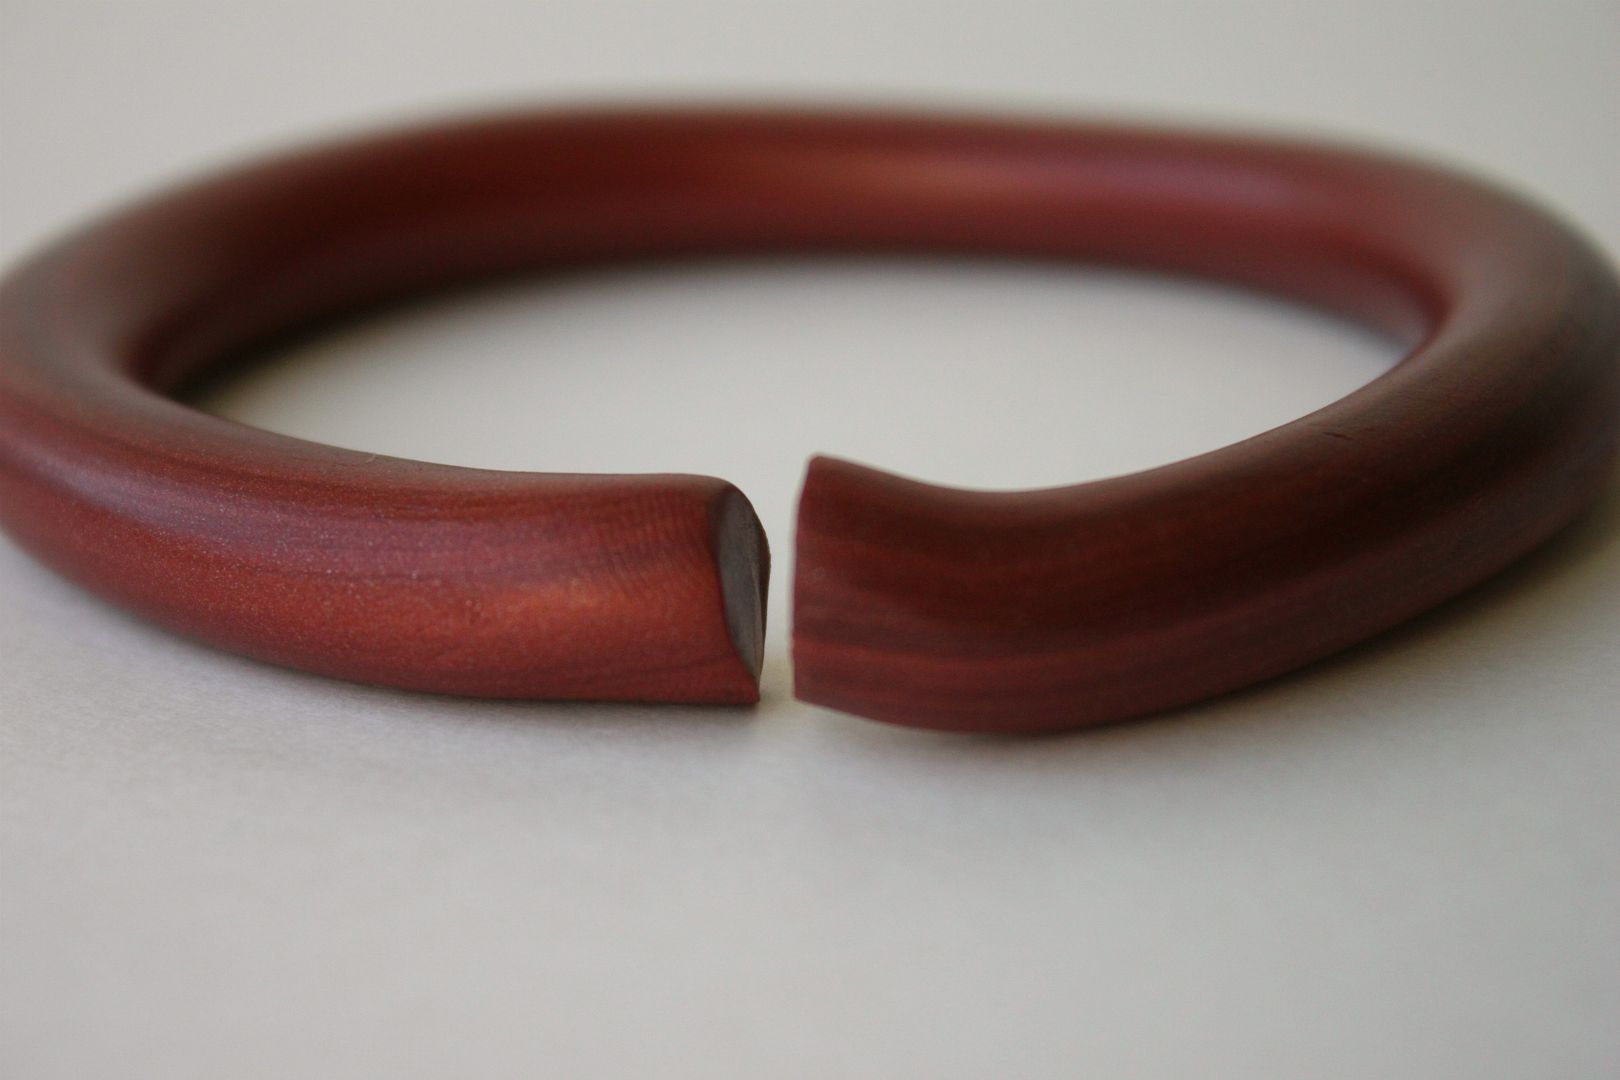
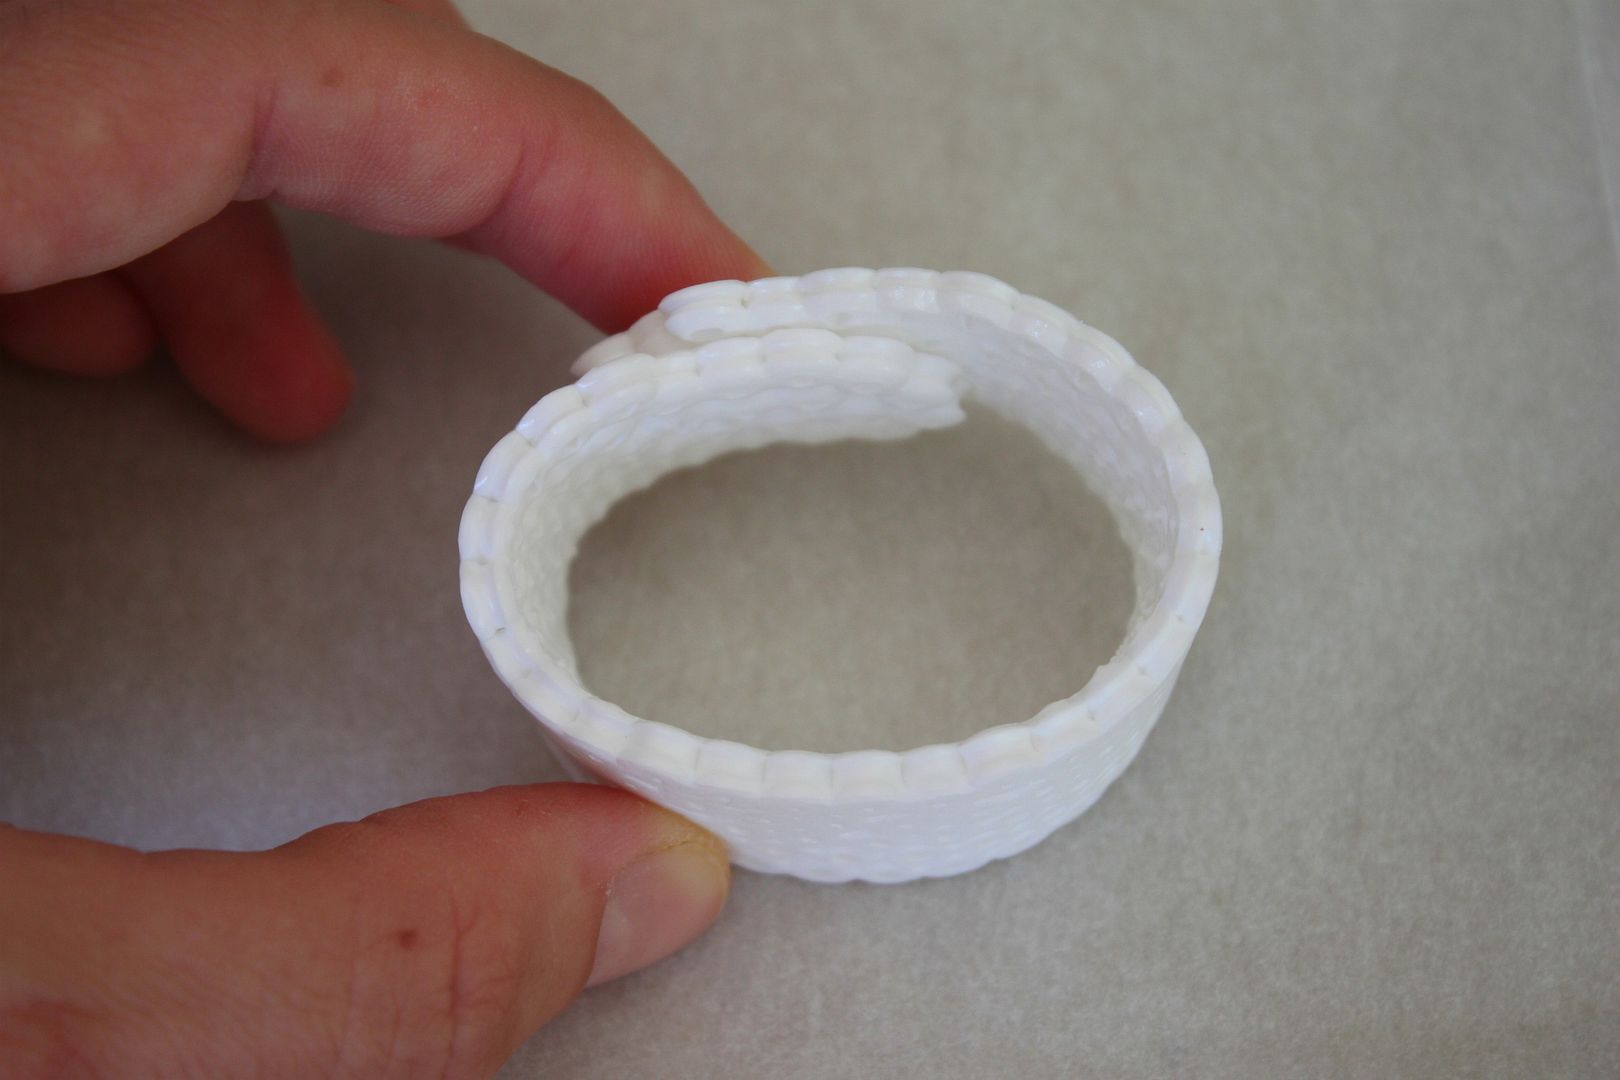
Roll the ball of clay into a long semi thick tube that fits and measures around your wrist. Connect the two ends by gently mashing them together and then gently rolling out the connected area with your finger.

Place your bangle in the freezer for 5-6 min (yep you read that right). I discovered after making quite a few of these that if they are cold they are easier to sculpt and carve.
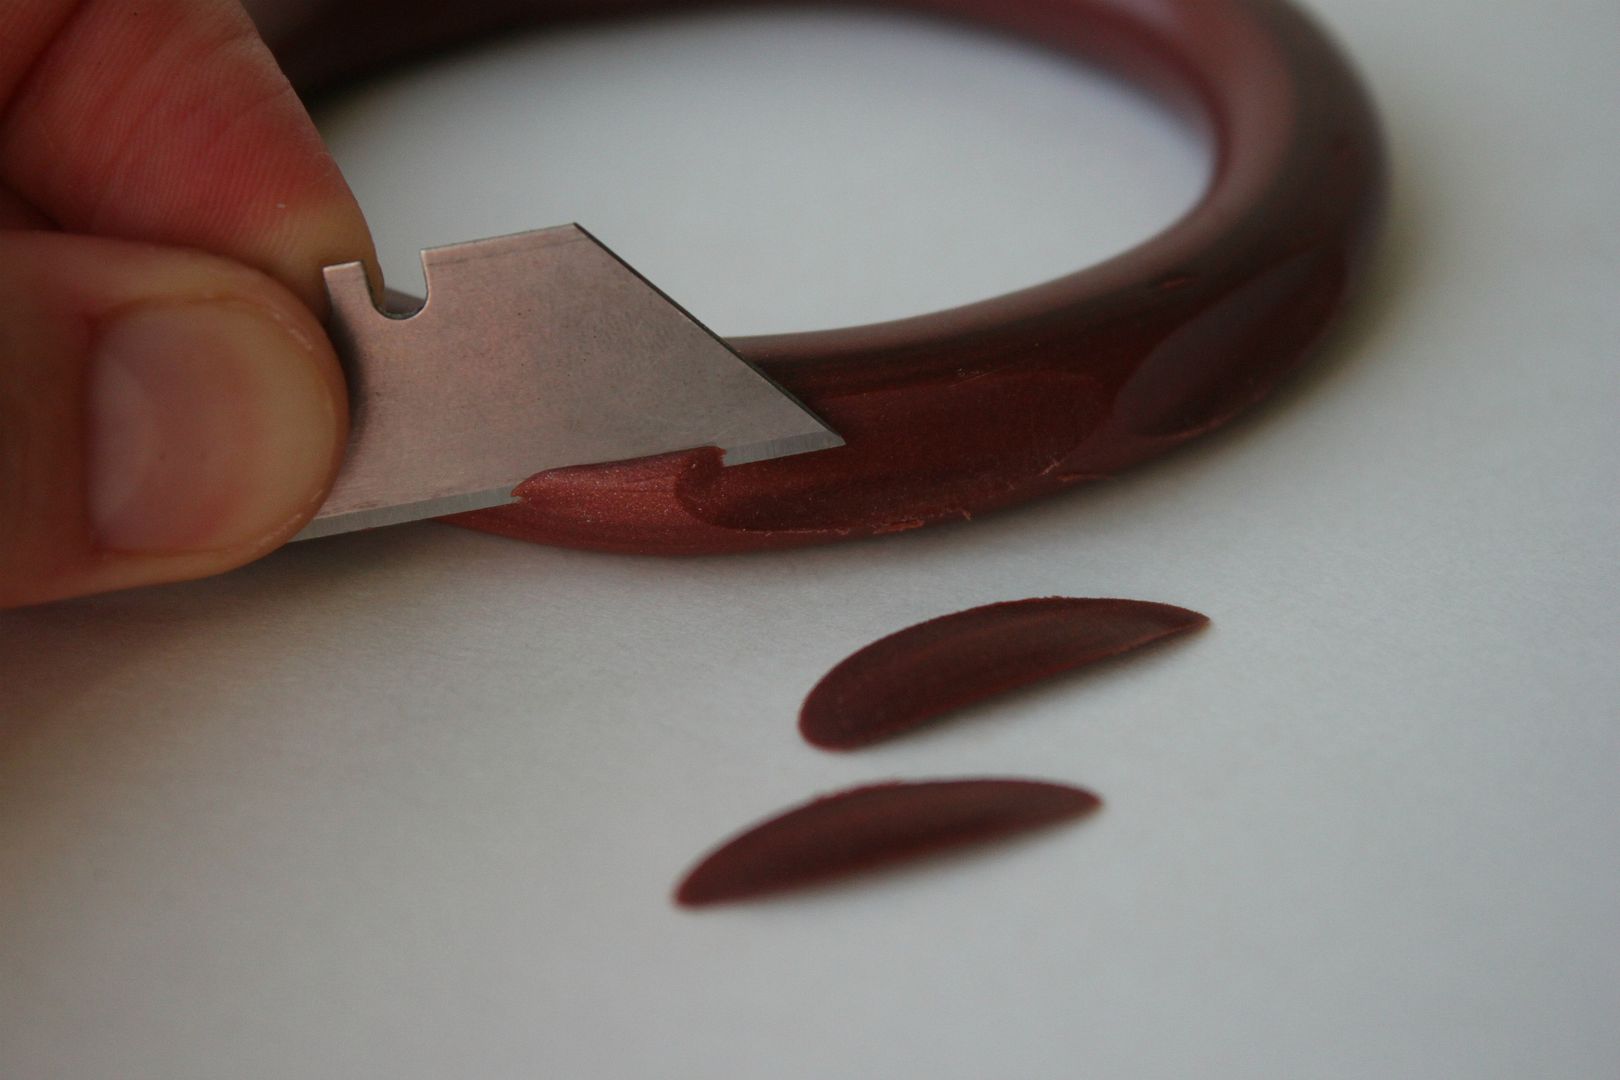
Remove your bracelet from the freezer and begin slicing off tiny slices. Use the razor in all different directions until you are satisfied with the look. When you are ready to do the opposite side, place in the freezer again and do the same thing you did for the previous side of the bracelet.

Place on a baking sheet and bake at 275 degrees for 20-22 minutes.

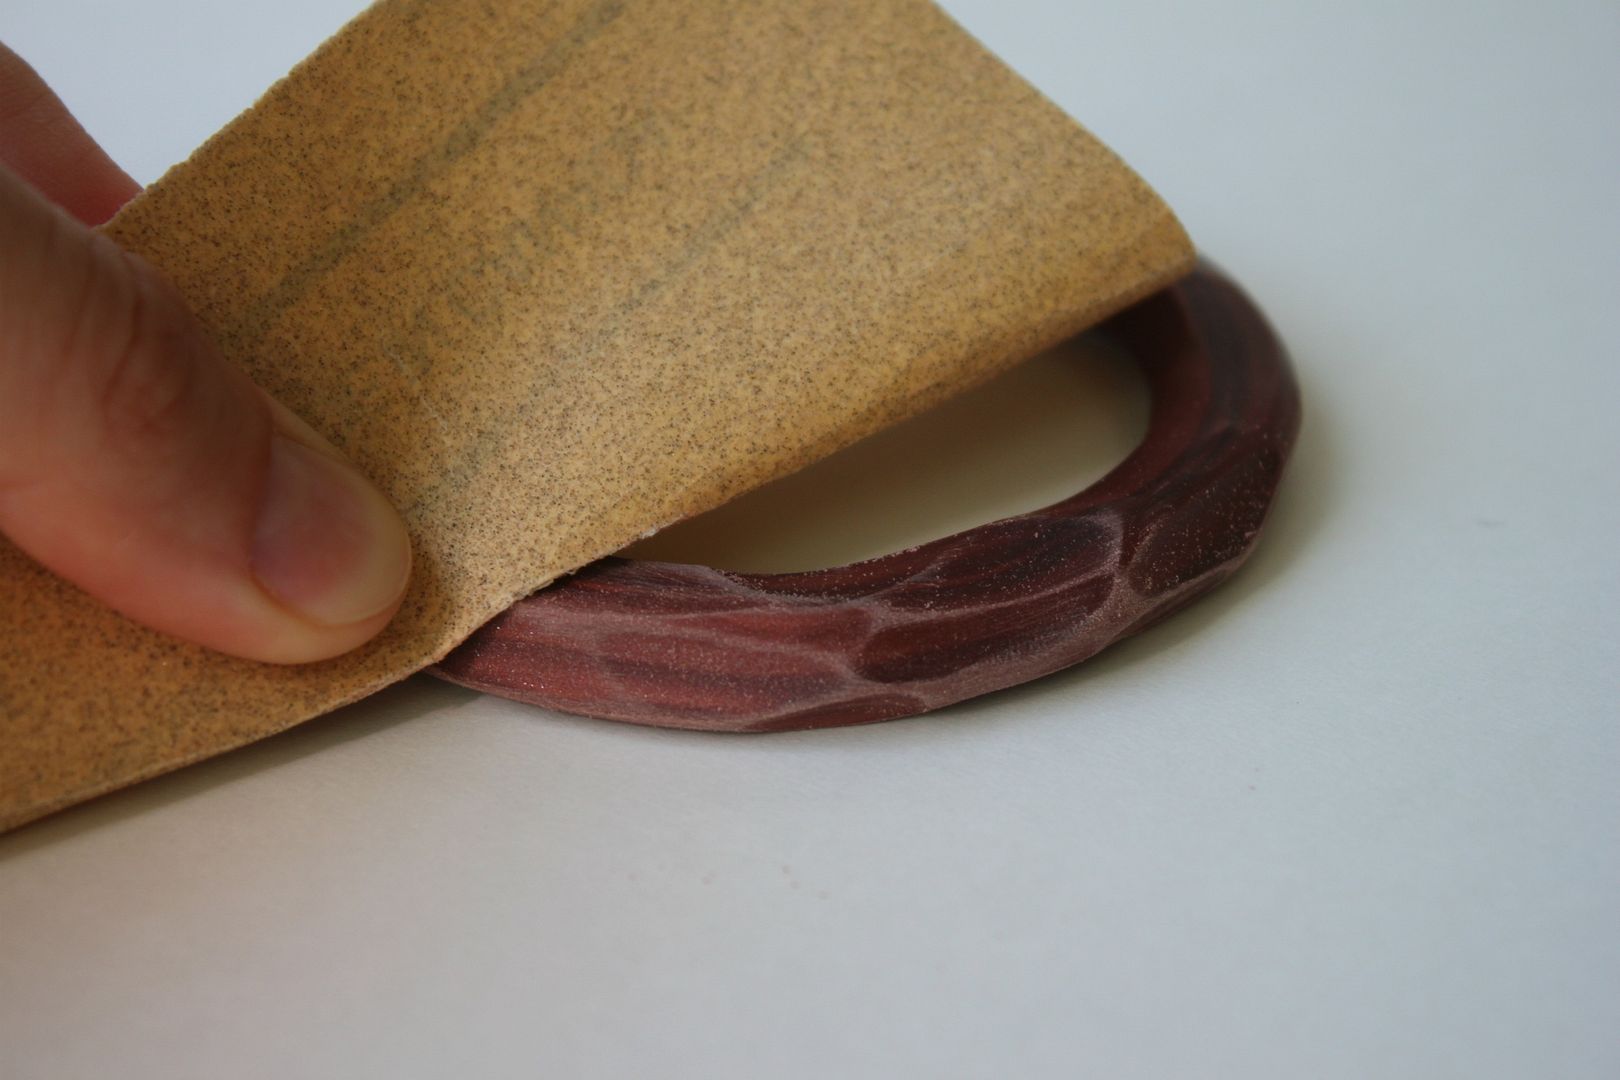
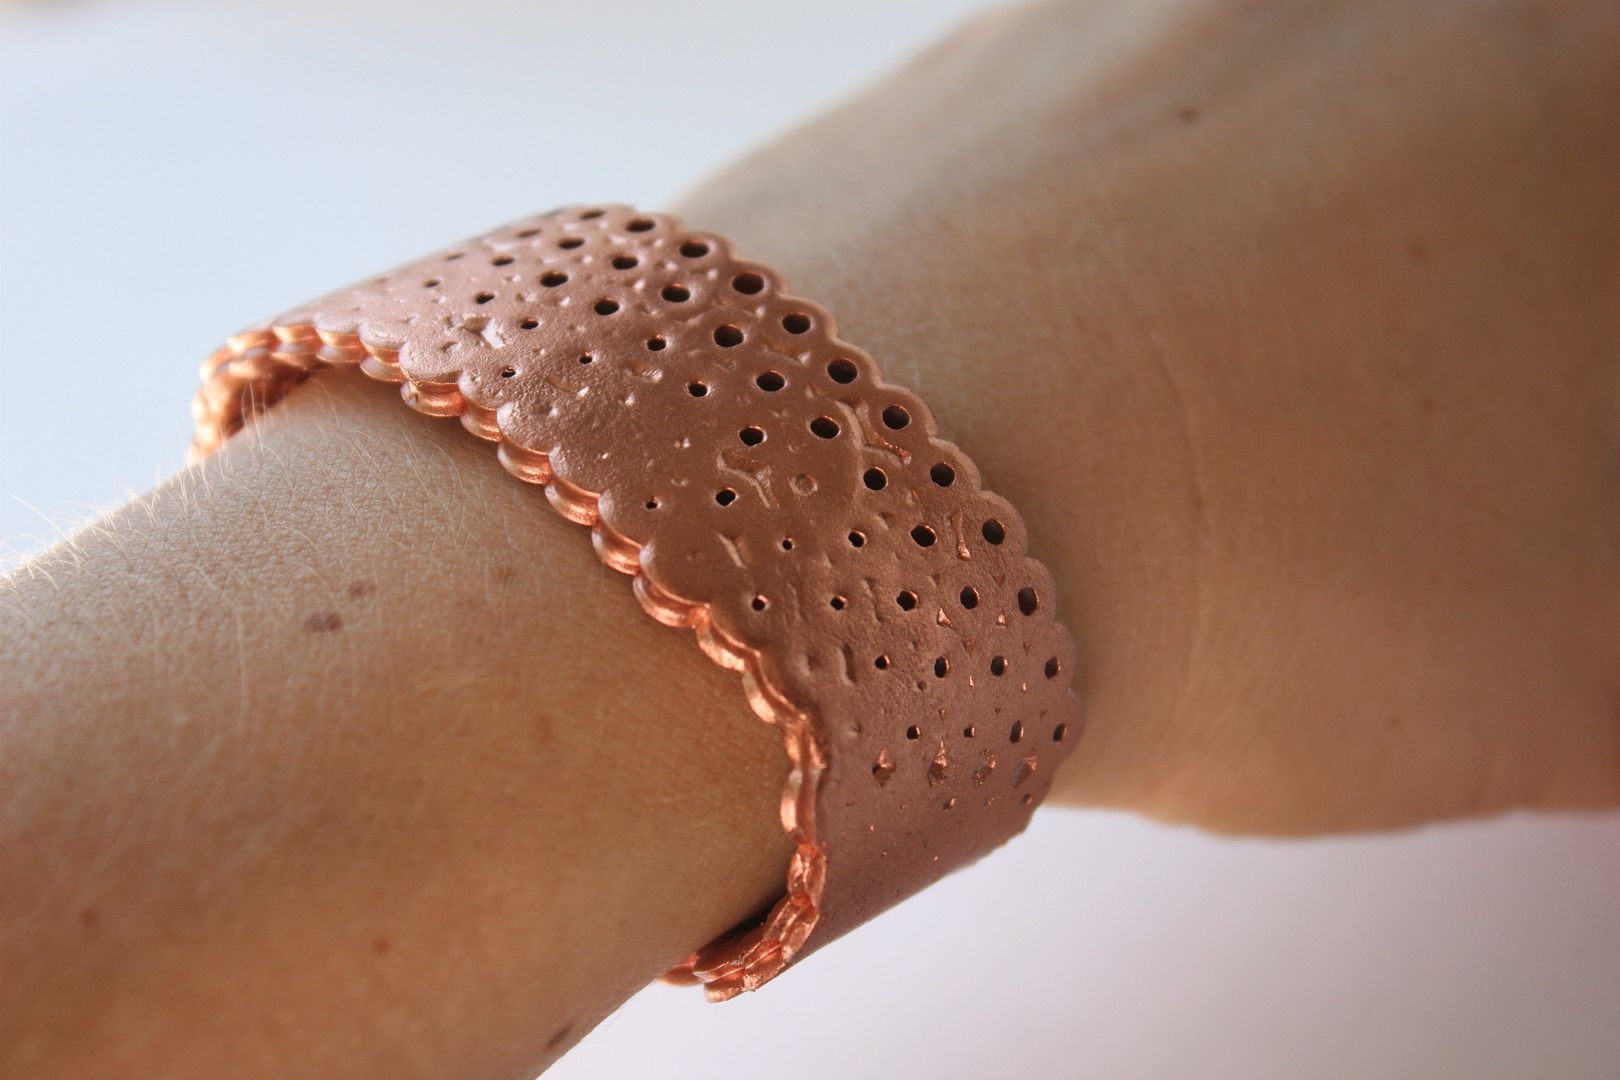
Once the bracelet has cooled, sand the areas that you have carved to bring out the unique effect.

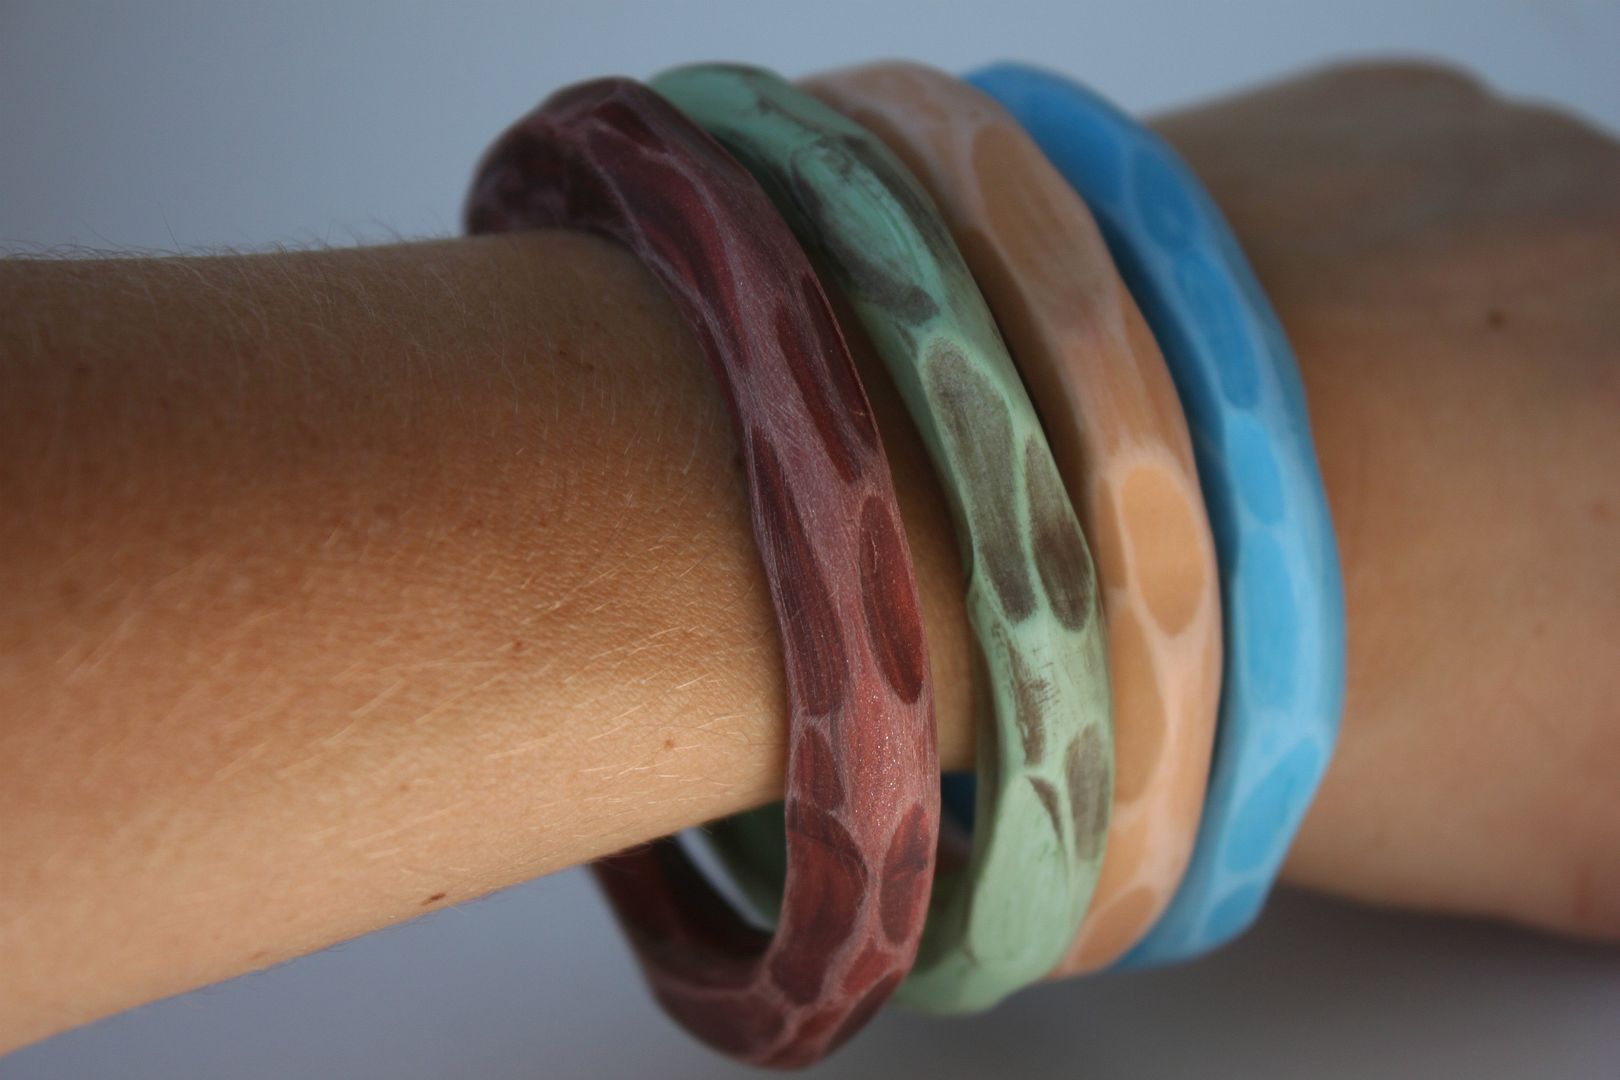
Here is a whole set that I made. For the light green one I used acrylic paint and then distressed it with the sander to give it a little bit of a different look. So there you have it!

Shabby Apple Necklace Giveaway! -CLOSED-

Wednesday, September 28, 2011

Thank you to all that entered.

Jazmin @ The Millers was the winner!


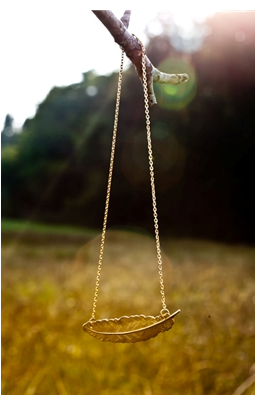
Today's giveaway is hosted by Shabby Apple! I am not gonna lie, I like this necklace so much that I wish I could secretly enter.

Have you been to this amazing online boutique yet? It is filled with must have dresses, skirts and gorgeous jewelry! They even have cute maternity dresses for you Mommas to be!

If you have not yet visited the Shabby Apple... run (click very quickly) on over! You will not be disappointed.

How you can win the Light As A Feather Necklace:
(leave a separate comment for each)
  • You must be a follower of Delighted Momma
Additional Entries:
(leave a separate comment for each)
  • Tweet about giveaway. Tag with @DelightedMomma
  • Mention this anywhere else you like. Leave an additional comment(s) telling me where you mentioned it.

Good luck! The winner will be announced next Wednesday!

How To Make Homemade No Salt Pickles

Tuesday, September 27, 2011

Whats a pickle without salt?! Well let me tell ya these are supercalifragilisticexpialidocious!

When I was pregnant I went through an entire jar of pickles in about 2 days flat. Total pregnancy cliche..but I really was addicted. I would always wake up with total bloat face..not a good look let me tell ya! I am SO sensitive to sodium and I bloat up like a mini hippo whenever I eat too much of it. So when I discovered homemade no salt pickles a few weeks ago at my Dad's house I was hooked!

The secret to no salt pickles is apple cider vinegar. I am a huge fan of this stuff but who knew that you could make pickles with it!

What you will need:
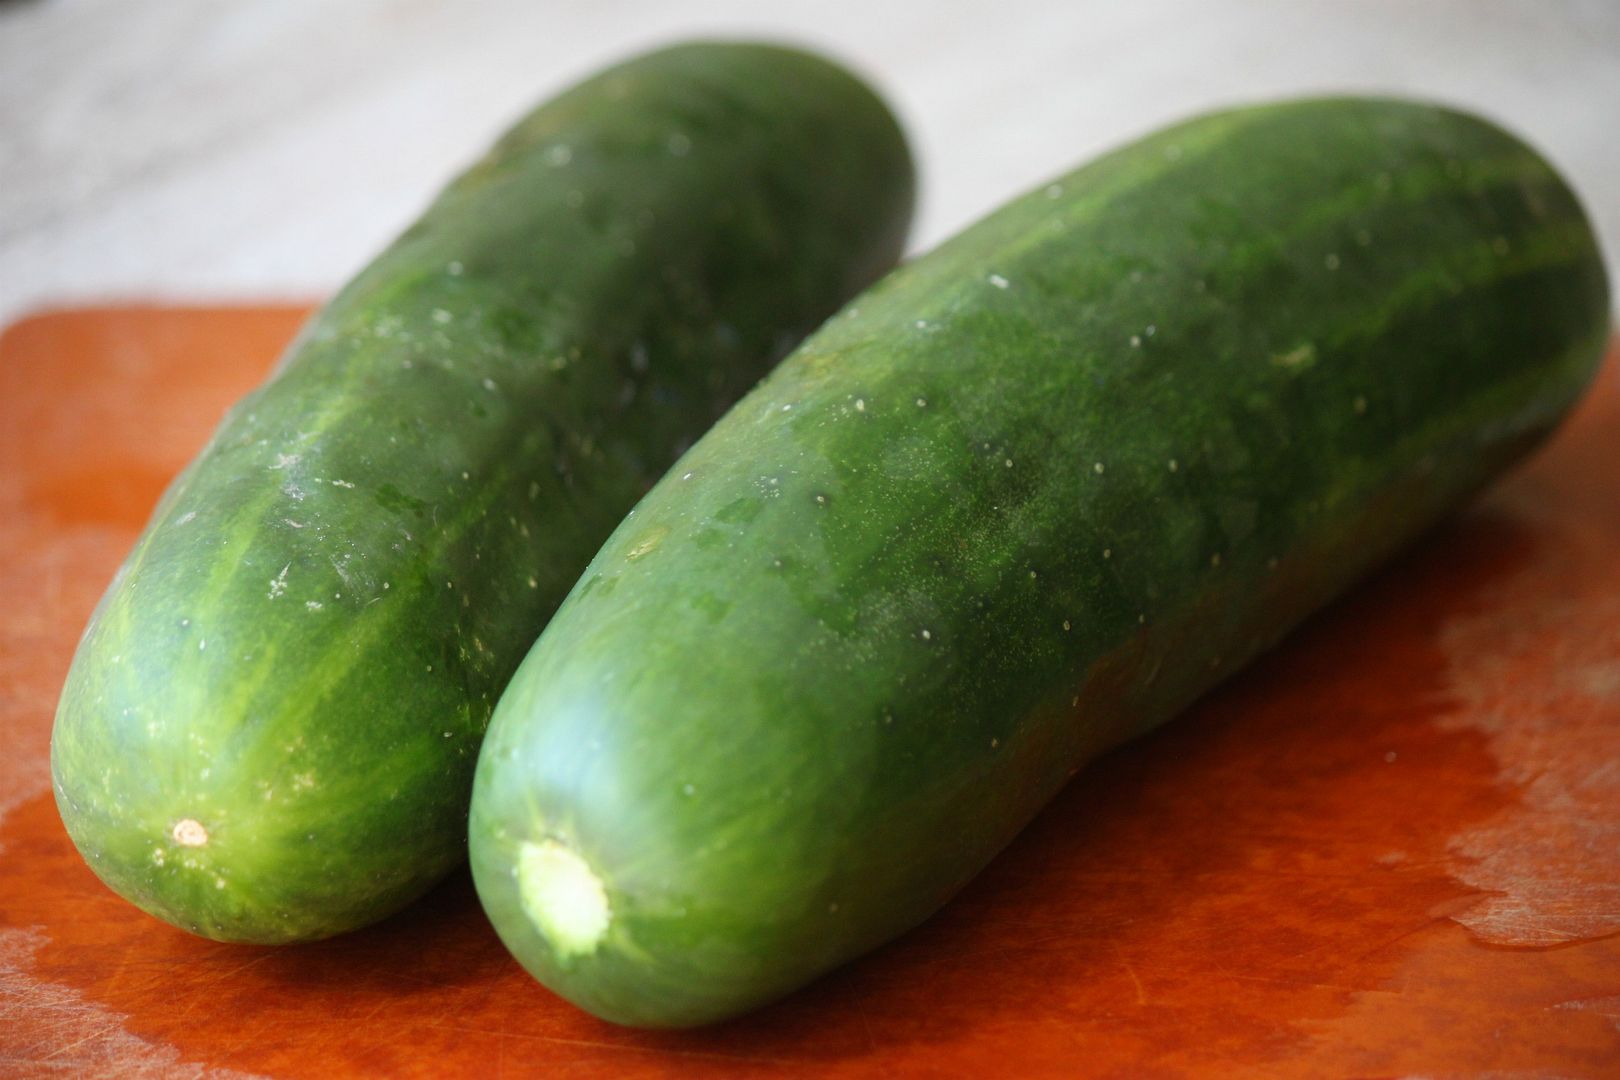
  • 2-3 large cucumbers
  • Apple cider vinegar
  • Mason Jar
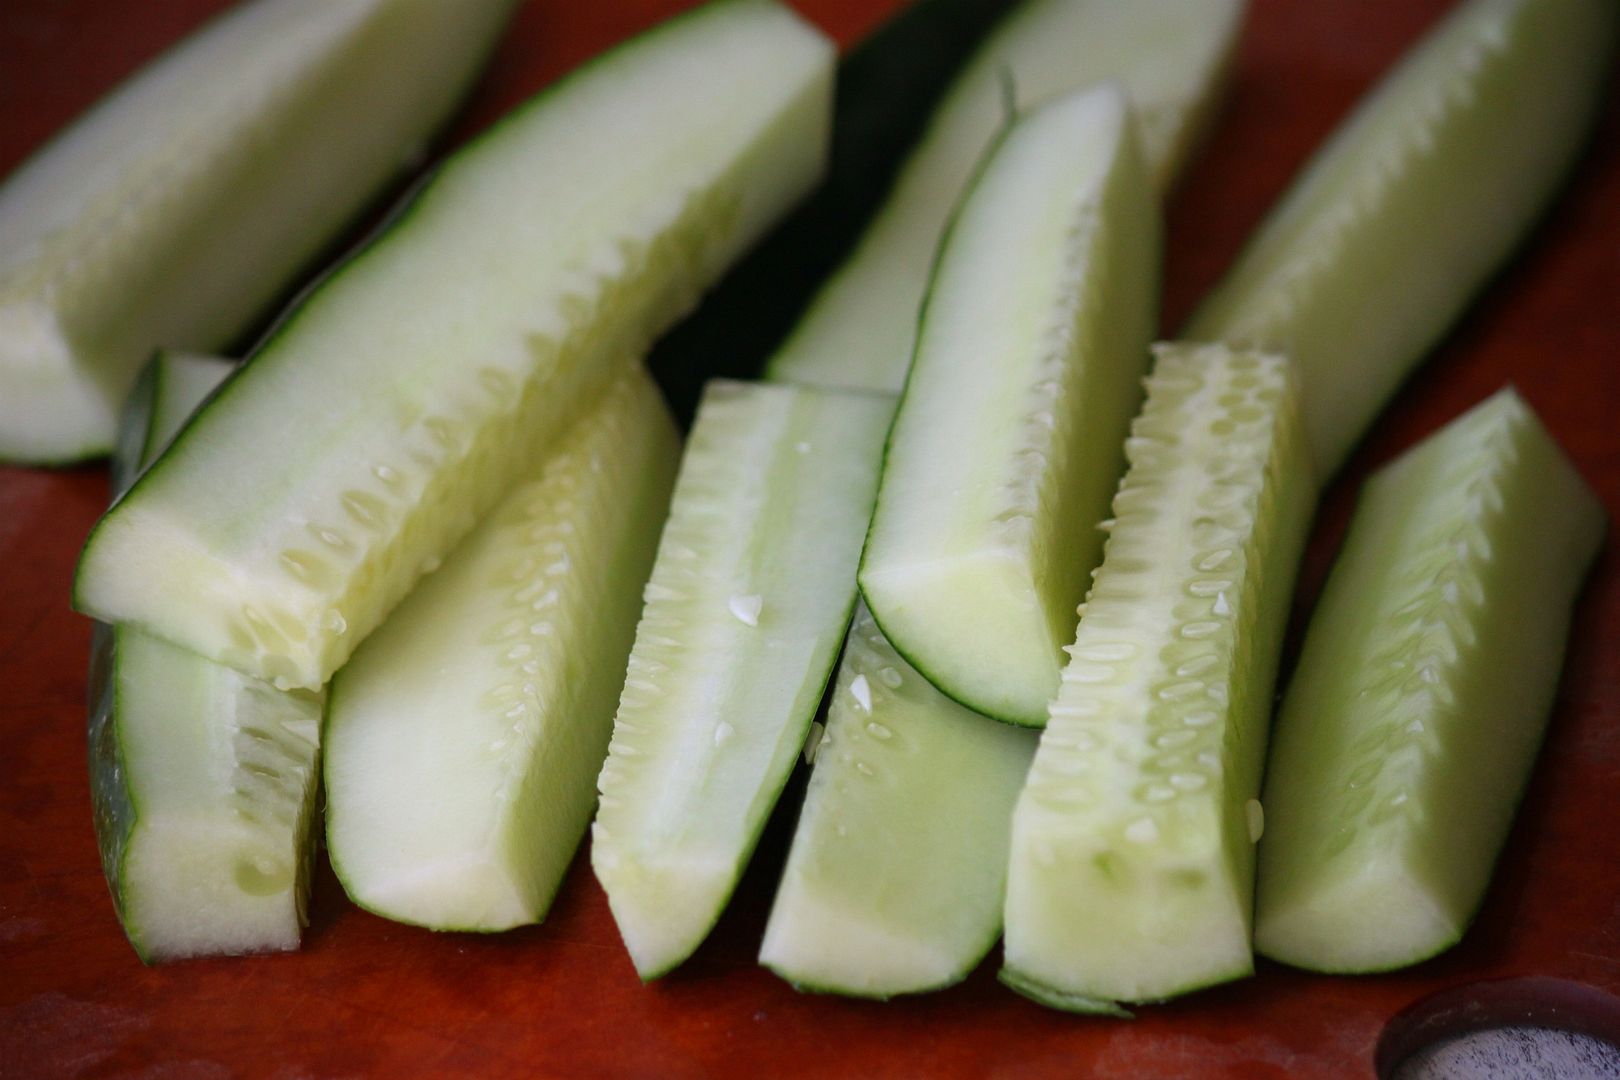
Cut the ends off the cucumbers and slice into long pickle like slices.

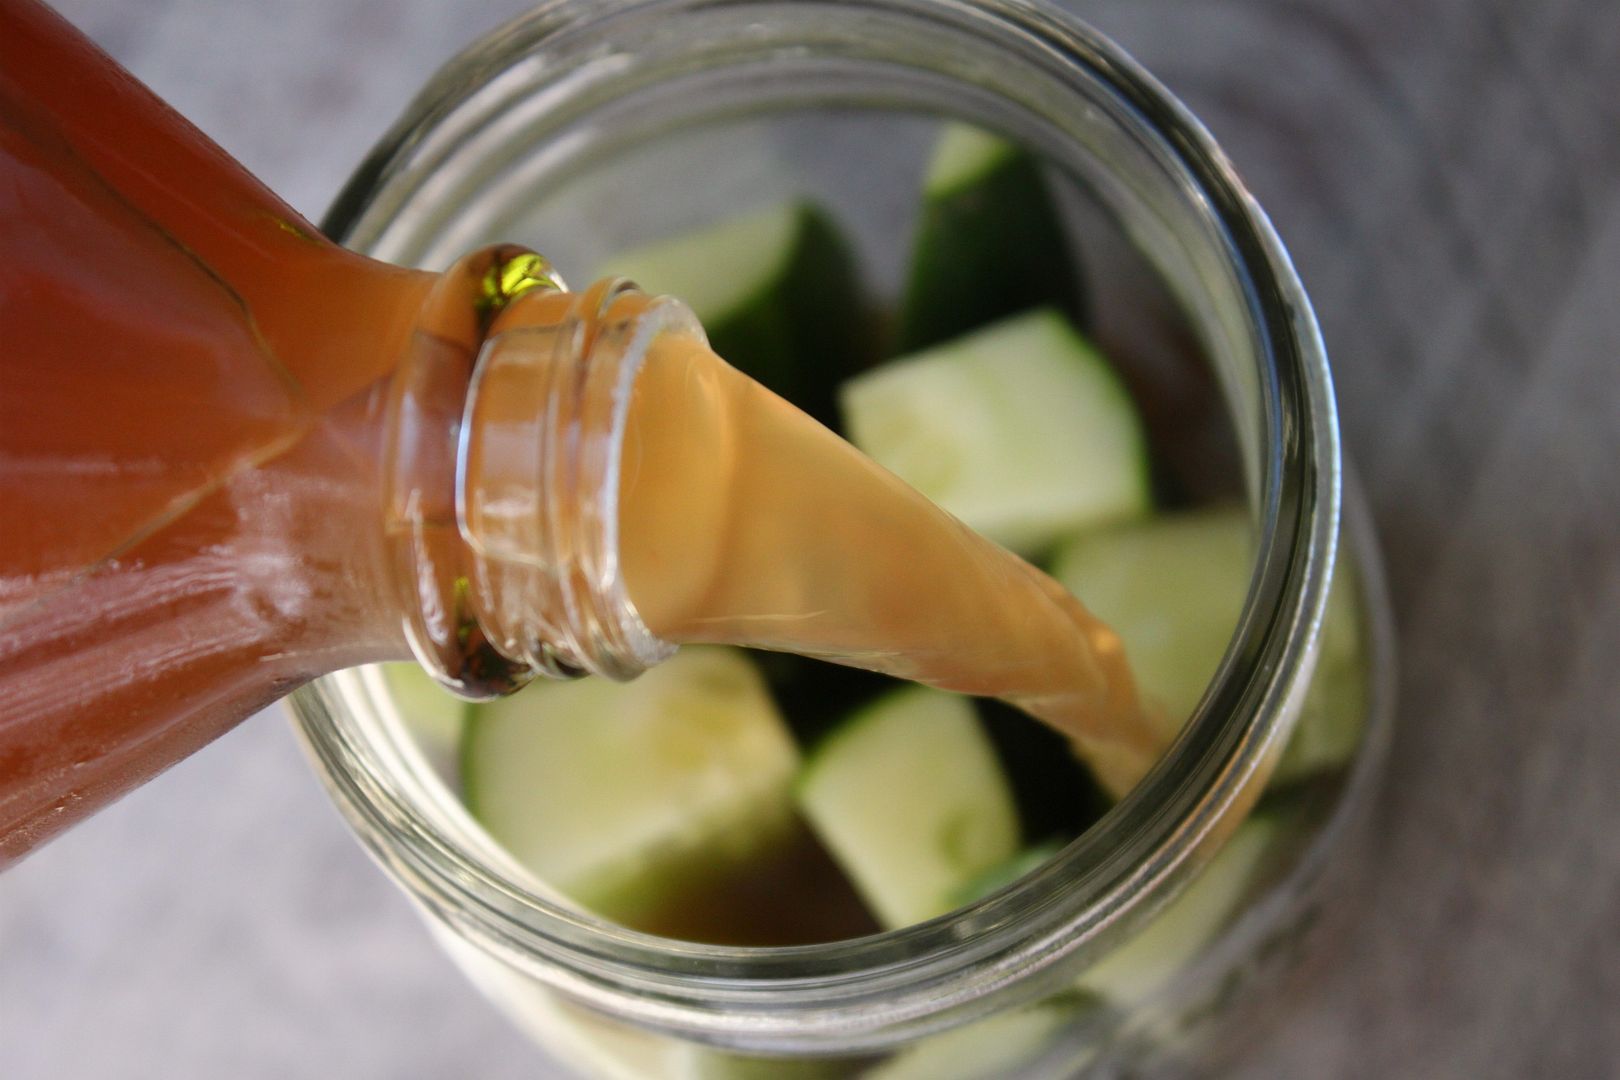
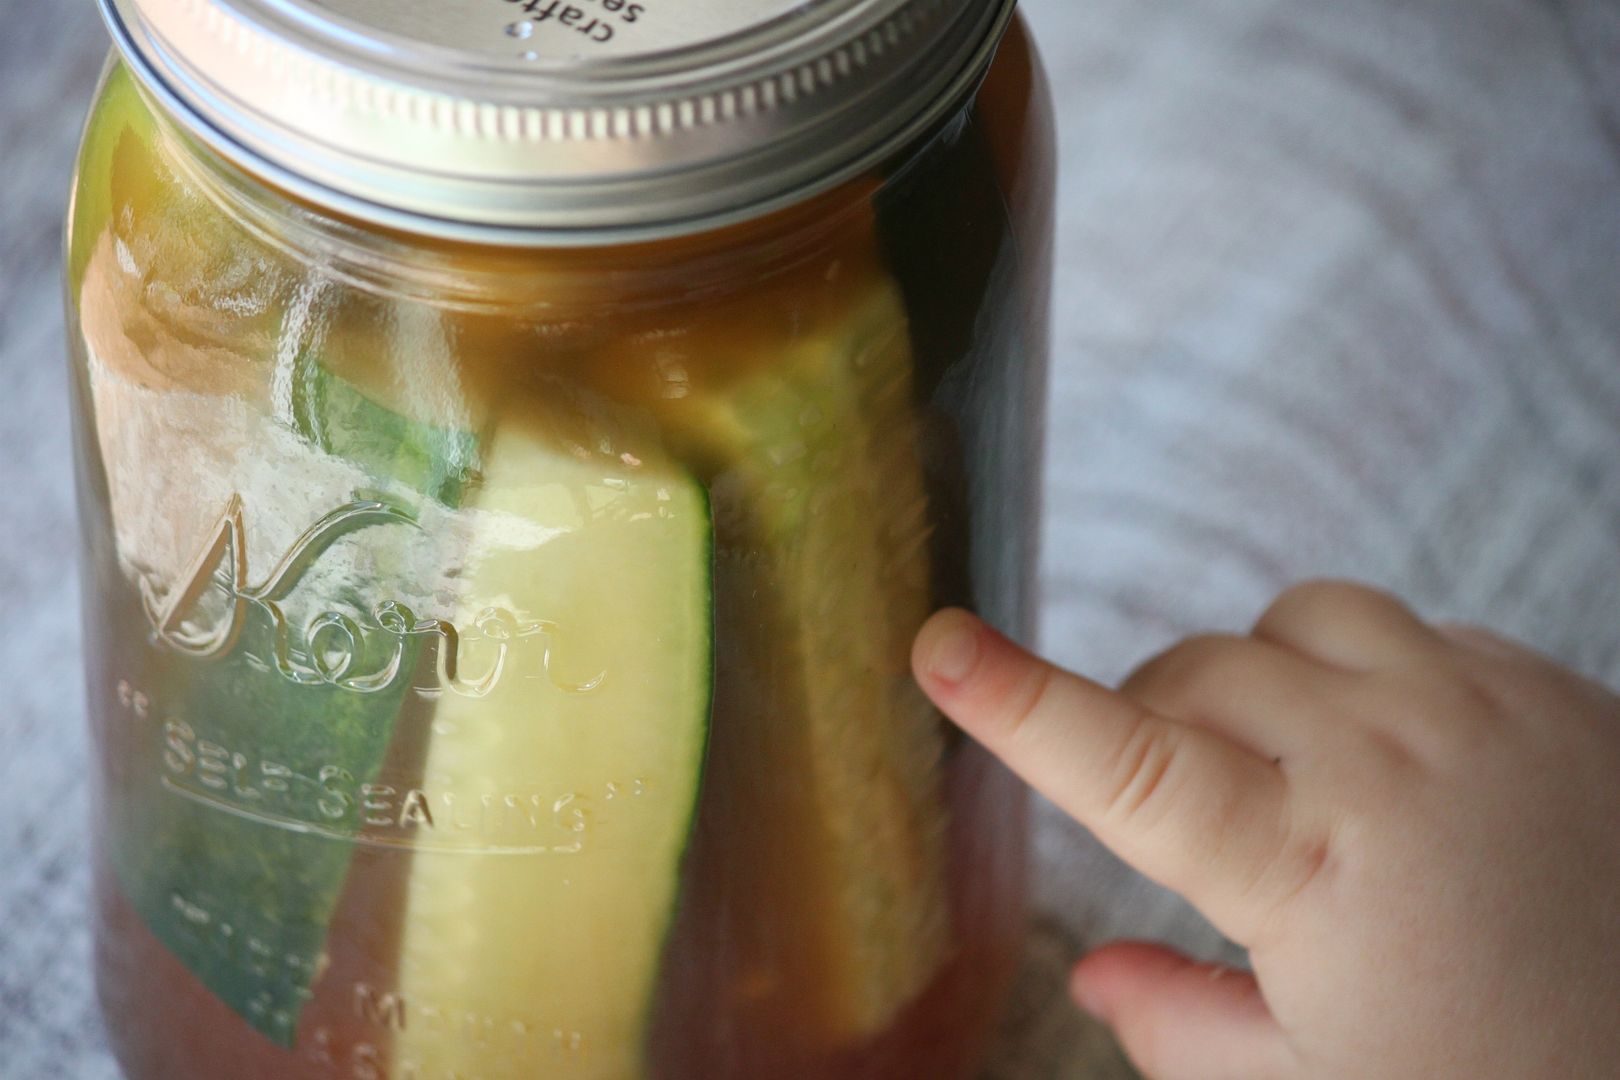
Place the pickles into the mason jar and pour the apple cider vinegar in until it reaches the very top of the jar. Fasten the lid on tightly and place in the fridge. Wait about three days for the apple cider vinegar to infuse into the cucumbers and your pickles will be ready!

Soo delicocus! You would never even know that they are salt-less!

Max decided he has a great little hand and wanted to be in the picture.

Skin Care Tip Of The Week *3 simple tips for better skin*

Monday, September 26, 2011


Sometimes the simplest little changes can improve your skin. Some of them we may not even think about. I am guilty of #3.

1.
Change your pillowcase more often. This is always the first post instruction I give my clients after a treatment. Changing your pillowcase every other night (sounds drastic) can be extremely beneficial to your skin. During sleep you sweat and drool (some more than others). If you are a tosser... you are rubbing your face in the pillow which results in dead skin cell debris on your pillowcase. If you keep placing your pretty face there night after night without changing it you may be causing unnecessary breakouts.

2. Clean your makeup brushes. I recommend cleaning your makeup brushes at least once a month. If you don't they can become a breading ground for bacteria.

3. Clean your cell phone daily. Contact acne is very common. Whenever I have a client with random breakouts around the upper cheek area the first thing I ask is if she holds her cell phone on that side. Most of the time the answer is yes. Contact acne is pretty easy to avoid.. clean whatever is touching your face. The best way to clean your phone is by taking a damp cloth and wiping it daily to remove any excess makeup, oil and sweat.

On a side unrelated note: I hate commas....that is always why I do...FYI :)

Only a few days left to enter the Apothica giveaway!

Things That Make Me Say Yeay

Friday, September 23, 2011

A little handful of raw goji berries.

I have started taking a few minutes each day to write out my thoughts in a journal. So therapeutic and it has been helping me feel a lot more organized with my thoughts..which if you read this post you will understand.

Max helping me water the garden :) I always do a little inside giggle when I hear Mom's say, "My kid is soooo smart." Well I am gonna be that Mom. He knows the difference between tomatoes, cucumbers, onions and carrots. He will point to each one that I say. My kid is sooo smart ;)

My ear coning kit that I bought for Ian and I to use... BUT I am so scared to try it out! Has anyone tried this before? Thoughts? I am so scared to light my ears on fire!

A few clay bracelets that I recently made just for fun.

On a side note:
It is officially the first day of fall! Wooohoo! Now it needs to be colder. I cant wait for eggnog, hot mulled wine, pumpkin soup, grape stomping (yes I am making the husband do a grape stomping date with me) scarves and so much more!

Hope you all have a wonderful weekend!

DIY Fusion Bead Cuff

Thursday, September 22, 2011

Sometimes when I am feeling a little uninspired a trip down the kids craft aisle at Michaels can do the trick.

I spotted these fusion beads and they brought back tons of memories from when I was a kid. I used to make all kinds of little iron designs with them. I bought them not having a clue what I was going to do with them. I tend to buy things hoping an idea will just pop in my head. This method of buying things and them not having a purpose is causing my craft cupboard (aka kitchen cupboard) to quickly fill up.

Half the time my little ideas are major flops but sometimes they actually turn out. This was so much fun to make and the possibilities of designs are endless.

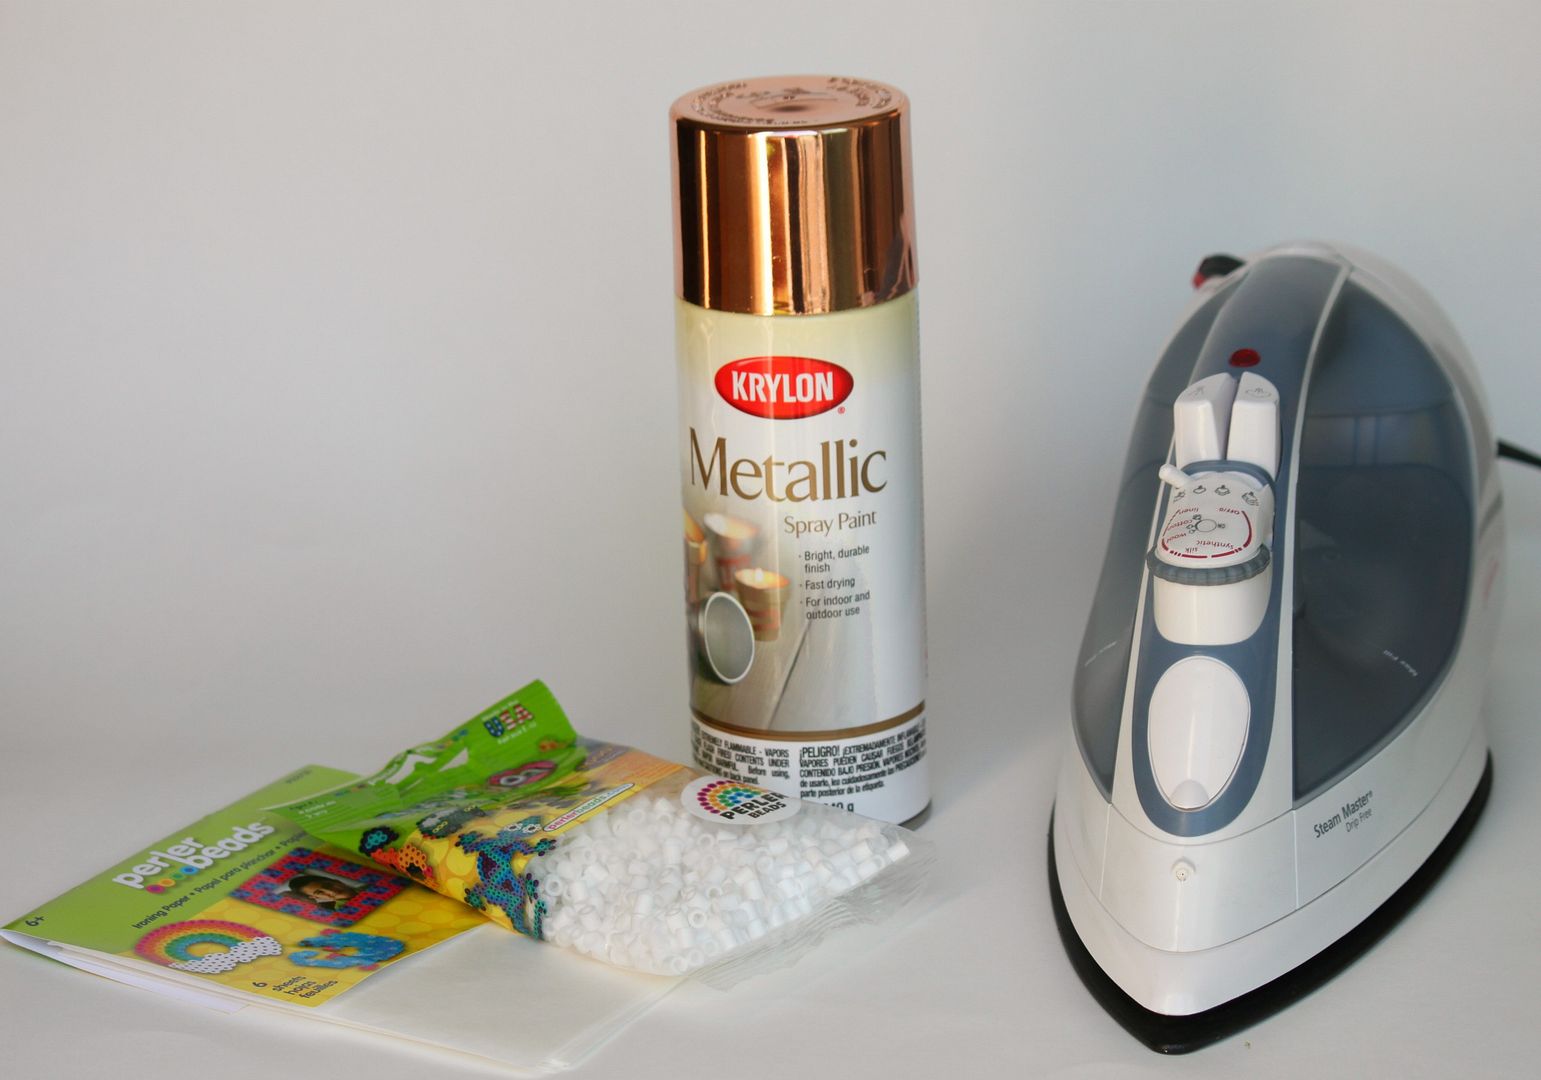
What you will need:
  • A package of fusion beads. You can find these at any craft store.
  • Ironing paper. You can also find this at a craft store.
  • Spray paint. I chose Metallic. I am really diggin this look right now.
  • An iron
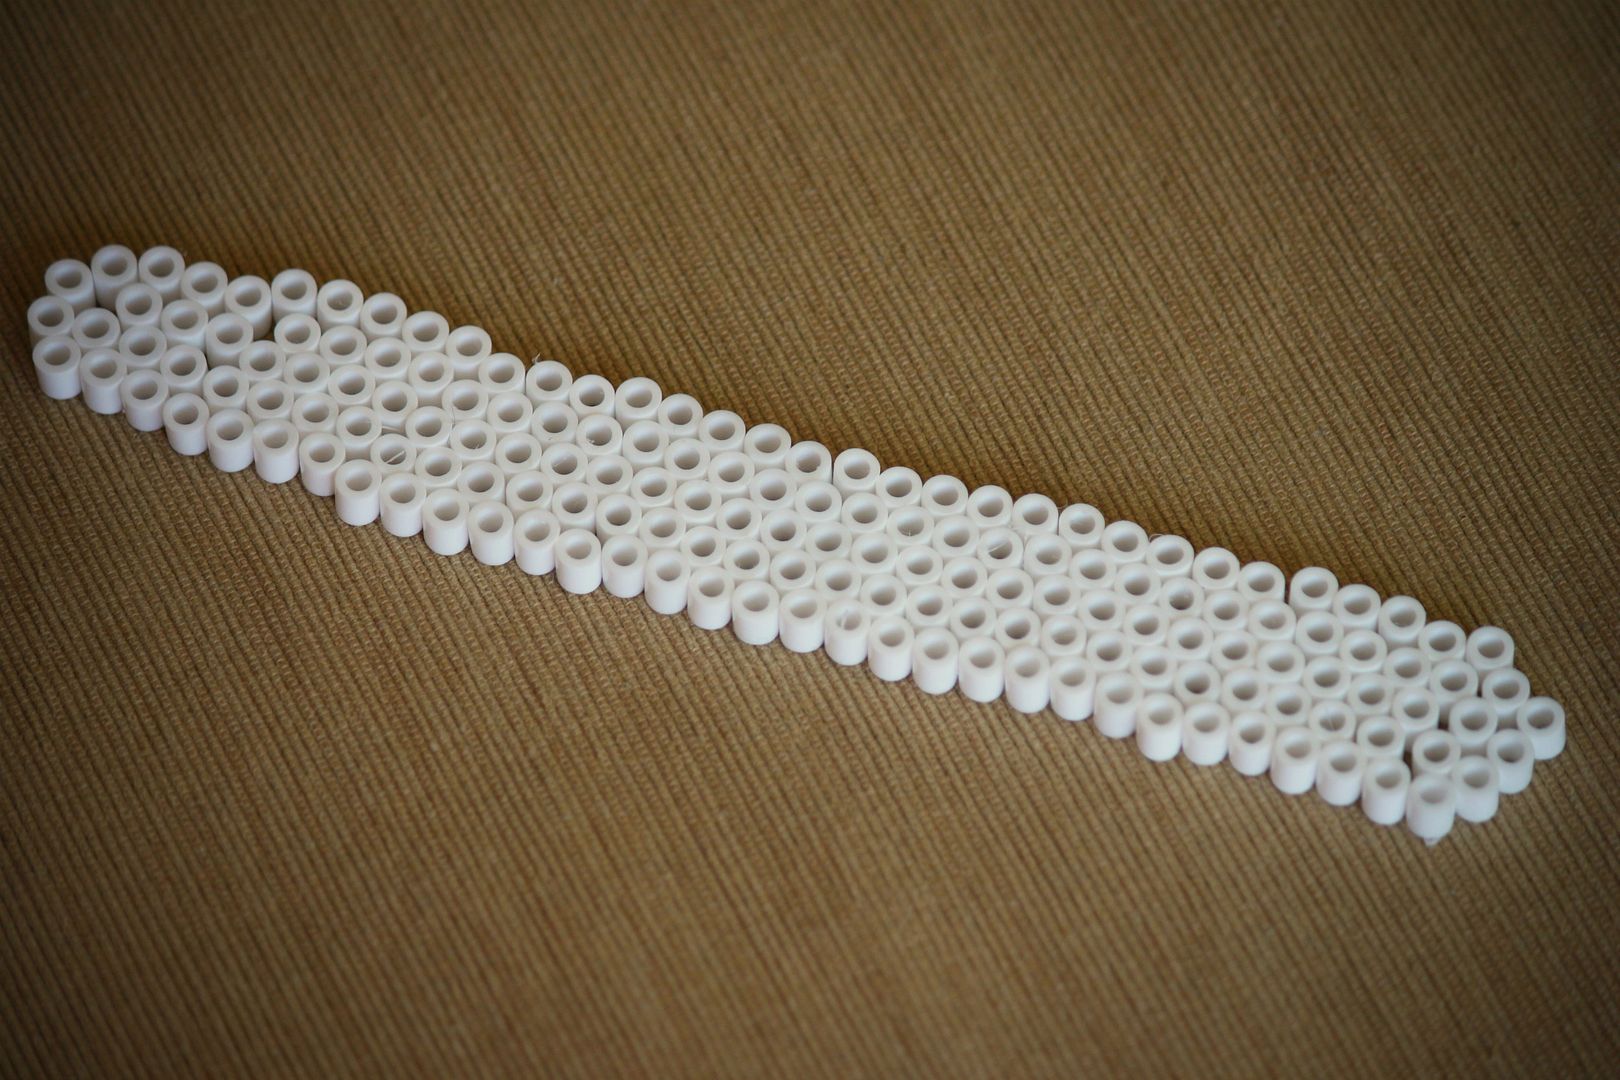
Lay out your fusion beads face up and form them into the shape of a long cuff. My wrist measures 6 inches so I made the length of the cuff to be about 7 inches.

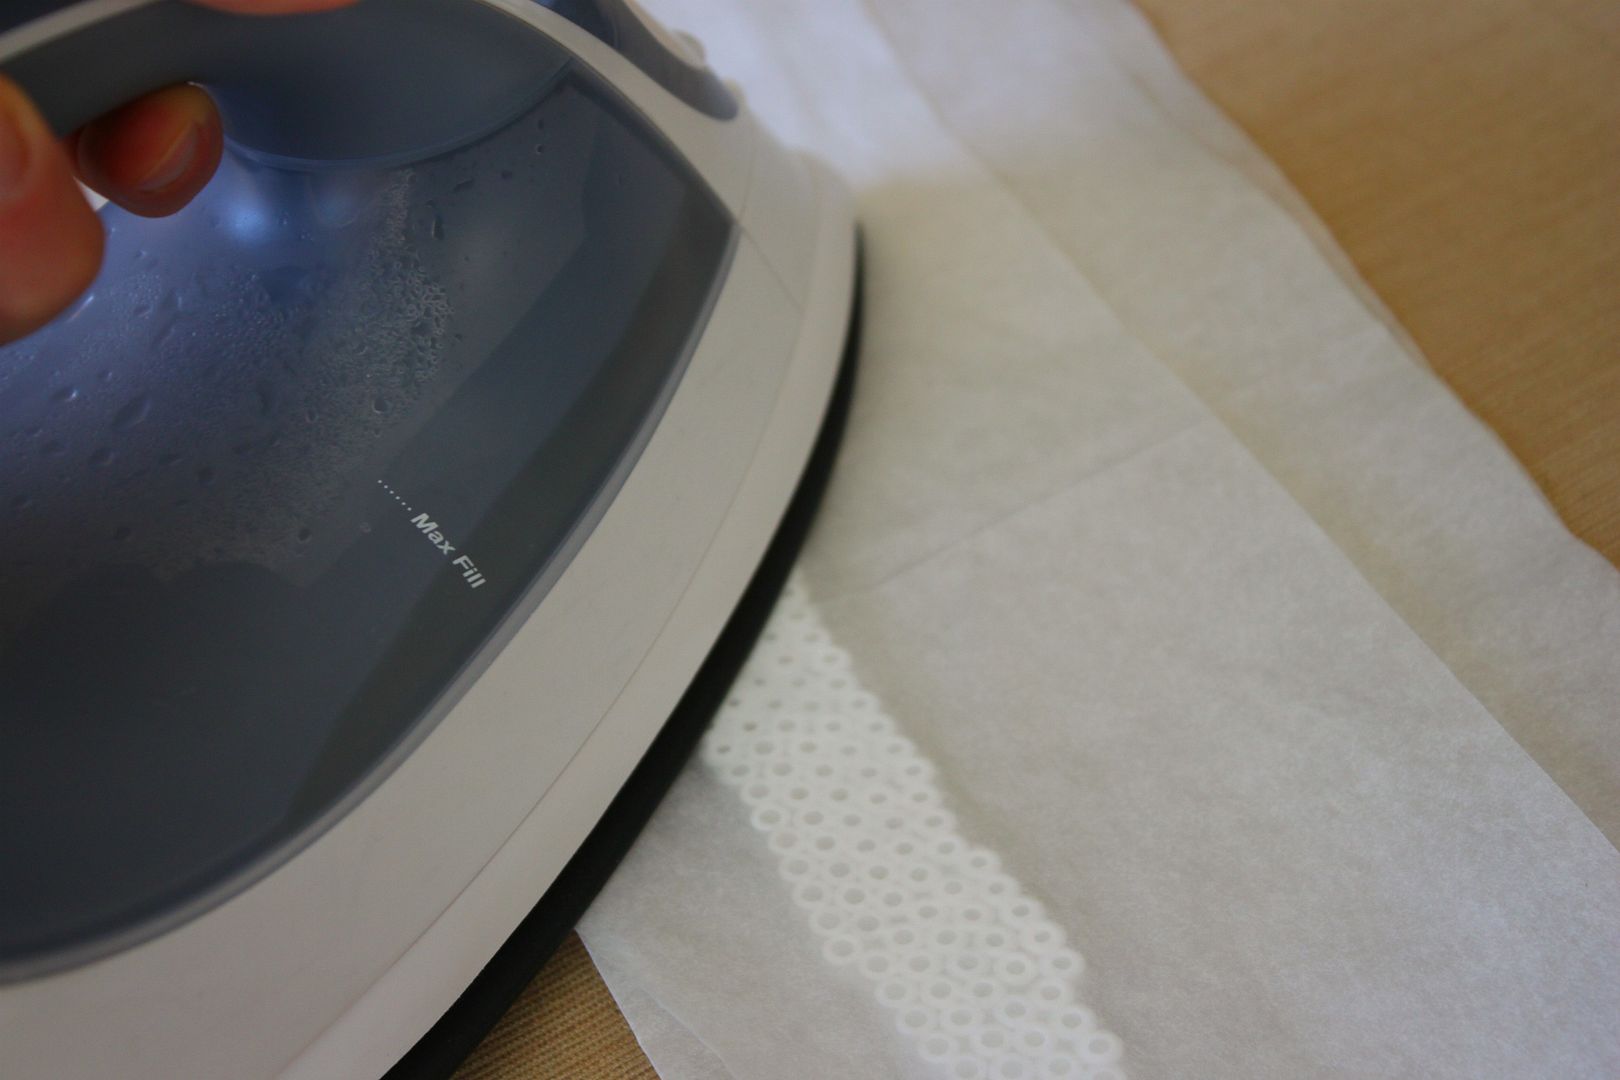
Place the ironing paper on top of your beads. Set the iron on high and quickly iron your piece moving up and down evenly until they all start to melt and mush together.

Once you have done the first side, flip it over and place another piece of iron paper on top and do the same thing.

Once you have finished ironing the beads and they are all fused together you need to work quickly and mold the piece into a cuff shape. Since my finger pads are all worn off from glue and other crafts I didn't feel much but if you have soft little fingers be careful! Once the beads have cooled the piece is set and the shape will stay the way you molded it.

Spray paint it.

This is the back side of the cuff.

And there you have it!

When my husband got home from work yesterday he had no idea what this was (men) so to my horror he began slowly opening it and bending it back and fourth...after my shock wore off that he was about to destroy my masterpiece, I jumped through the air in slow motion (okay not really) and grabbed it to make sure it was still okay. It was fine! So to answer your question in advance about if it is durable, my answer is YES.

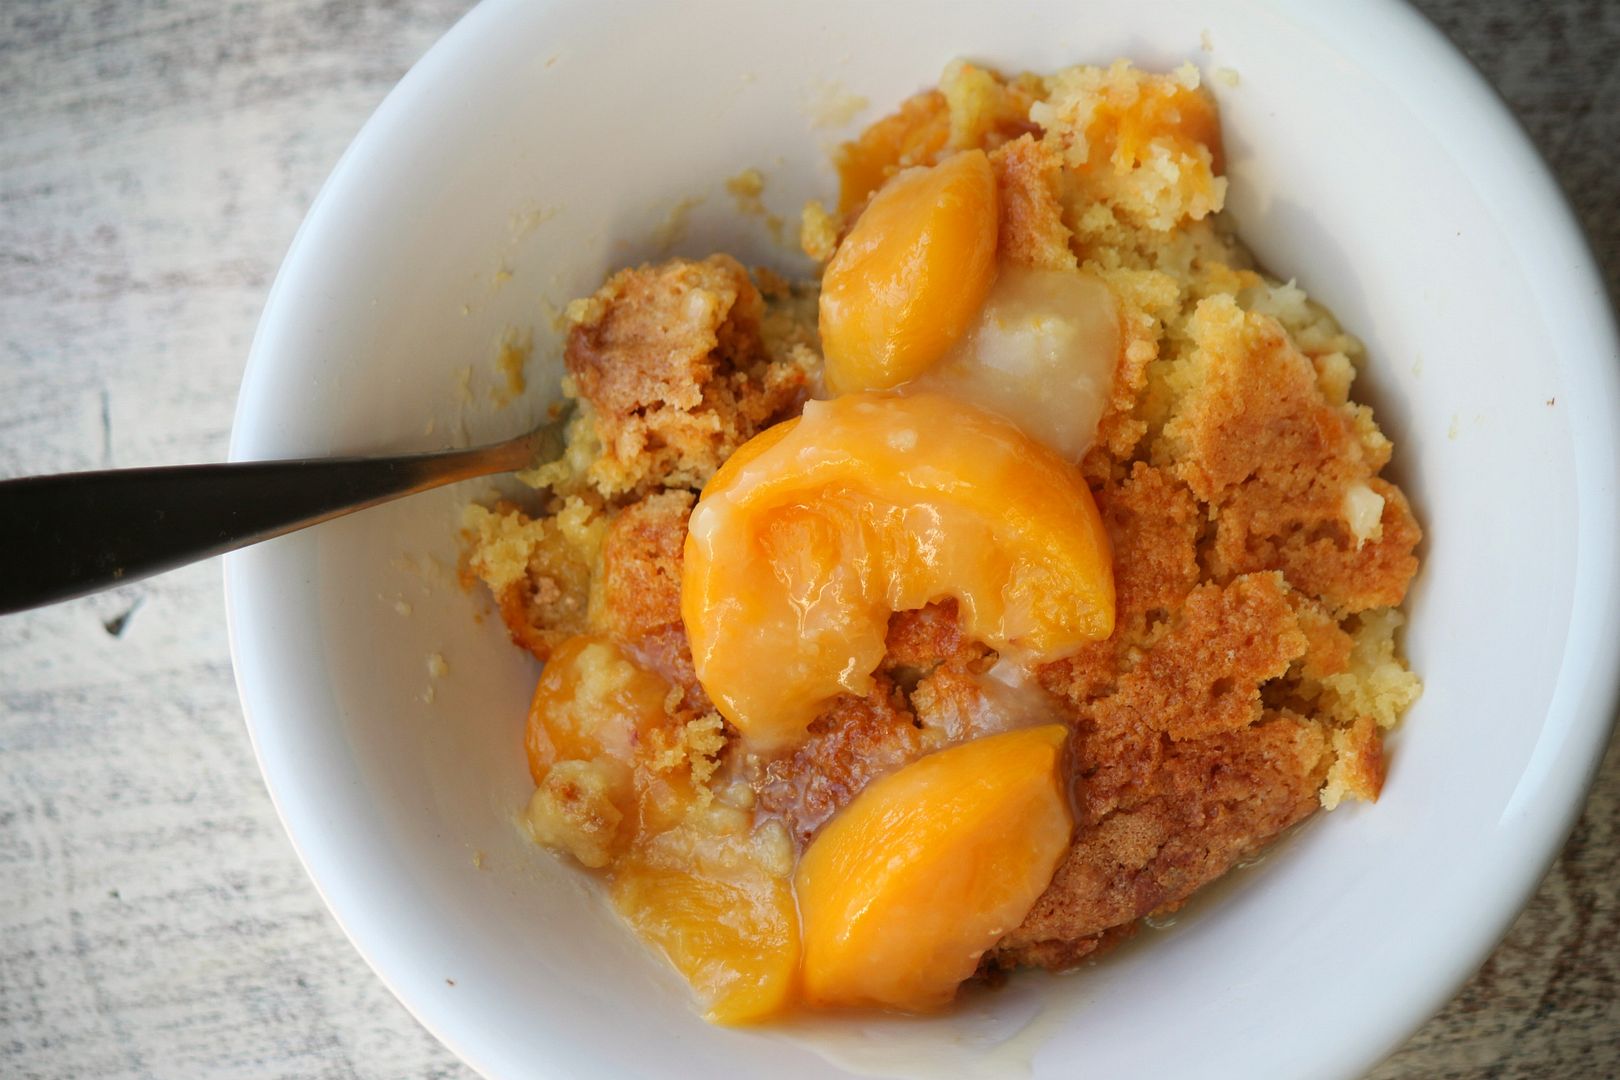
3 Ingredient Peach Cobbler

Tuesday, September 20, 2011

Do you ever pretend like a recipe takes a lot more work and effort than it really does? Or am I the only weirdo who does this?

I have been making this "secret" peach cobbler ever since Ian and I got married. Ian thinks its the best homemade thing in the world.

I always make sure to make it when he's not home and throw away all the evidence deep in the trash ( cake mix box). He has asked so many times whats in it and I always respond with, "It a secret." Well today I am going to share the simplest peach cobbler recipe ever!


What you need:
  • 2 cans of peaches in light syrup
  • 1 box of yellow cake mix
  • 1 stick of butter


Directions:
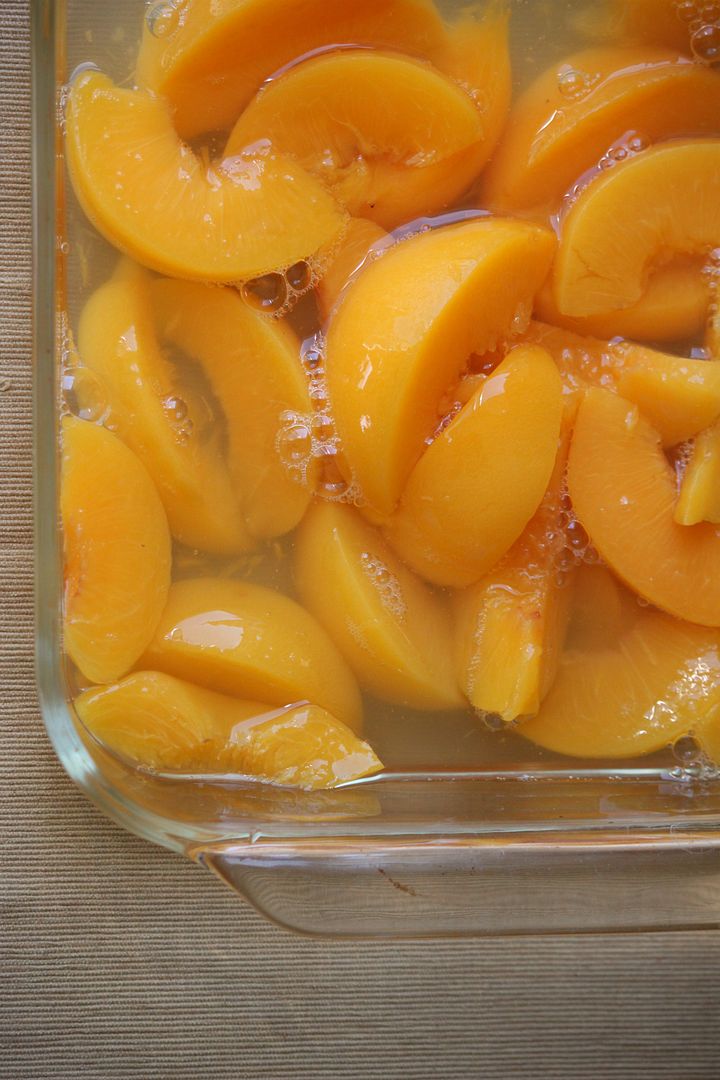
  • Pour peaches into an oven safe dish
  • Add entire bag of yellow cake mix and spread on top.
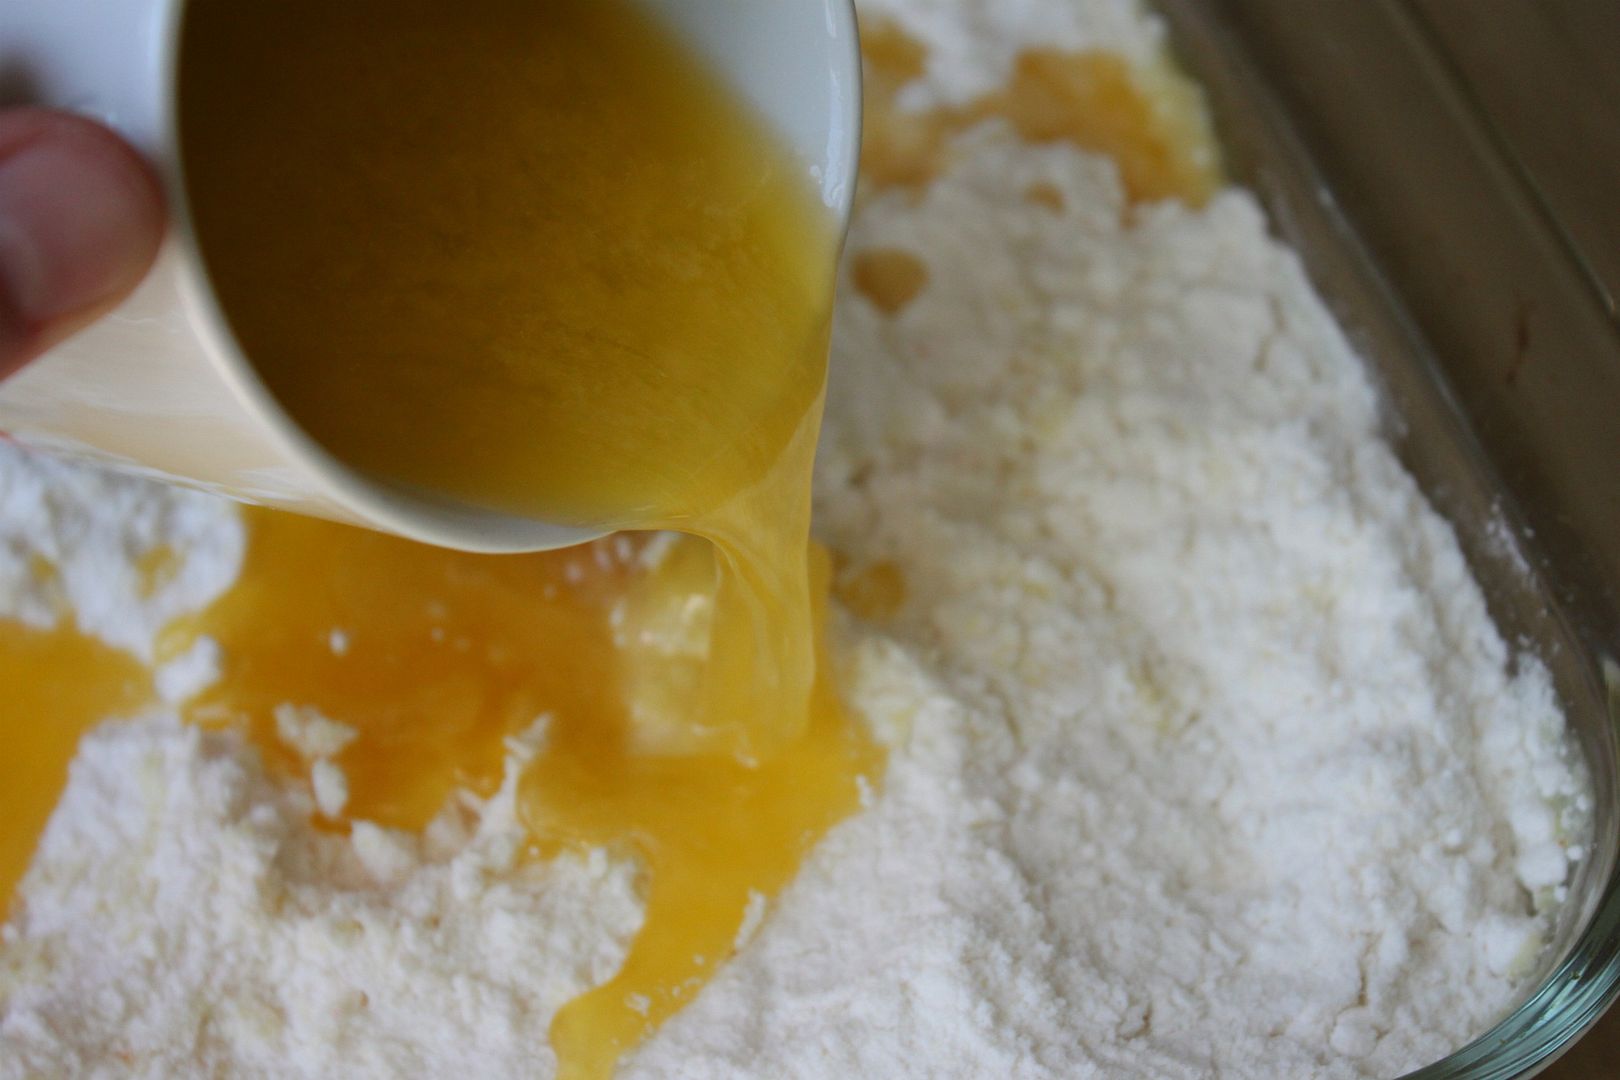
  • Melt one stick of butter and pour evenly on the top of the cake mix.
  • Bake at 350 degrees for 50 minutes or until top is golden brown.
*okay so this is not the healthiest recipe... but every once in a while who cares! Its worth it :)


If you make this I highly recommend you give it away to as many friends as you can...unless you have willpower to not eat the entire pan of it yourself, which I don't.

Enter to win a gift card to Apothica here!

Skin Care Tip Of The Week *DIY rose water toner*

Monday, September 19, 2011

This weeks skin care DIY is one of my favorites! Not only does it smell amazing but it has wonderful benefits for your skin.

Rose water toner benefits:
  • Can be used on all skin types
  • Soothing and nourishing
  • Toning and rejuvenating
  • Great makeup setter. You can do a few sprays after you apply your makeup for that dewy effect.
  • Helps heal sunburns and wounds
  • Can help balance your skin
What you will need:
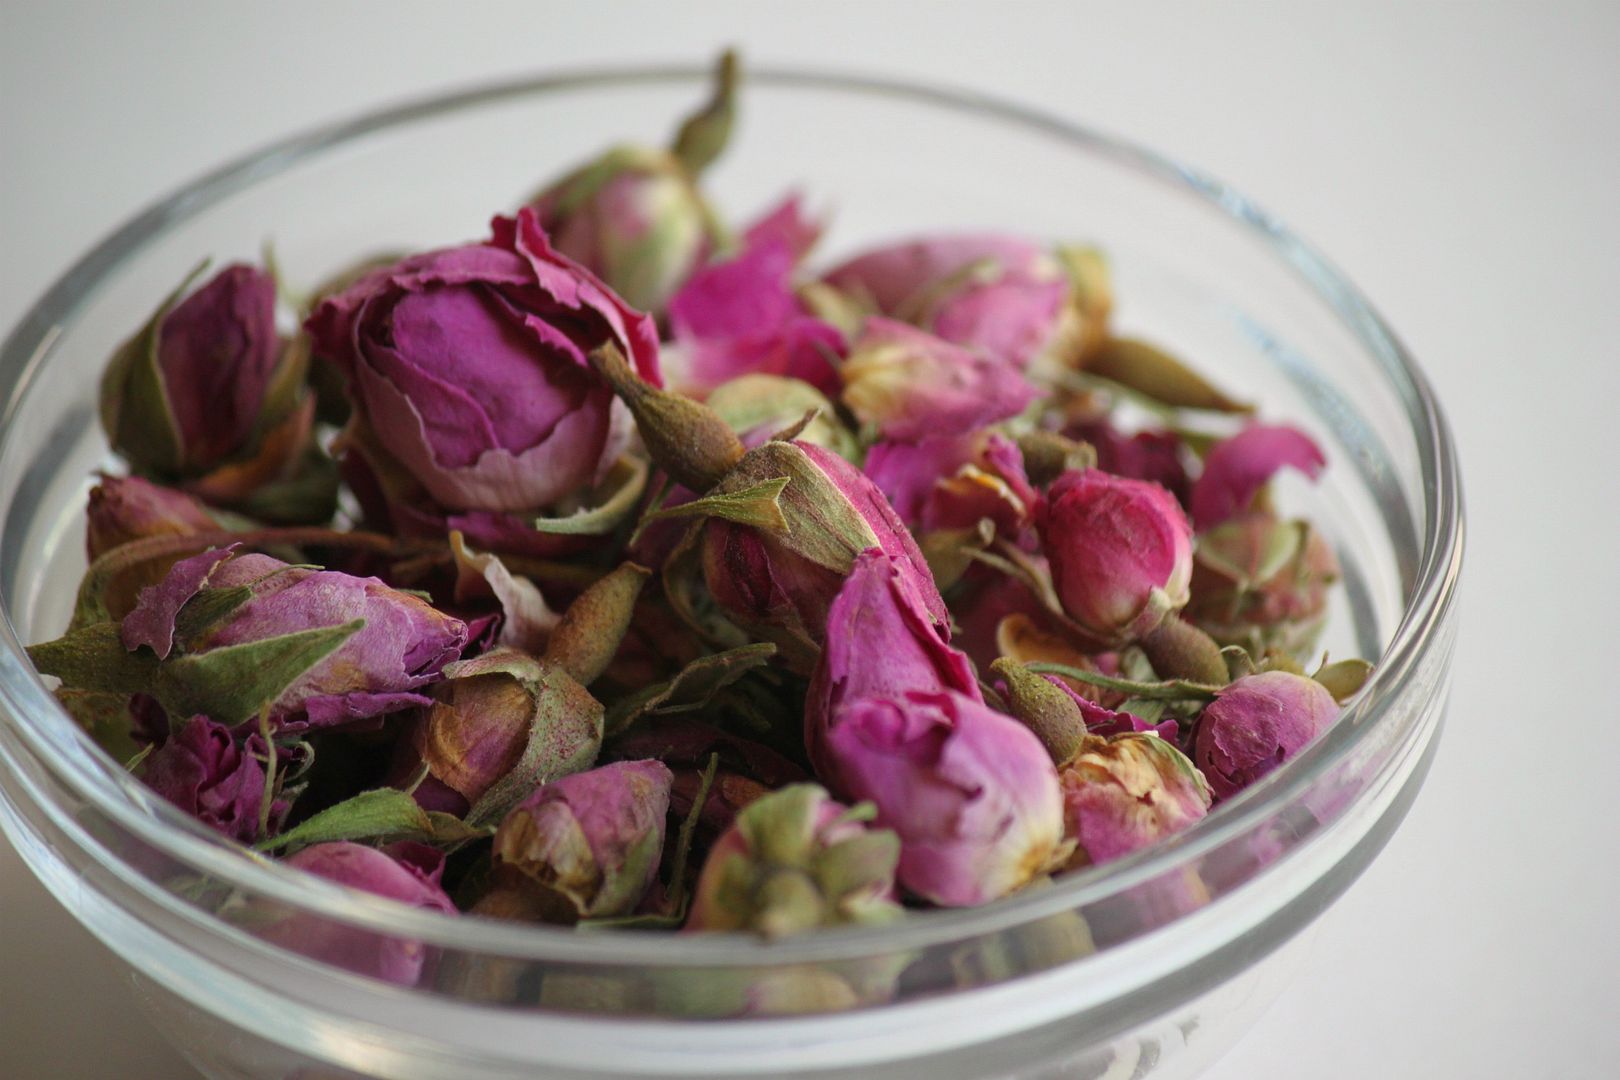
  • Dried rose buds. You can find these in bulk at your local health food store.
  • Distilled or filtered water
  • Empty spray bottle

How to make your own rose water toner:
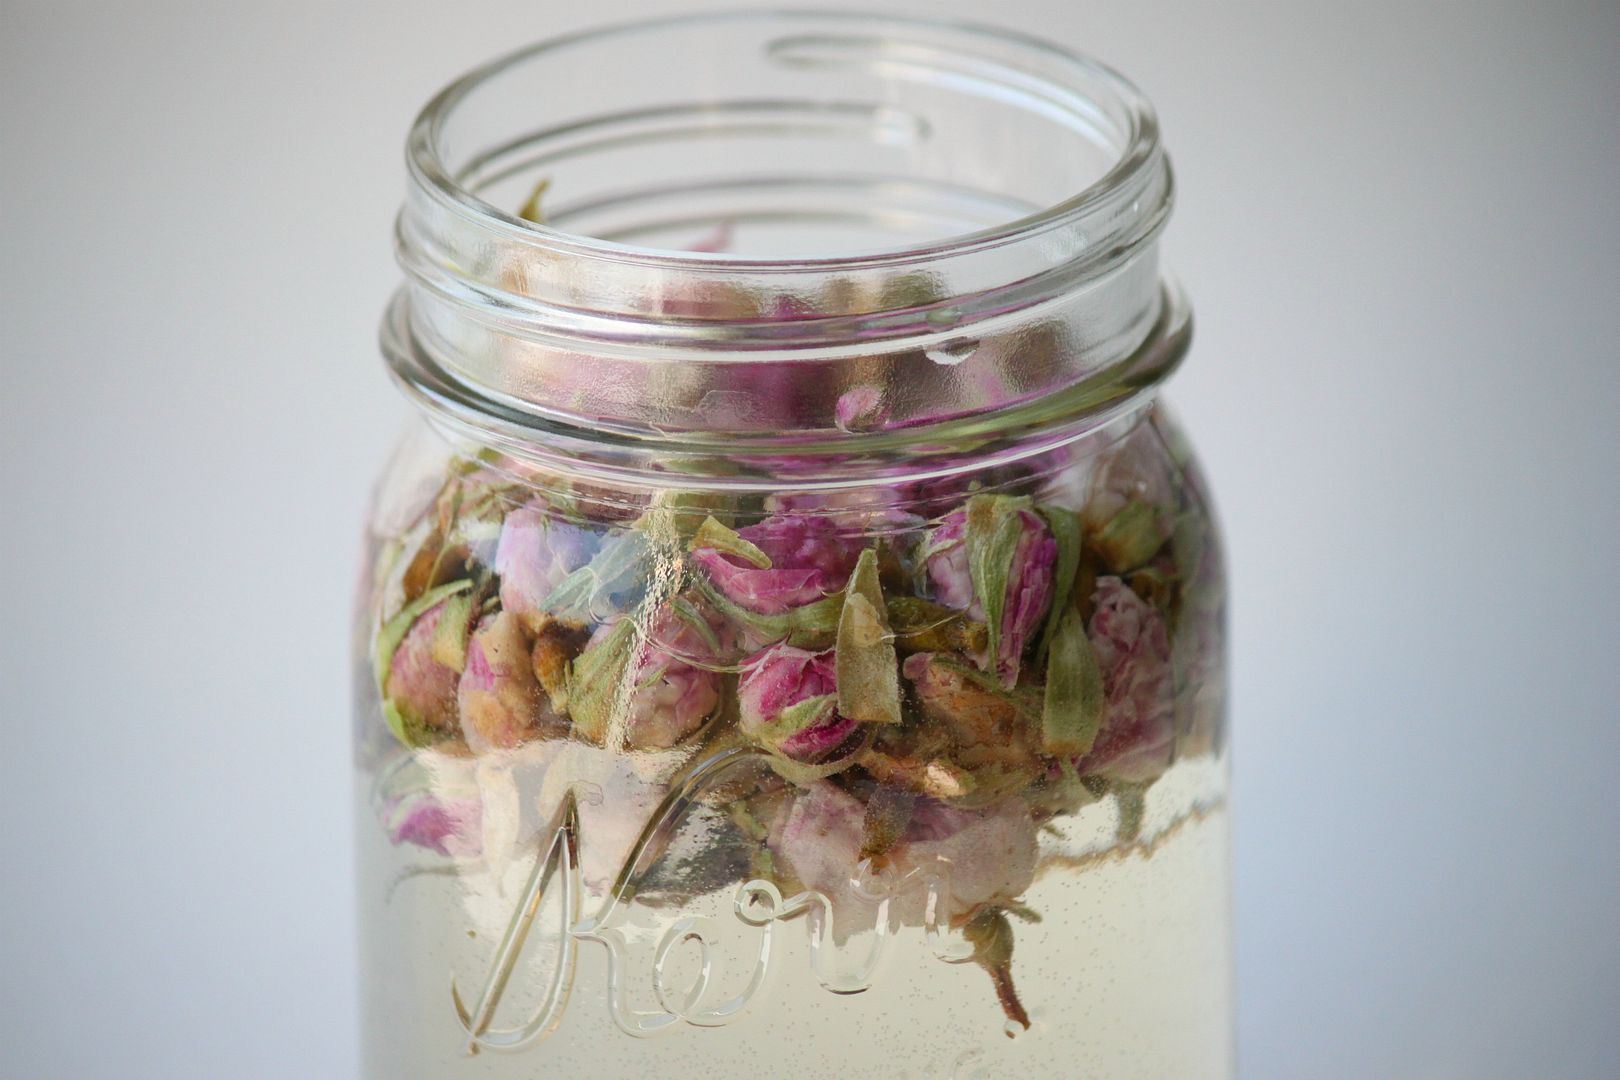
  • Place about 1/2 cup of dried rose buds into a glass container
  • Pour hot distilled or filtered water over the rose hips
  • Let sit for about 1-2 hours
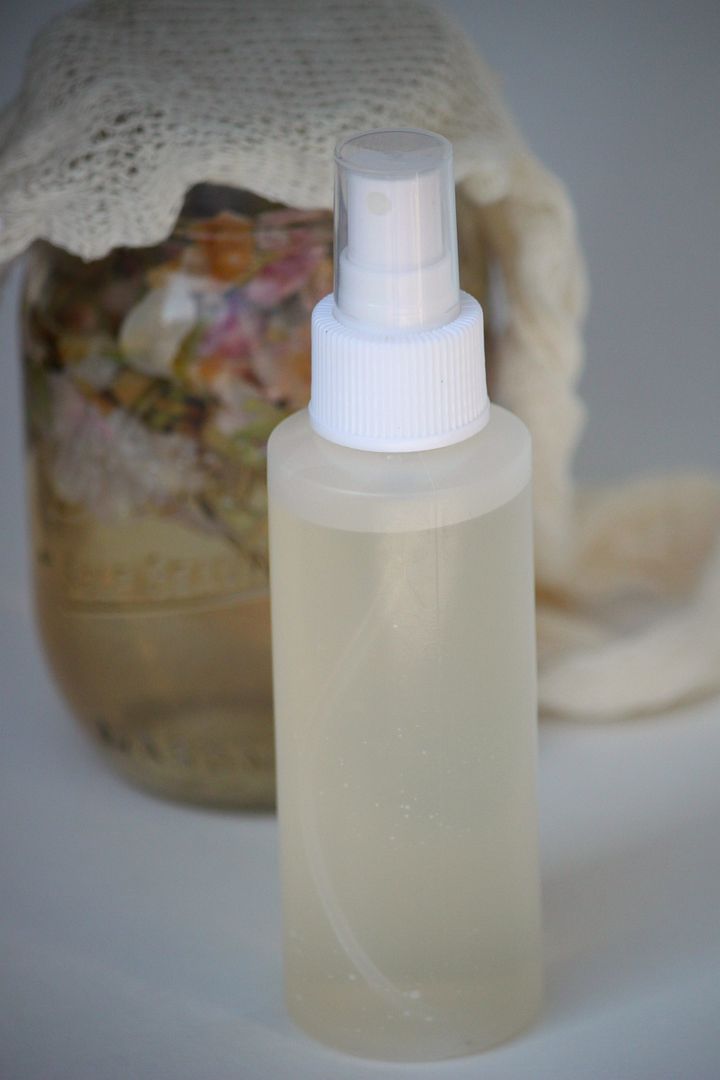
  • Using a cheesecloth or strainer pour the rose water into a spray bottle

Since your toner is all natural and contains no preservatives you need to keep it in the fridge. Use it within one week. You will love how soothing and refreshing this is!

Enter to win a $25 Apothica Gift Card! -Giveaway Closed-

Friday, September 16, 2011


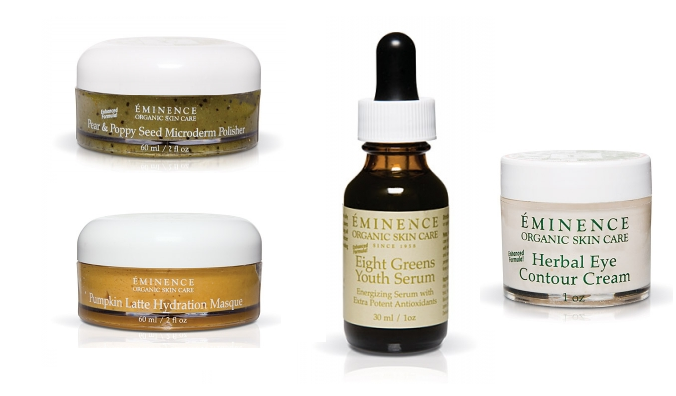
I am so excited to share Eminence Organics Skin Care with you all today. It is one of my favorites!

Eminence offers a line of ecologically conscious products for all skin types, tones, ages, and conditions.


The Pear & Poppy Seed Microderm Polisher. It gently removes dead skin calls to reveal a healthy glowing complexion.

Another favorite is the Pumpkin Latte Hydration Masque. It smells so good you want to eat it..but dont ;) If your skin needs a little pick me up this is perfect.

If your skin in need of a little TLC then the Eight Greens Youth Serum is a must have. It firms and tightens the skin, normalizes oil production and reduces hormonal breakouts. I have this serum and I love it!

I am all about a face having a little character..but no one wants to look older than they are. Every woman needs a great eye cream. Eminence Herbal Eye Contour Cream is wonderful!


Apothica carries this amazing line! You can check out the full skincare line here.

Apothica is giving away a $25 gift certificate to one of YOU!

How you can win (one entry for each):
  • Visit Apothica.com and leave a comment below telling me what you would like to try
  • Tweet about Apothica giveaway. Tag with @Apothica and @DelightedMomma
  • Mention this giveaway any where else you like and let me know where you mentioned it
  • Be a follower of Delighted Momma through Google Friend Connect
Bonus Entry:
  • Opt in to Apothica's newsletter

Good luck! The winner will be chosen via random.org

Things That Make Me Say Yeay

Wednesday, September 14, 2011

Caprese salad with fresh tomatoes from our garden. This might be my favorite little snack IN THE whole wide world.

Sometimes you have to have chocolate...so make it good chocolate. Dark chocolate with caramel and sea salt did the trick.

Mud run with my three girlfriends! We had SO much fun!

I promise I was running not walking like it looks like I was doing in this picture. On a side note: Do you ever see pictures of yourself and think...NO way my butt is THAT big....def bad camera angle. After looking through all of the mud run pictures I have come to terms that my butt really is that big. I am learning to embrace it :)

The first clouds I have seen in months. Fall is almost here!

Baked Apple Chips

Tuesday, September 13, 2011

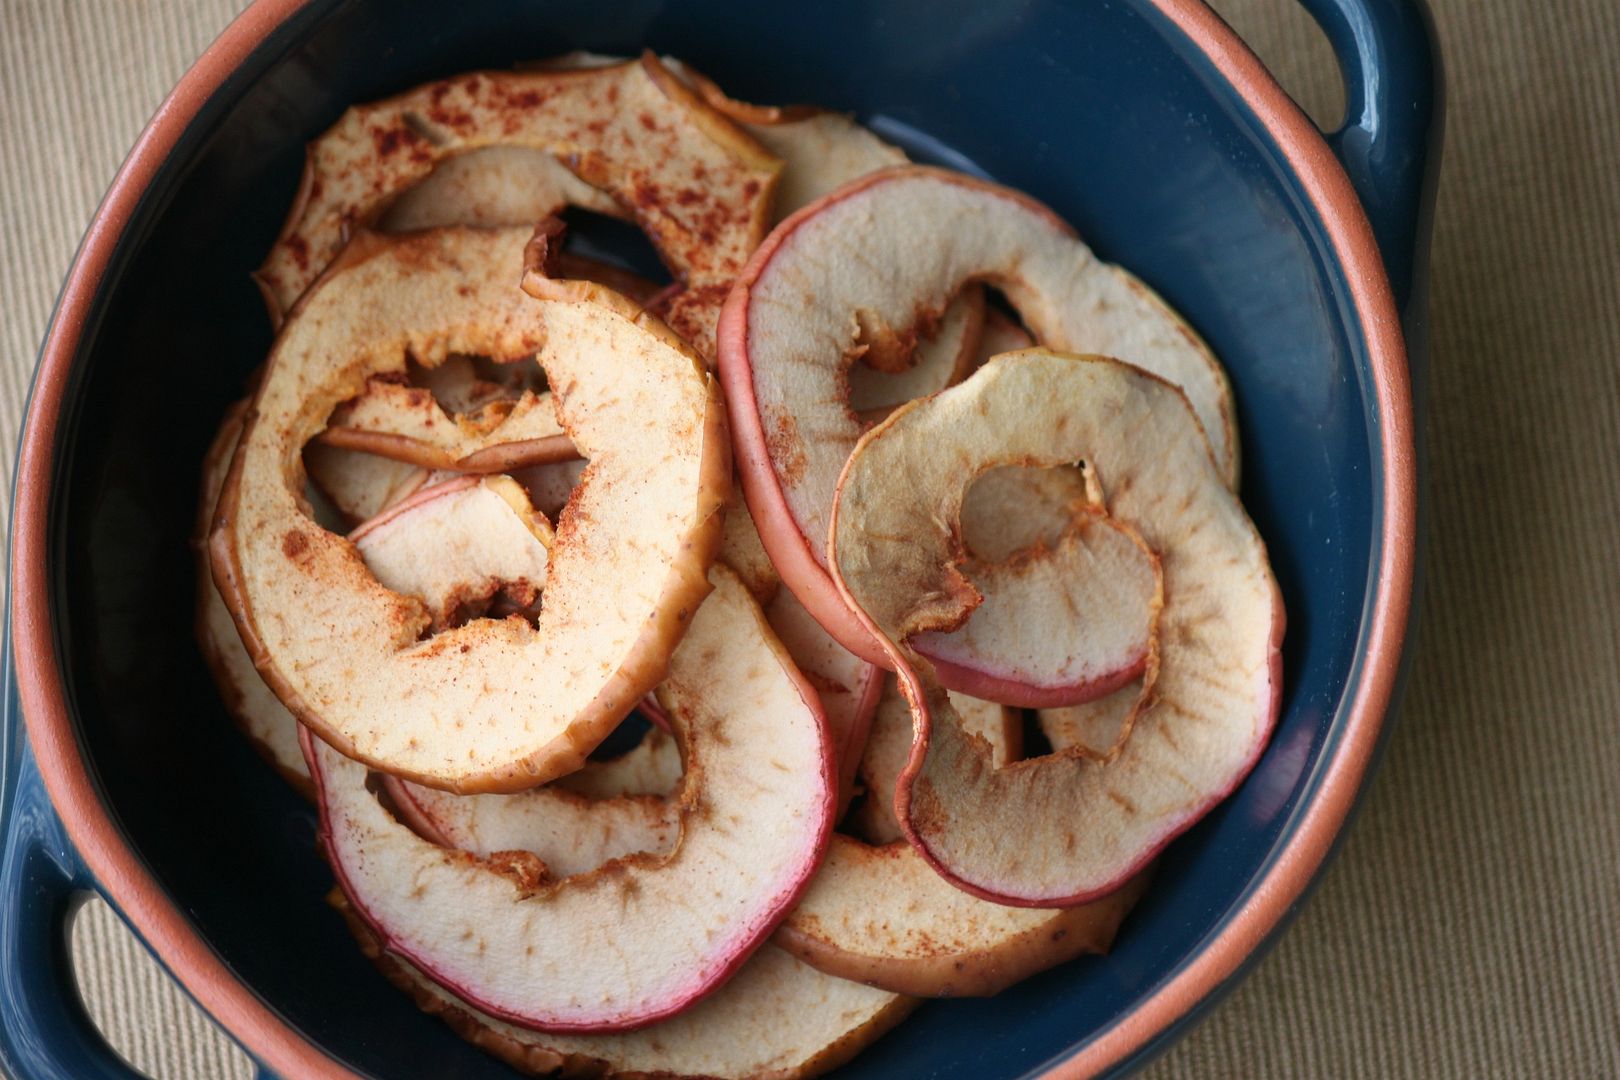
I am totally guilty of snooping in other peoples carts at the grocery store. I want to know what other people are getting. What if I'm missing out on something! Saturday (after my super muddy FUN mud run and 5 showers later) we went to the grocery store and the lady in line ahead of us had a bag of baked apple chips in her cart. YUMMMers.

I thought these would probably not be that complicated to make myself...I also figured they would taste better warm and fresh out of the oven. I was right. Love it when that happens ;) So that is where this inspiration for this recipe came from...an unknown lady's shopping cart.

What you will need:
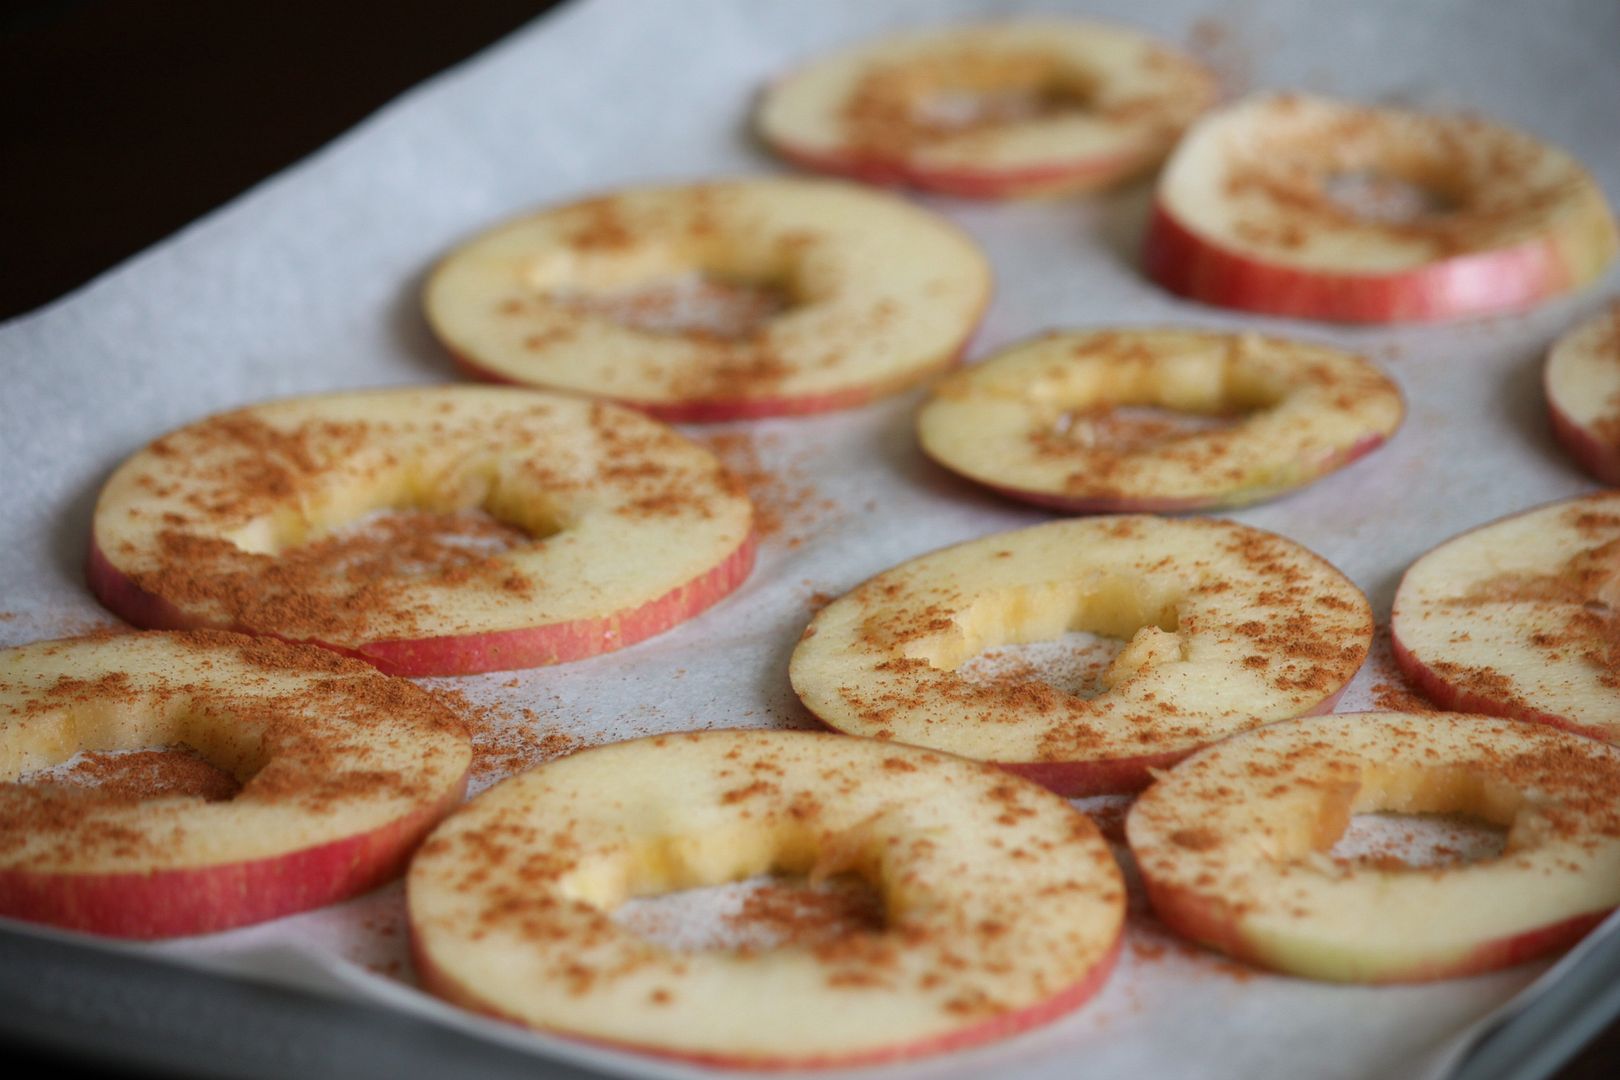
  • 2 apples
  • Cinnamon
Directions:
  • Remove apple core. I most likely did this wrong since half of the apple was missing when I removed it but you get the idea.
  • Thinly slice the entire apple.
  • Line a cookie sheet with parchment paper and place apple slices on it.
  • Sprinkle with cinnamon.
  • Bake at 275 degrees for two hours. At the end of hour one flip them over so they bake evenly.

* UPDATE: Check on them at the hour mark and every 30 minutes after that. Once they look nice and crispy take them out. :)

These were SO good!! The perfect healthy treat! I have a feeling these will be a a weekly must have once fall is in full swing...plus they made my house smell delicious...


Skin Care Tip Of The Week *Oil Cleansing Method*

Monday, September 12, 2011


When I first heard of the Oil Cleansing Method I was skeptical. How could cleansing your skin with oil make it clearer?!

I did a ton of research and found claim after claim from people who cleansed their skin with oil saw a visible difference in hydration, healing of acne spots and fewer fine lines.

Hmmmm aren't all of us secretly looking for that fountain of youth product or treatment? I decided to give it a try.

The Oil Cleansing Method:

Let me start by saying if you have never heard of this it might sound like the strangest skin care tip to date...but keep reading :)

It seems like everything is labeled "oil free" and we have all been taught to believe that if you put oil on your skin you will break out into a pimply mess.

Experts are now saying that oil may be the missing link to clear, beautiful youthful skin.

Cleansing your skin with oil completely removes makeup, dirt and sweat. It will not strip your skin of its natural oil like most cleansers tend to do. When you strip your skin of its natural oil you can actually break out MORE because your skin is overcompensating for the dryness. So you wind up with dry skin and acne. NO fun at all.

Oil cleansers target sebum... so essentially you are attaching the oil of your skin to the oil you are cleansing with and this results in the ultimate deep cleanse.

How to make your own oil cleanser:

Oily or acne prone skin- 75% castor oil and 25% jojoba oil (which mimics skins natural sebum) or grapeseed oil.

Dry skin- 75% olive oil and 25% castor oil or grapeseed oil.

Normal skin- Equal parts castor oil and grapeseed oil.

You can also add a few drops of tea tree oil if you prone to breakouts for added antibacterial benefits.

What to do and how to cleanse:
  • When cleansing your skin with oil it is best to start with a damp face.
  • Gently massage the oil into your skin. You can even remove your eye makeup with it.
  • Lay a damp warm washcloth onto your skin and let it cool on your face. This will help open your pores.
  • Use the washcloth to gently remove the oil. Rinse it out as needed and gently wipe as needed.

After a few weeks of using the OCM your skin will look brighter, more youthful and clear.

I use this method every other night and I love the way it has made my skin feel.

If you want to read a little more you can find some great information on Ance.org and Simple Mom.


If you are hesitant to make your own oil cleanser you can check out these three 5 star cleansers that have it already mixed up for you making it foolproof.


1-2-3


I would love to hear if any of you have tried the OCM and what your experience was like.


We Will Never Forget

Sunday, September 11, 2011


I was in high school. I remember the day like it happened yesterday. One building was hit. A second building hit....Rumors started swirling. No one knew what was going on. Horror and panic. Teachers were silent as we sat in class and listened to the radio. I remember thinking why did this horrific event take place. It was unreal. A true nightmare.

We will never forget this day.

Where where you on September 11, 2001?

Spinach Feta Cups

Friday, September 9, 2011

We went to a BBQ over the weekend and I wanted to bring something other than chips. Plus I have been eating pretty good lately and I wasn't about to wake up with the ole chip hangover.

We had a ton of frozen spinach in our freezer and it was about time it was put to good use.

What you will need:
  • 2 cups of frozen spinach
  • 1/2 cup of feta cheese
  • 1 garlic minced
  • 1 egg
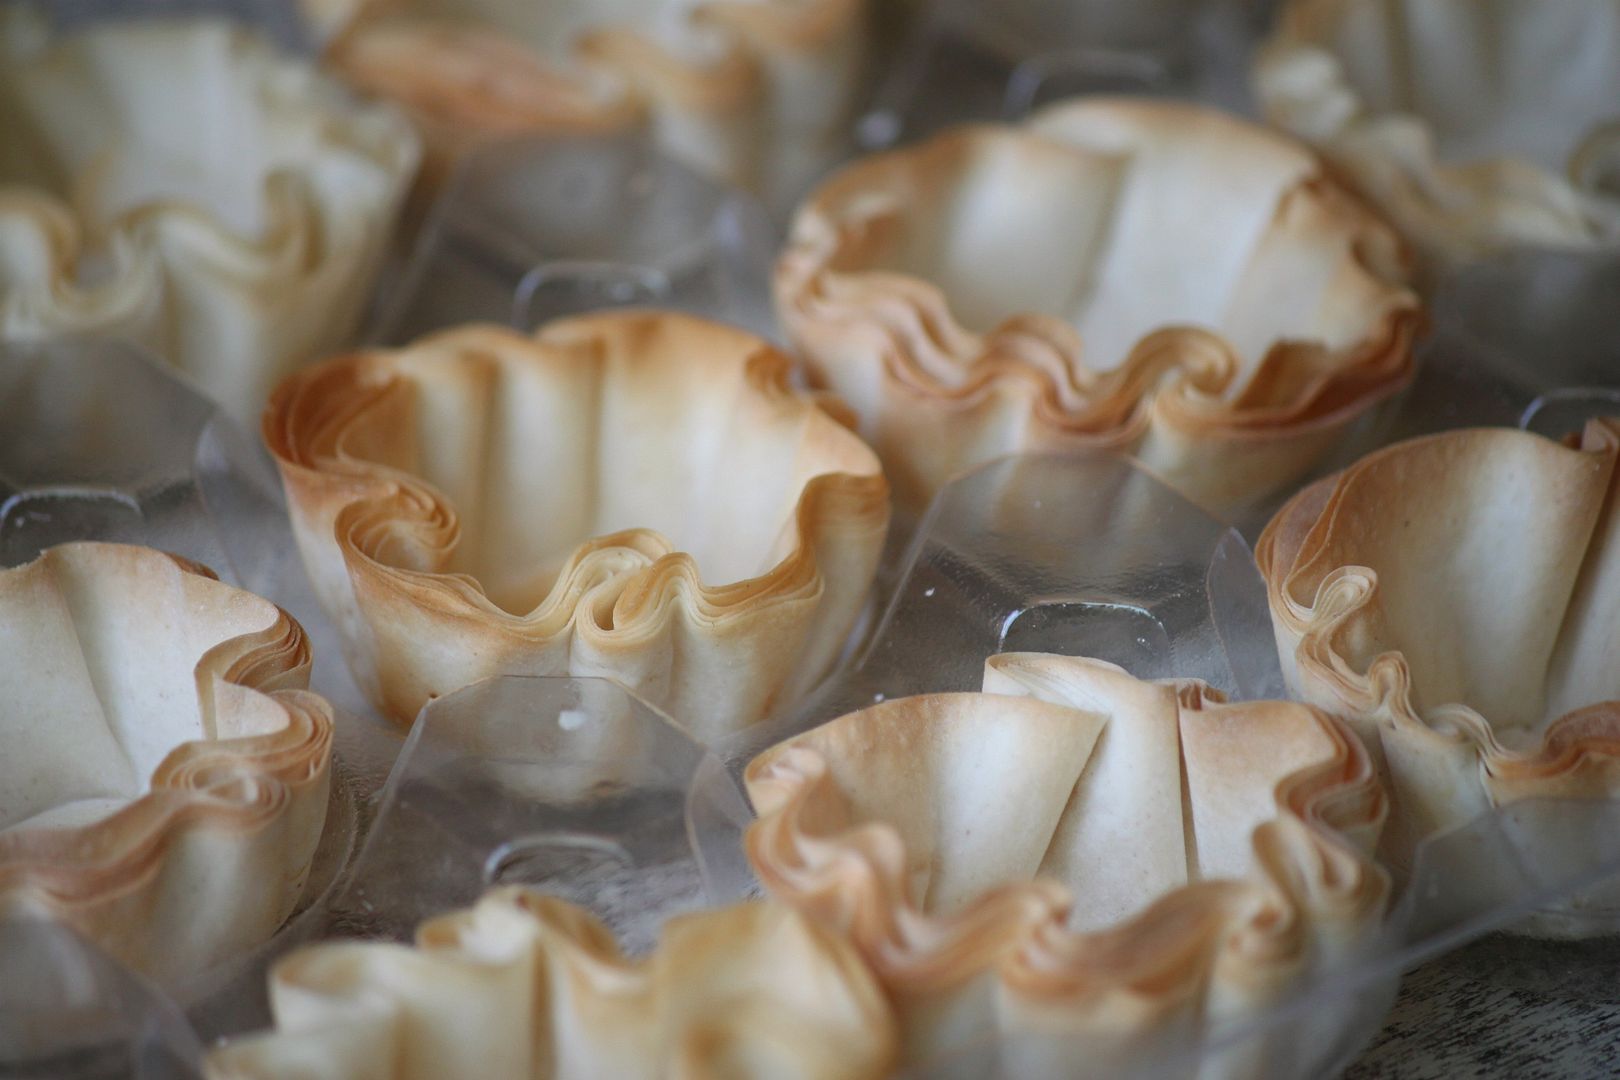
  • 1 package of organic mini phyllo shells
Directions:
  • Preheat oven to 350 degrees
  • Mix egg, feta and garlic in a bowl
  • Defrost frozen spinach in a pot of warm water. Squeeze out excess water
  • Stir spinach into the mixture
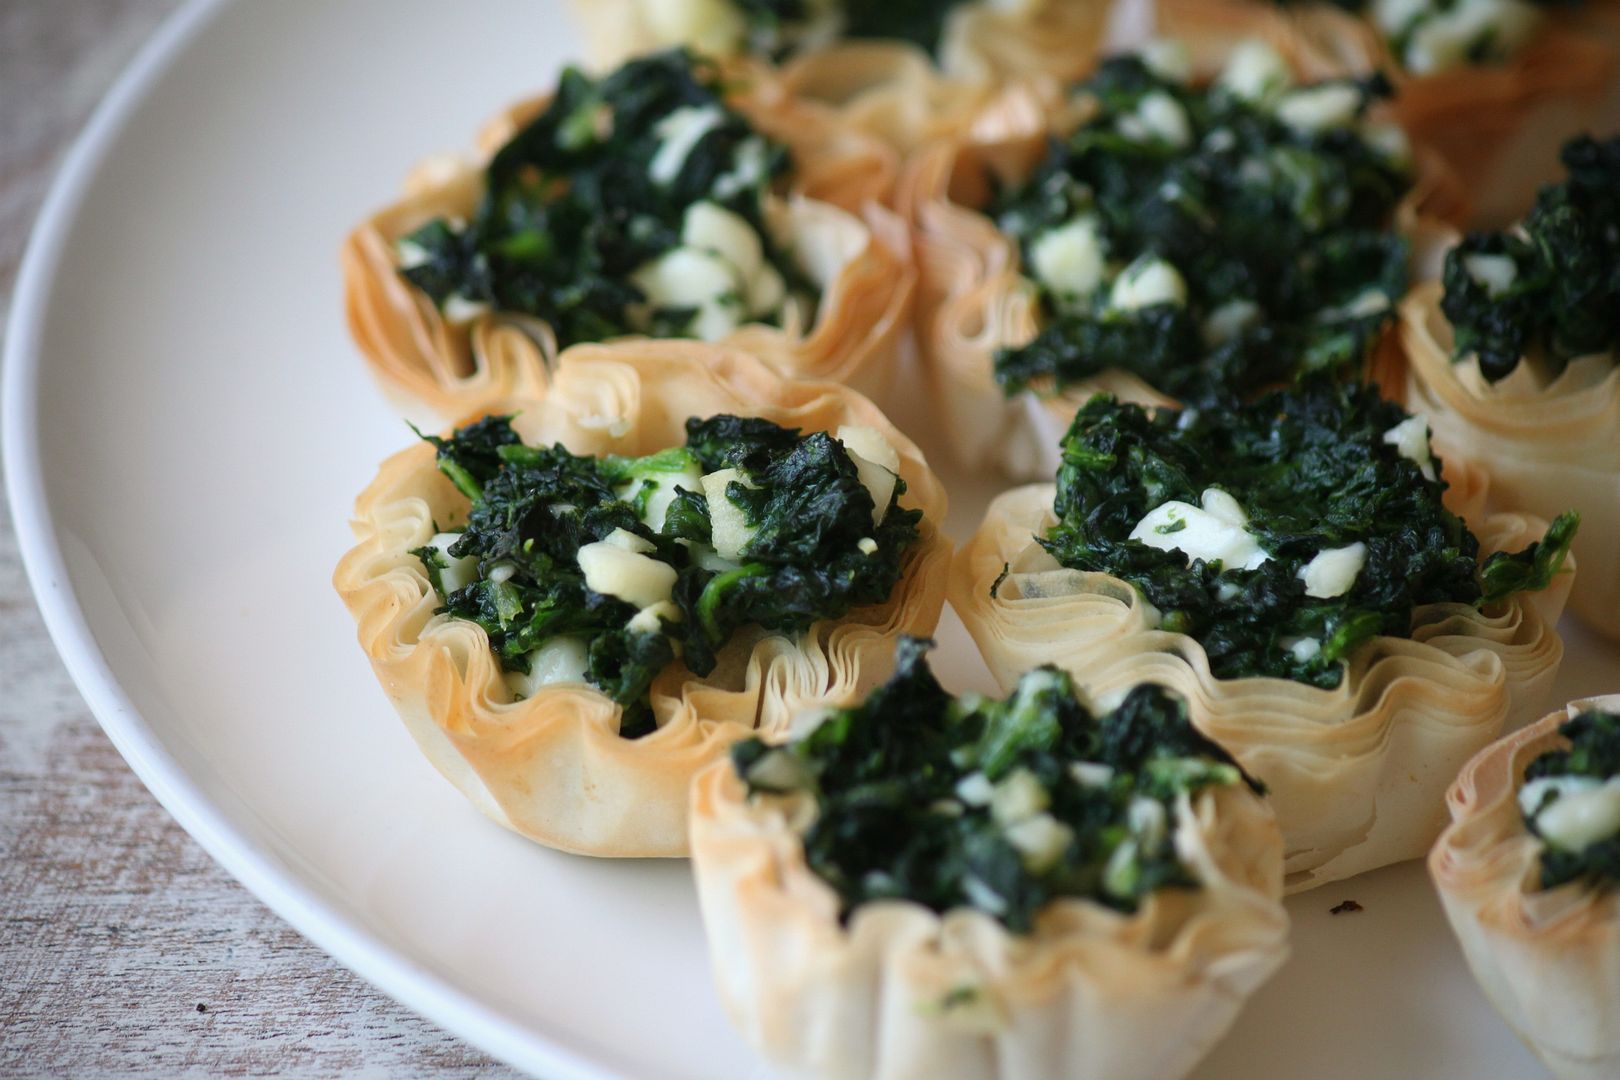
  • Use a spoon to scoop about a tablespoon of the mixture into each phyllo shell
  • Bake for 8 minutes.

Even though Ian and I ate most of them before they actually made it to the BBQ they were a hit!


On a side note: I cant do anything (blog) without music. I think music can be so inspiring and motivating! I have Pandora on shuffle with Johnny Cash, Mumford and Sons, Jem, Mariah Carey's Holiday Mix (too early for Christmas music? No way) La Roux and Flogging Molly. Does music motivate or distract you?

Hope everyone has a wonderful weekend!

DIY Turquoise Inspired Jewelry

Wednesday, September 7, 2011

If you follow my jewelry Pinterest boards you may notice it has been filling up with turquoise inspired pieces.
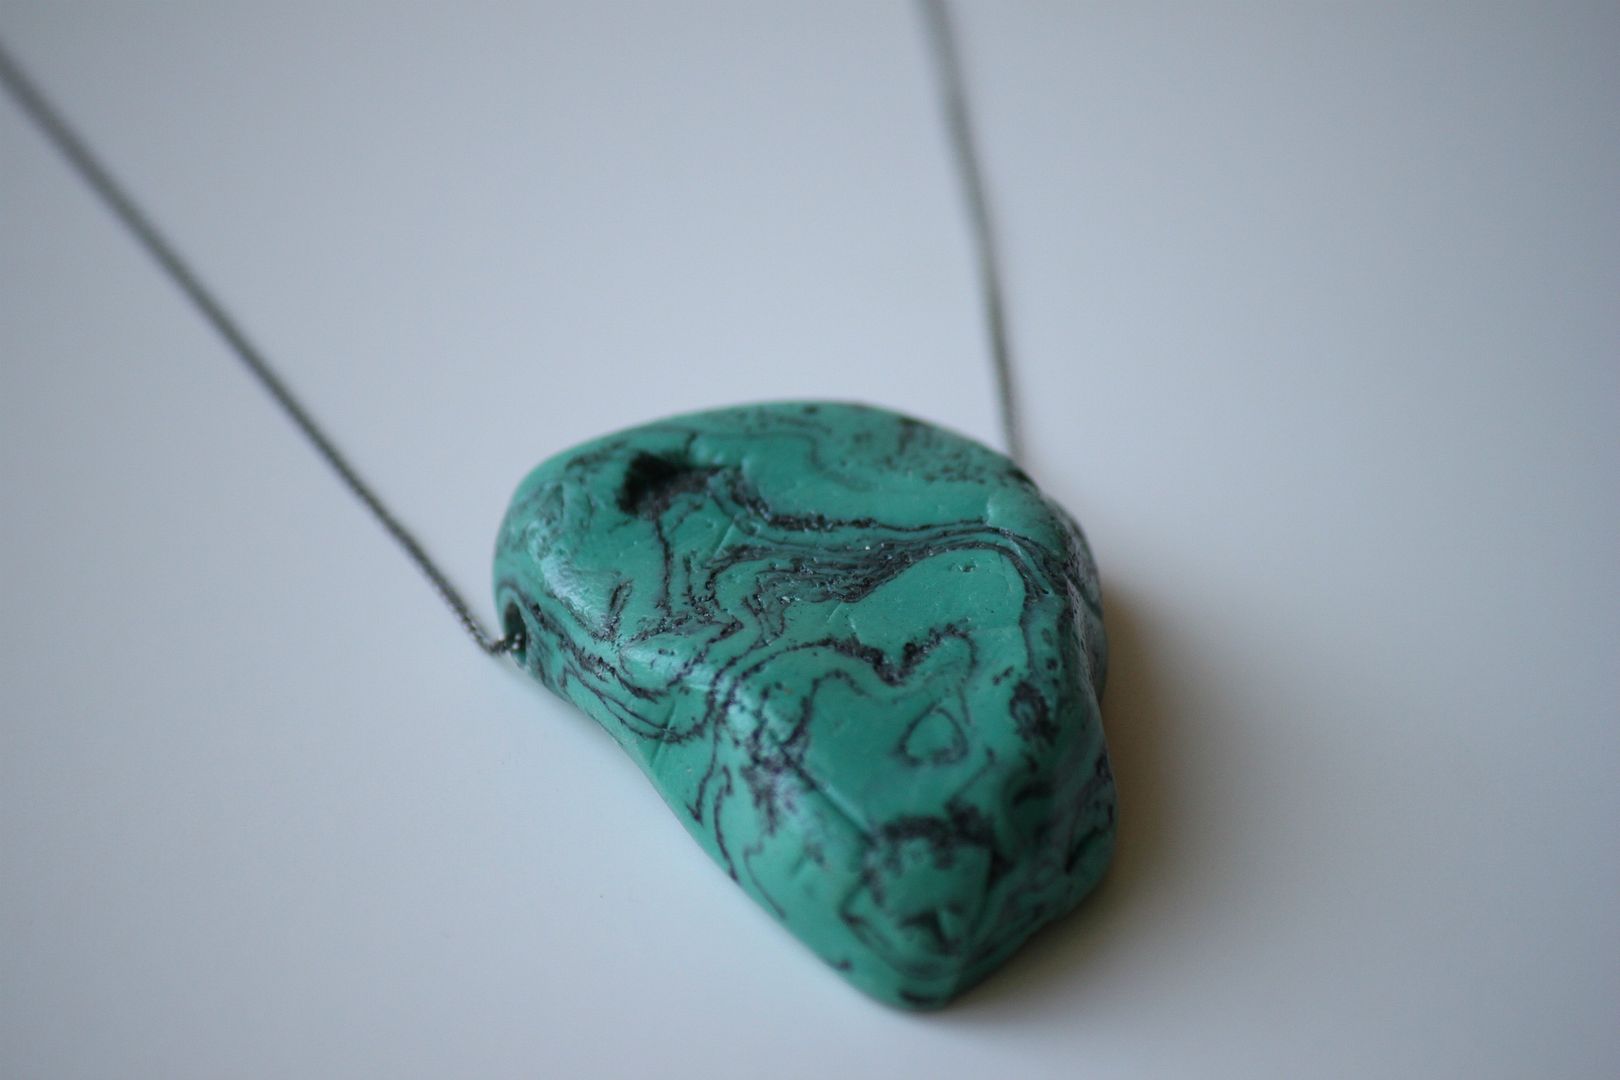
A few weekends ago I went on a little antiquing adventure and I discovered this ammmmazing turquoise jewelry shop.

Everything was stunning. I wanted to see how much this one piece was so I asked the shop owner if he could open the case. I did the whole... let me "inspect" this piece...aka look for the price tag. Ahhh $400! Bummer. Is that how much real turquoise costs? Geeeese Loiuse.

I was determined to recreate it using polymer clay. This site gave me some great direction as far as making it appear more natural.

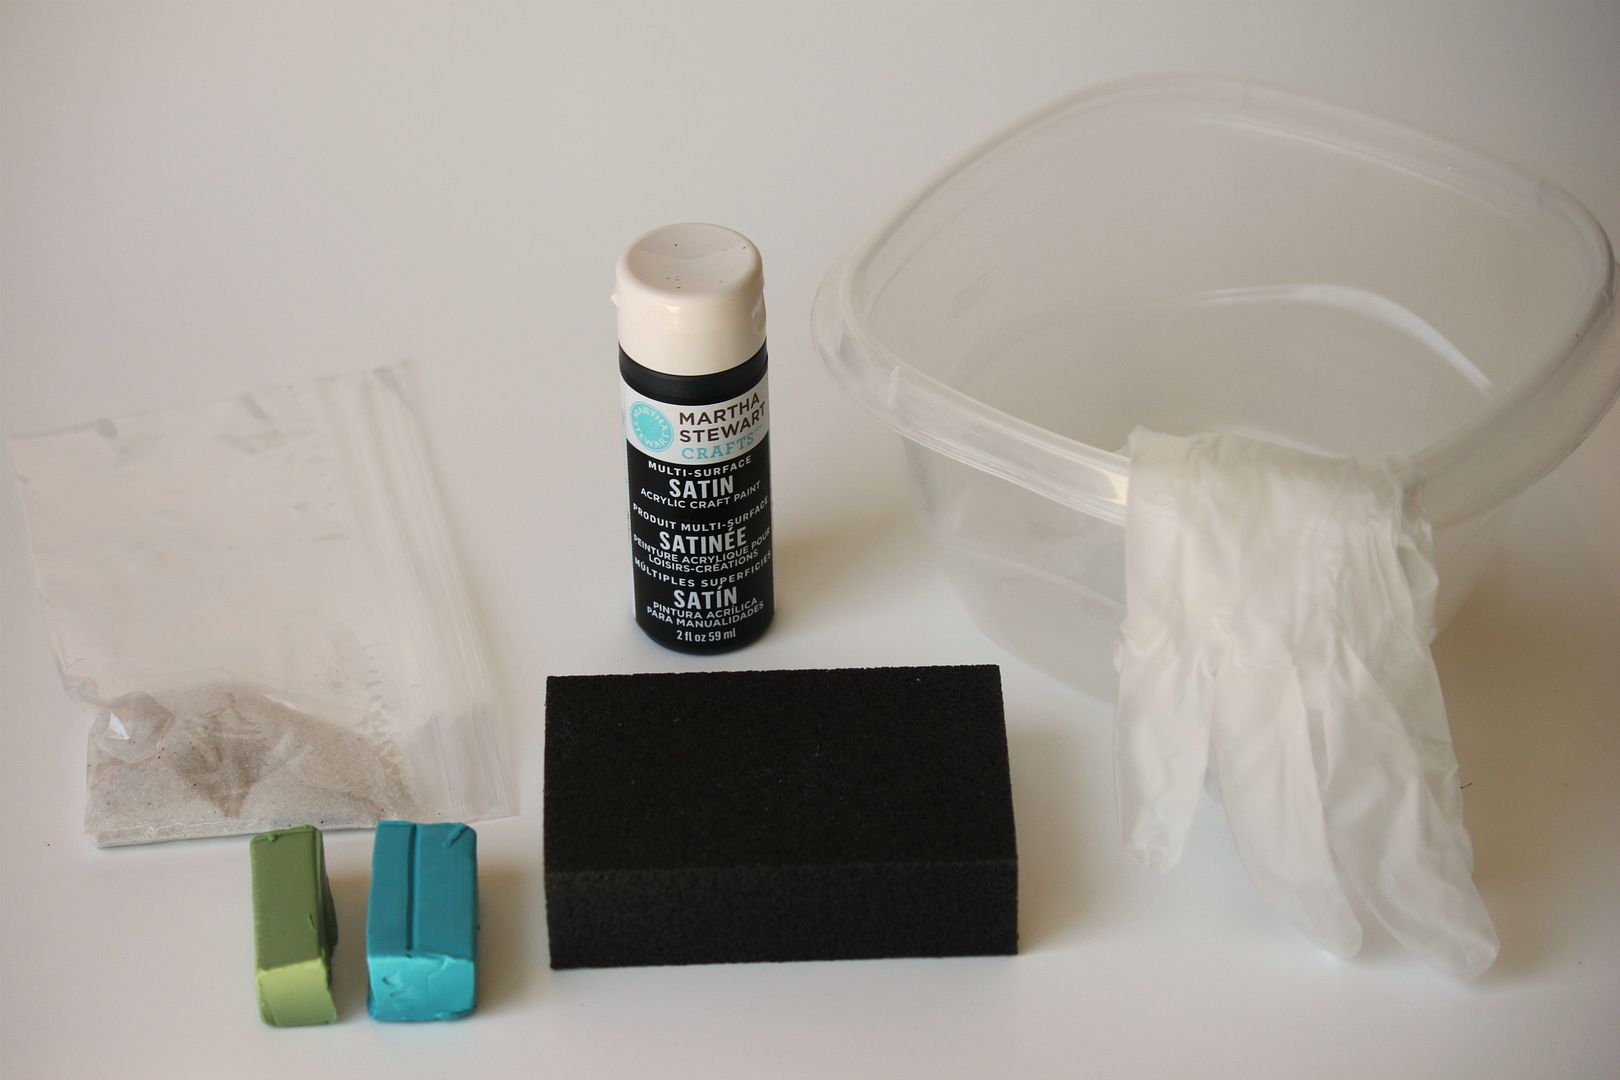
What you will need:
  • Polymer clay. I mixed the two colors above to give it a little bit more of a greenish blue tone.
  • Black or brown acrylic paint
  • Sand
  • A hand sander
  • Old tupperware for mixing
  • Gloves. Unless you want sand and acrylic paint embedded in your fingers.
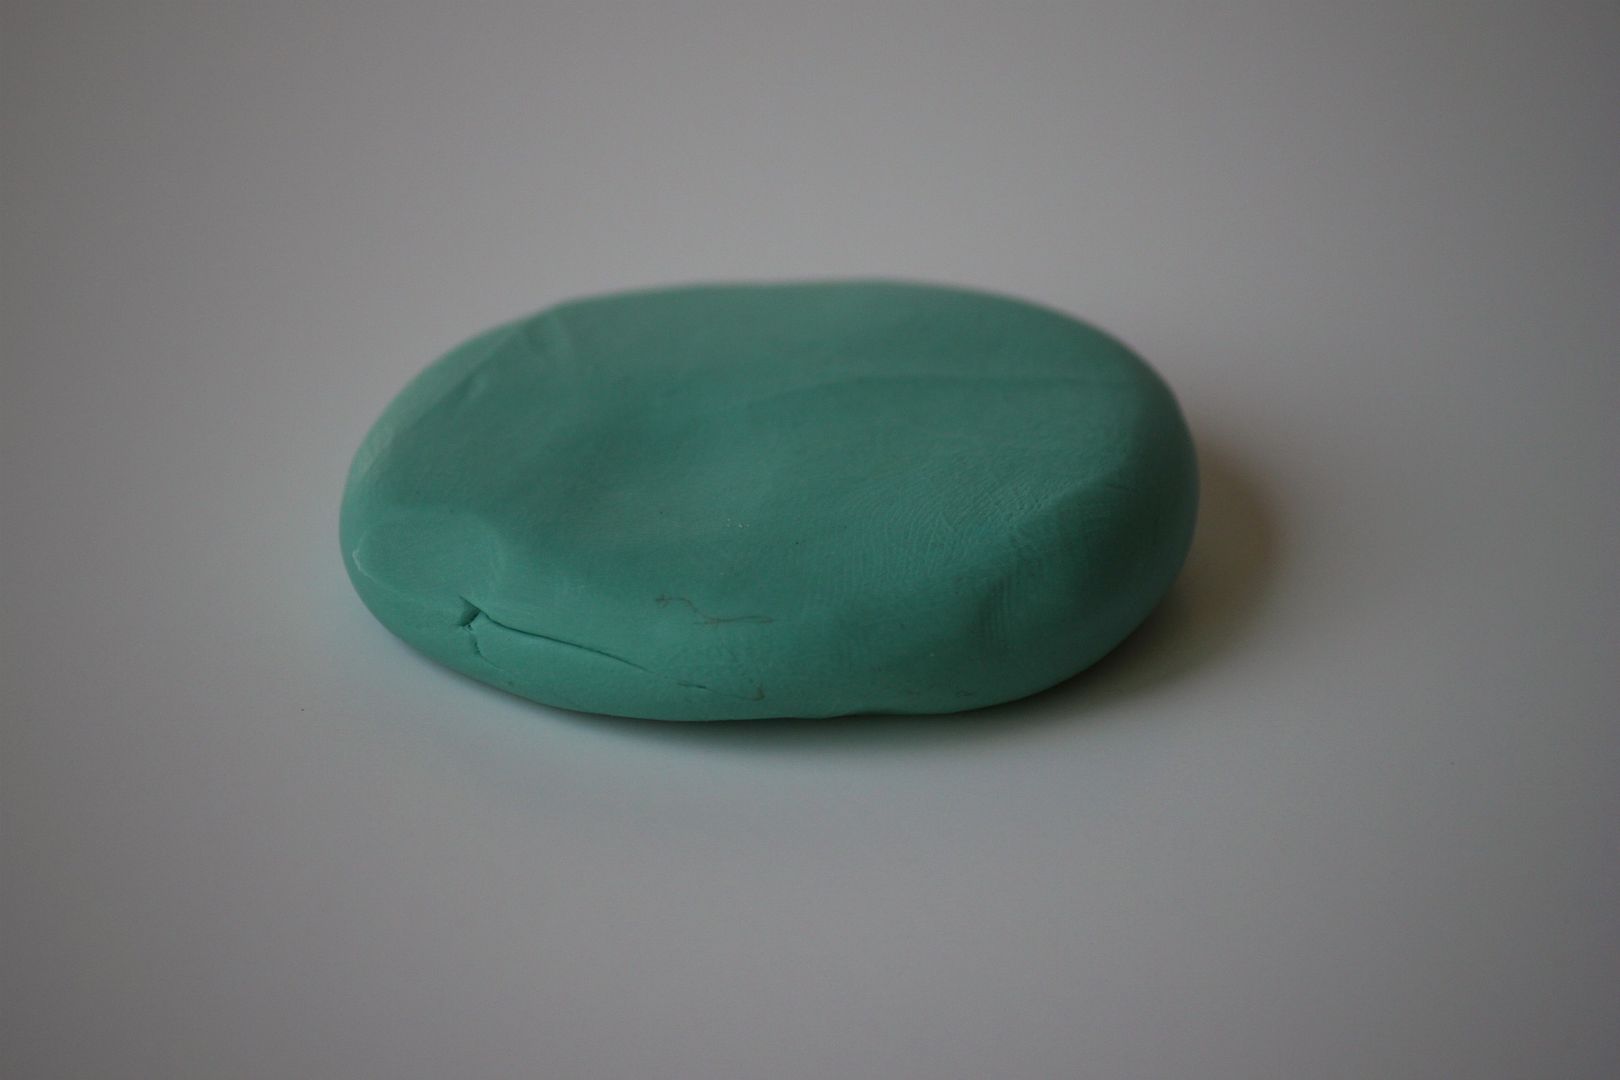
Mix the two colors together.

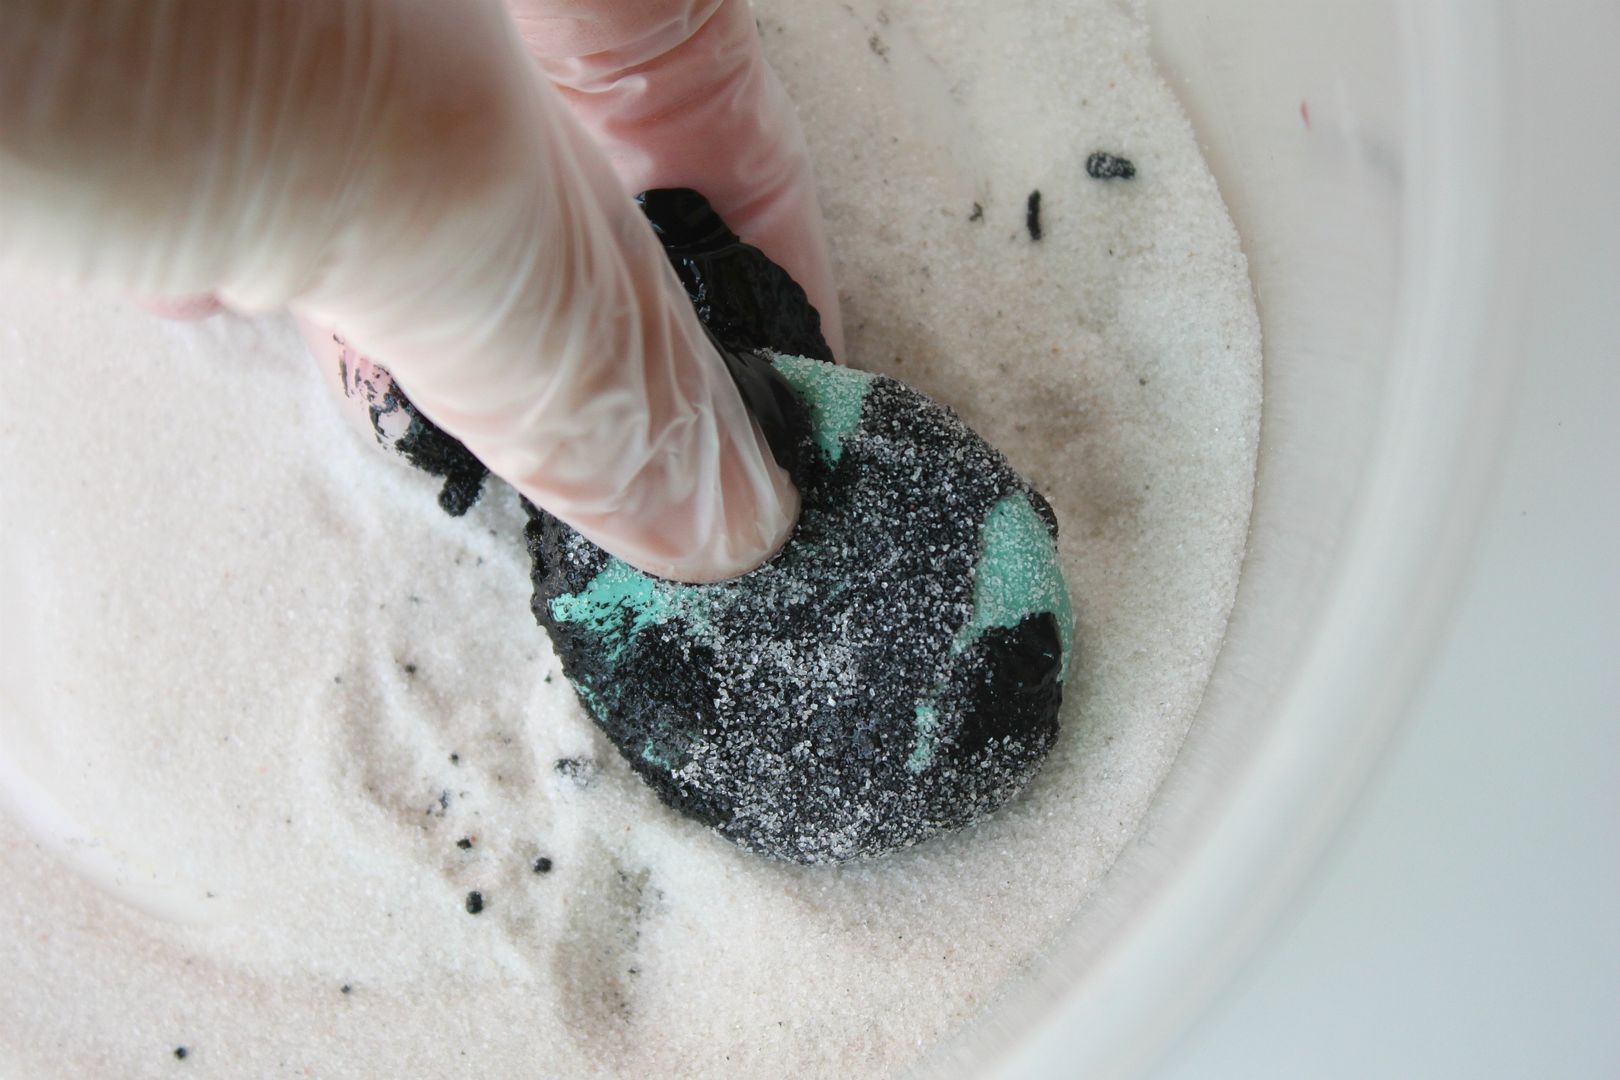
Place sand and a few tiny squirts (hate that word) of paint in the bowl. Mix everything together and really work the sand and paint into the clay. Its going to look like a big ole mess but trust me it comes together. Decide on the shape and mold it.

If you plan on making your piece into a pendant, poke a hole through it with a toothpick.

Bake for 20 min at 270 degrees.

If you are like me you might be asking yourself.."Isn't acrylic paint flammable?!!" After a quick google search I discovered it's not. I wasn't convinced so I had baking soda and a pot ready to go just in case. I learned this is how you put out an oven fire. Good to know.

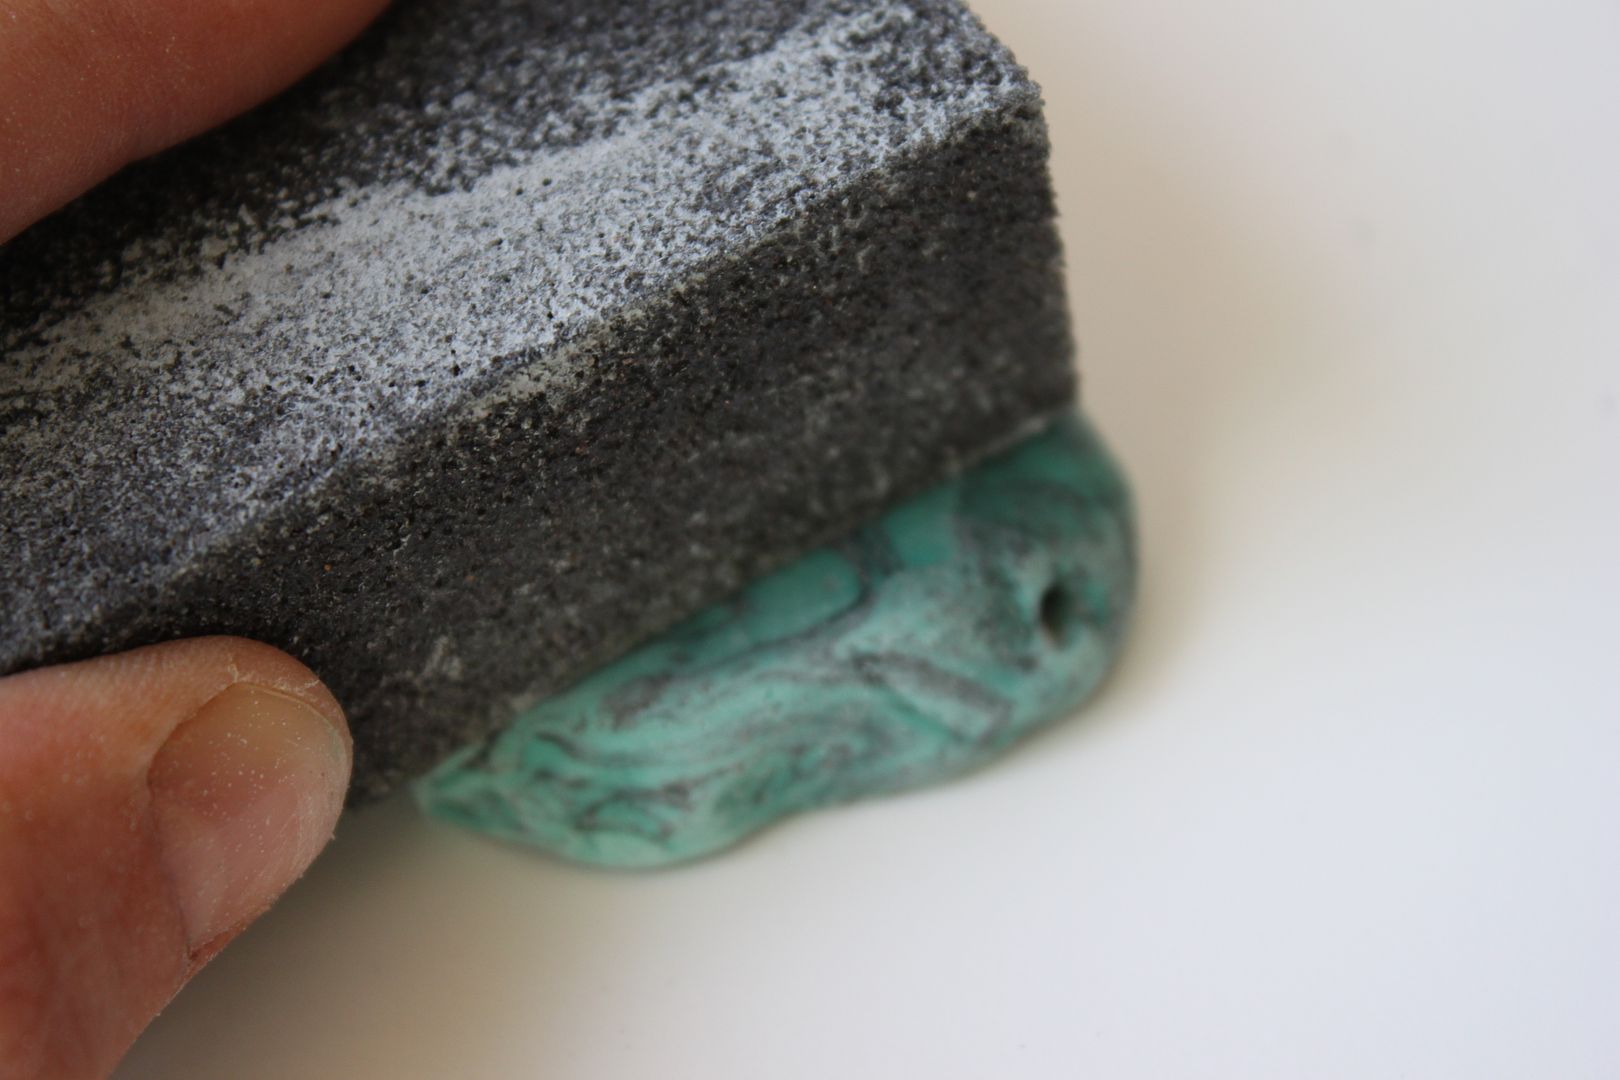
Using the sander, sand away until you start to see the black veins pop through.

I covered it with a layer of Mod Podge to give it a more finished look. You could also use clear nail polish.

Mr. Opinion (my husband) told me it looked like a pile of mush. Sweet right? I showed him my inspiration and he still didn't get. Haha.


On a side note: a little shout out to one of my best friends who opened up her first Etsy shop! It is full of adorable crochet creations. You can check it out here.
Related Posts Plugin for WordPress, Blogger...