Paleo Apple Crisp

Tuesday, July 16, 2013


A few things...

#1: People who send "How could you, I thought you were healthy...and if you really eat Paleo cavemen did not use microwaves (well duhhhhh, they also did not use ceramic dishes or canned coconut oil spray) and this is a bad example" comments on some of my recipes make me laugh. Yes microwaves can make things a little wonky if you use them the wrong way, but when I want a  3 minute chocolate mug cake I basically think it's the best thing ever.  And most mornings I thank my microwave and maybe even want to kiss it for making my life so much easier, since all it takes is a few seconds and BAM my coffee is reheated.  What's better than that?  Cold coffee sucks.  I feel better now.

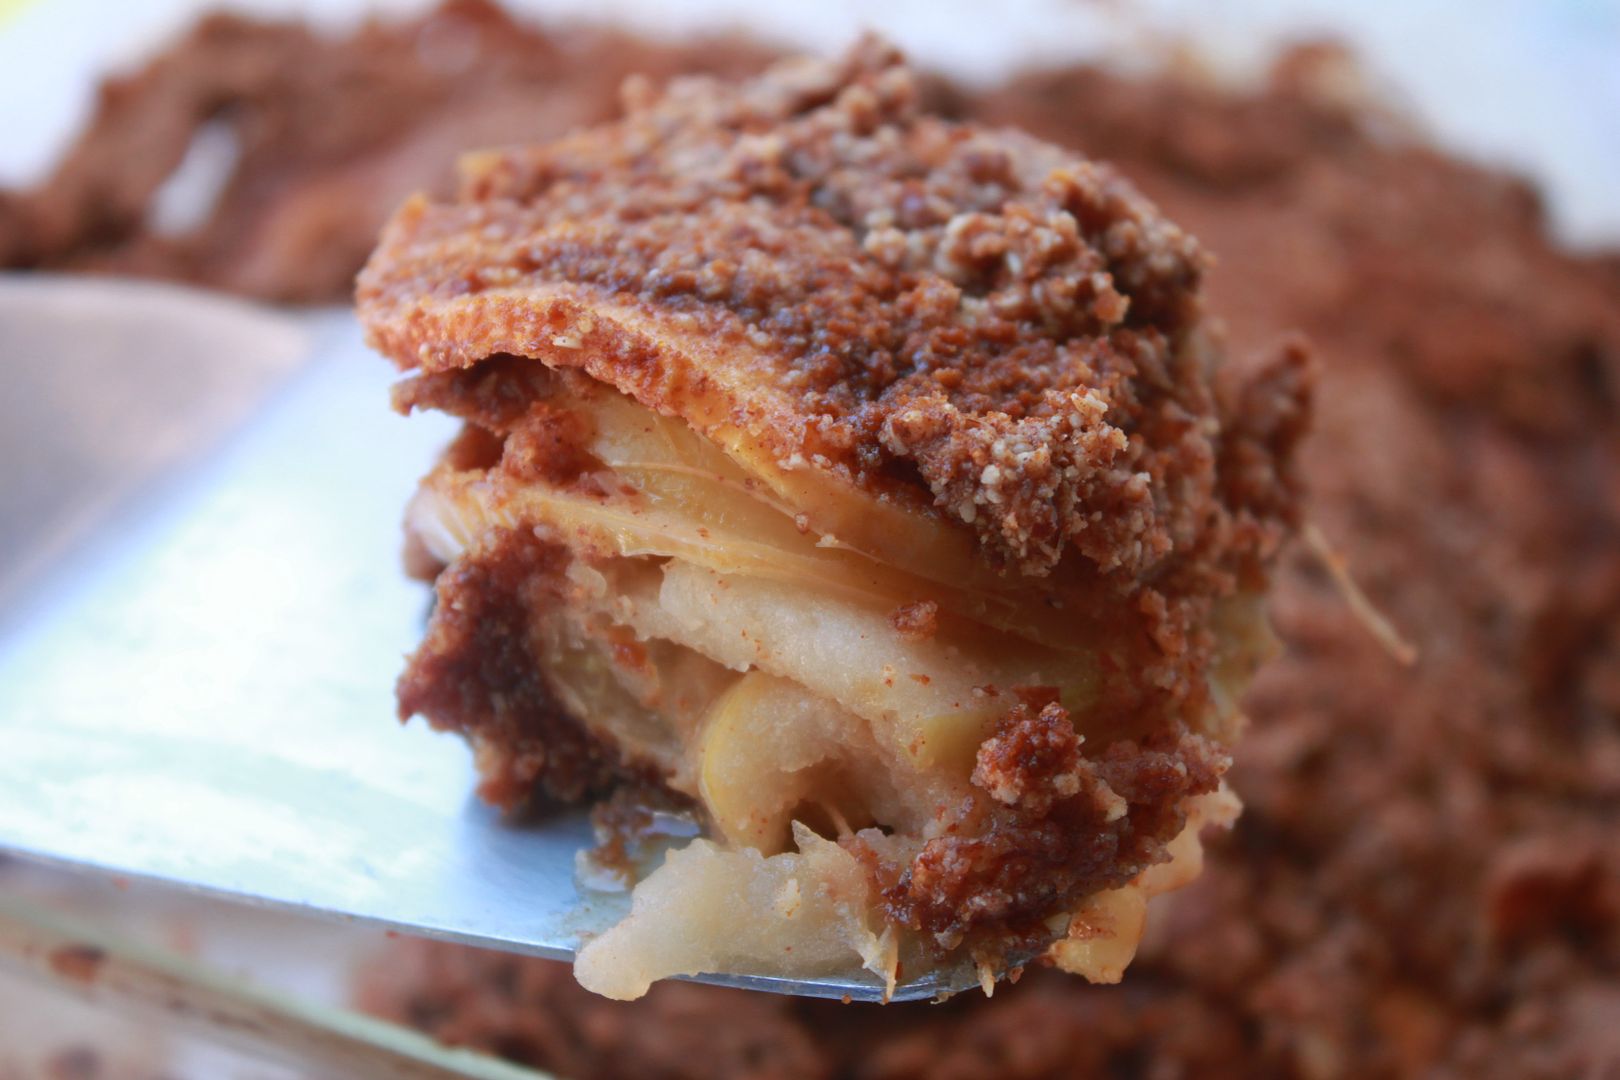
#2: We have a bajillion apples in our backyard at the moment and I really believe that certain desserts are totally acceptable to make whether it's summer or fall, apple crisp being one of them.  You can enjoy this hot or cold and it's  just as delicious either way. 

What you will need:
  • 5 medium apples 
  • 1 1/2 cups of almond meal
  • 1 tbs of cinnamon
  • 3 tbs of melted honey
  • 4 tbs of melted coconut oil
  • dash of salt
  • 1 lemon
  • 2 tbs of coconut sugar
Directions:
  1. Preheat oven to 300 degrees.
  2. Wash, core and thinly slice the apples.  (I used an apple corer)
  3. Closely layer all the apples in an 8x8 baking dish.
  4. Squeeze the juice of one medium sized lemon on top of all the layered apples.
  5. In a separate bowl mix together the almond meal, cinnamon, melted honey, melted coconut oil and salt. 
  6. Spread the crumble topping on top of the layered apples. 
  7. Evenly sprinkle the coconut sugar on top. 
  8. Bake for 50 minutes. 
  9. Enjoy!


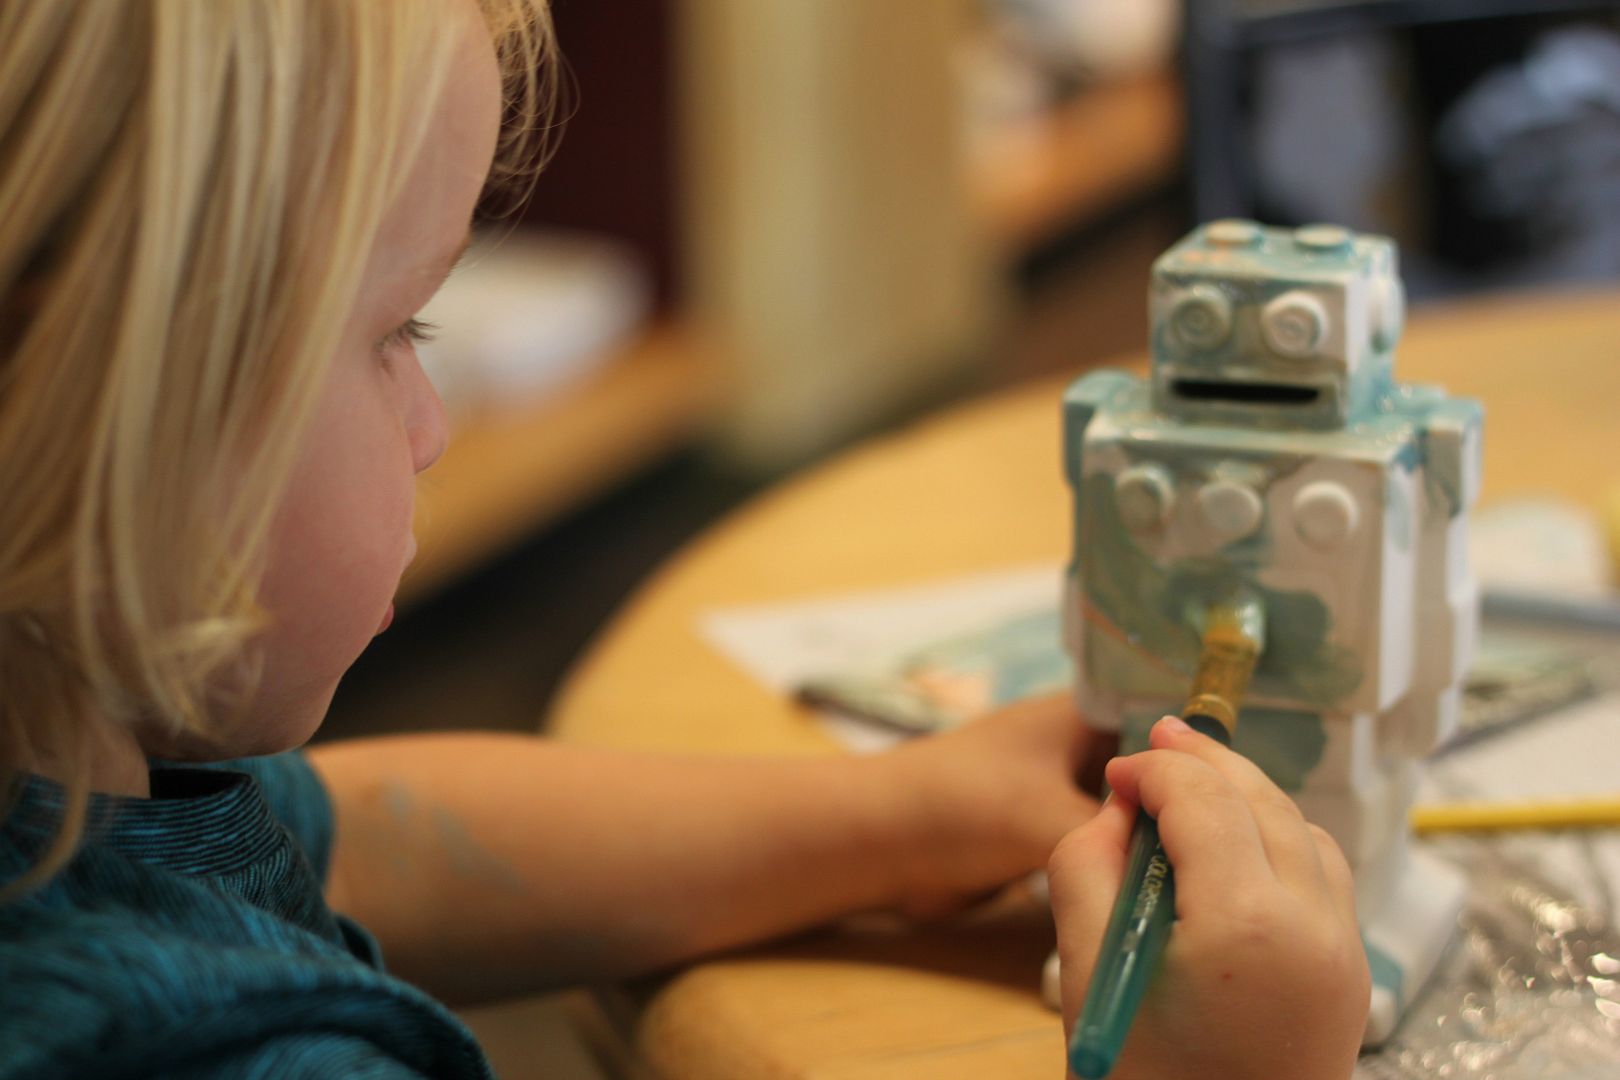
My whole family could not get enough of this!  Even little Ronin was saying, "Mmmmm!" with every bite.  We ate this every way possible.  We had it straight out of the oven warm,  on top of vanilla ice cream and cold with a little almond milk mixed in for breakfast (my favorite).   

Instant Dark Circle and Puffy Eye Reliever

Monday, July 15, 2013


No one really needs to know (or notice) if you stayed up a little too late watching Mad Men (guilty), had too much wine,  or if you were woken up every other hour to feed a new baby (been there).  This week's beauty tip is not only easy to do yourself, it works and gives you results almost instantly.

Why it works:
  • Matcha green tea contains tannins and tannins help shrink swollen tissue. 
  • Caffeine from the tea constricts blood vessels to reduce swelling and dark circles.
What you will need:
  • 1/4 tsp of matcha green tea powder (you can find this at an Asian market, health food store or online here 
  • 1/2 cup of warm filtered water
  • Ice cube tray
* You can also use pre-brewed green tea from the tea bags.  Use 4 tea bags for every cup of water and brew on the stove for 10-15 minutes.

Directions:
  1. Mix together the matcha green tea with 1/2 cup of warm water (the warm water helps it dissolve) and fill up the ice trays with it and let freeze.  If you are using the tea from the tea bags simply fill as many ice trays as you wish after you are done brewing.
  2. Once the ice cubes are set you are ready to start your de-puffing beauty treatment!  Or you can save them in the freezer for when you need them.
  3. Before applying under the eyes do a quick water rinse of the ice cube to remove any freezer frost.
  4. Rub the ice cube under your eyes (or all over your face for ultimate benefits) for about 4-5 minutes.  
  5. Check yourself out in the mirror and brave the day as a new refreshed gal (or guy)! 
See also:
DIY Rejuvenating Green Tea Matcha Mask
How to Make an Instant Natural Energy Drink (with Matcha) 

Happy 3rd Birthday Max!

Wednesday, July 10, 2013

Today my oldest son Max turns three!  Three whole years.  It blows my mind.  Since my husband's birthday was also this week we went to Disneyland on Monday to celebrate.  My mom watched Ronin so we could put all the attention on Max and what a great day it was!

Max is such a sweet and tender soul.  At the age of three he loves catching bugs, hanging out with his Dad doing whatever he is doing, Star Wars everything, riding his scooter, reading stories, making blanket forts, frozen yogurt and playing in the dirt.  He loves to cuddle up on the couch with us when we watch movies and tries to convince us that he should always stay up later, "5 more minutes, Mom."  He always says I love you and is the best most patient big brother.  I am so very proud to call him mine.


Today we are celebrating by opening presents in the morning before Dad goes to work, making a vanilla cake with dinosaur toppings (his request), testing out his new big boy bike and having his favorite dinner... which is homemade chicken taquitos. 

What Summer Time Means To Me

Tuesday, July 9, 2013


Summer is in full swing here and we have been enjoying every single second.  I am pretty sure I have a horrible tank top tan (say that 10 times fast) line at the moment but I am just going to embrace it and try to convince myself that it is all for a good cause.

To me summer time is about being outside, BBQing, swimming until you are a prune, watching my kids play on the beach, living in flip flops and sun dresses, staying up late and soaking up as many moments as you can with your friends and family.

One of our favorite summer time traditions is going to baseball games.  My husband is a die hard Dodger fan, so naturally we had to make our very first game of the summer a Dodger game.  It was also Ronin's first ever baseball game and let's just say that is kinda a big deal around here.  Ronin and Max loved every moment of it.  We ate Dodger dogs, ice cream from little blue plastic hats and a bunch of other goodies that you just have to have when you go to a baseball game.   It was a bajillion degrees that day and I thought we were going to pass out but thankfully we all survived and had a fun time :) Here are a few pictures from our afternoon...


Happy 4th of July!

Thursday, July 4, 2013


Happy 4th of July!  Hope you all have a wonderful day off celebrating!  We have our beach umbrella, sunscreen, picnic lunch and sand castle building tools all packed and are headed down to the beach for a fun day of festivities.  I will be back to blogging next week.  Until then, you can find me on Instagram (delightedmomma) where I will be posting little family snippets. Have a great holiday and be safe!

Crispy Baked Yellow Squash Chips

Tuesday, July 2, 2013

Summer is finally here!  Summer in California not only means beautiful beach and pool days it also means that zucchini and a variety of summer squash are finally in season and not getting shipped to us from some other country (aka Mexico). I picked up these beautiful yellow squash at the farmer's market over the weekend and since I am a huge fan of veggie chips I decided to give these a shot at chip life.  They did not disappoint. 

What you will need:
  • 2-3 yellow squash 
  • Coconut oil cooking spray 
  • Garlic salt
  • Pepper
Directions:
  1. Preheat oven to 225 degrees.
  2. Wash and slice your yellow squash super thin (the thinner the better). 
  3.  Place the sliced yellow squash in between two sheets of paper towels and press down to adsorb any excess liquid.
  4. Place your sliced yellow squash onto a parchment lined baking sheet.  Try to give each little slice it's own space and if you need to use more than one baking sheet do so. 
  5. Lightly spray the sliced chips with coocnut cooking spray. 
  6. Sprinkle a little garlic salt and pepper on top. 
  7. Bake for two hours.  At the end of the one hour mark flip the chips.  You want to bake until each chip is nice and crispy.  Keep an eye on your batch of chips and remove the chips that crisp faster and keep the ones in that are still a tab bit wet until they have achieved the ultimate chip like consistency.
  8. Let them cool and enjoy! 
* These are the freshest right out of the oven and are best eaten right away and not made to store.


These baked veggie chips are addicting, totally satisfying and a super healthy guilt free snack.  Both my boys and I gobbled up each and every last one before my husband even got a taste (woopsie), but that's a good sign right?

See also:
Crispy Green Bean Fries
Baked Thyme Onion Rings (my fav)
Baked Parsnip Fries (my boys favorite) 
Zucchini Fries
Flourless Zucchini Brownies (make these)

Helping Your Child Discover Their Creative Interests

Monday, July 1, 2013

Being a parent is such a learning journey.  You could read thousands of "how to" parent books and still not have a clue how exactly you are going to do it until you are actually in the moment.  I always wondered before I became a mom what my kids would like.  Would they naturally be drawn to baseball since their dad is a die hard baseball guy or would they somehow like something totally different?  It's a crazy thing how kids are drawn to certain things.  It's like they already have those talents or interests hidden deep inside and it's our job as a parent to help them discover what those are.

I believe that every child has a need to express themselves. Whether that's through their imagination, sports, or other creative outlets. A few weeks ago my sister and I (before she left for Germany) brought Max to pottery painting studio.  He is almost three and to be honest I had no idea how he would respond.  Most sit down non moving activities usually bore Max within a few minutes so we were prepared to spend maybe 10 minutes tops there before all hell broke loose and we had to leave.

So here is how it went...

He sat there for almost an hour and carefully painted his robot piggy bank that he picked out.  I have never seen him so focused and into a solitary activity like I did with painting.  He was very specific about what colors he wanted and how many coats each spot needed.  He was in painting heaven.  It was his thing.


 His third birthday is quickly approaching and on his wish list is a squirt gun and "painting stuff" :)
Related Posts Plugin for WordPress, Blogger...