Flourless Zucchini Brownies

Tuesday, May 8, 2012

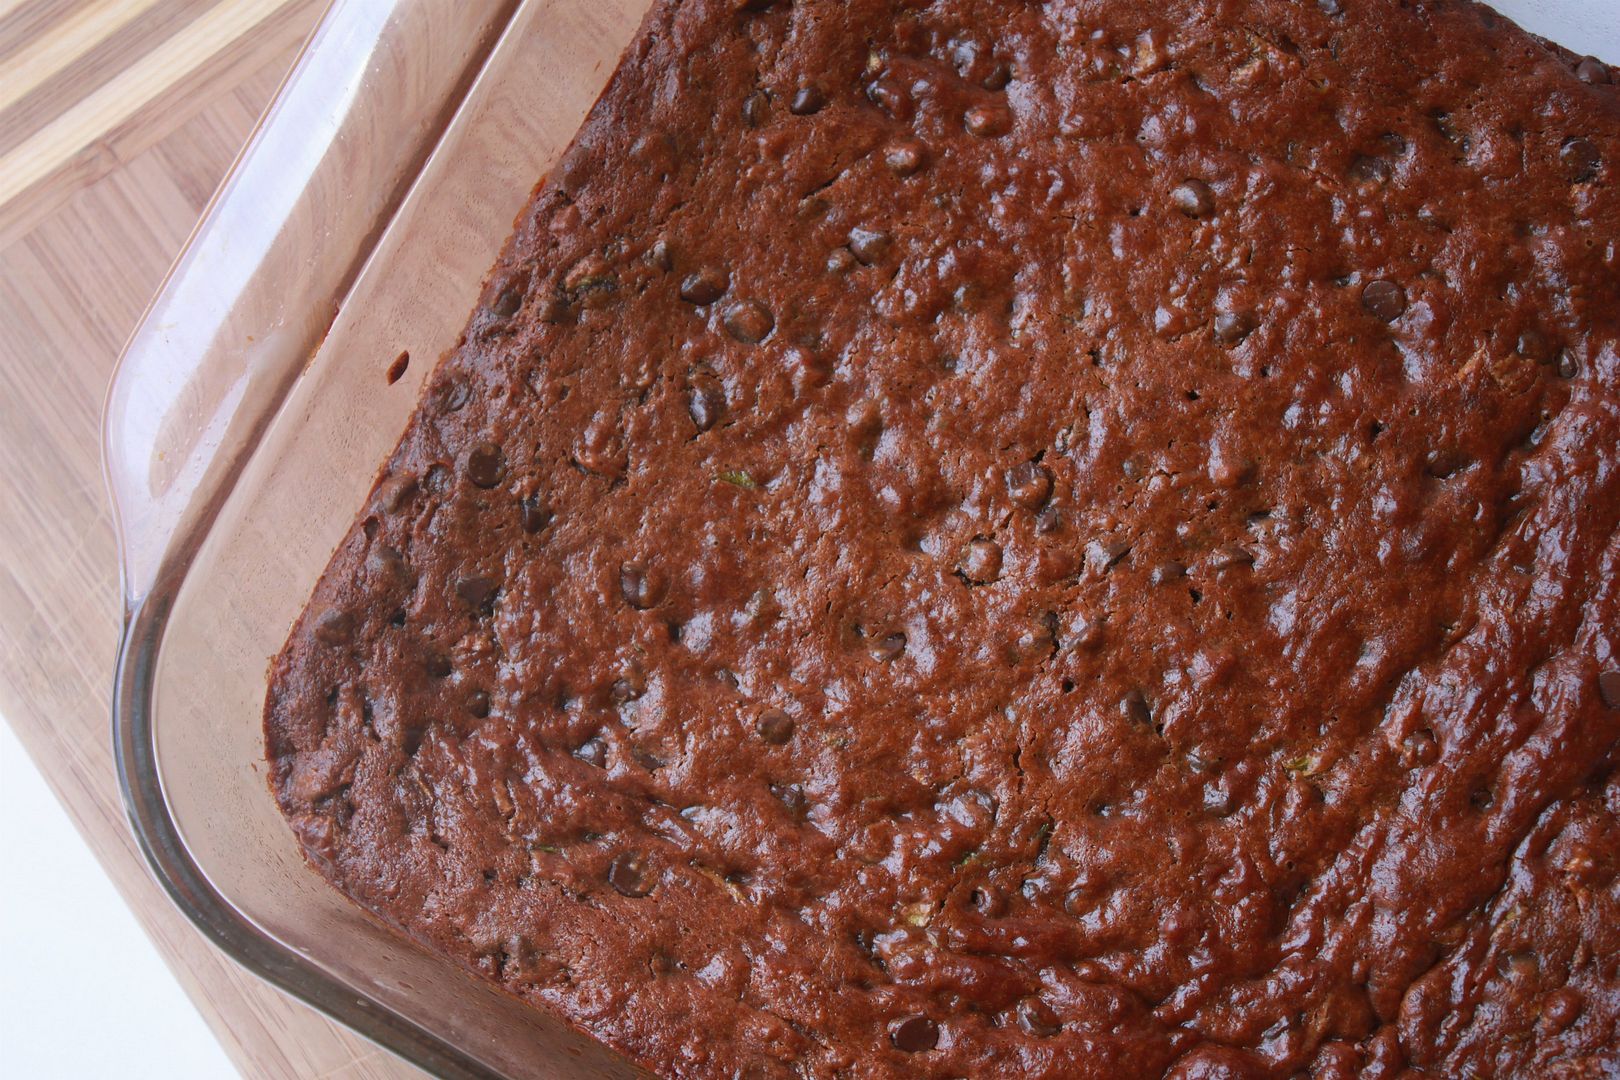
Have you heard of the Paleo Diet yet? I am all for it. Basically the Paelo way of eating mimics diets of our hunter-gatherer ancestors. You eat lean meats, seafood, vegetables, fruits and nuts. You cut out all the processed CRAP that is in so much of our food today, which is being linked to so many heath problems. The Paleo Diet encourages you to replace dairy and grain products with fresh fruits and vegetables. I have been researching a ton of recipes and recently came across this recipe for brownies. After reading all the outstanding reviews I knew I needed to make them for my family and try them out myself.

What you will need:
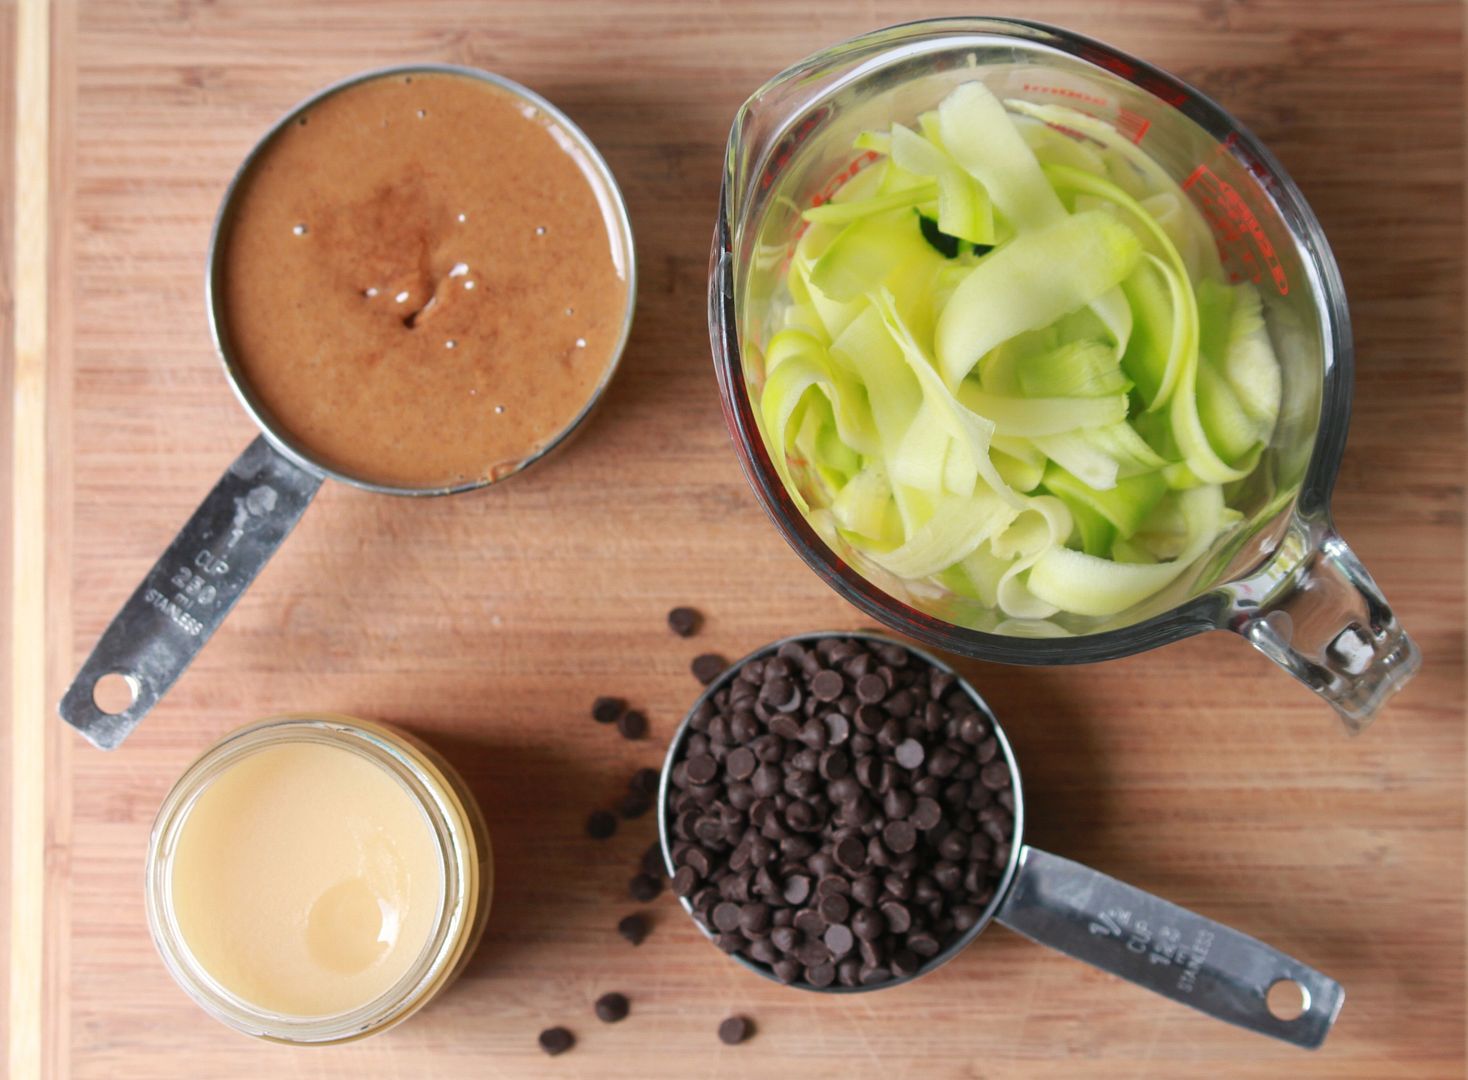
  • 1 cup of almond butter. You can make your own if you want to save a few bucks.
  • 1 1/2 cup of grated or chopped zucchini. I used a shredder and then chopped it up into really small pieces.
  • 1/3 cup of raw honey
  • 1 egg
  • 1 tsp of vanilla
  • 1 tsp of baking soda
  • 1 tsp of cinnamon
  • 1/2 tsp of nutmeg
  • 1 cup of dark chocolate chips. I used gluten free chocolate chips.
Directions:
  1. Preheat oven to 350 degrees.
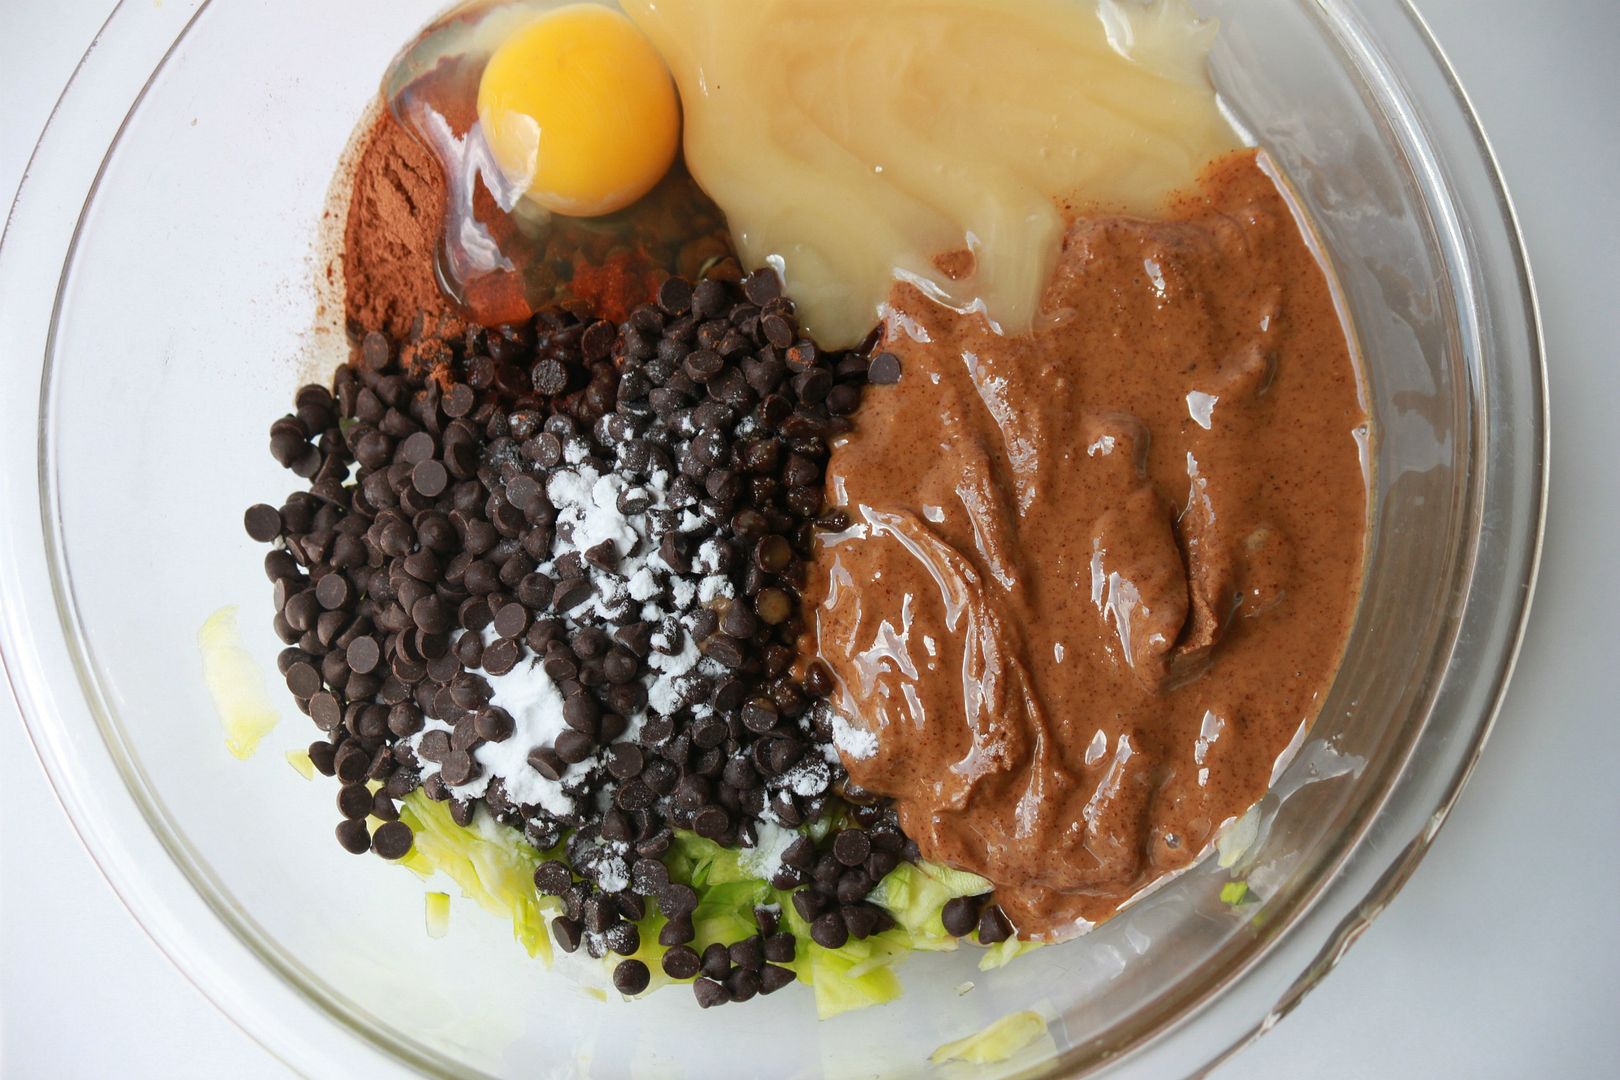
  2. Combine all the ingredients into a large bowl and mix everything together.
  3. Pour into a greased 9x9 baking pan.
  4. Bake for 35-45 minutes, or until a toothpick comes out clean.
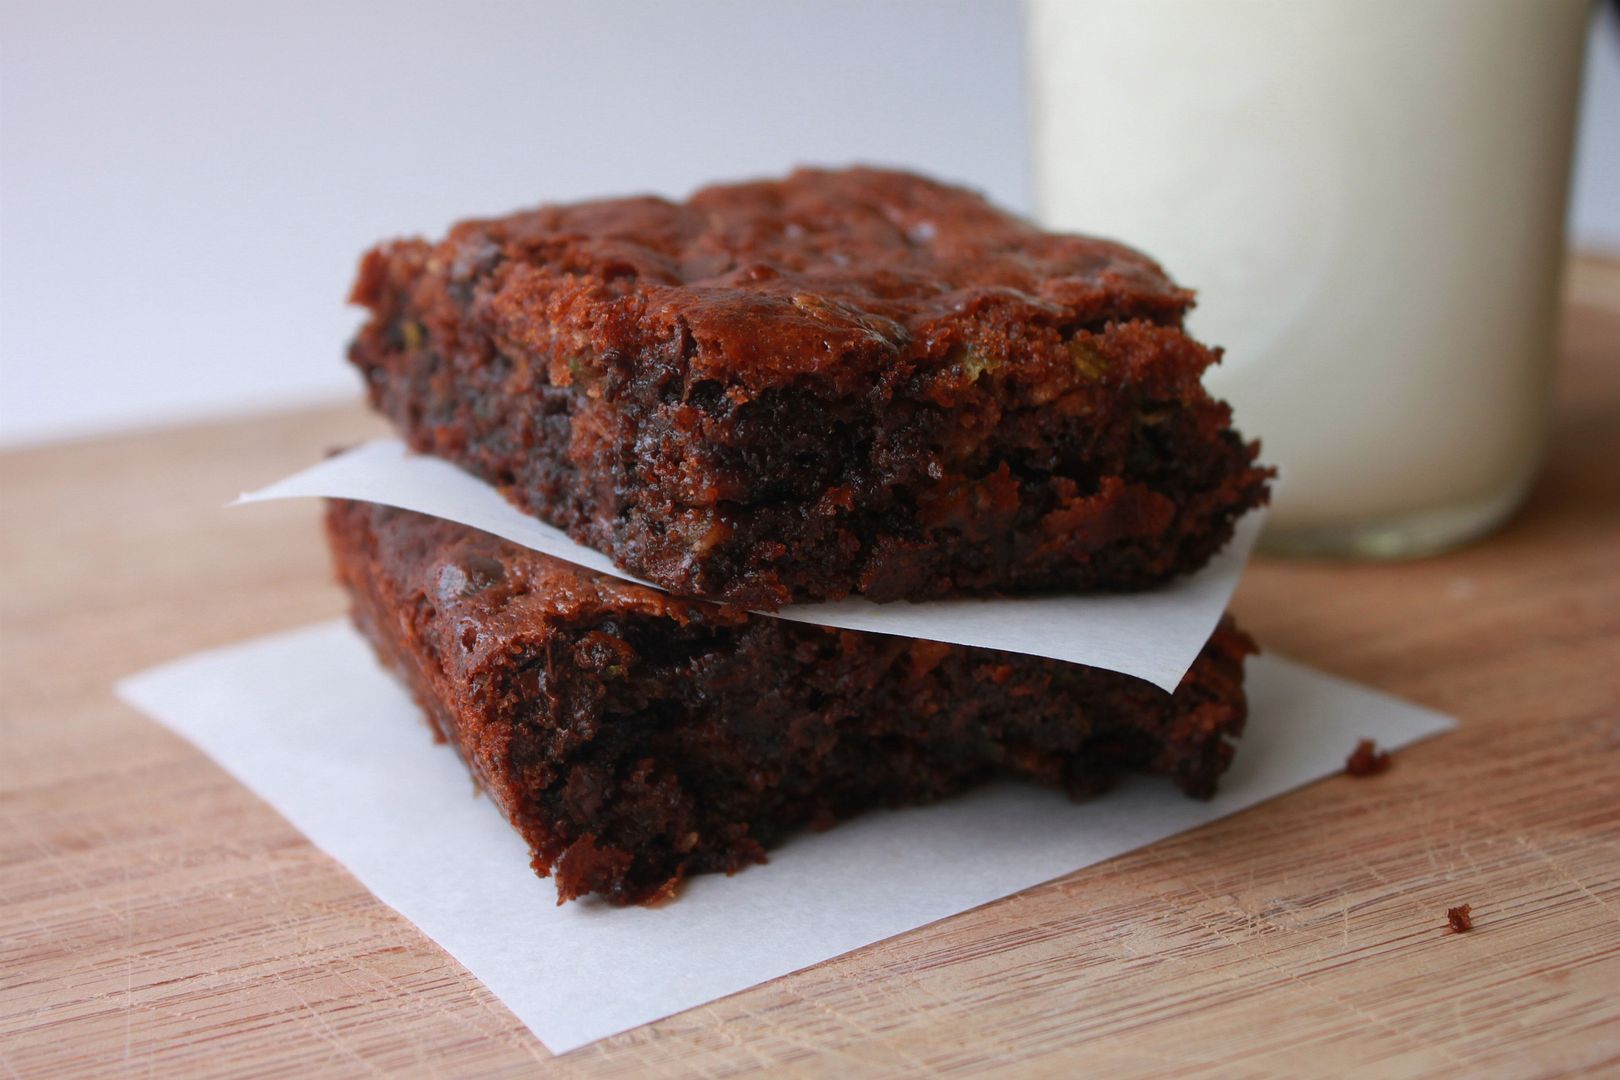
So how in the world do flourless zucchini brownies taste you may be wondering? They are the BEST brownies EVER--prepare yourself. My husband, who now thinks he is a food critic said, "The zucchini was subtle and not overpowering and they melt in your mouth." Haha I love it. He knows that I am going to put what he says into my blog (I have actually not posted recipes based on what he has said) so I think he tries to get all fancy with his critique. I will be making these again very soon.

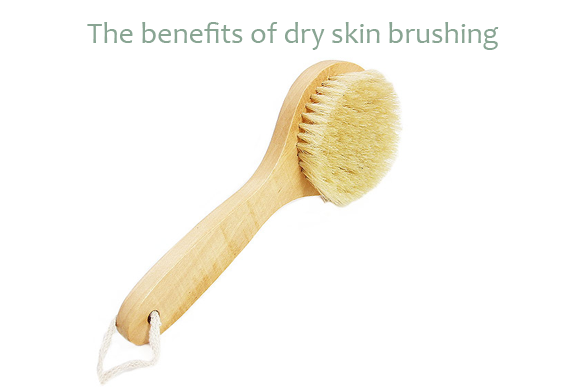
Skin Care Tip of the Week *The benefits of dry skin brushing*

Monday, May 7, 2012

I first learned about this wonderful body exfoliating technique when I was going through esthetician school. I now incorporate it into my morning skin/beauty routine on a weekly basis. I briefly mentioned the dry brush technique in this post, but I wanted to give you a little bit more of an extensive how- to for those of you that were interested.

What is dry brushing?
The dry brush technique is a natural and proven way to improve the the overall appearance of your skin.

What you will need:
A natural bristle brush (shown above) with a long handle. You do NOT want to use a synthetic brush (synthetic fibers can cause small scratches on the surface of your skin).

The benefits of dry skin brushing:
  • Helps exfoliate dead skin cells, which can leave your skin looking lackluster and dull.
  • Helps improve circulation and brings blood flow to your skin.
  • Provides a gentle internal massage, which can help eliminate toxins.
  • Helps eliminate clogged pores and your skin is able to absorb more nutrients.
  • It helps with ingrown hairs and razor burn. I personally vouch for this one.
  • It makes your skin incredibly soft!

How to dry brush your skin:

  1. You only need to do this once a day and it is best to do it first thing in the morning.
  2. Always dry brush your skin when you are completely nude.
  3. Start at your feet and work in long upward strokes towards your heart. You never want to brush away from your heart because this puts extra pressure on the valves and lymph vessels within the veins.
  4. Be gentle and brush lightly where the skin is thin (like the breasts) and use a little more pressure where the skin is thicker.
  5. Brush upwards on the back and use downward strokes from the neck.
  6. Brush your tummy in a circular motion.
  7. Hop in the shower immediately after to rinse off the dead skin.
  8. Follow up with a moisturizing oil such as almond, olive, grapeseed or coconut oil.

And there you have it! Keep in mind that if you only do this once you will not reap the benefits. It is best to do this at least 3-4 times a week consistently to see all the benefits.


Nursery Sneak Peek

Friday, May 4, 2012

If you follow me on Instagram then you most likely have already seen a similar picture...but for those of you who have not seen it, here is a little peek into baby Ronin's nursery. I have a few more pictures and do-das to hang and once it is all up I will share the finished project.

I can not believe how fast time seems to be flying this time around. It seems like yesterday we announced we were expecting a new addition and now he is almost here! It feels like Christmas times 1,000000000.

On a side note: Thank you to those of you who took the time to leave a comment on yesterday's post. I know it can sometimes feel like your comment gets lost in a sea of other comments but I read each and every one and really appreciate all the wonderful advice!

Mom Challenges

Thursday, May 3, 2012

This picture was taken this past October. Maybe it was a foreshadowing of the craziness to come...

You know what is one of the worst things ever? Toddler tantrums. They make me want to either drink a beer at 10 in the morning, or go on a nice long run so I can come back refreshed and ready to take it on, both of which I can not do at the moment. I actually would never drink a beer at 10 in the morning but lately it does not sound like such a bad idea. I end up trying my very best at disciplining (which consists of time outs in his room) and I usually start crying because I feel like I am going to freak out.

I have a great kid I really do, but I do not know what this new behavior is all about. My son has started shouting "NOOOO!" in public, screams for Daddy, throws himself on the ground, has even hit me a couple of times and has full on temper tantrums.

To be honest, this all makes me feel like a bad Mom. What am I doing wrong? Have I let him watch cartoons one too many times since I feel like a big blob? Is he rebelling because he knows someone else is coming into the family? Is it just a cry for more attention? I have no idea. I admit I am about as fun as a dead lizard right now and I have no energy to go to the park and play hide and seek...but what is up with this?!

If you have been through this, I would love some advice.

Pin-tester * Make your own pore strips*

Wednesday, May 2, 2012


This week I tested out a pin from my beauty board. The pin came from a blog called Petit Elefant and it was a tutorial on how to make your own pore strips. To be honest, I had no idea if this would turn out and I was a little skeptical...not gonna lie. I actually HATE the store bought ones and would never ever recommend them to anyone, but this seemed to be a little more gentle so I wanted to give it a whirl.

What you will need:
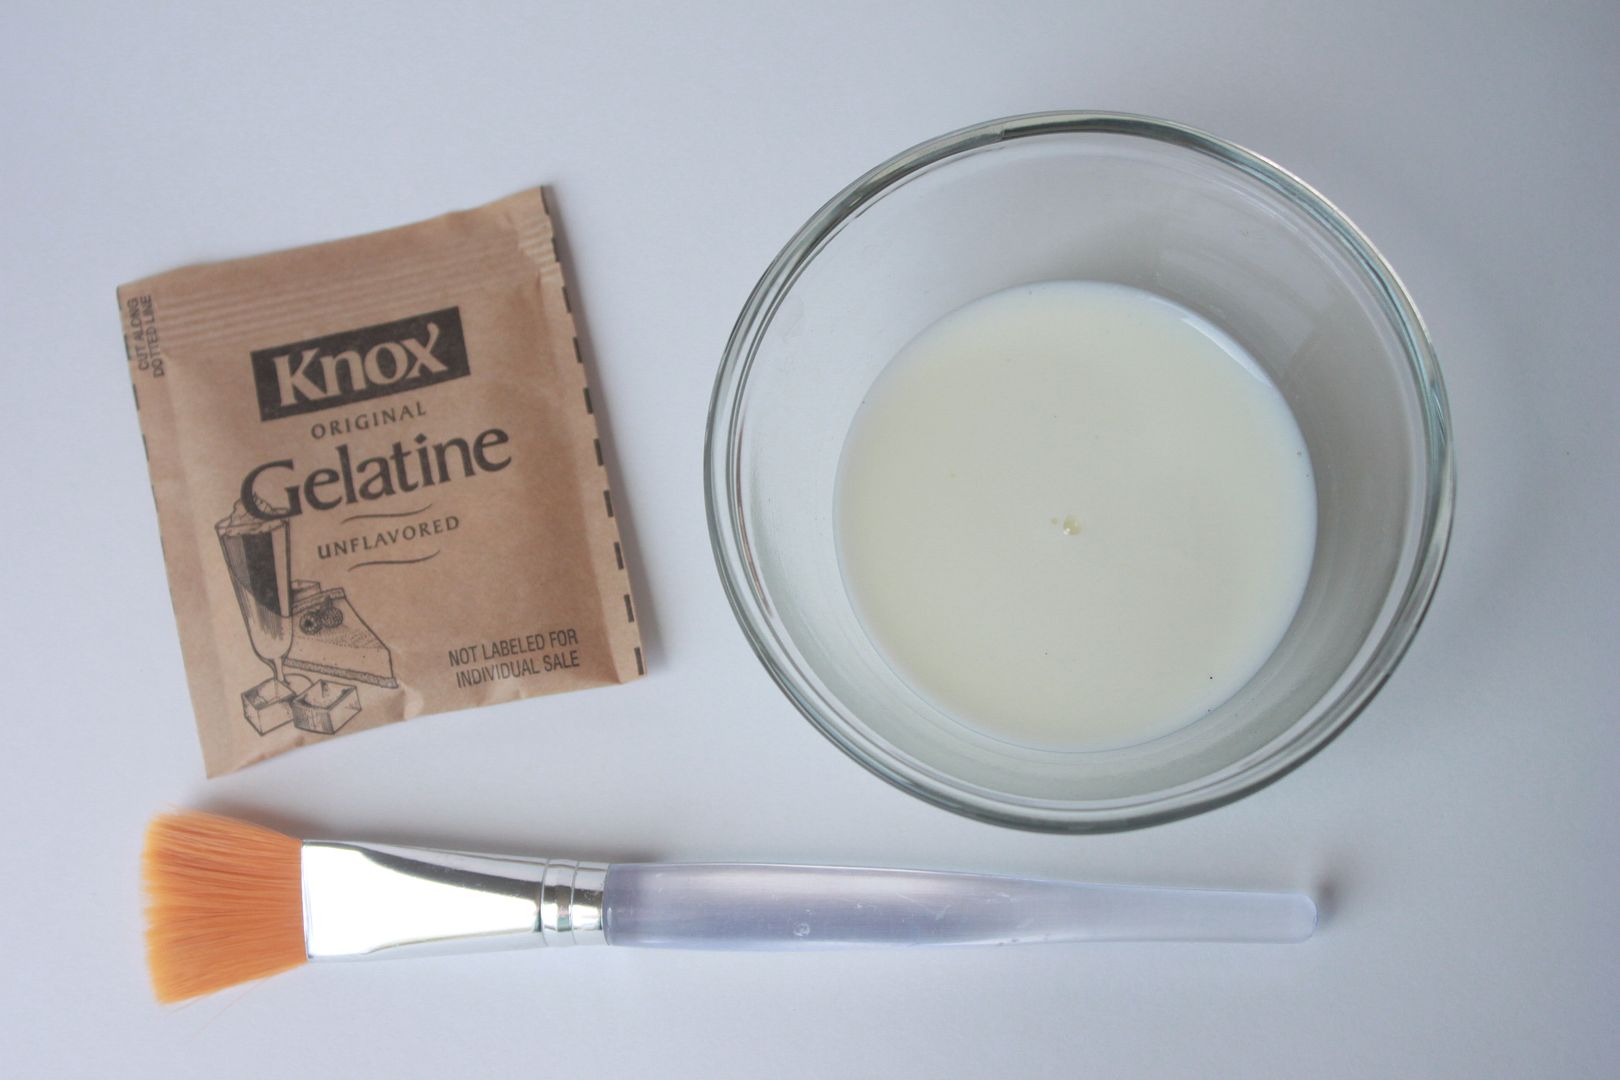
  • 1 packet of unflavored gelatine
  • 2 tbs of milk
Directions:
Mix the gelatin and milk together in a microwave safe dish. Microwave the mixture for 10 seconds and apply to face (you can use a facial brush or popsicle stick). Leave on for 15 minutes. Slowly peel off the pore strips and walla!

A little forewarning....this next picture might gross you out a little...

Here is the pore strip that came from my nose. I LOVED this! This is seriously the coolest thing ever. I worked like magic and actually peeled off like a regular pore strip, but without ripping off actual skin.

My skin was so soft after and I even think it removed a little peach fuzz from my face ha! The only weird/negative thing I have to say is it smelled like dog food was on my face...yep very stinky! Other than that this was pretty awesome. Thank you Petit Elefant for this great (inexpensive) beauty idea!

Have you tested out any pins lately? I would love to hear which ones!

April Post Recap

Tuesday, May 1, 2012

#1 How my family stays green.

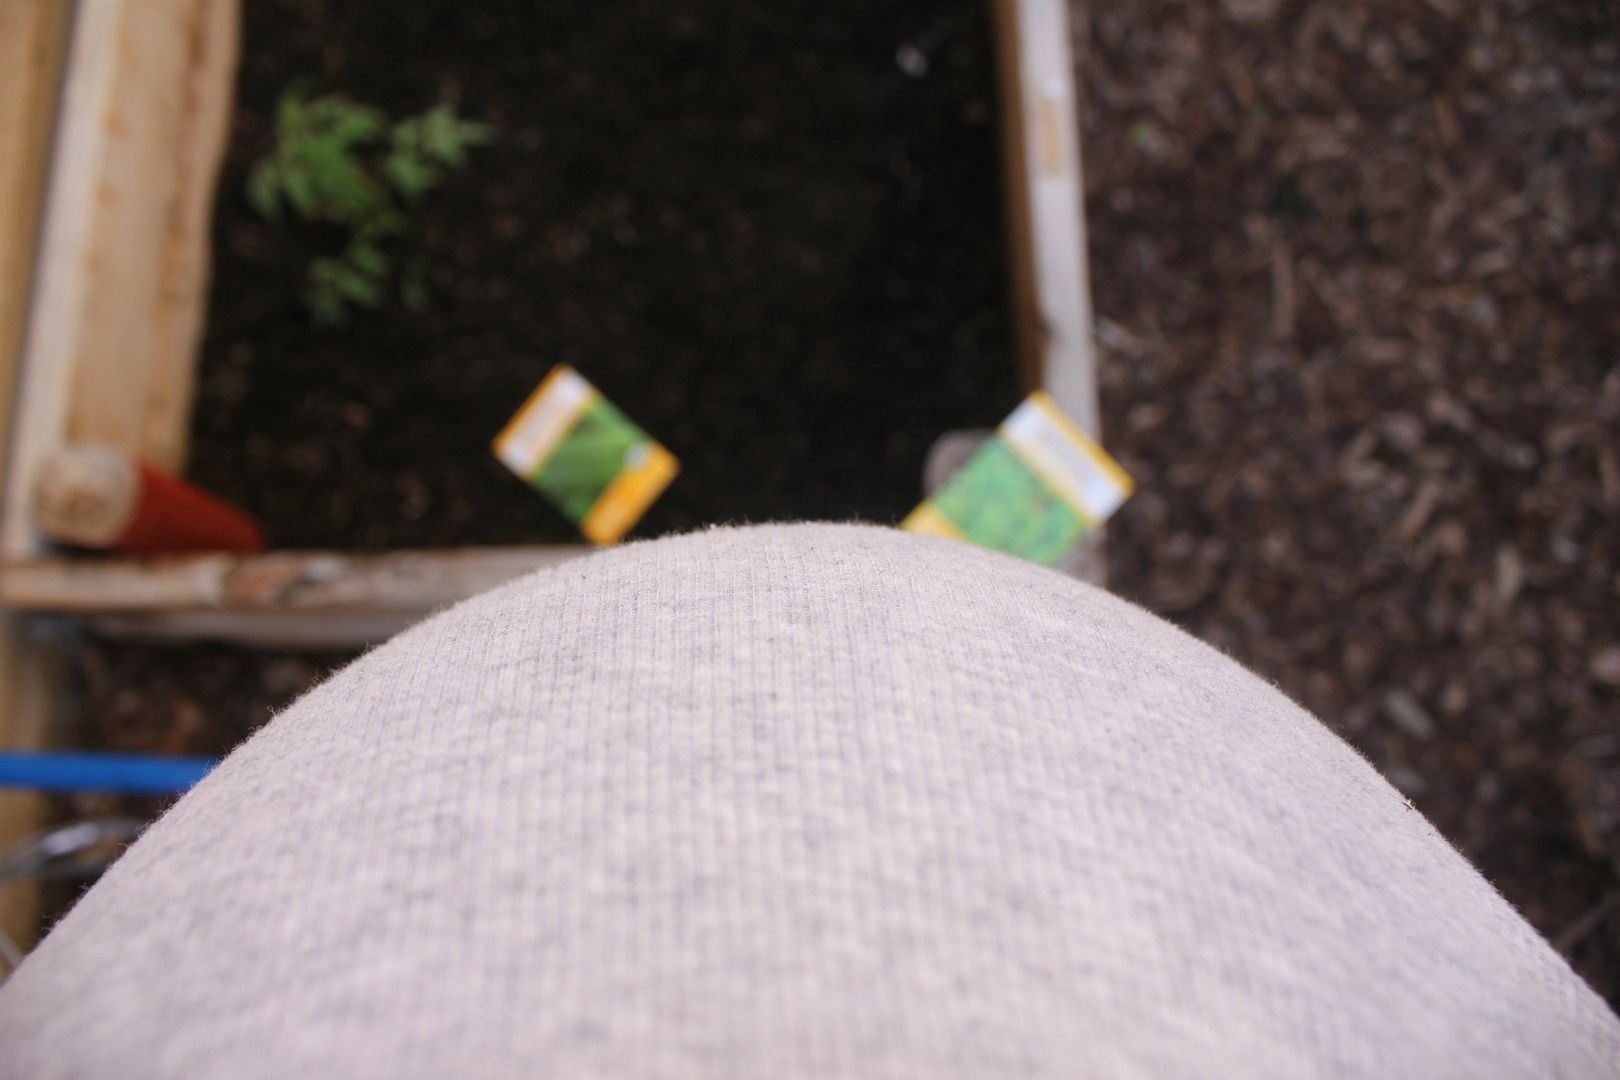
It's May?! It's May!! That means I only have 5 weeks left until I get to meet this little guy growing in my belly! I decided to do a wrap up of my favorite April posts for those of you who may be new to reading Delighted Momma and because I have a million Dr. appointments and I have no time to be creative for my blog this week ;)

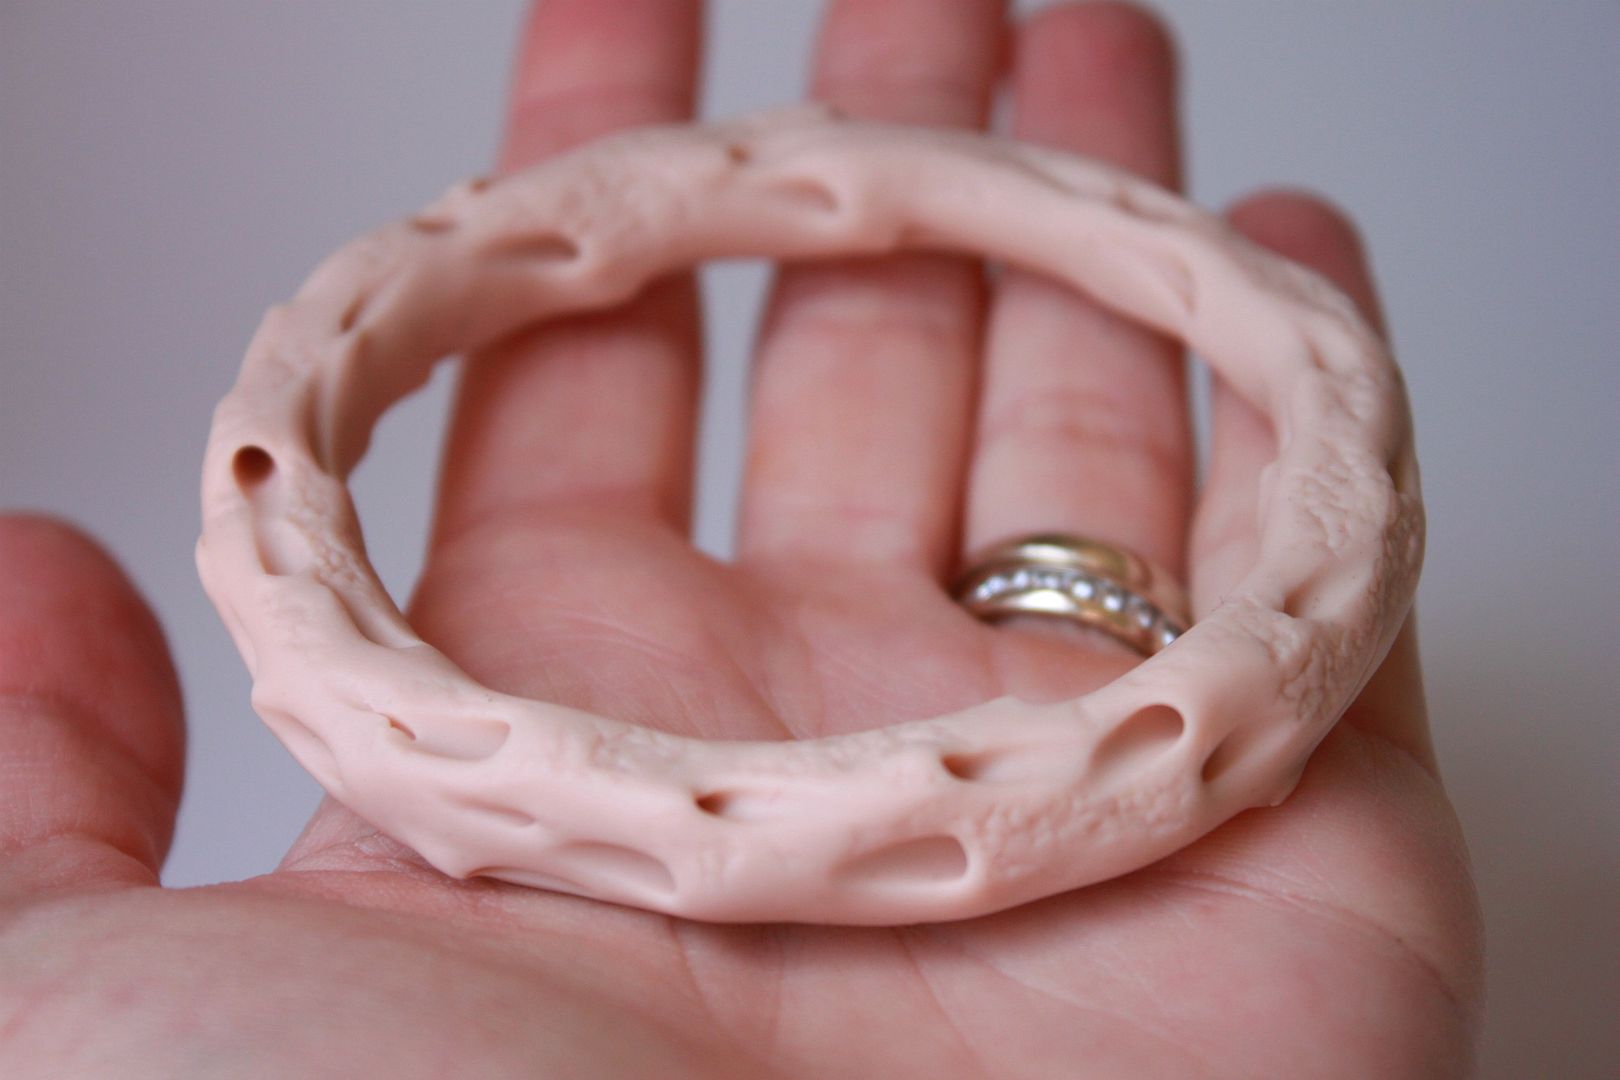
#2 A coral inspired polymer clay bracelet DIY.


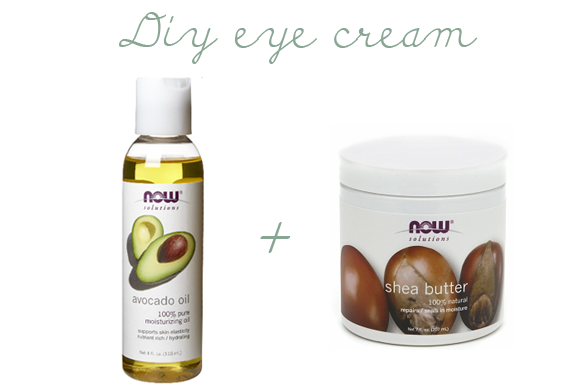
#3 Make your own cost effective eye cream.

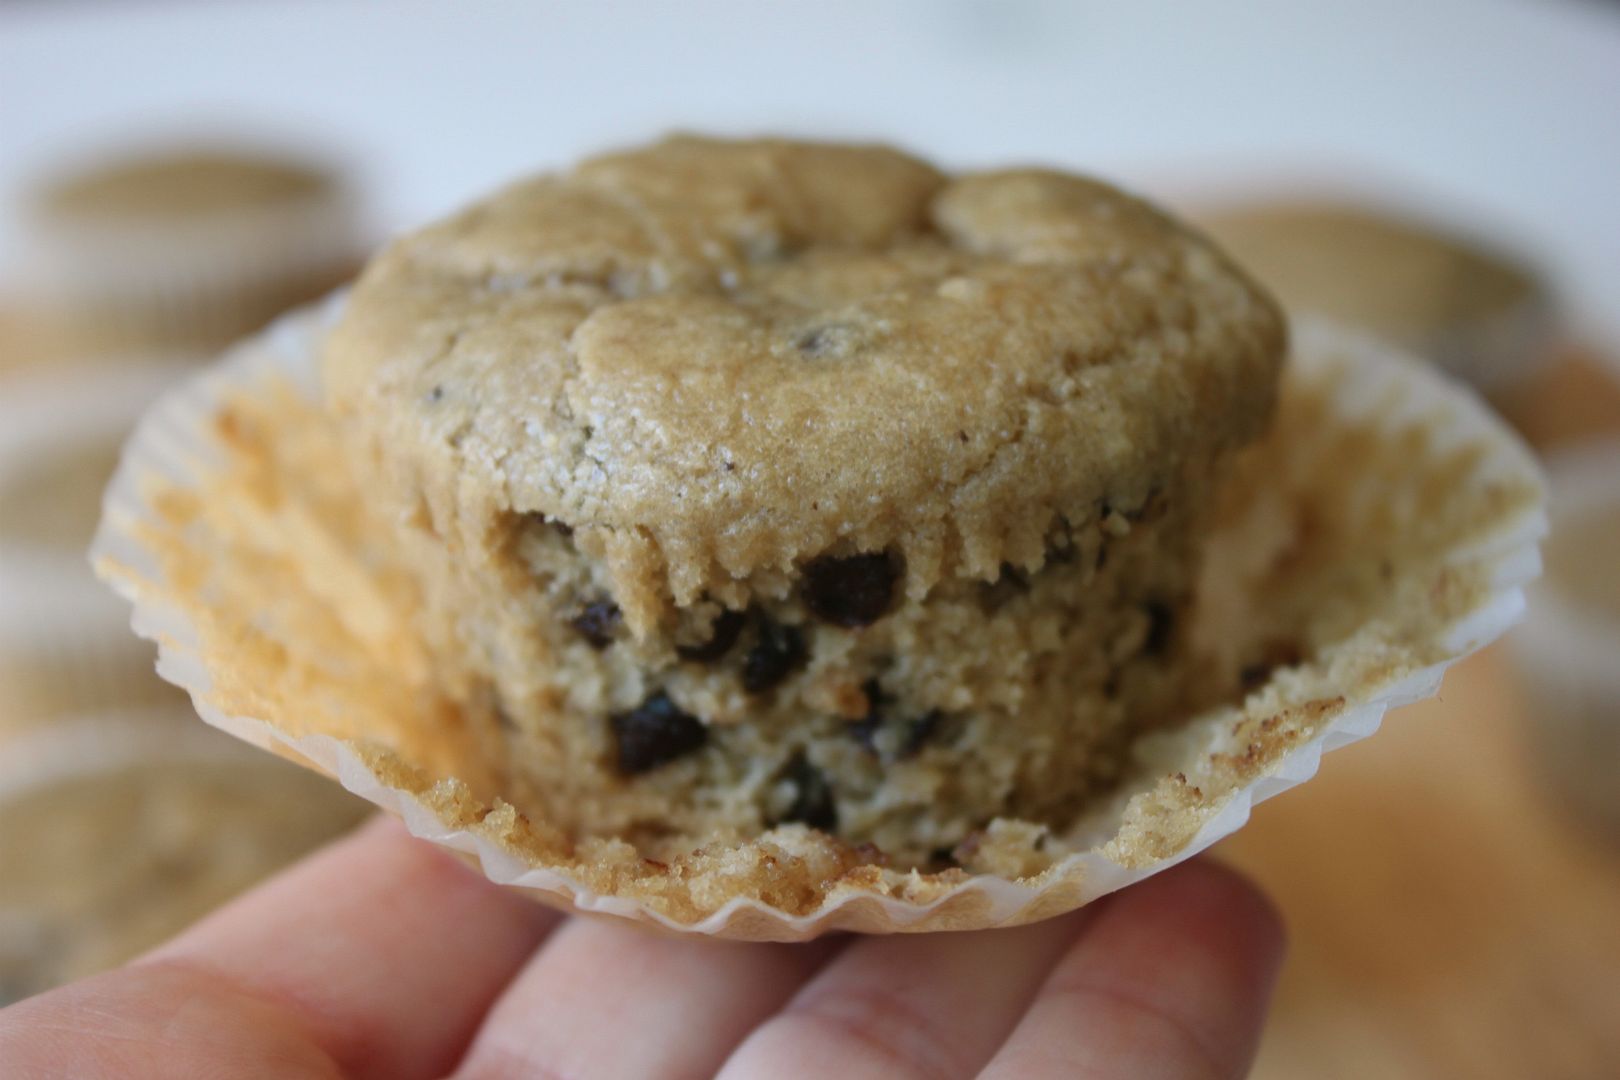
#4 Low carb chocolate chip muffins. Really moist and delicious!

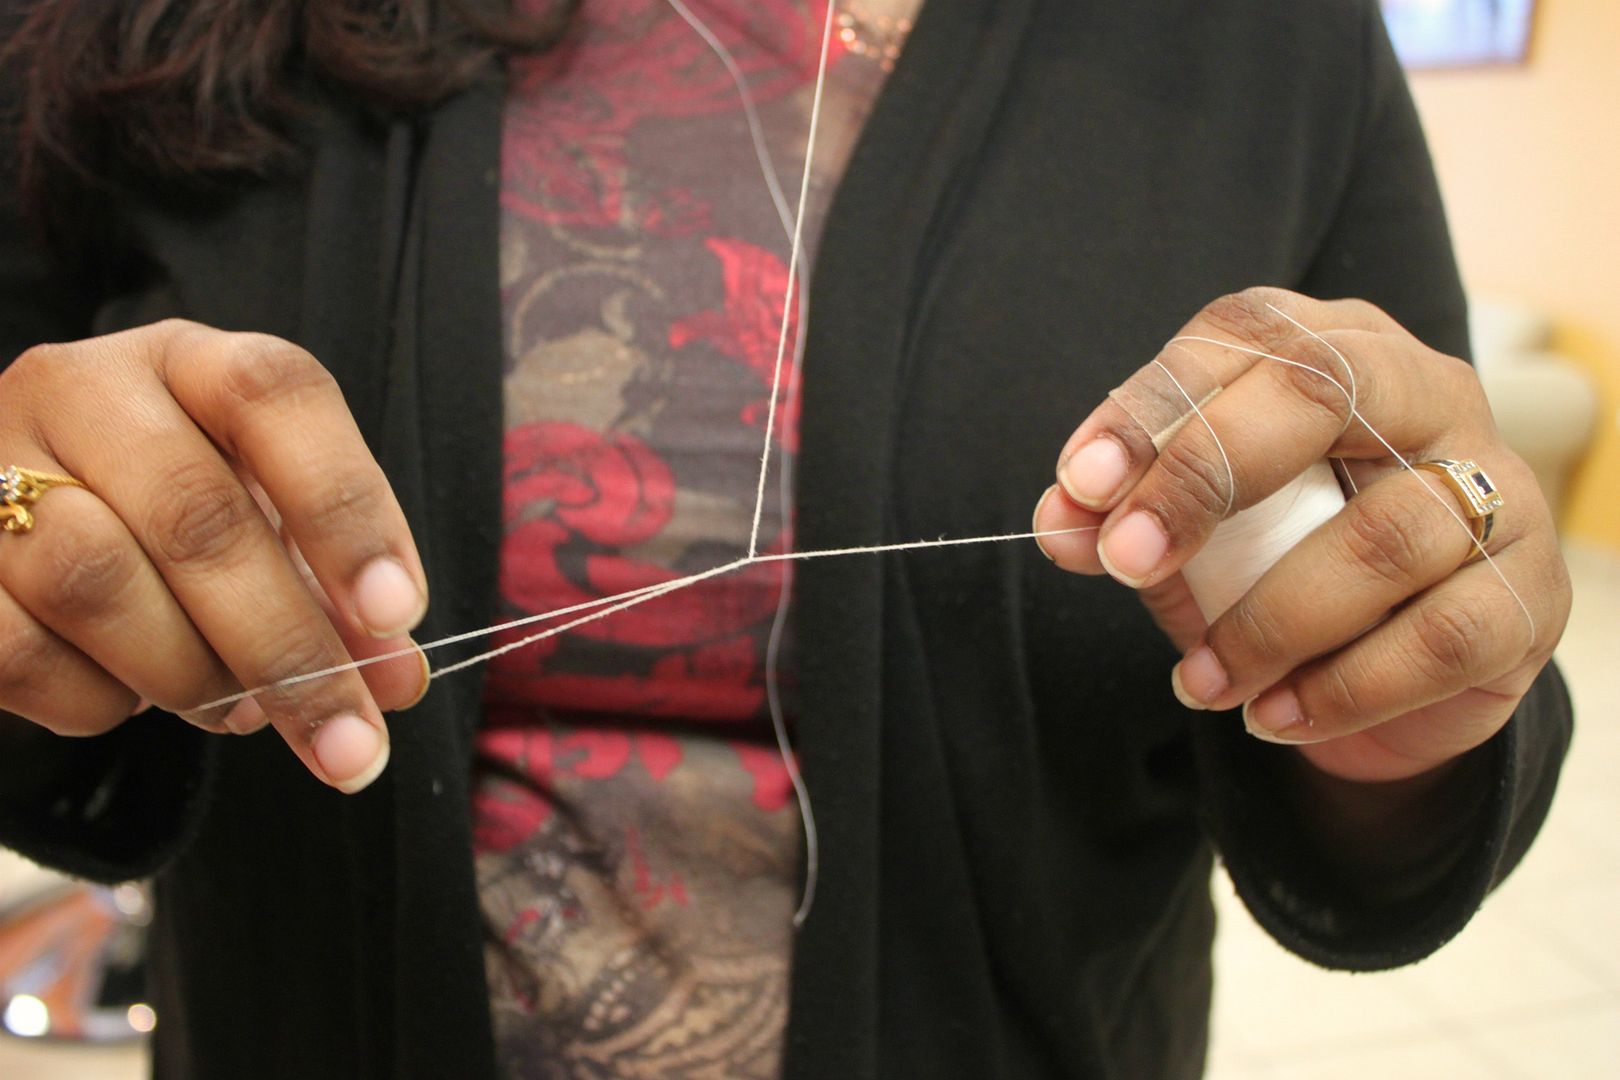
#5 I got my eyebrows threaded for the first time...and I am hooked! It is the best thing ever.

Happy first day of May!

Skin Care Tip of the Week *Lavender and Coconut Milk Bath Soak*

Monday, April 30, 2012

This week's skin care diy is one of my personal favorites! It is relaxing, smells amazing and makes you feel like you are getting a luxurious spa treatment in the comfort of your own home.

Dried lavender flowers are known to help with nervous exhaustion, headaches and will help your body and mind relax.

Coconut milk has a natural ability to calm and hydrate your skin, leaving it feeling baby soft.

Together these ingredients make magic...in my opinion :)

Lavender and Coconut Milk Bath Soak:
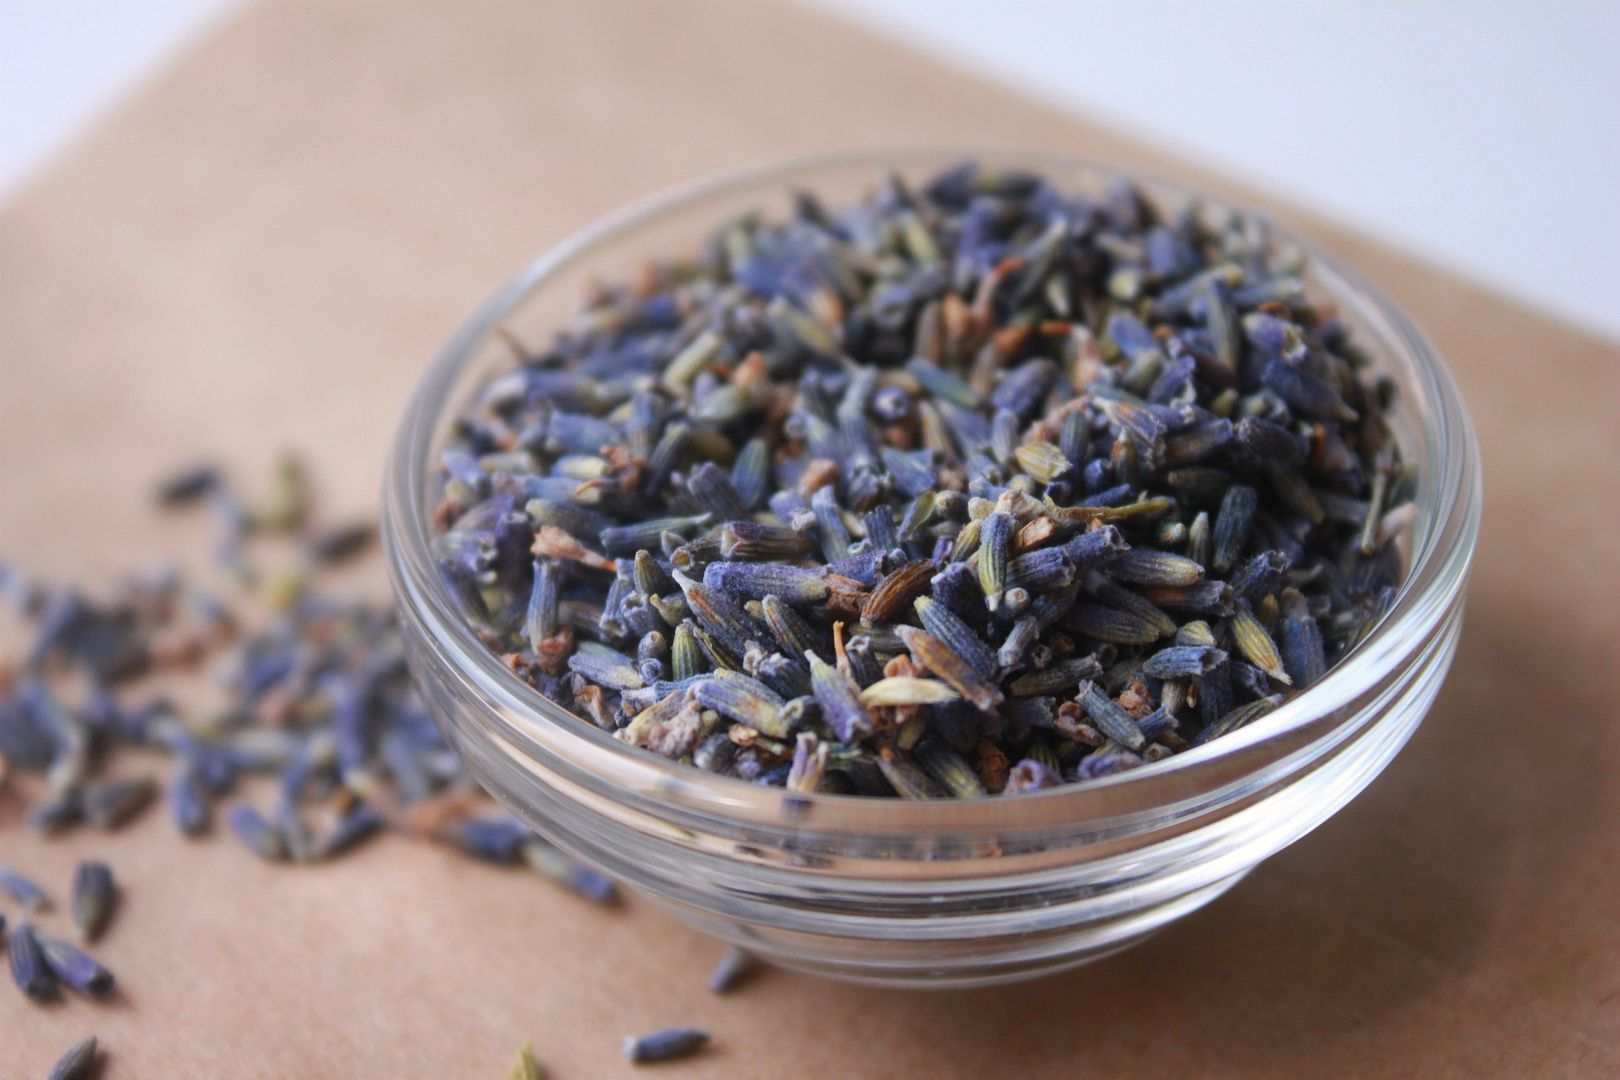
  • 1/2 cup of dried lavender flowers. You find them in bulk at your local health food store. You can also purchase them here.
  • 2 cans of full fat organic coconut milk.

Directions:

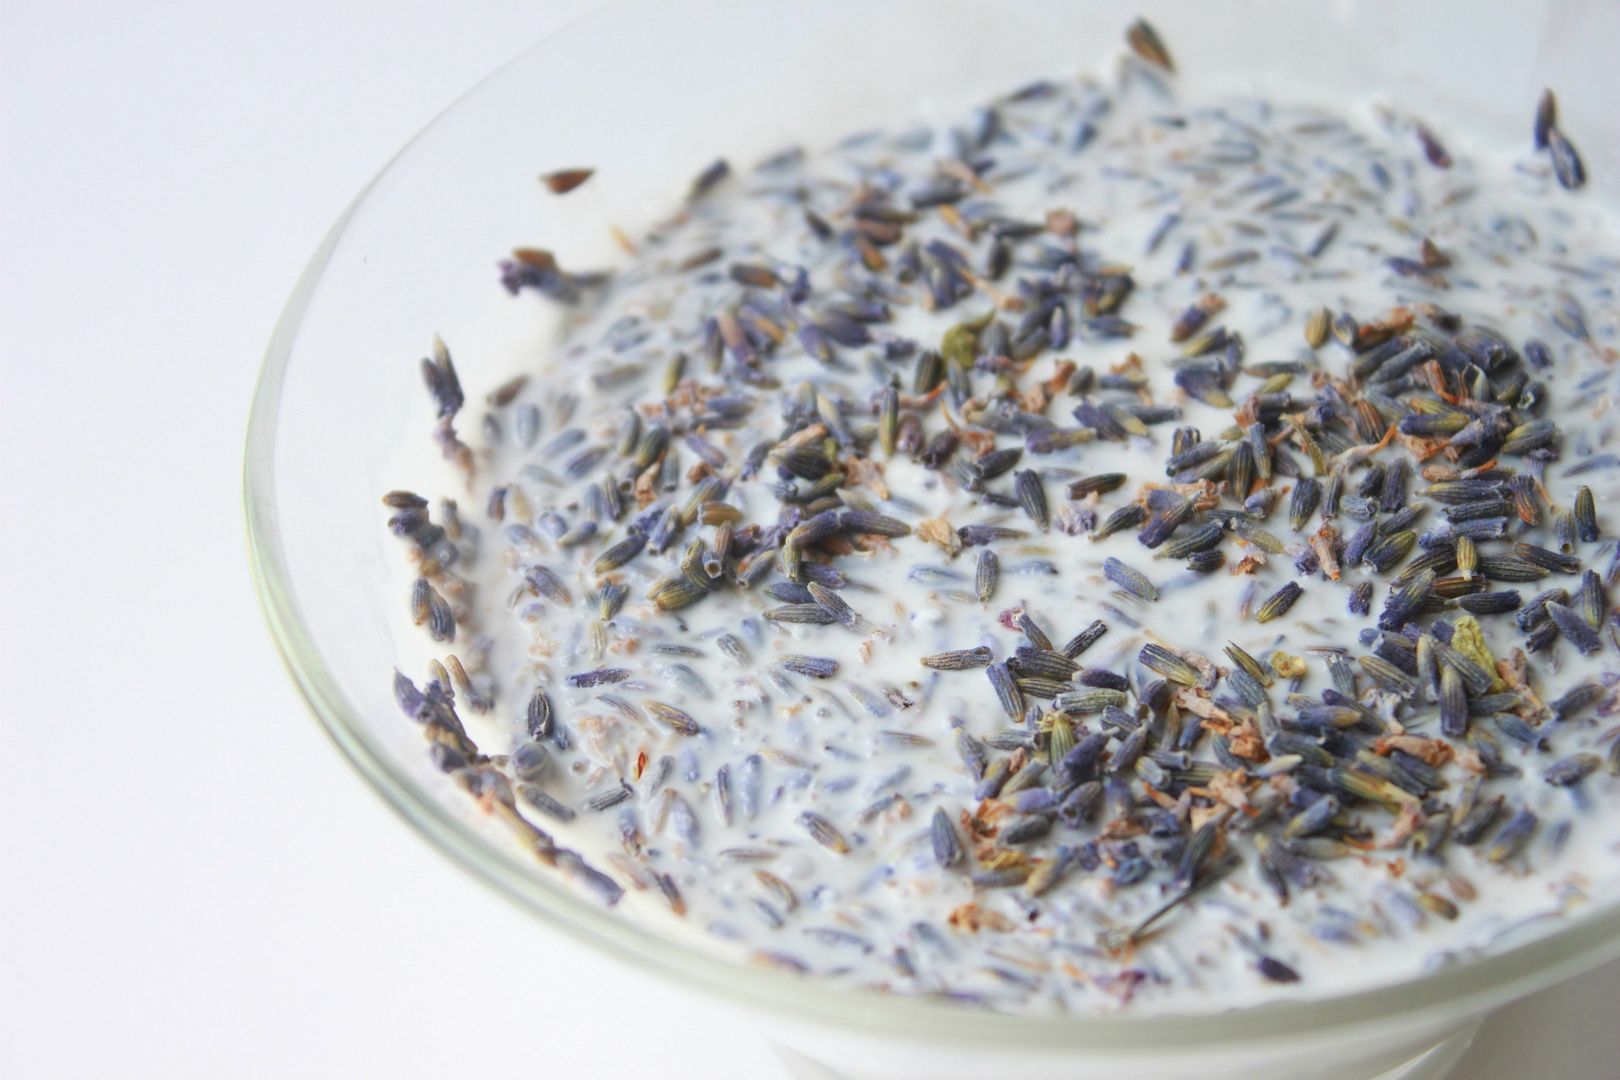
  1. Draw a warm bath and slowly add the two cans of coconut milk and the dried lavender.
  2. Soak for as long as you like. The longer you soak the softer and more refreshed your skin will feel after.
Try to relax and breath in the invigorating aroma of the lavender and coconut.

Enjoy...

On a side note: I have been receiving more skin care question e-mails than I am able to respond to. If you do have a skin care question/concern that I have not yet covered PLEASE feel free to e-mail me and I will be happy to consider it for a future post. If you are experiencing severe acne or other issues my best advice is to make an appointment with an experienced and qualified esthetician so you can get a complete skin analysis in person.

Related Posts Plugin for WordPress, Blogger...