Low Carb Chocolate Chip Muffins

Tuesday, April 10, 2012

A cup of coffee and a warm muffin go hand in hand in my opinion. One unfortunate aspect about the everyday muffin is the fact that they are loaded with sugar and carbs, which can send you into a morning food coma a few hours later...blahh don't you hate it when that happens?

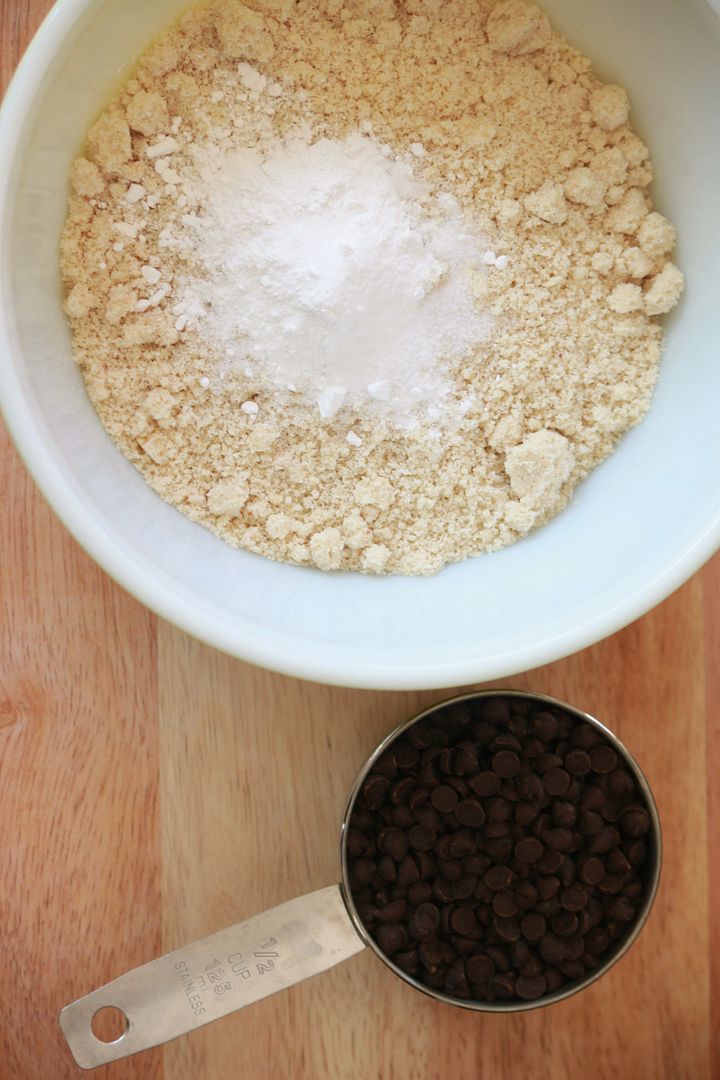
These muffins are not only deee-licious, but they are made without any flour and sugar. Instead, I used almond meal (a low carb flour substitute) and liquid all natural stevia (best thing ever). I used a basic low carb muffin recipe, but made a few tweaks to the recipe to make it my own and to make the muffins a little bit more moist.

What you will need:
  • 2 1/3 cups of almond meal
  • 2 tsp of baking powder
  • 1/4 tsp of salt
  • 4 eggs
  • 1/2 cup of water
  • 1/2 tsp of liquid stevia (you can find this awesome sugar substitute at your local health food grocery store)
  • 1/3 cup of gluten free chocolate chips (regular is fine to use if you can not find GF)
Directions:
  1. Preheat oven to 350 degrees.
  2. Mix together the dry ingredients first. Add wet ingredients and mix until they are all blended together.
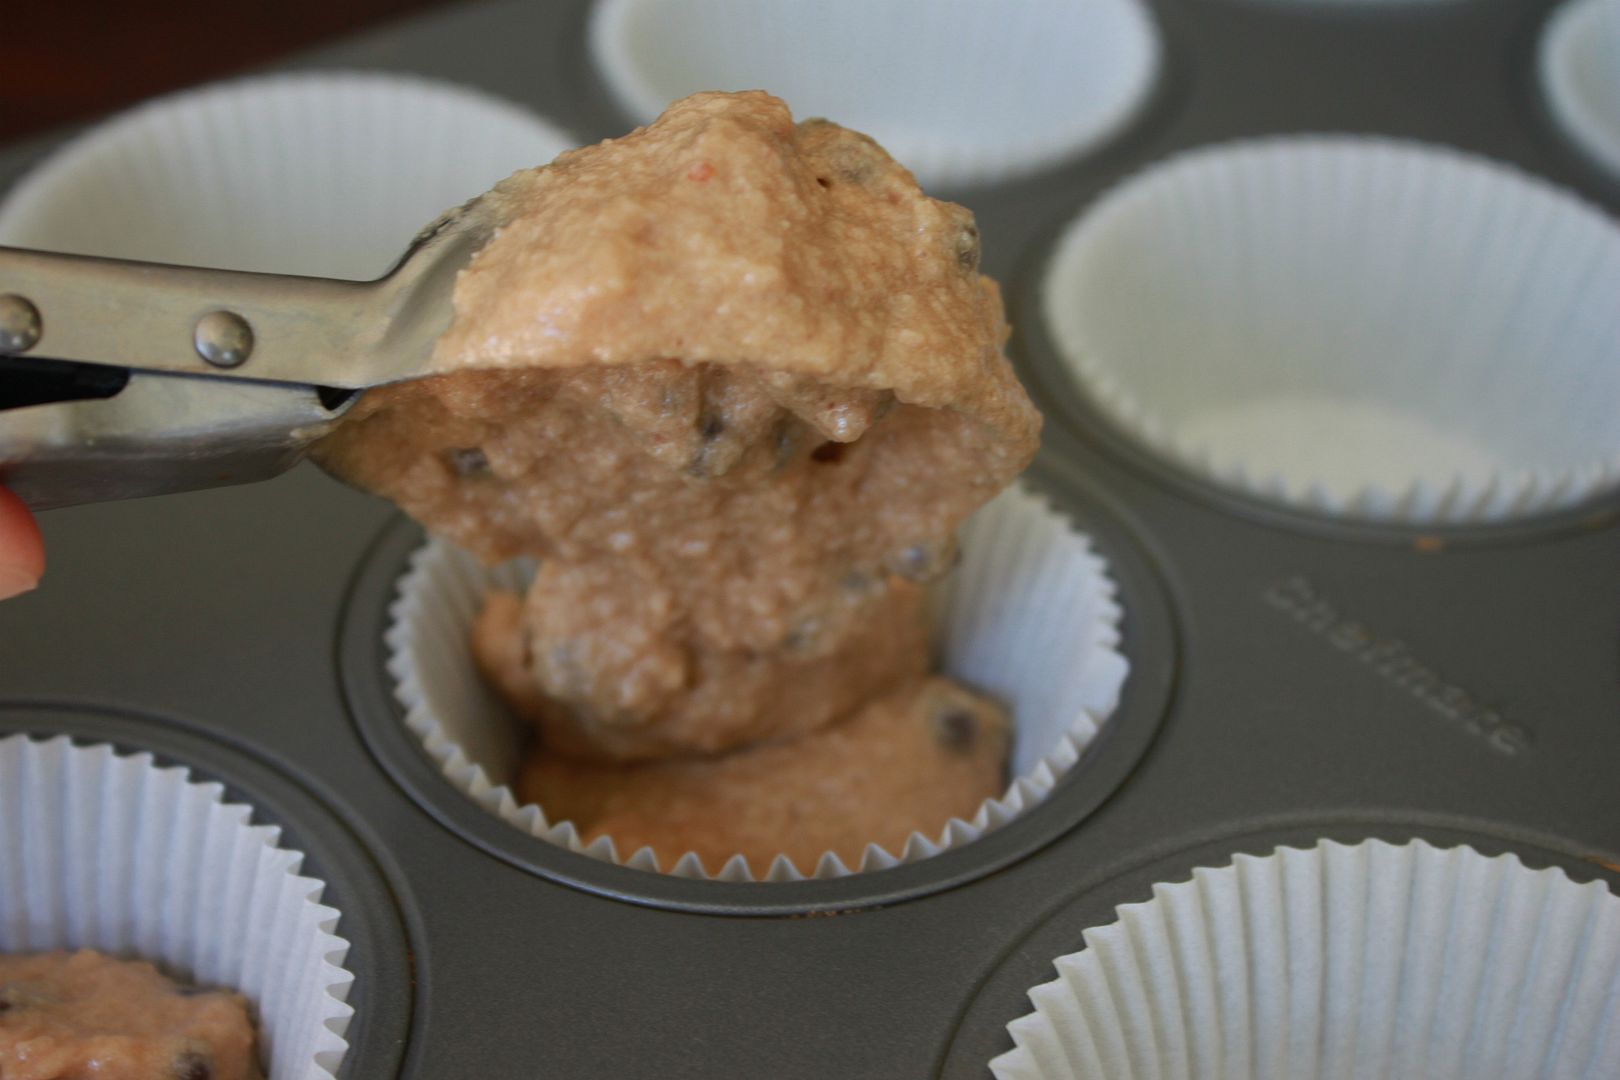
  3. Place baking cups into muffin tray. Scoop enough muffin batter to fill each muffin tin about 2/3 of the way full.
  4. Bake for 15 minutes.
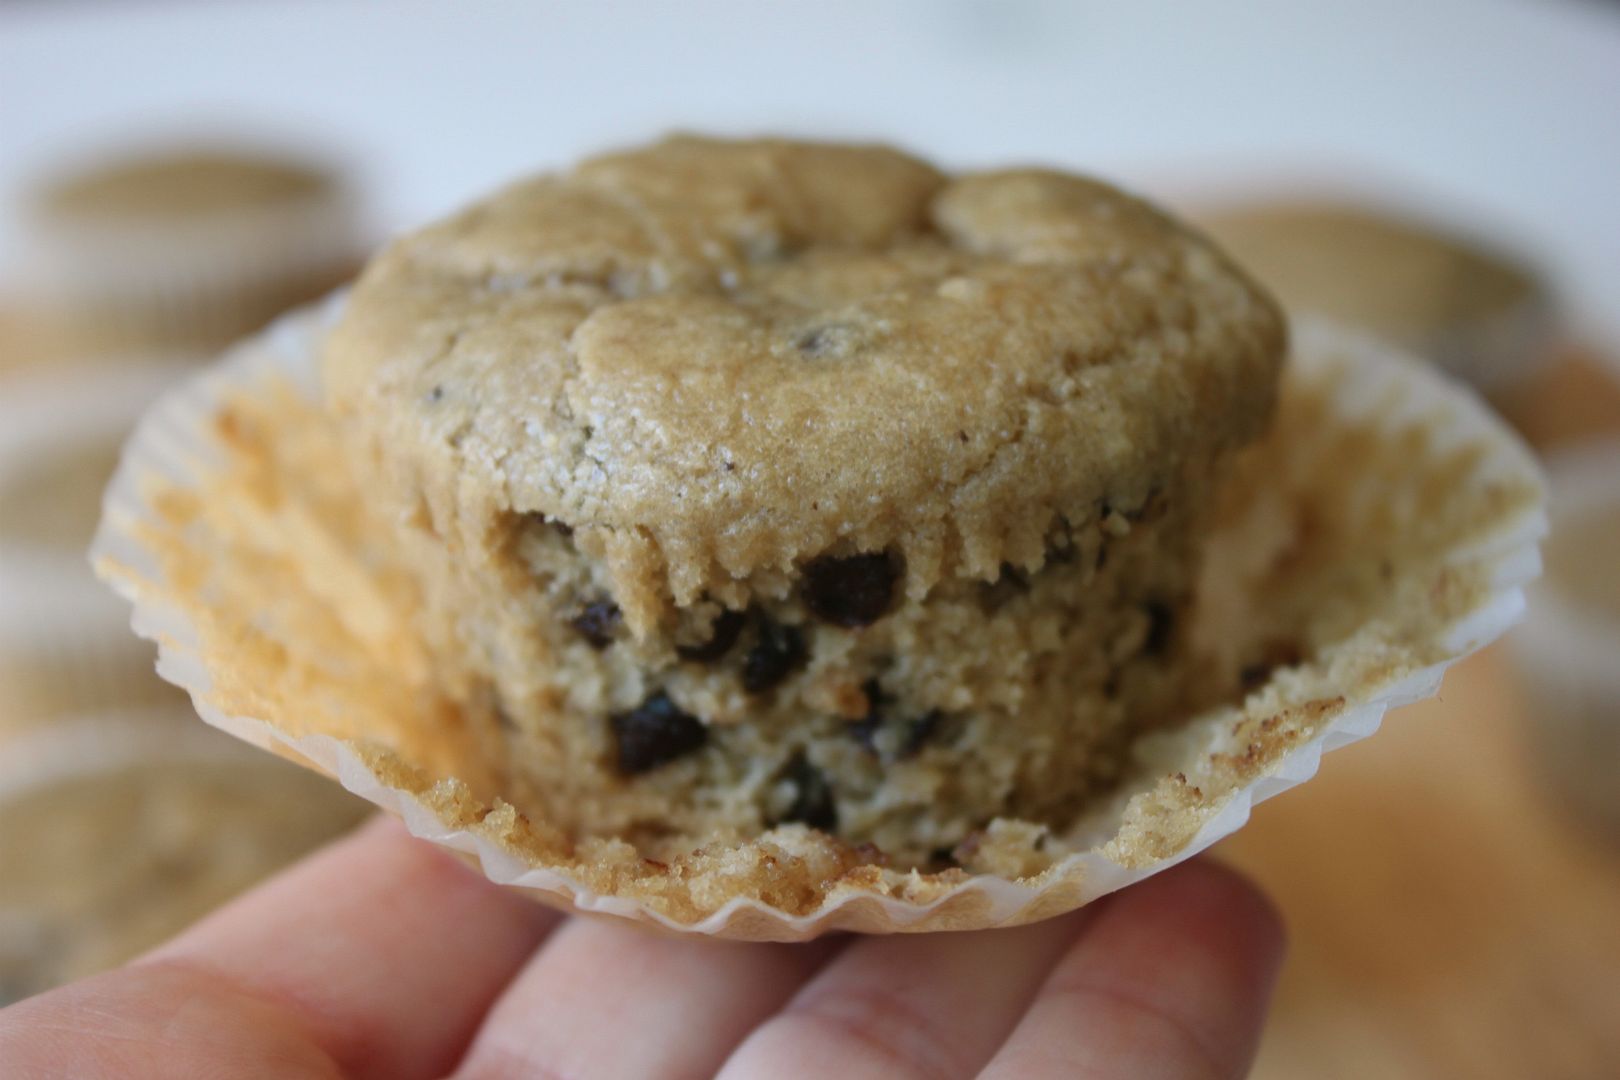
These are light, moist, SUPER low carb and the perfect little treat to have with a morning cup of coffee or tea. I may or may not have eaten 3 in one sitting ;)

Skin Care Tip of the Week *DIY salicylic (aspirin) mask*

Monday, April 9, 2012

A typical professional chemical peel will cost you anywhere from $60-$150 depending on which one you go with and how deep you want to go. I charged $60-$80 to give you an idea.

This week I am going to show you how to make your own at home (very mild) inexpensive salicylic peel using aspirin. This treatment is pretty awesome!

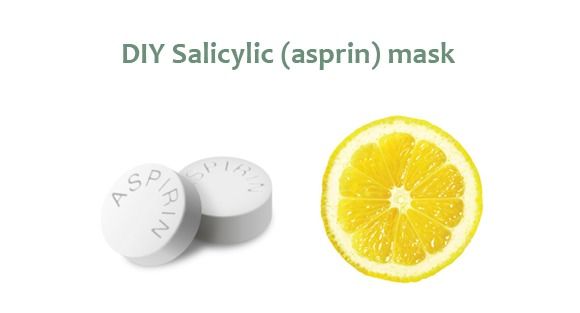
The "Aspirin Mask" has been around forever, although Dr. Oz came up with the brilliant idea of adding lemon juice to it. The lemon juice will give your skin a natural boost of vitamin C, further assisting in making this home treatment top notch.

How does it work?

Aspirin is actually a form of salicylic acid. Salicylic acid increases cell exfoliation and helps with discoloration, fine lines and wrinkles.

What you will need:
  • 4 non coated aspirin tablets
  • 1 tsp of freshly squeezed lemon juice
  • Baking soda
  • Cotton pads

Directions:
  1. Crush up the 4 aspirin and combine with the lemon juice.
  2. Allow the aspirin to dissolve until it turns into a paste like consistency.
  3. Using the cotton pad, apply it evenly across your face, avoiding the eye area.
  4. Leave on for 10 minutes.
  5. Remove with a cotton pad saturated with baking soda and cold water. The baking soda will help neutralize the peel. It may sting a bit when you remove it and this is normal.
  6. Follow up with a good moisturizer and sunscreen.

Precautions:
  • Do not use if you are pregnant or breastfeeding.
  • Do not use if you are allergic to aspirin.
  • Do not use if you have Reyes syndrome.
  • Please use common sense when using this treatment. If it is burning or irritating your skin remove it immediately.
  • Always apply sunscreen after using any type of salicylic acid, since this will make you more sensitive to sun exposure.

Please note: This does not replace a professional treatment, but it will help with minor breakouts and congestion of the skin. It will also help soften and brighten your skin. If you are experiencing severe acne please make an appointment with a licensed and qualified esthetician to have a skin consultation.

If you like the idea of slightly more aggressive treatments that you can do in the comfort of your own home, I also highly recommend the DIY Vitamin C Mask, which is one of my personal favorites!


Things That Make Me Say Yeay

Friday, April 6, 2012

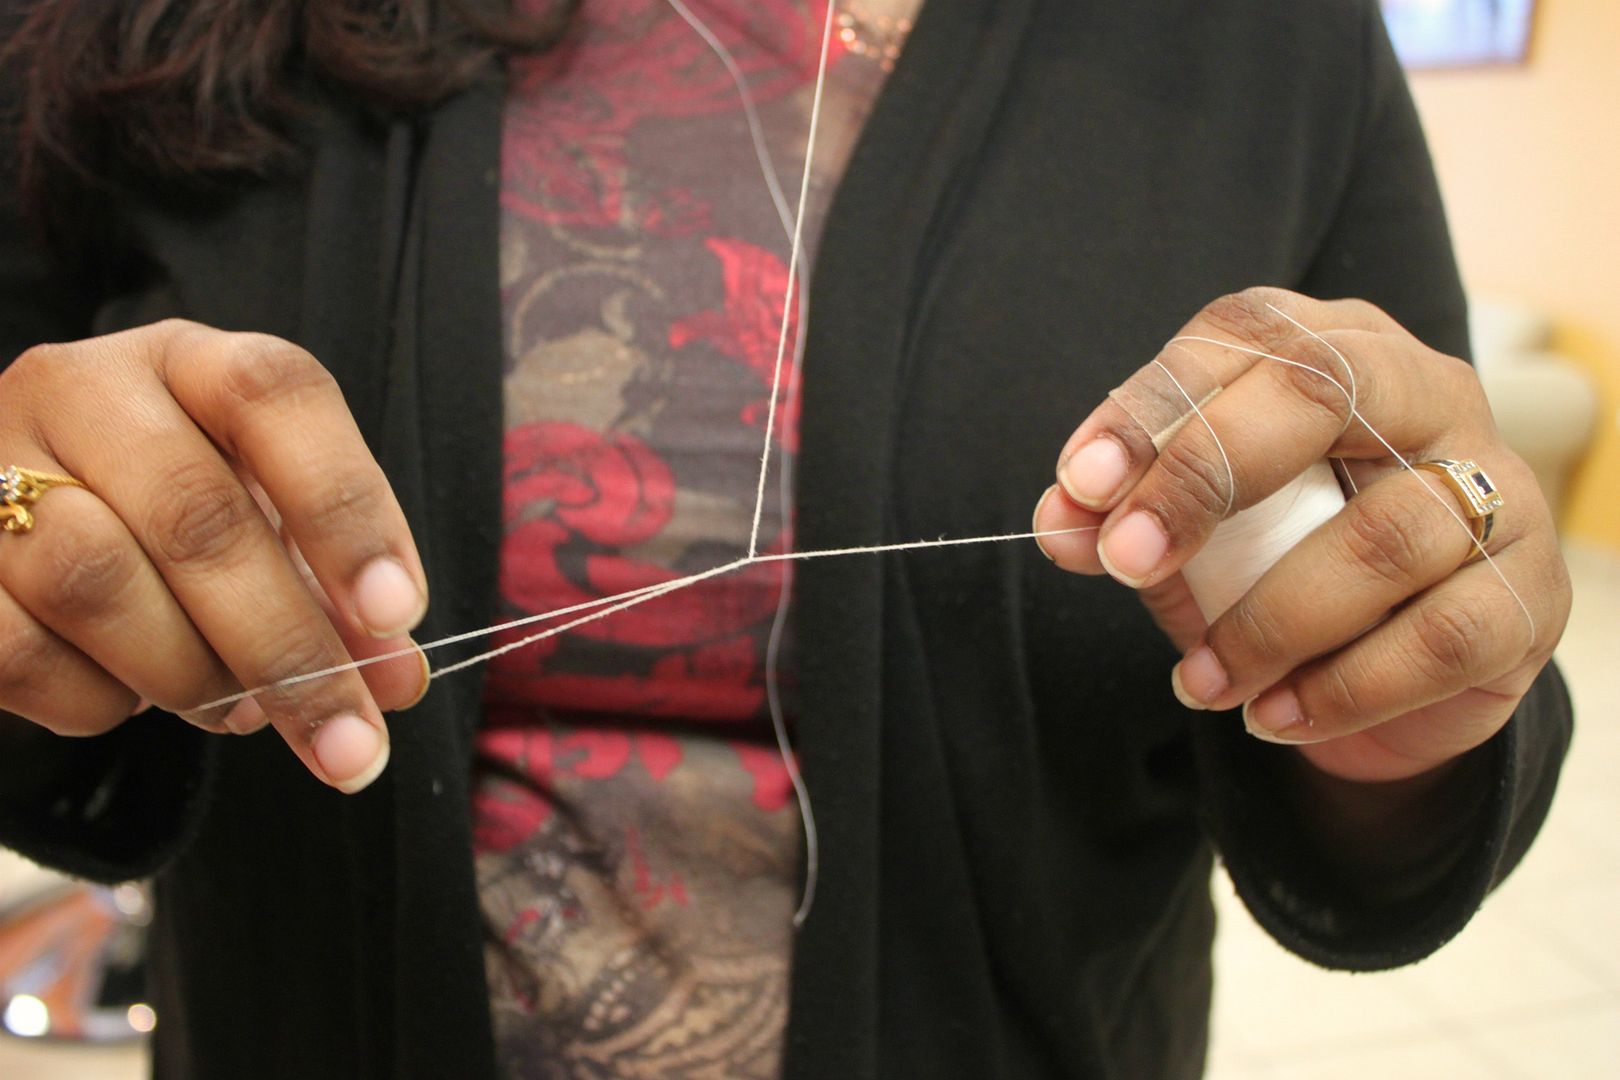
Getting my eyebrows threaded for the first time. Best thing ever! I will never get them waxed again. No redness, no breakouts and I feel like they look so much better compared to when I get them waxed.

A beautiful weekend wine country walk with my family...ahhh wine I miss you!

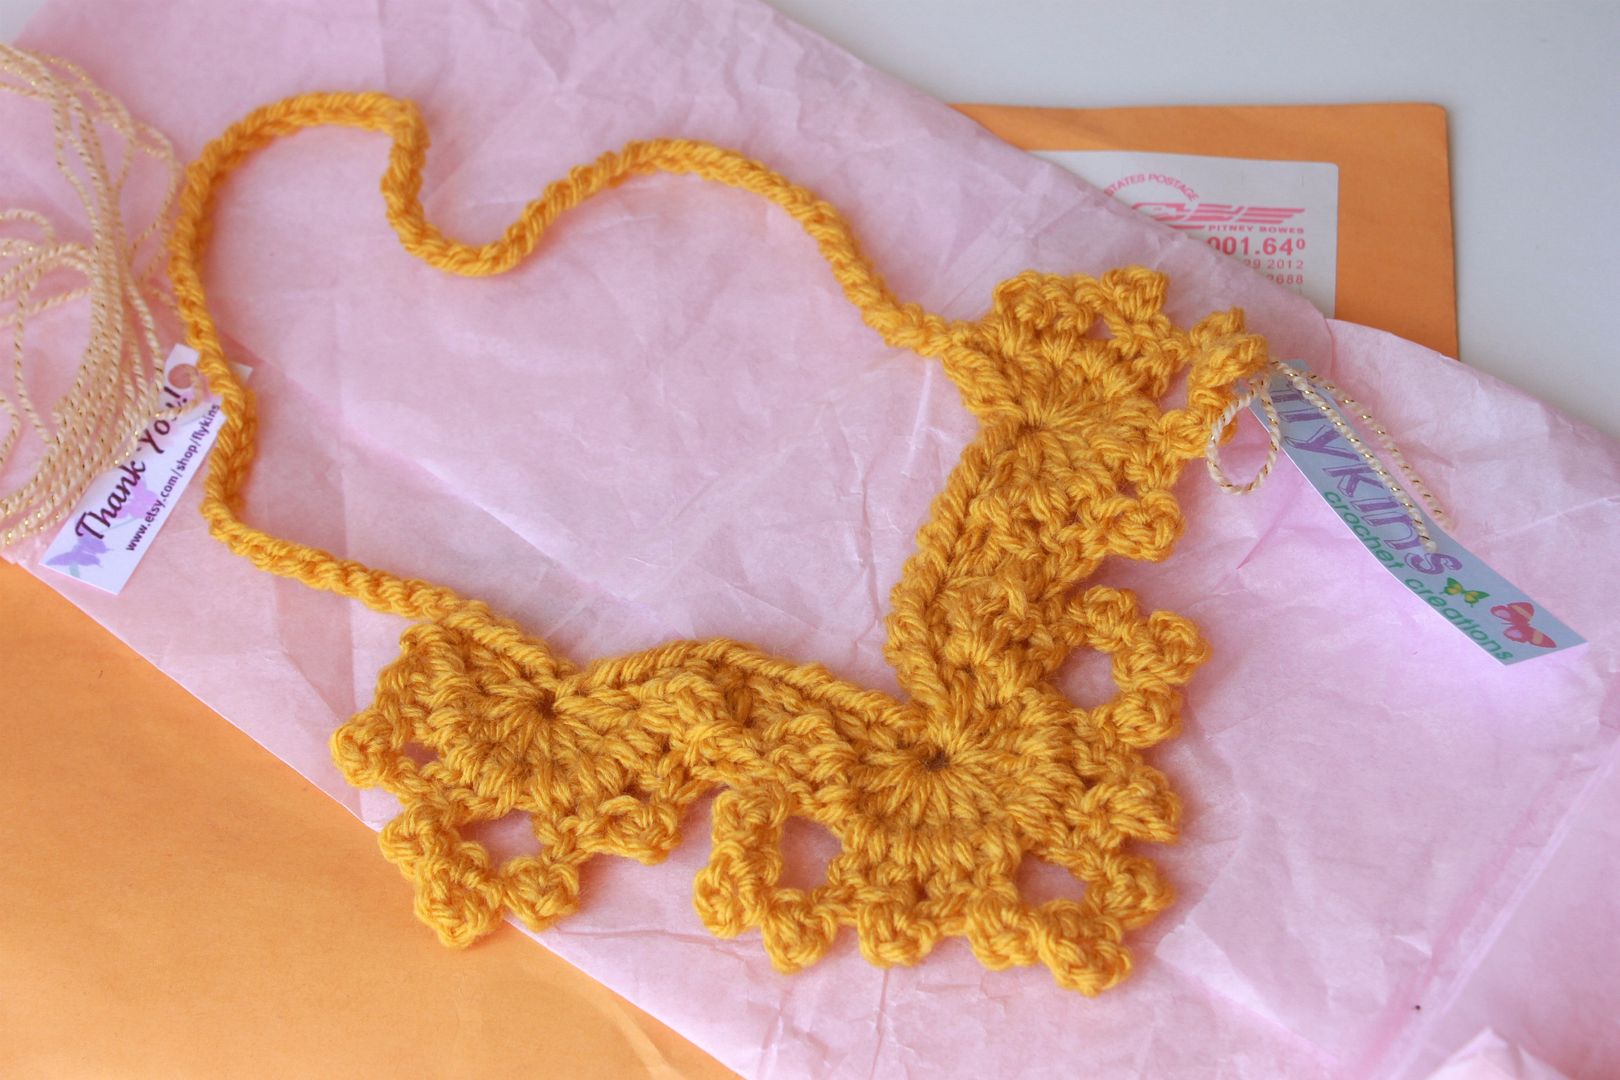
My new crochet necklace made by my sweet friend. I LOVE it. We did a little crafty trade...polymer clay beaded necklace for a crochet necklace. I think it will look perfect with a plain white tee. You can check out her adorable shop here.

Sports themed Easter eggs for Max. This will be his first year doing an Easter egg hunt and I am pretty excited about it!

Ian and I with Max last Easter. I can not wait for our second addition to be here so he can join in on all the fun.

Hope you all have a wonderful weekend and Easter!

Pin-tester *Recycling Old Candles*

Thursday, April 5, 2012


This week I tested out a pin that came from a blog called Happy-Go-Lucky.    

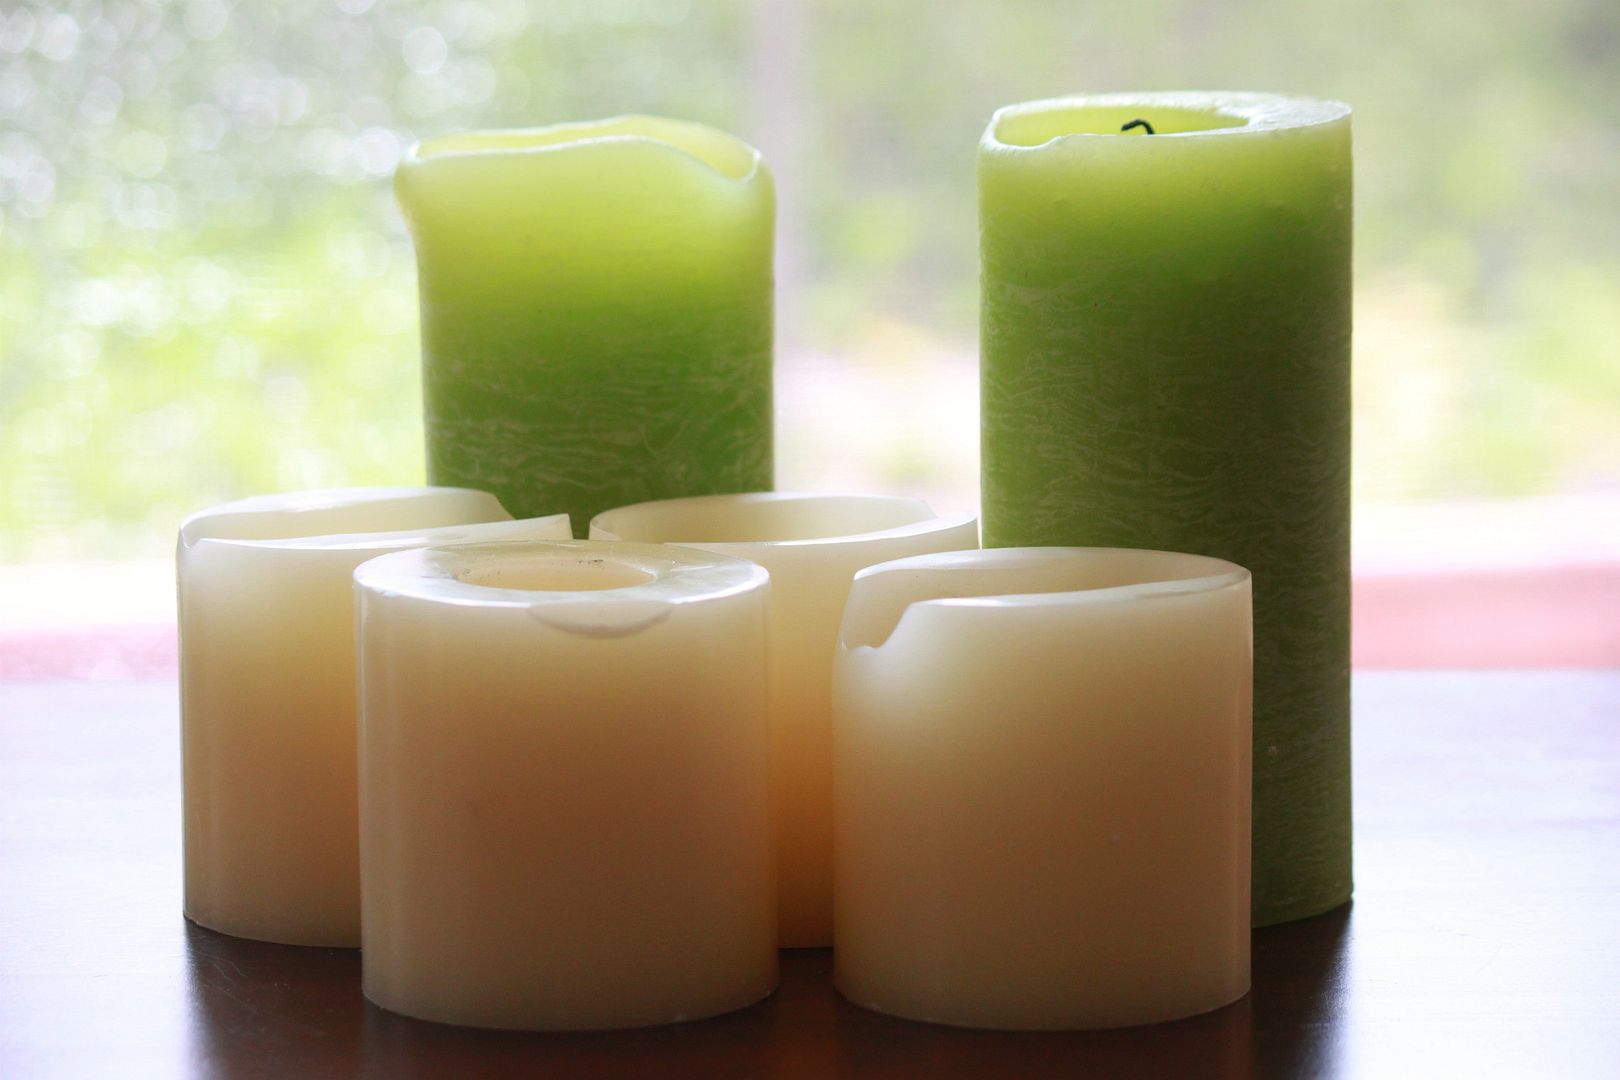
I was recently cleaning out the closet of my esthetician room, which is now getting transformed into the baby's nursery and realized I had a bunch of aromatherapy candles that were just taking up space.  I was about to toss them, but then I came across a great tutorial on Pinterest.  I knew this was a pin that I needed to put into action asap!  The original poster used candles in jars so I made a few little changes (I know I originally said I would follow instructions fully but I broke the rules) and I am pretty happy with how my new candle turned out.

I have made my own candles before, but this was so much more cost effective (love that phrase). 

What you will need:
  • Old candles
  • Candle wicks (you can find these at a craft store)
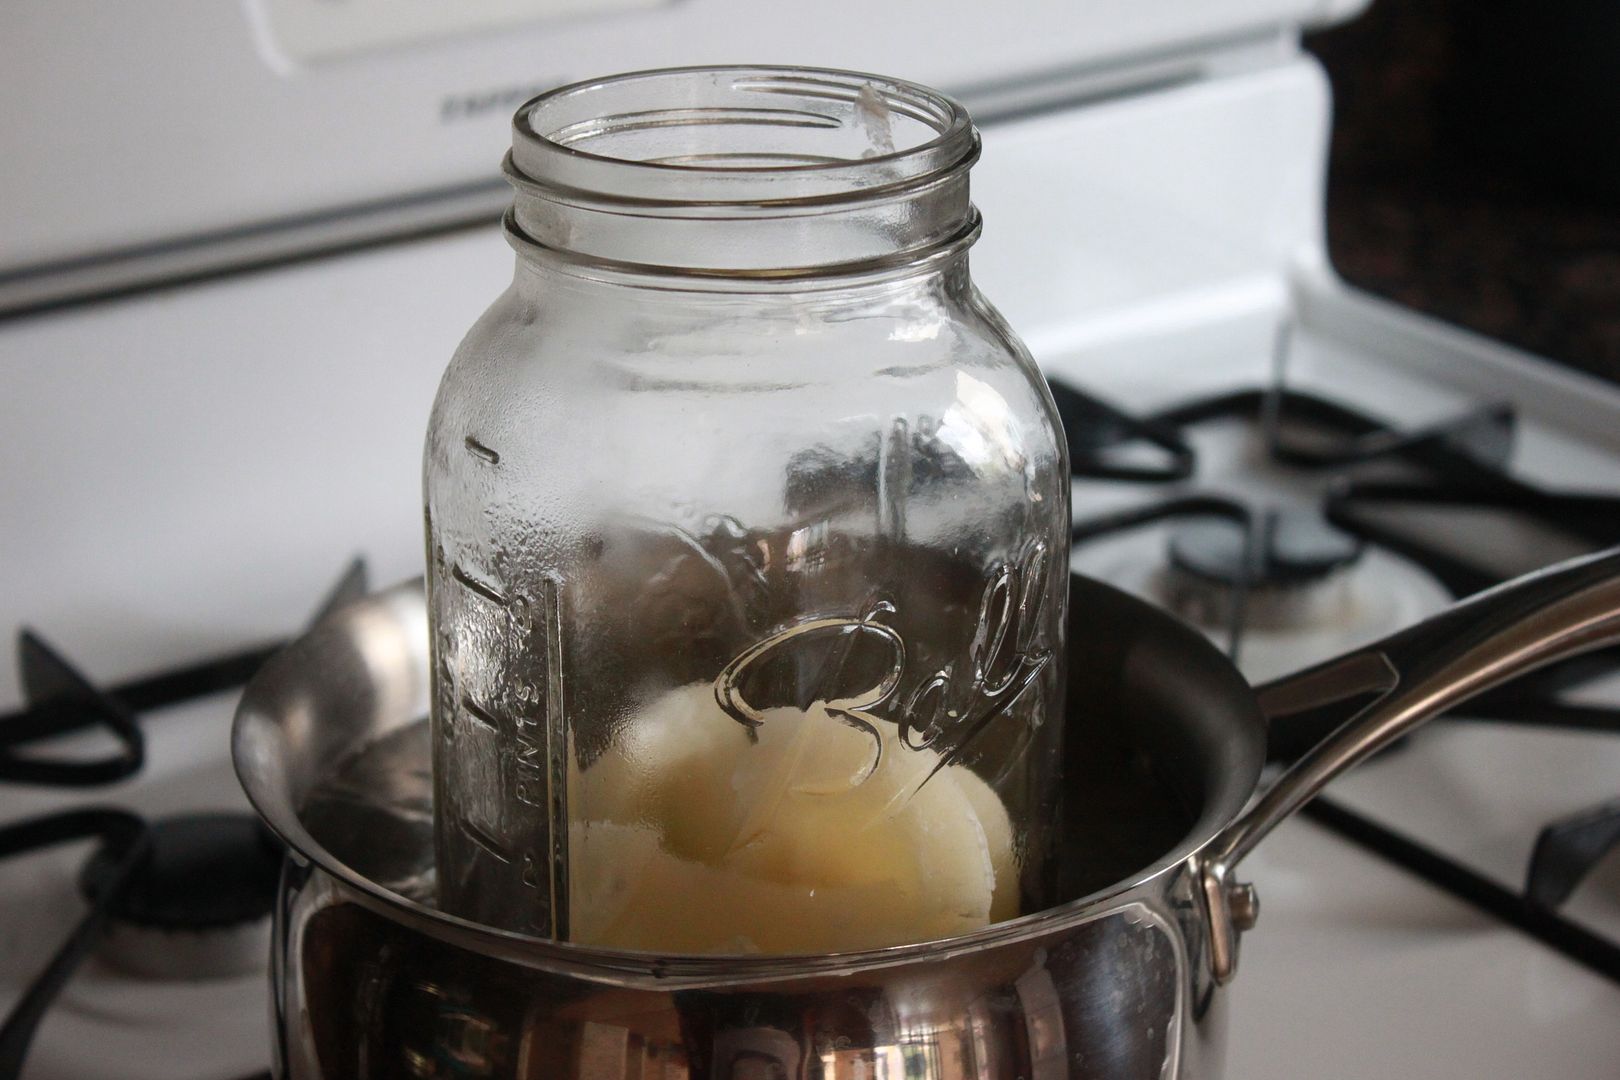
  • A large melting container (I used a giant mason jar that was leftover from this party)
  • A glass jar
Directions:
  1. I hammered up (Max was wondering what had gotten into me I think ha) my old candles so they were smaller chunks for easier melting. I don't actually know if this makes it easier to melt, but it made sense to me at the time.
  2. Boil a hot pot of water. Place the container filled with the candle chunks into the water and let melt.
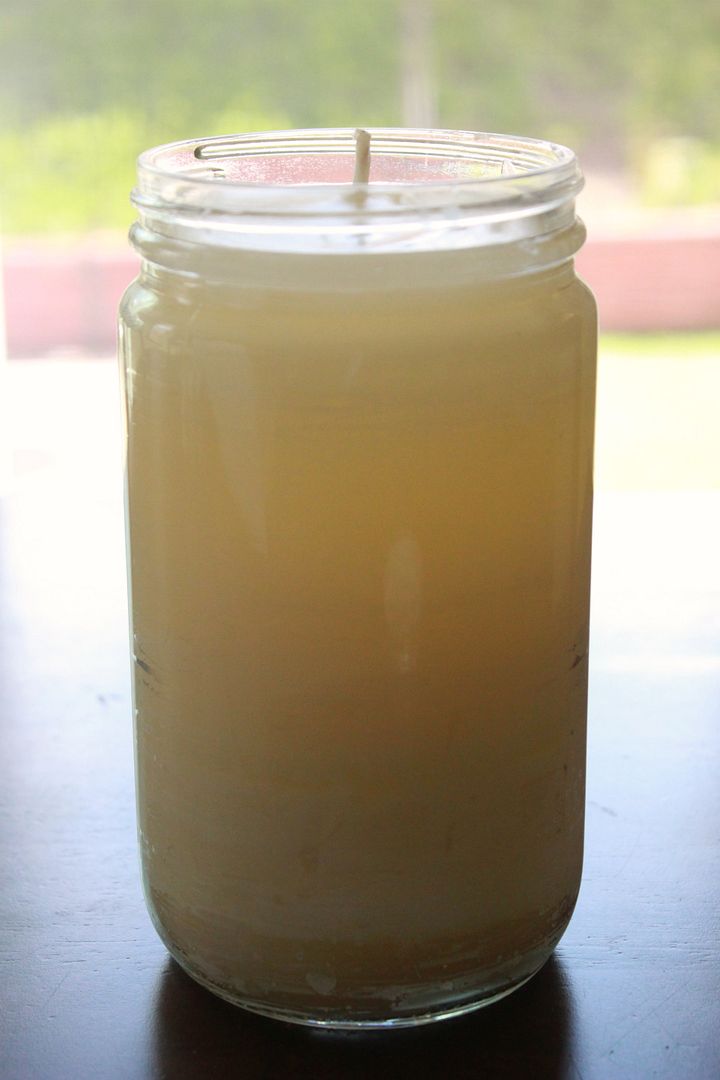
  3. Place your wick in the other glass jar. When the candles have melted pour wax into glass jar.
  4. Trim wick once wax has dried and you have a new candle!

I love my new giant vanilla scented candle!  Plus...this whole project only cost me $2 (price of the wicks). I don't think I have ever seen a candle this big for $2, so I am pretty stoked about that!

Have you tested out any pins recently that were a flop or a success?  I would love to hear!

DIY Polymer Clay Coral Bracelets

Wednesday, April 4, 2012

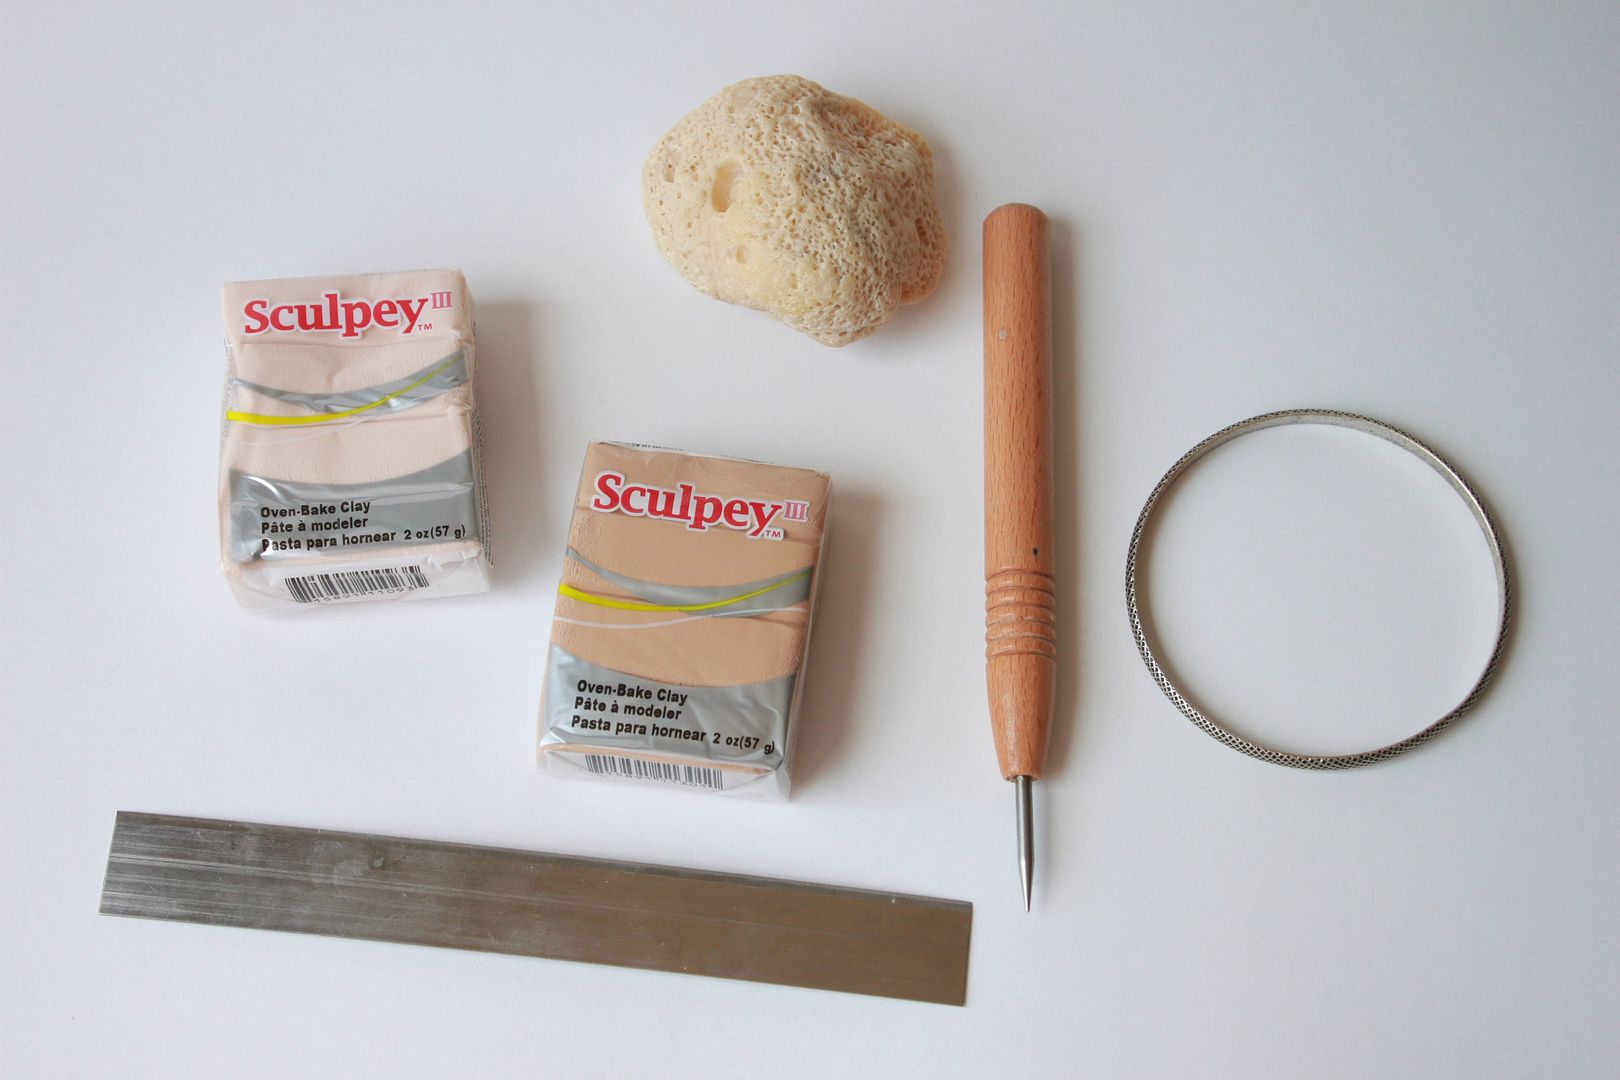
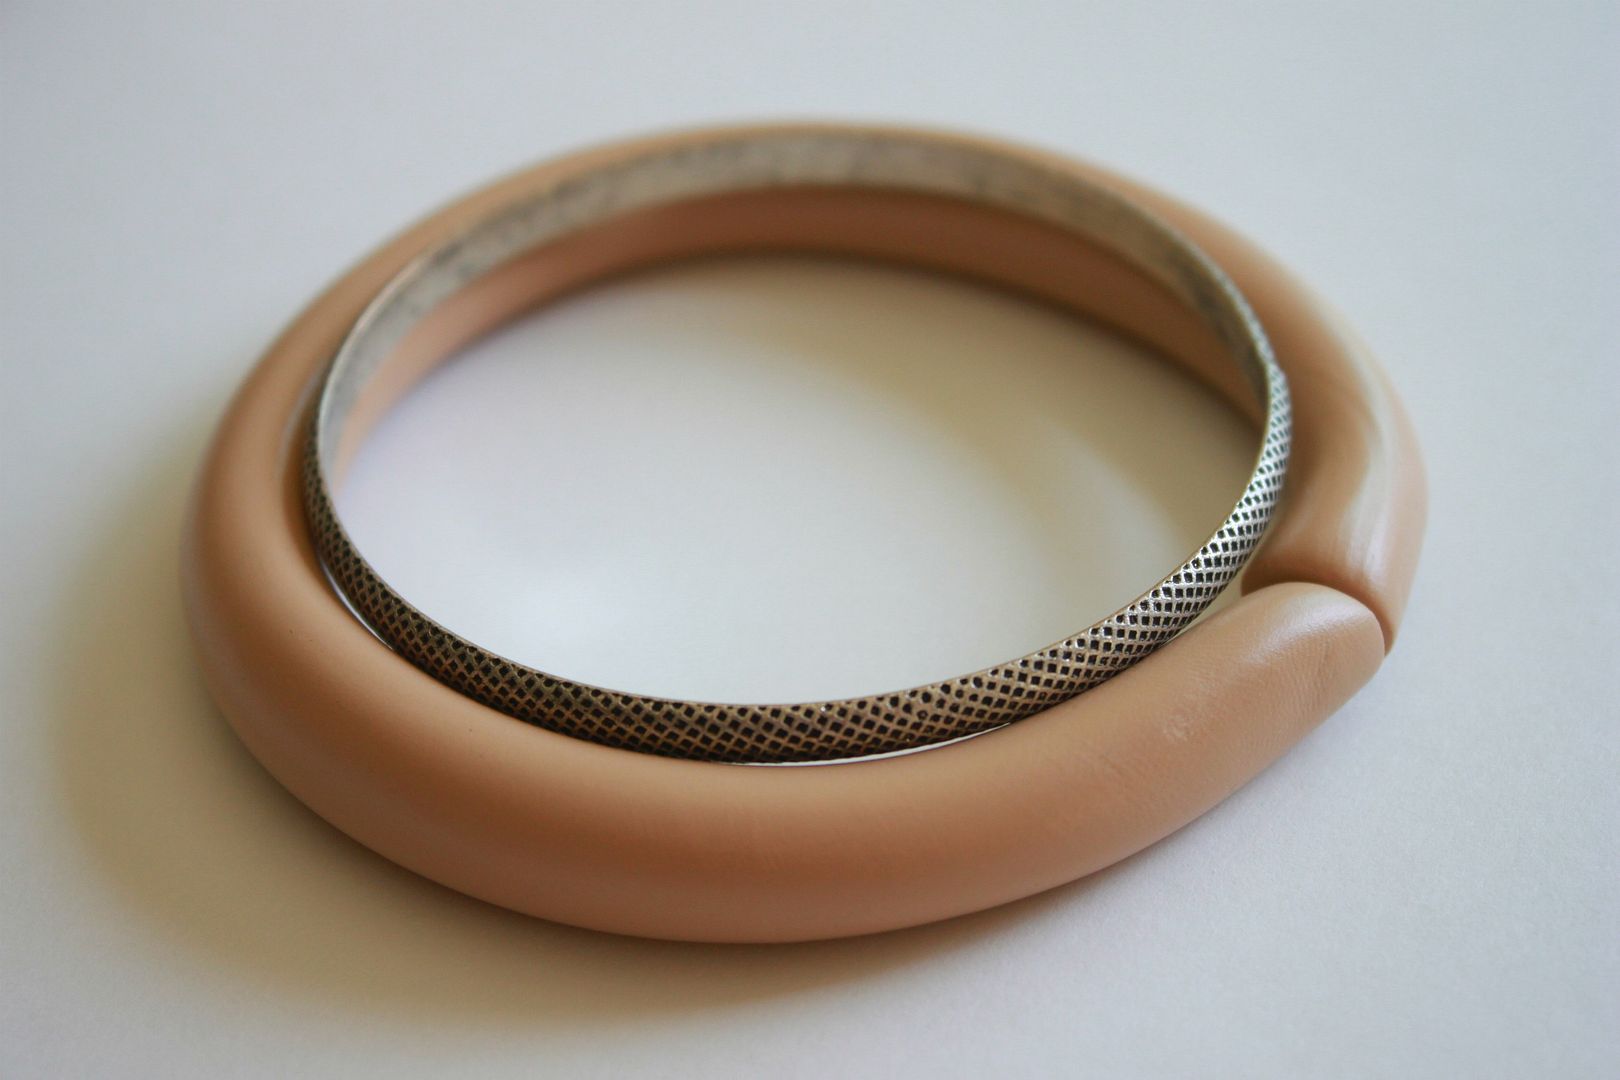
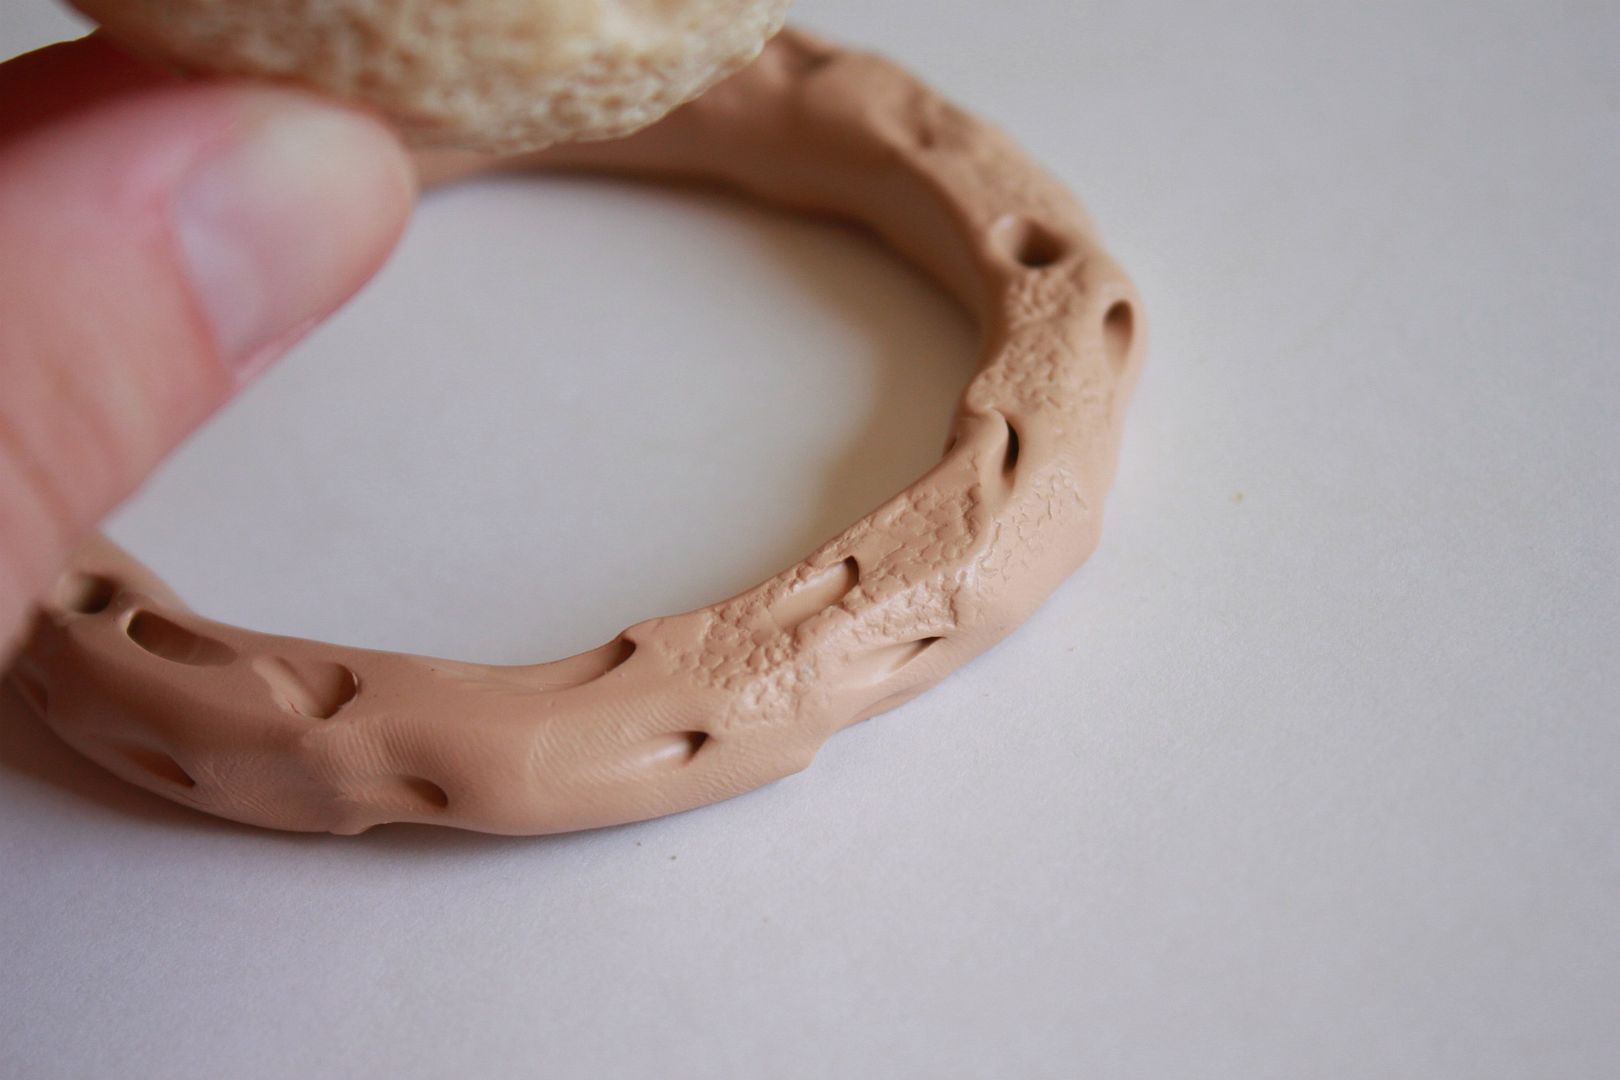
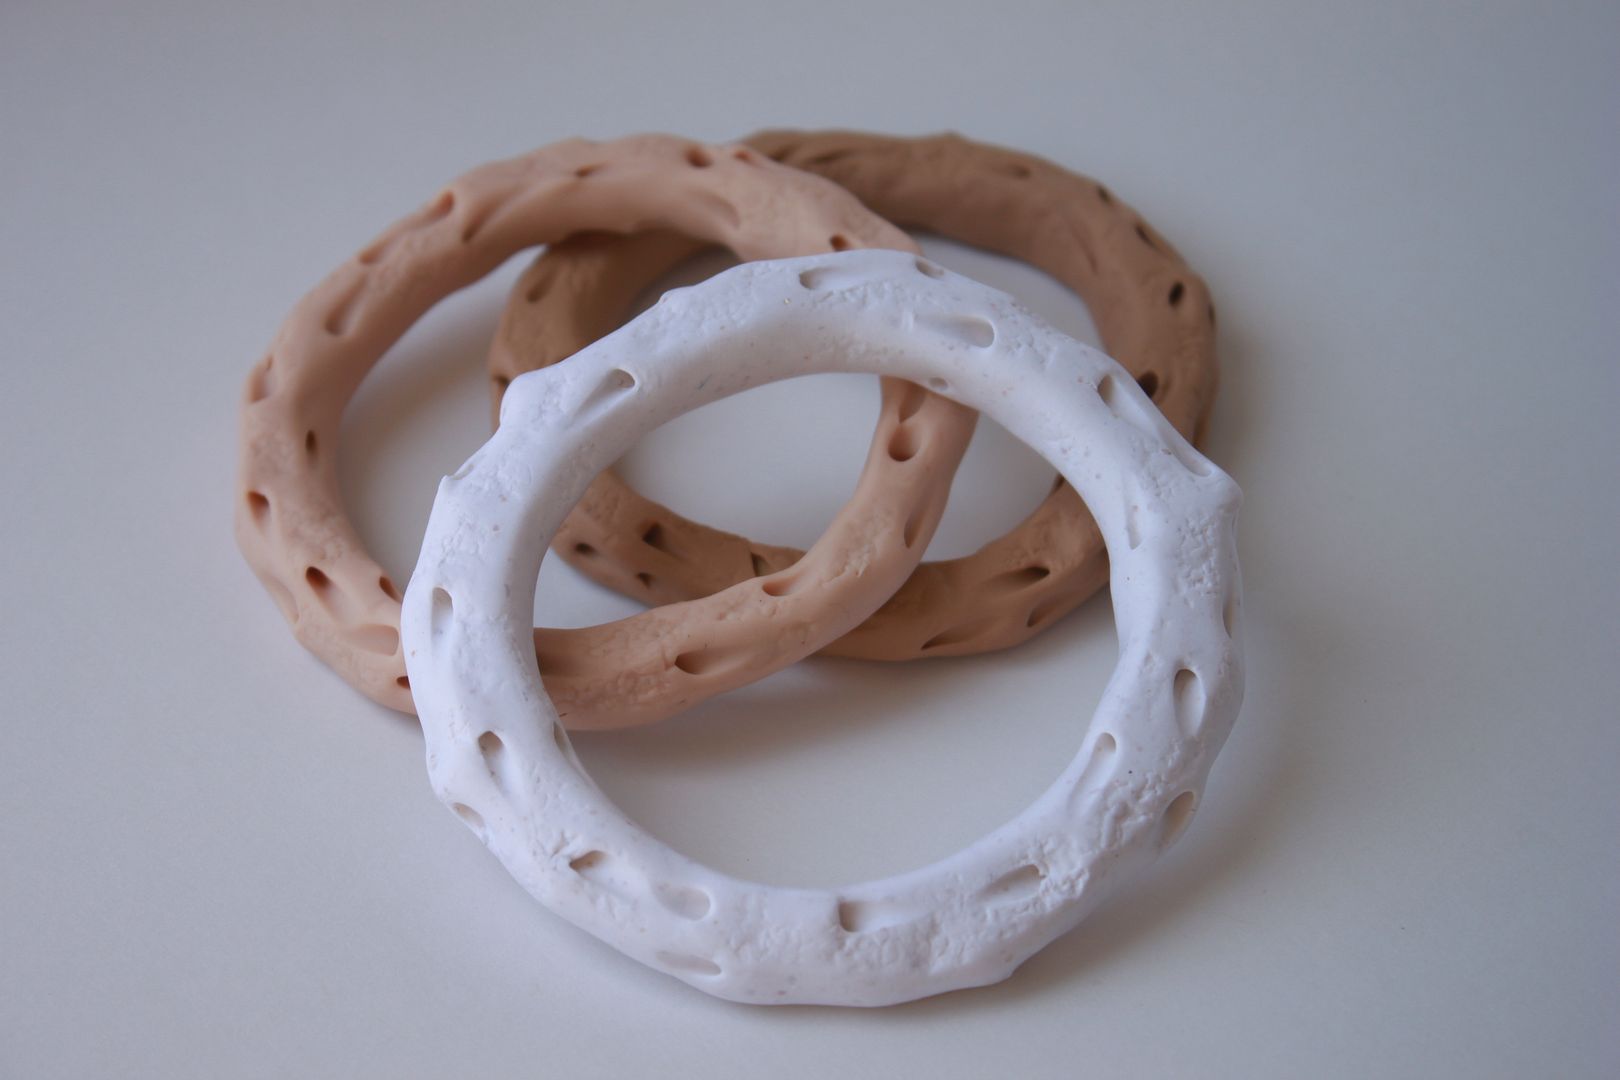
materials needed I recently rediscovered a little box of shells that I smuggled across the Mexican boarder (totally illegal I know) a few years ago when we took a trip to Puerto Vallarta. I was sifting through them wondering what I was going to do with them and I came across this great little piece of coral (shown above). I realized it was the perfect "stamp" for polymer clay. I began playing around with a few designs and this is what I came up with...

What you will need:
  • Neutral polymer clay colors
  • A piece of coral (obviously not everyone smuggles coral across the border like me, so a rough rock will work too)
  • A polymer clay bead piercing tool (you can also use a toothpick)
  • A thin bracelet to use as a guideline
  • Razor
Start by conditioning your clay.  Roll out a long tube of clay, which will be the bracelet. For more details on how to do this, see this post.  Use your guideline bracelet and determine how big you are going to make it.  Use the razor to slice off the remainder.
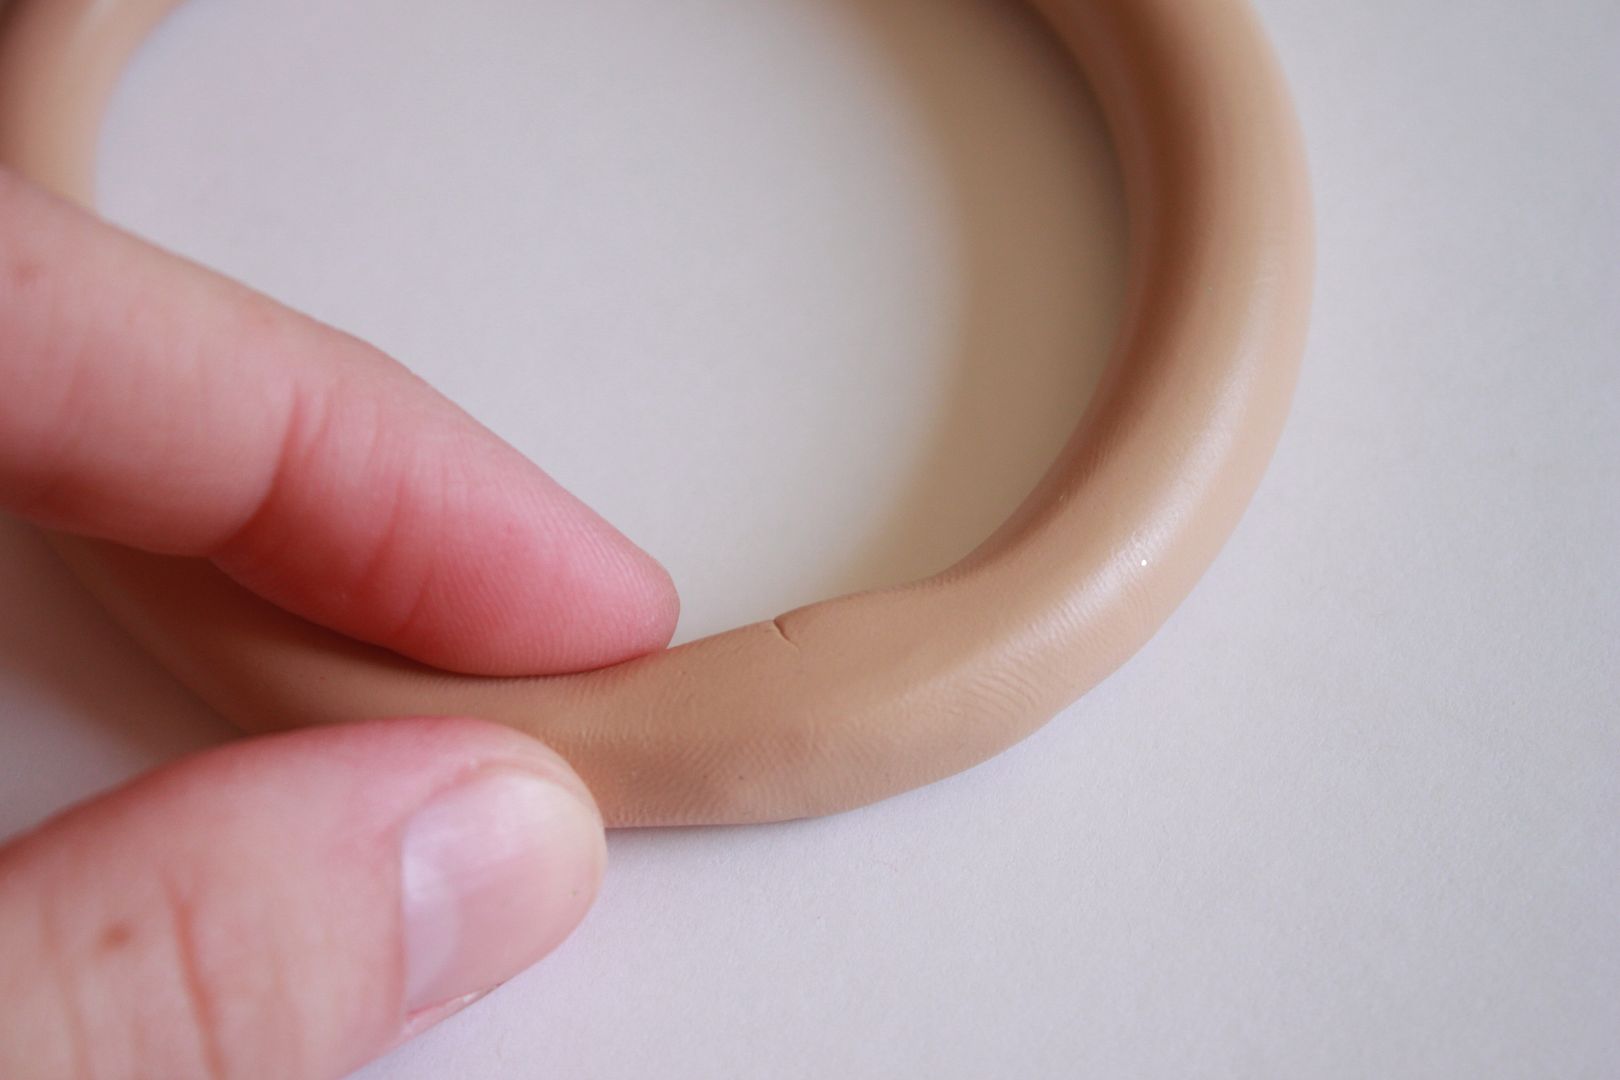

Gently join the two ends together.


Take the piece of coral (or rough rock) and gently stamp your bracelet, giving it a coral like appearance.


I love how unique each bracelet turned out, each being different than the one made prior.  I will be wearing these often! 


Tips For Working With Polymer Clay

Tuesday, April 3, 2012


If you have been reading my blog for a little while you might be aware that I love polymer clay. It is such a great medium to work with and the possibilities of what you can create with it are endless.

It's like an adult version of playdough (that you bake) and once you get the hang of how to work with it you will never want to stop playing.

10 Tips for Working with Polymer Clay:

1. Choose your brand wisely. I have tried a few different brands and the clay that I have the most success with is Sculpey.

2. Always condition your clay before you get started. By warming the clay in between your hands and softening it up you will help prevent cracks after it is baked and it will be easier to work with.

3. Wear latex gloves to prevent fingerprints if your clay is really soft.

4. Do not get discouraged if your clay creation is not what you pictured. You can always mash it up and start fresh. That's that best part about working with polymer clay!

5. If you don't see a color you like when picking out clay, make your own custom shade by mixing colors together. This takes a little bit of time but I have discovered the best shades (like this one) by mixing my own colors.

6. If you are carving something from clay (see this post) stick your clay in the fridge for 6-8 minutes to harden. This will make carving so much easier.

7. Store unused clay in a zip lock bag and keep it in a cool place out of the sun.

8. If you are making bracelets (see this post) wait until your piece has fully hardened and cooled before trying it on. If you are impatient and do not wait it will break. I learned this lesson early on.

9. Always work on a really clean surface.  Polymer clay is sticky and will pick up anything.

10. Have fun! The beauty of handmade is that is does not need to be perfect. Little imperfections will make it unique and special.

I will be following up this post with a fun polymer clay diy soon! 

Skin Care Tip of the Week *DIY eye cream*

Monday, April 2, 2012


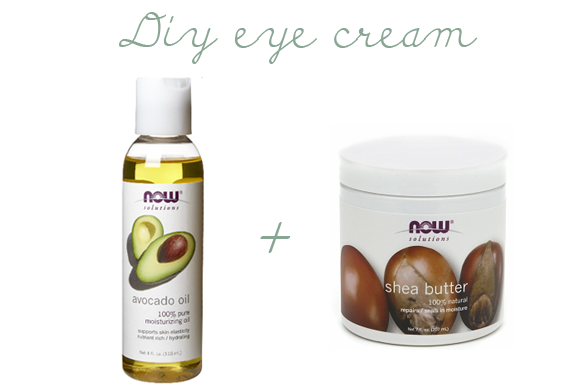
Last week I discussed the importance of using an eye cream.   This week I am going to share a super simple hydrating DIY eye cream that is perfect for those of you would would rather DIY versus buy.

Both avocado oil and shea butter are known for their hydrating and moisturizing properties, making it the perfect marriage of ingredients for the delicate under eye area.

Avocado oil Benefits:
  • Extremely moisturizing.
  • It is a natural source of Vitamins A, D and E.
  •  It is easily absorbed into the skin and can help with regenerating and softening of the dry eye area. 
  • Contains potassium, which can help with the growth of new cells.
  • Supports skin elasticity.
Shea Butter Benefits:
  • It is a natural fat that is extracted from the nut of the African shea tree, which is very hydrating.
  • It is widely used in skin care to reduce the appearance of fine lines, scars and stretch marks. 
  • It melts when it comes in contact with your skin (if you buy the real stuff you will see what I mean) and it is instantly absorbed, without making you feel like a greasy mess. 
  • Has anti-inflammatory benefits.  
  • Restores the natural suppleness of your skin.

DIY Under Eye Treatment:
  • Avocado Oil 
  • %100 Pure Shea Butter  *Make sure you read the back label before you purchase.  You want to make sure the only ingredient listed is shea butter. 
*You can find both of these ingredients at a health food store in the beauty section.  Or you can purchase them here and here

Directions:
  1. Take a few drop of avocado oil and gently massage under each eye until fully absorbed.  
  2. Finish by applying a thin layer of shea butter on top.  Gently massage into your skin until absorbed.  
So easy and super cost effective!

You can use this DIY version morning and night.

Please come back and let me know what you think if you end up trying this out.
Related Posts Plugin for WordPress, Blogger...