37 weeks + Elf bag review

Tuesday, May 22, 2012

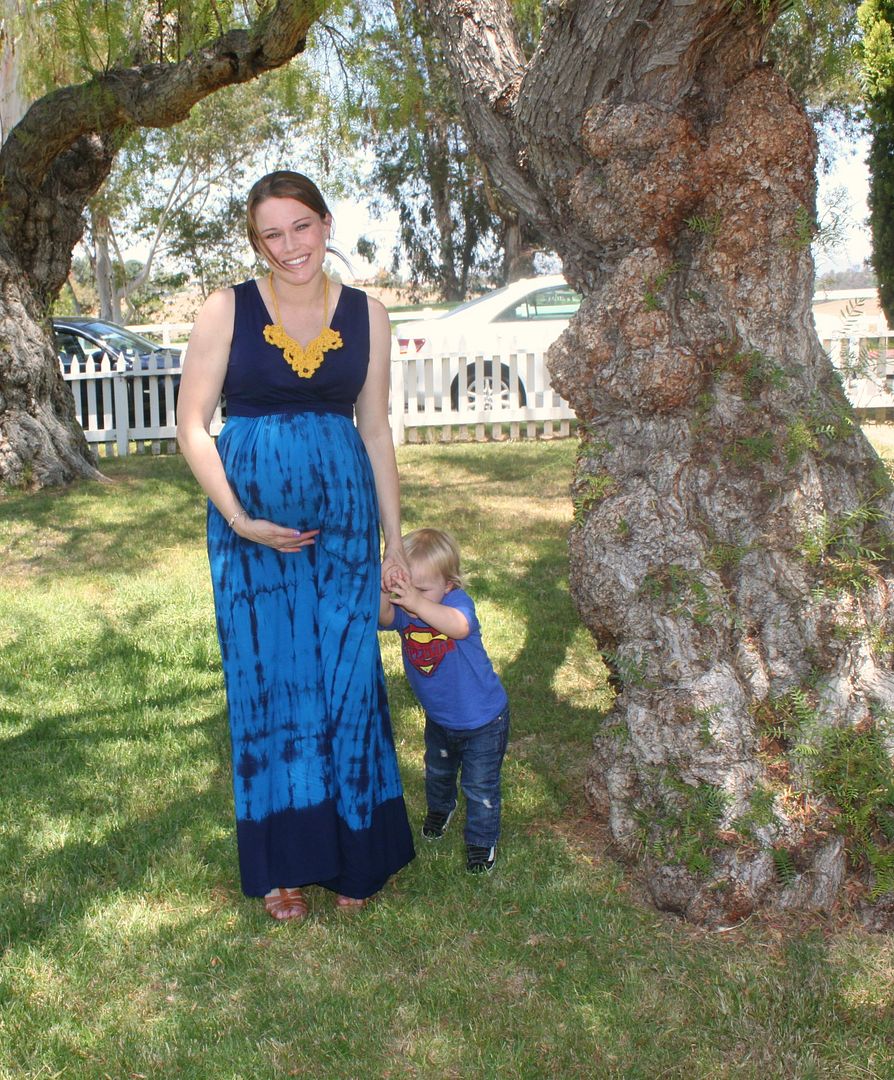
Hello to 37 weeks pregnant! I can hardly believe that my baby will be in my arms in just two weeks from now. I actually had the checker at the grocery store tell me over the weekend that I have really "blown up!" Haha! She is the nicest lady so I know she meant it in a sweet way but I guess there is no denying that I really am about to pop.

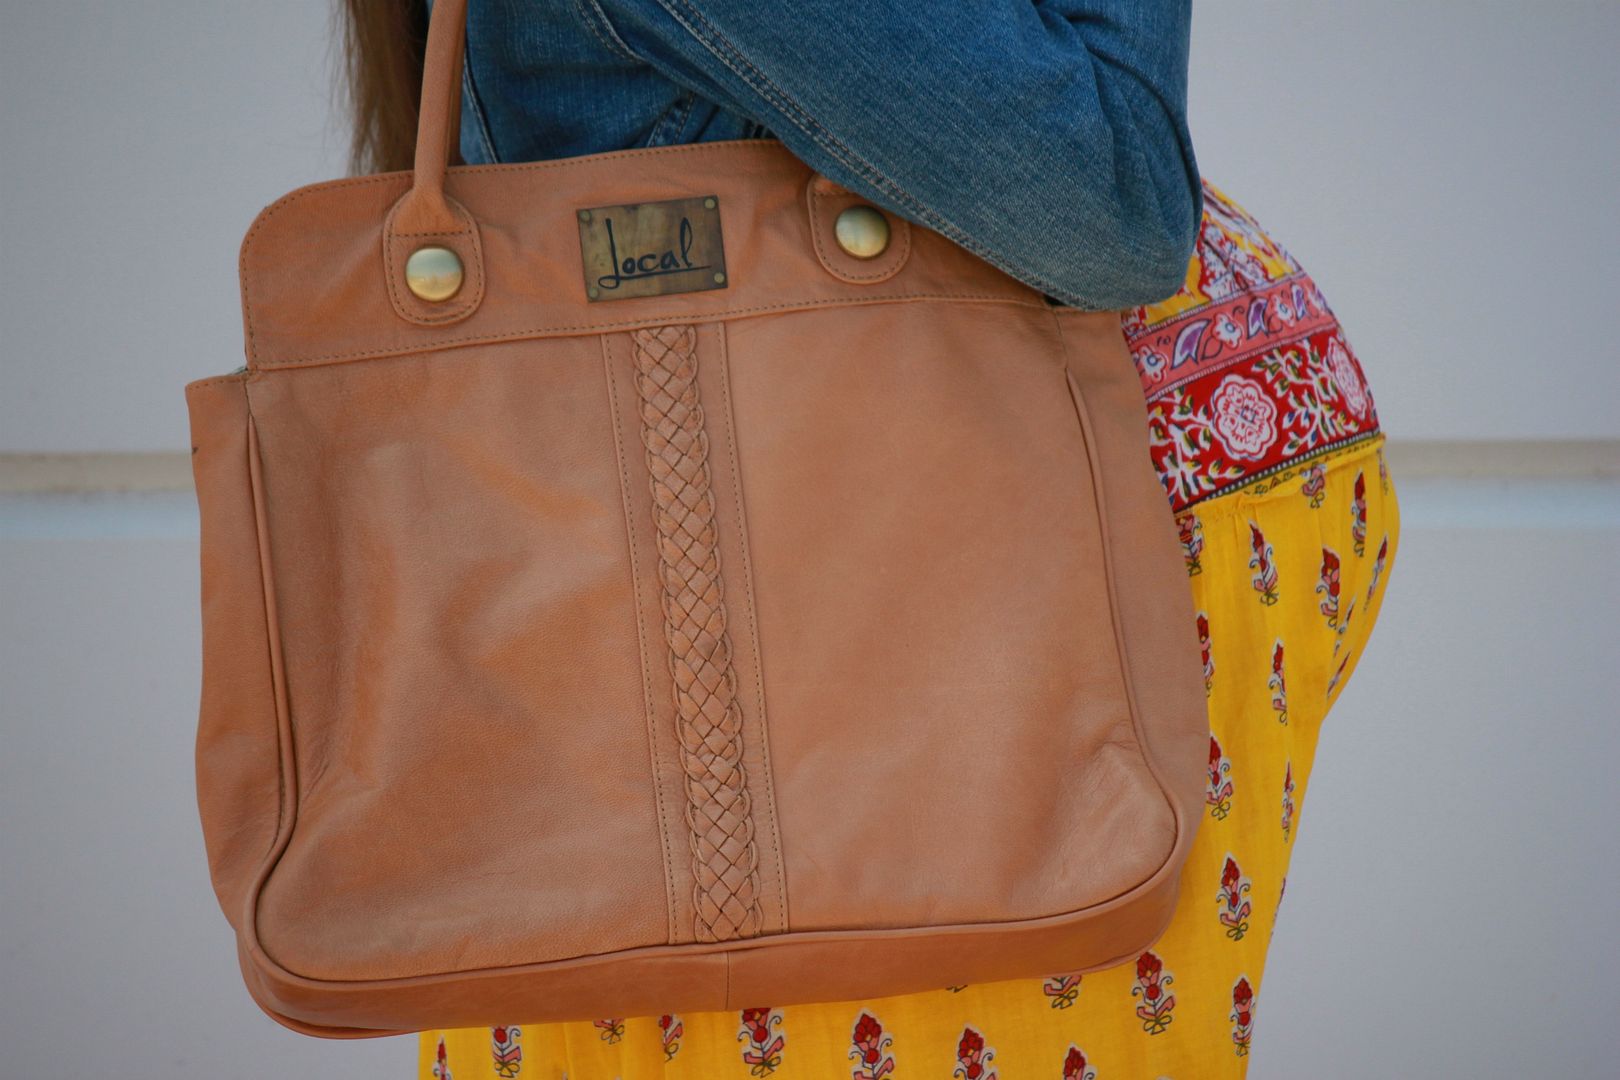
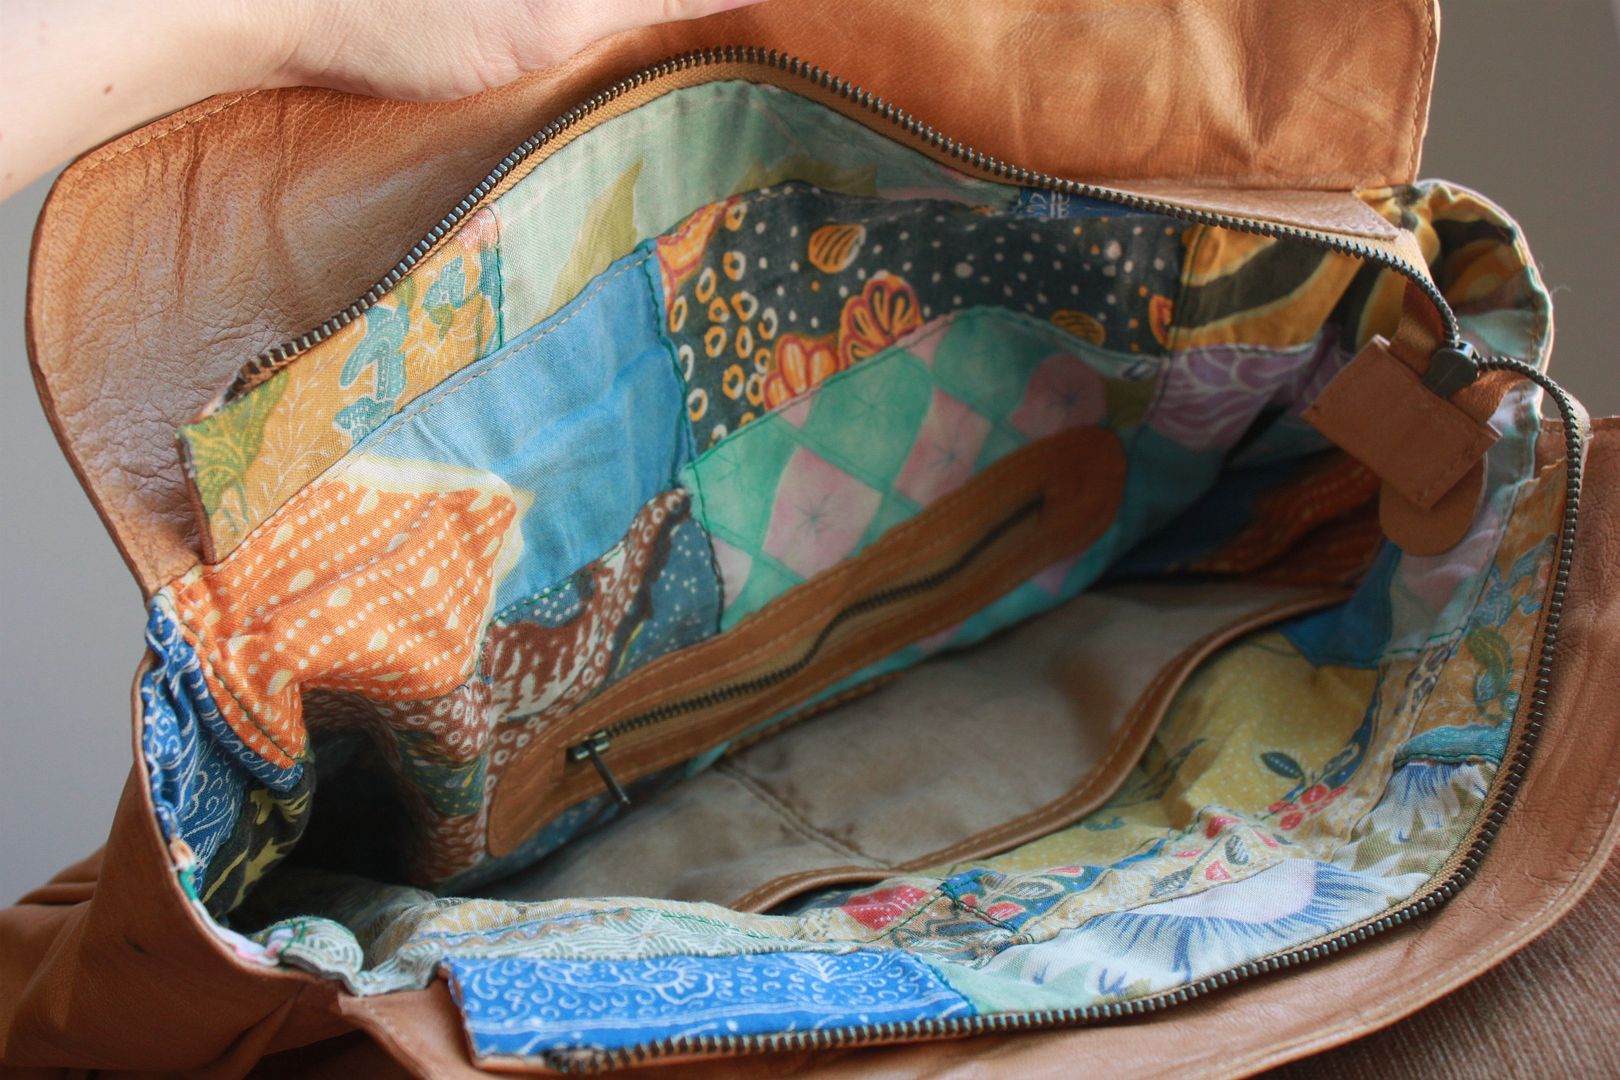
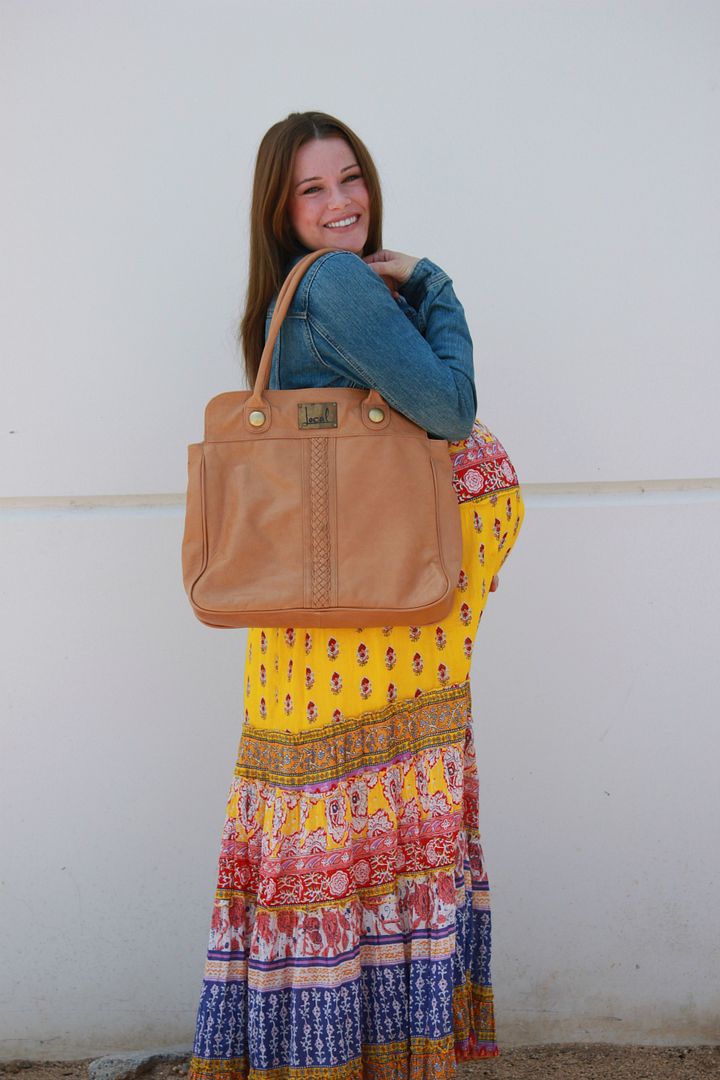
I was recently sent this beautiful handmade bag from Elf. I was SO excited when I received it in the mail and could not wait to do this review. The moment I opened the package I could tell that it was impeccably made. It is made of quality leather (you can choose from a variety of colors) and the inside is completely lined with hand printed batik and suede. I also love the gorgeous braided detail on the front. This is such a great bag! It is super practical for everyday use due to the nice size...a major plus for this Momma.

Elf not only carries purses and clutches, they also carry the most beautiful handmade leather shoes. How adorable are these?

In my opinion, every woman needs a quality bag so if you are on the market for something unique and truly one of a kind...Elf is the place to shop!

Skin Care Tip of the Week *DIY sweet orange facial exfoliant*

Monday, May 21, 2012

When I was working full time as an esthetician my main focus and specialty was corrective treatments. Most of my clients were coming to me because they were experiencing issues with acne, rosacea and pigmentation problems. I did not put a ton of focus on "fluffy" treatments and facials. This skincare series has really let me be creative and exercise that relaxing and rejuvenating side of skin esthetics a little more...which is so much fun!

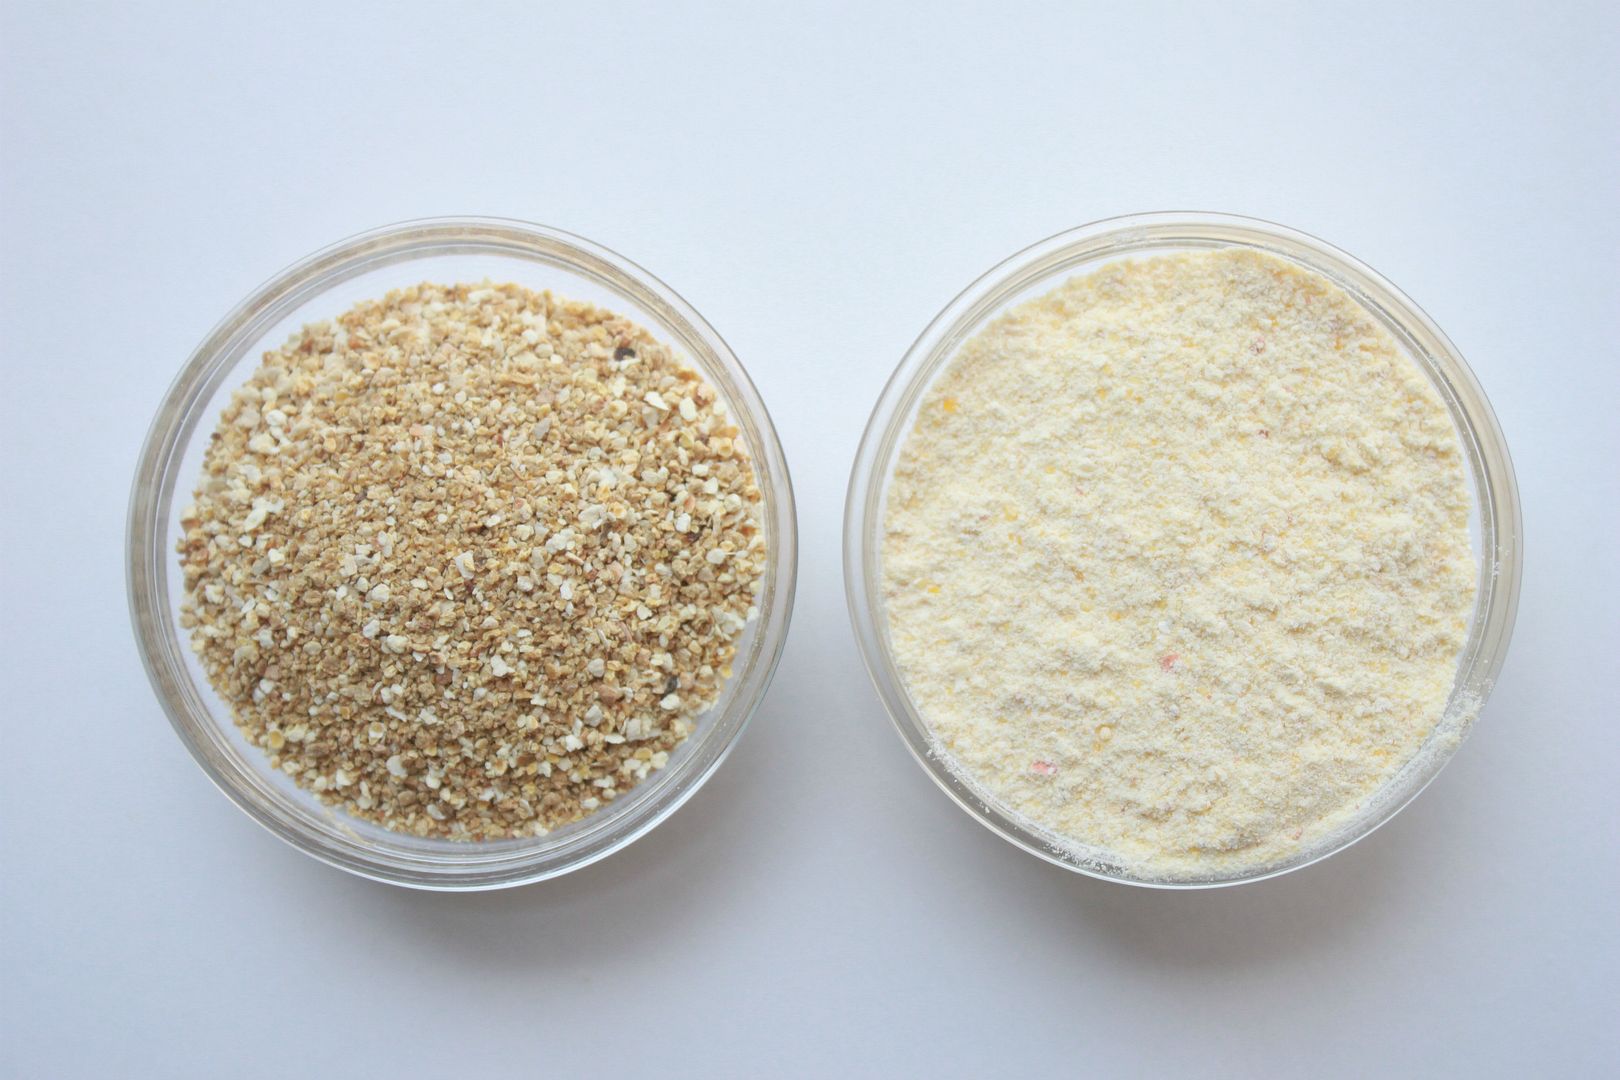
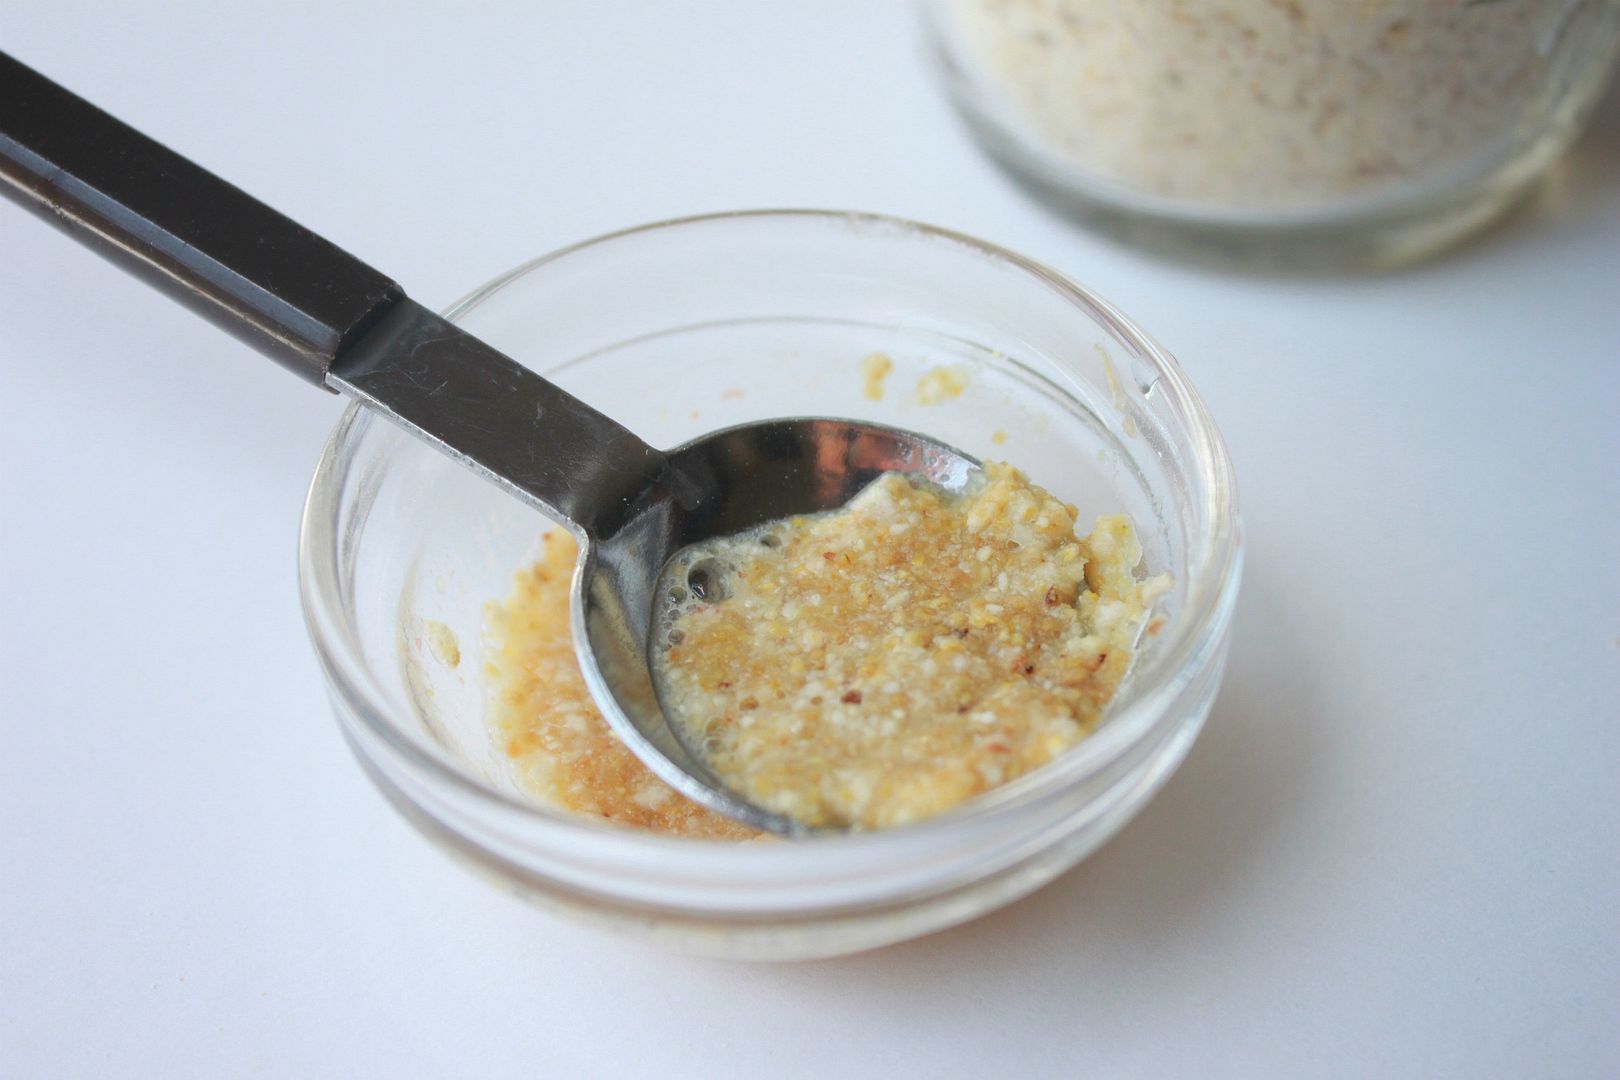
This week I am sharing a DIY facial exfoliant that not only smells delicious but makes your skin silky smooth. This exfoliant uses dried orange peel, which is energizing and helps revitalize tired dull skin and fine yellow cornmeal, which is a really gentle and can be used on all skin types.


What you will need:
  • Orange peel. I buy mine at my local bulk health food store. If you have a local heath food store that carries products in bulk, check there first. You can also order it here.
  • Fine yellow cornmeal

Directions:

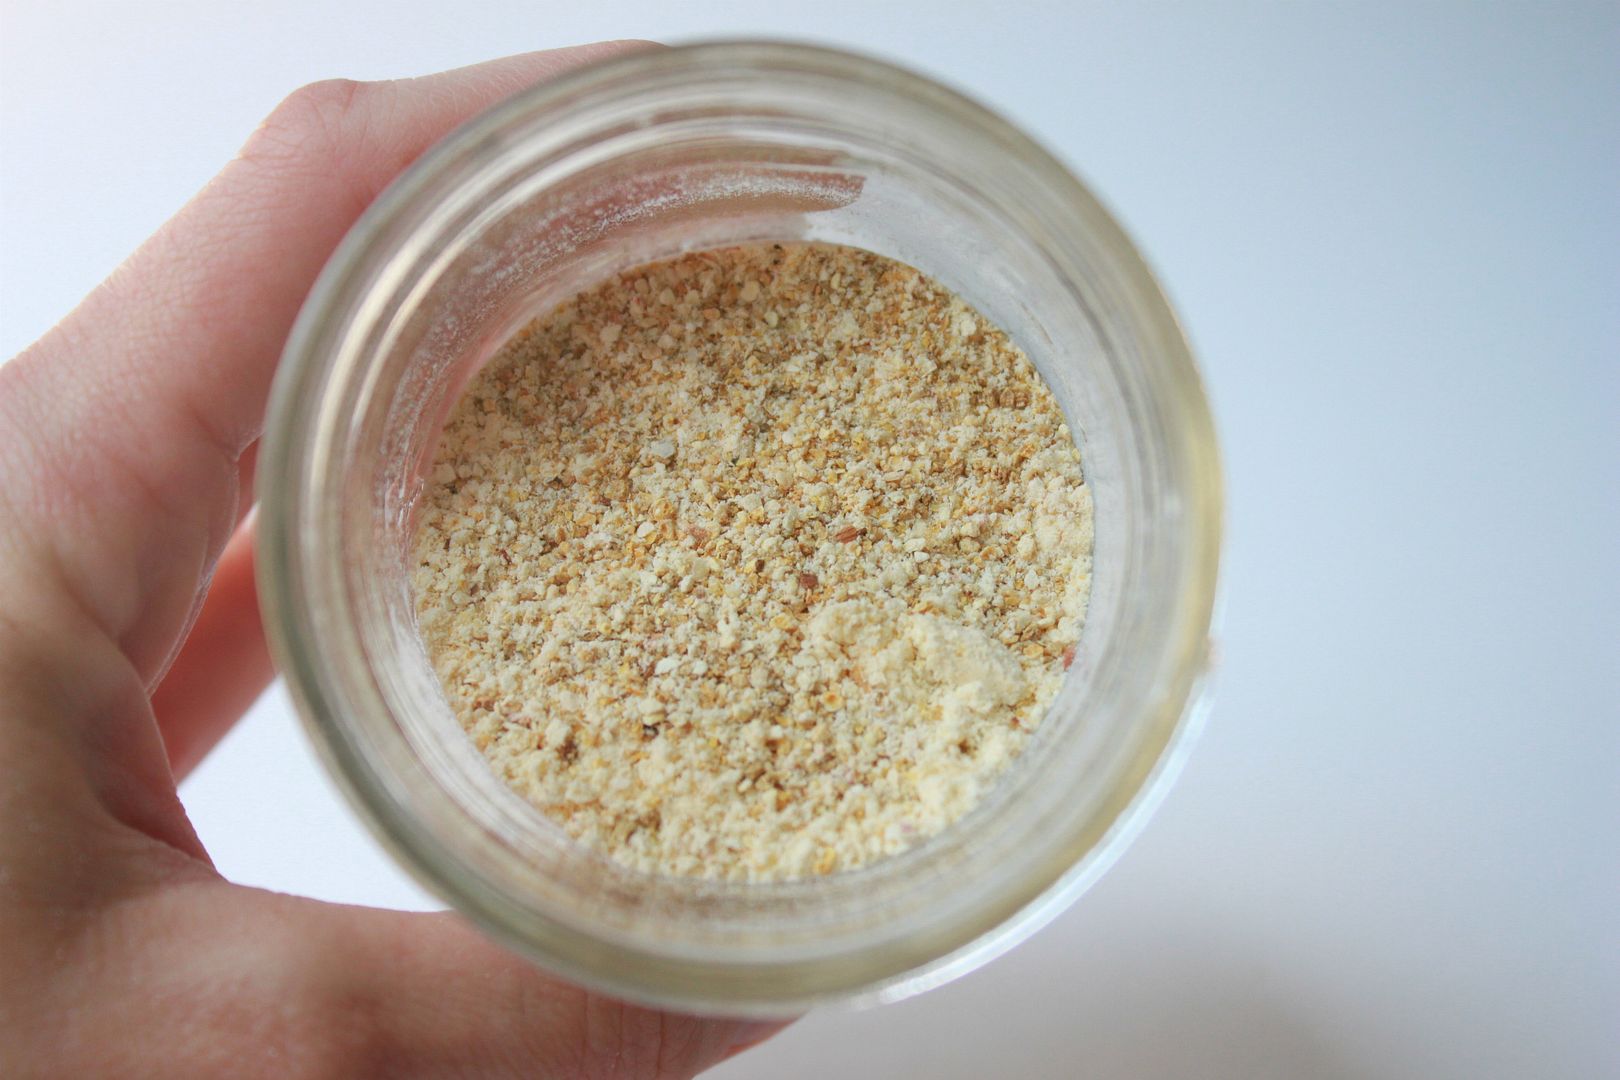
  1. Mix equal parts orange peel and yellow corn meal into an airtight container.
  2. When you are ready to use your exfoliant, take out about a teaspoon.
  3. Mix it with your favorite facial cleaner and a little water a gently scrub your face using a circular motion and avoiding the eye area.
  4. Remove with warm water.

I made a little batch of this for my own personal use and keep it on my bathroom counter. I use it a few times a week and I just love the way my skin feels after. This is gentle enough where you could use it daily if you like.

If you are interested in other natural facial exfoliants, I also recommend checking out this one.

Things That Make Me Say Yeay

Friday, May 18, 2012

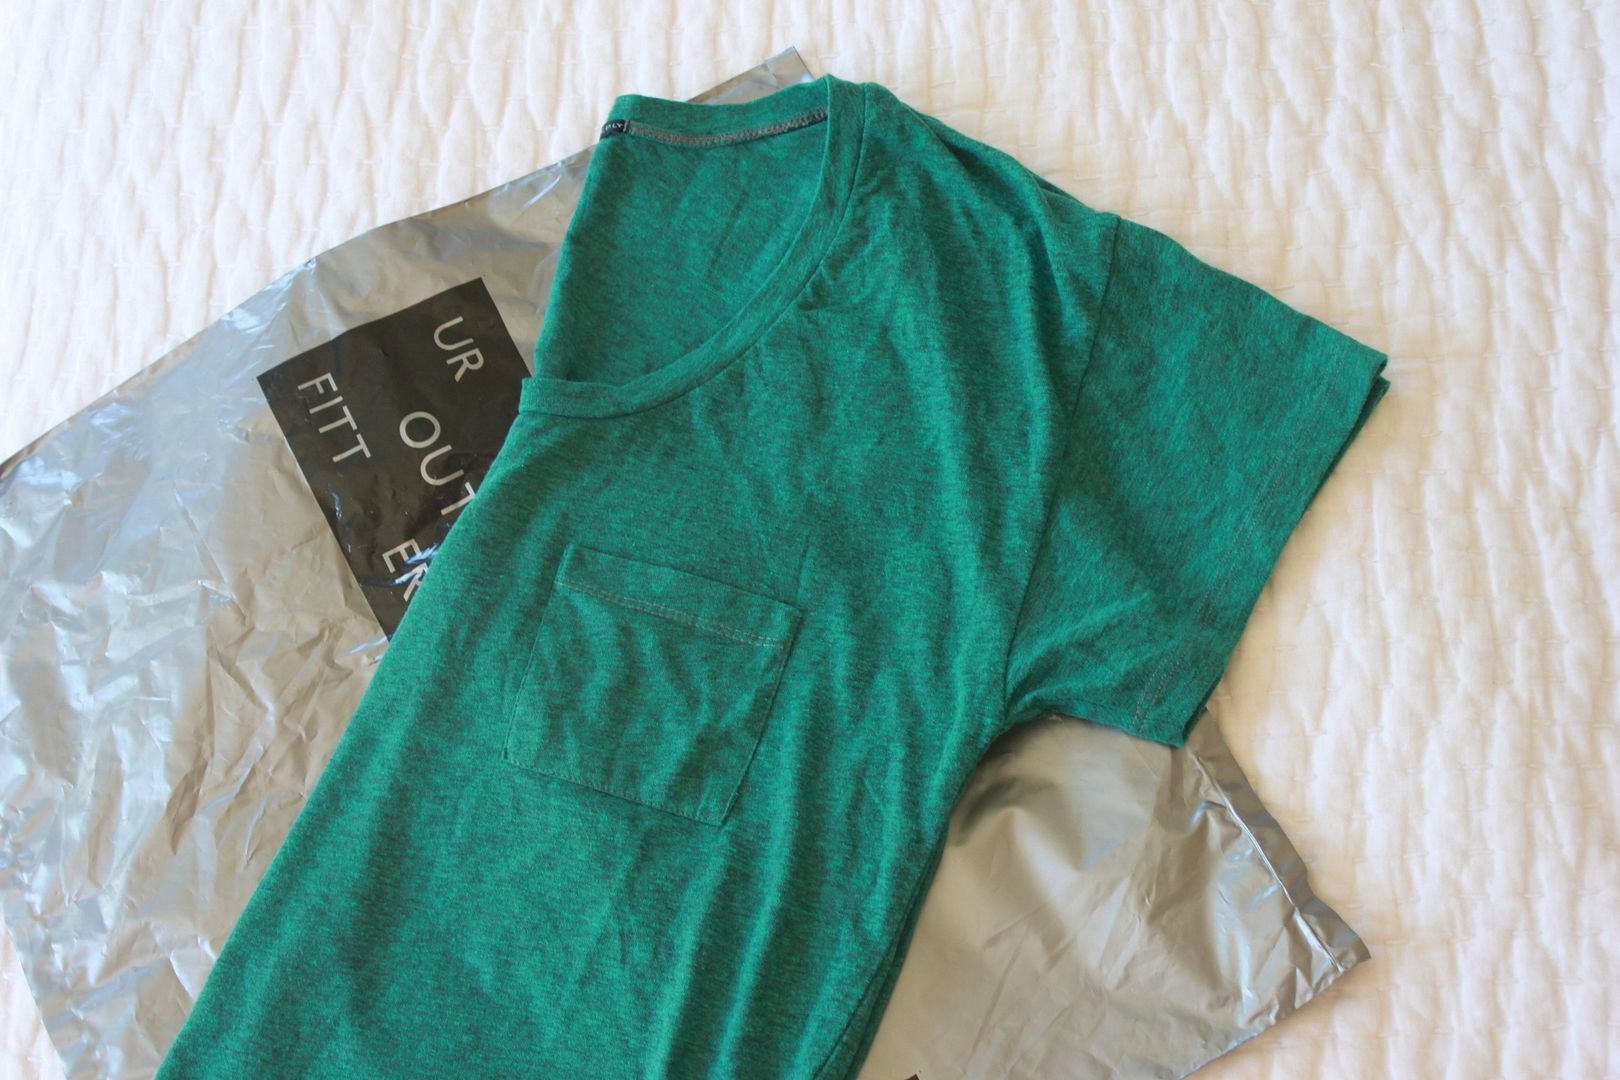
The most comfortable cotton t-shirt that I recently purchased for post baby. I think I want to buy it in every color. You can find it here.

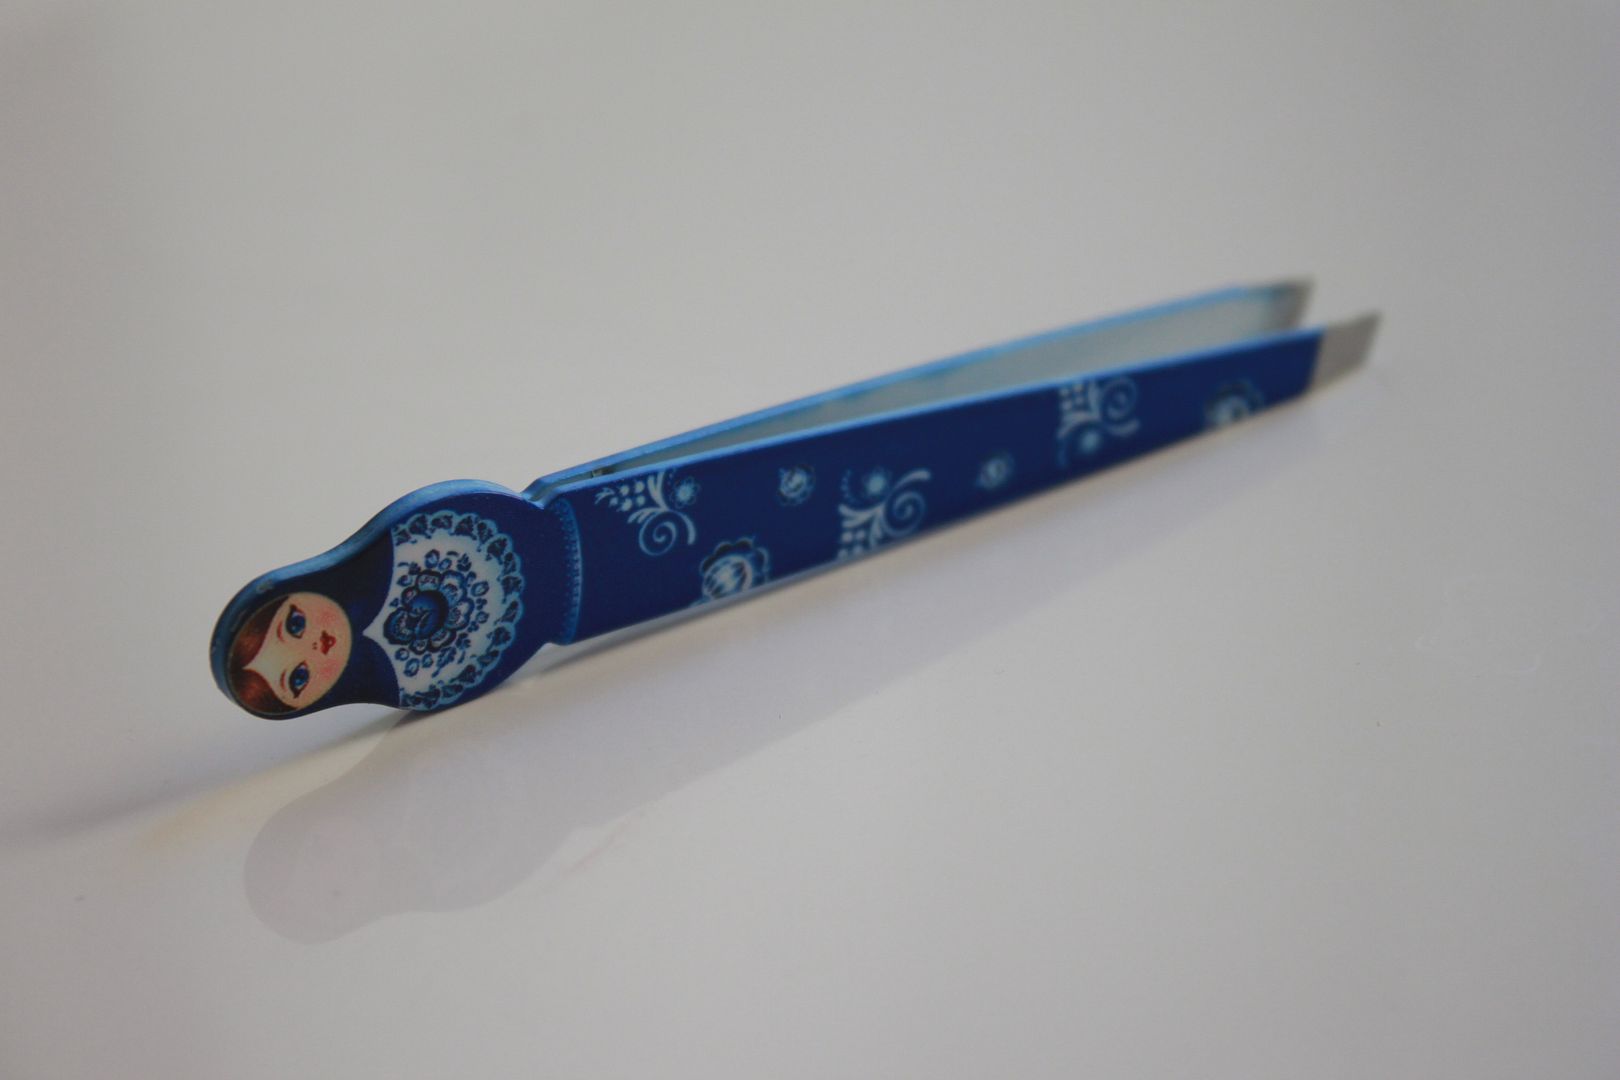
The cutest little tweezers...that I really did not need but purchased anyway.

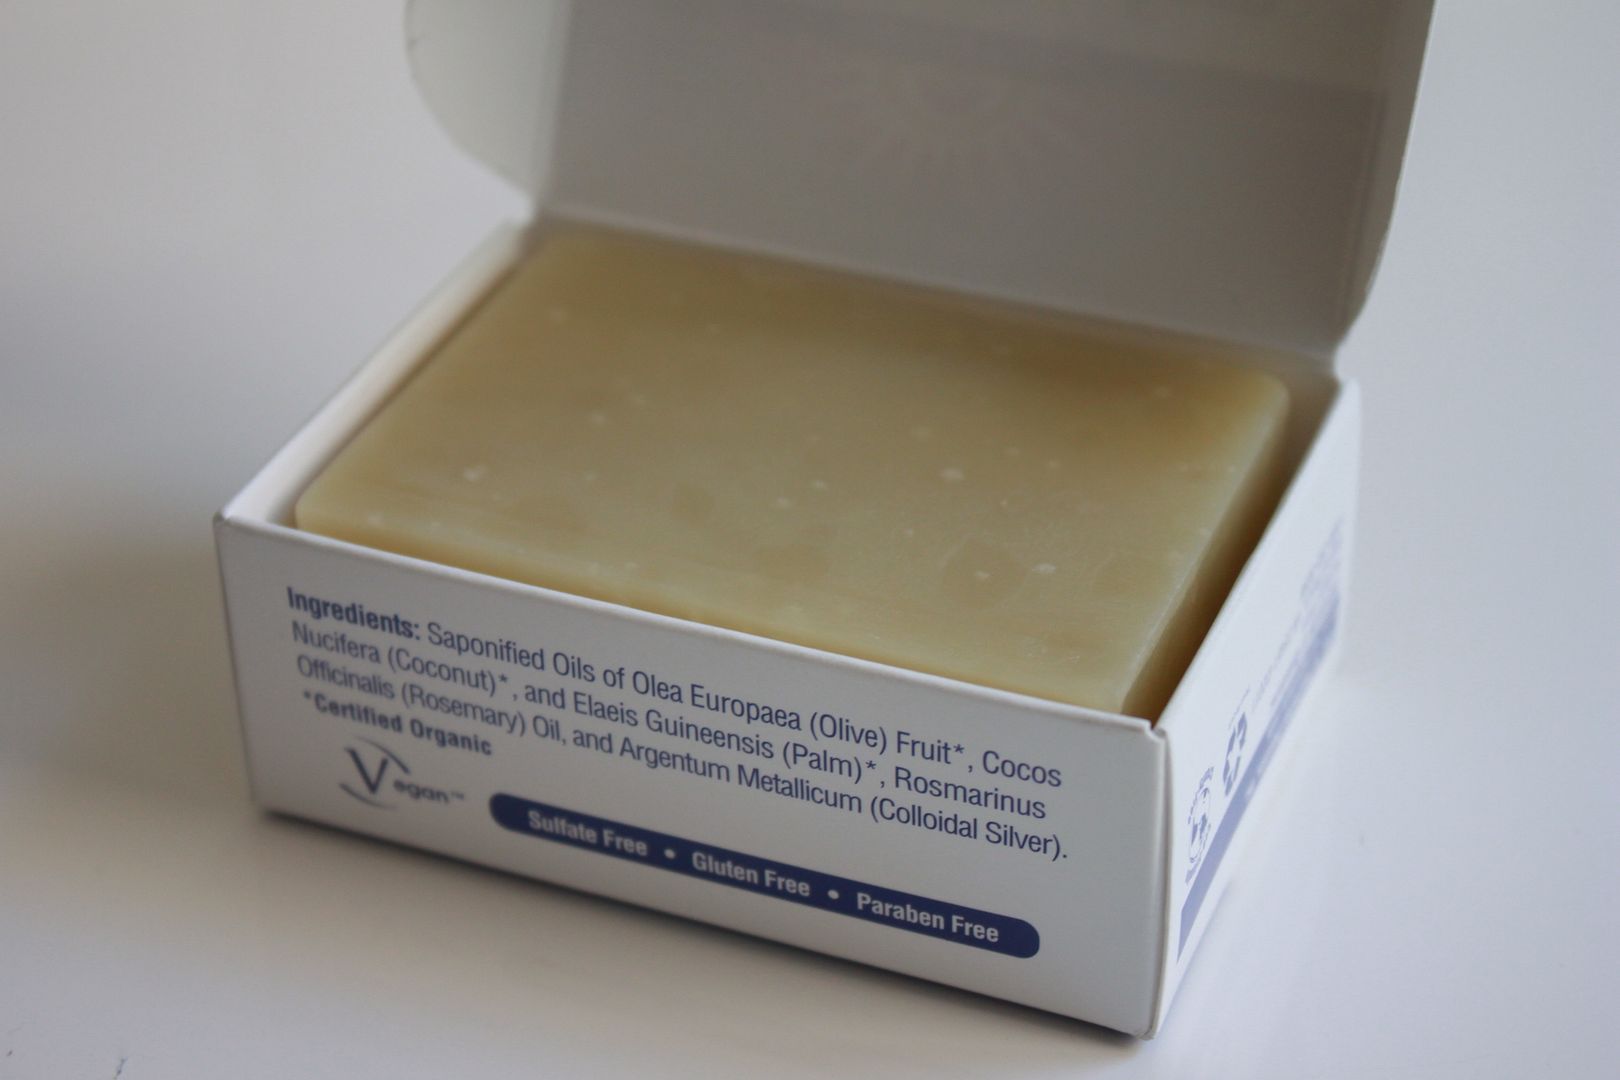
Colloidal silver soap. This stuff has completely cleared up any pregnancy induced body acne and congestion that I was experiencing. I love love it.

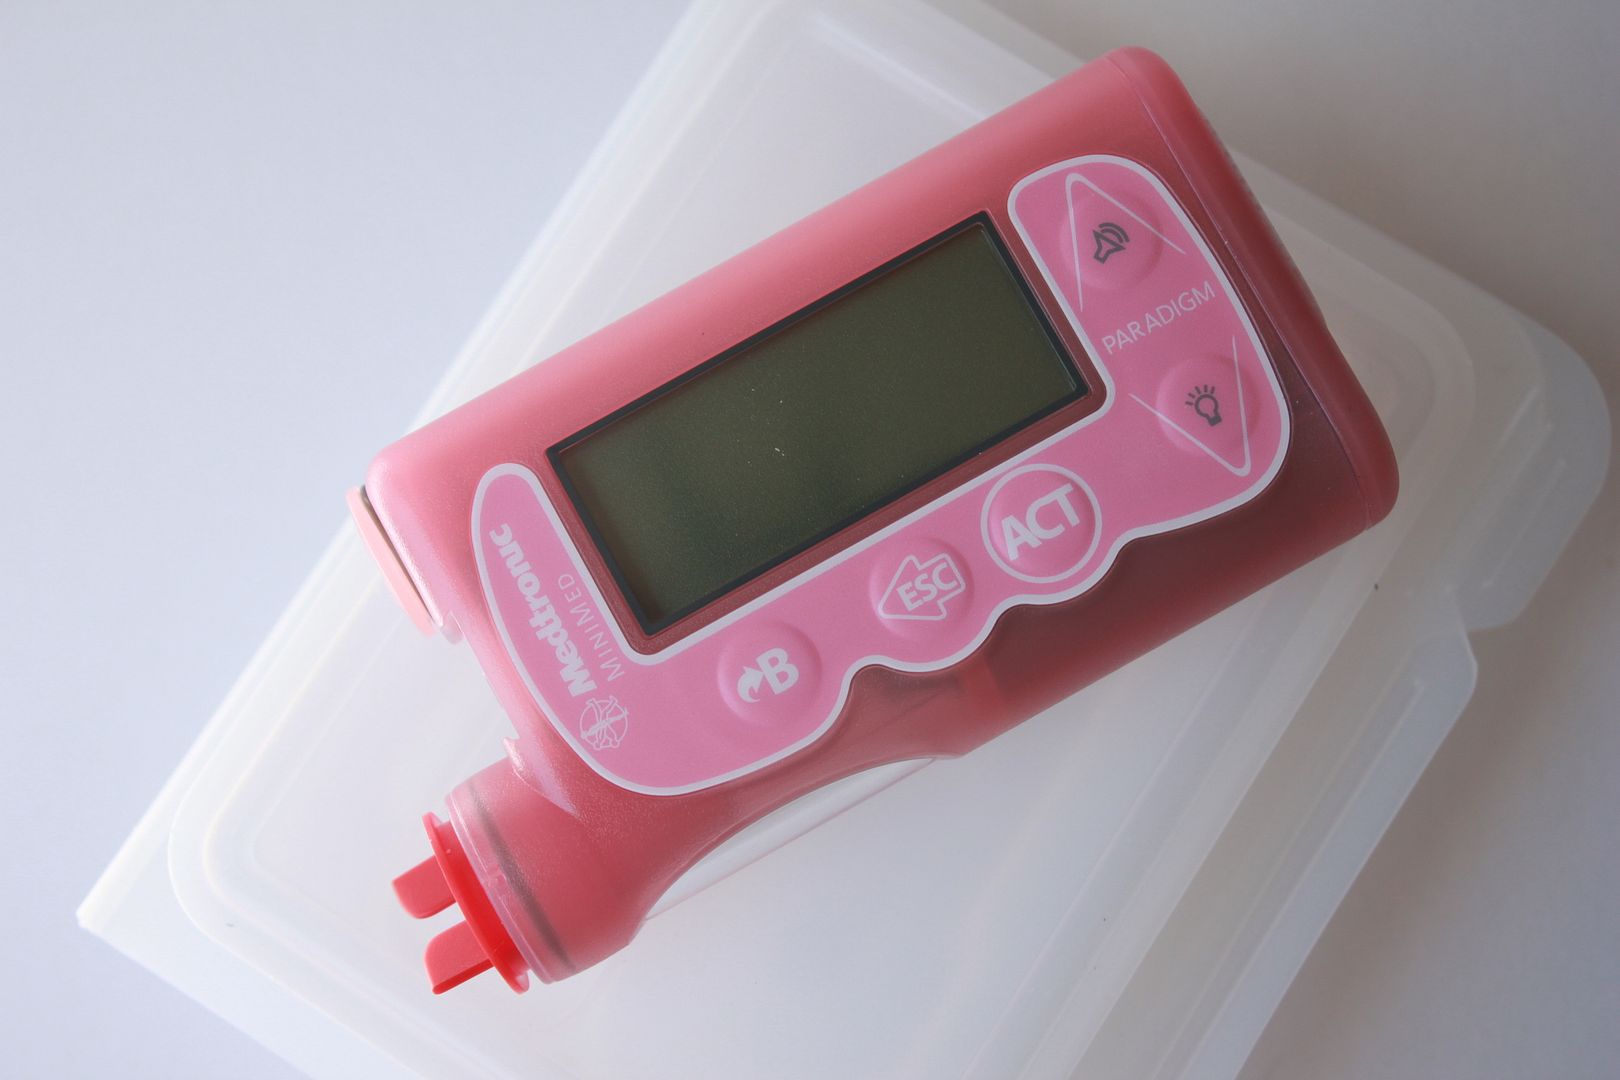
My new pump! My old one just decided to STOP WORKING last week (so scary). My new one was air mailed to me via critical UPS and I am so thankful for that. Doing insulin shots all day like I had to do when I was pump-less last week really sucked.

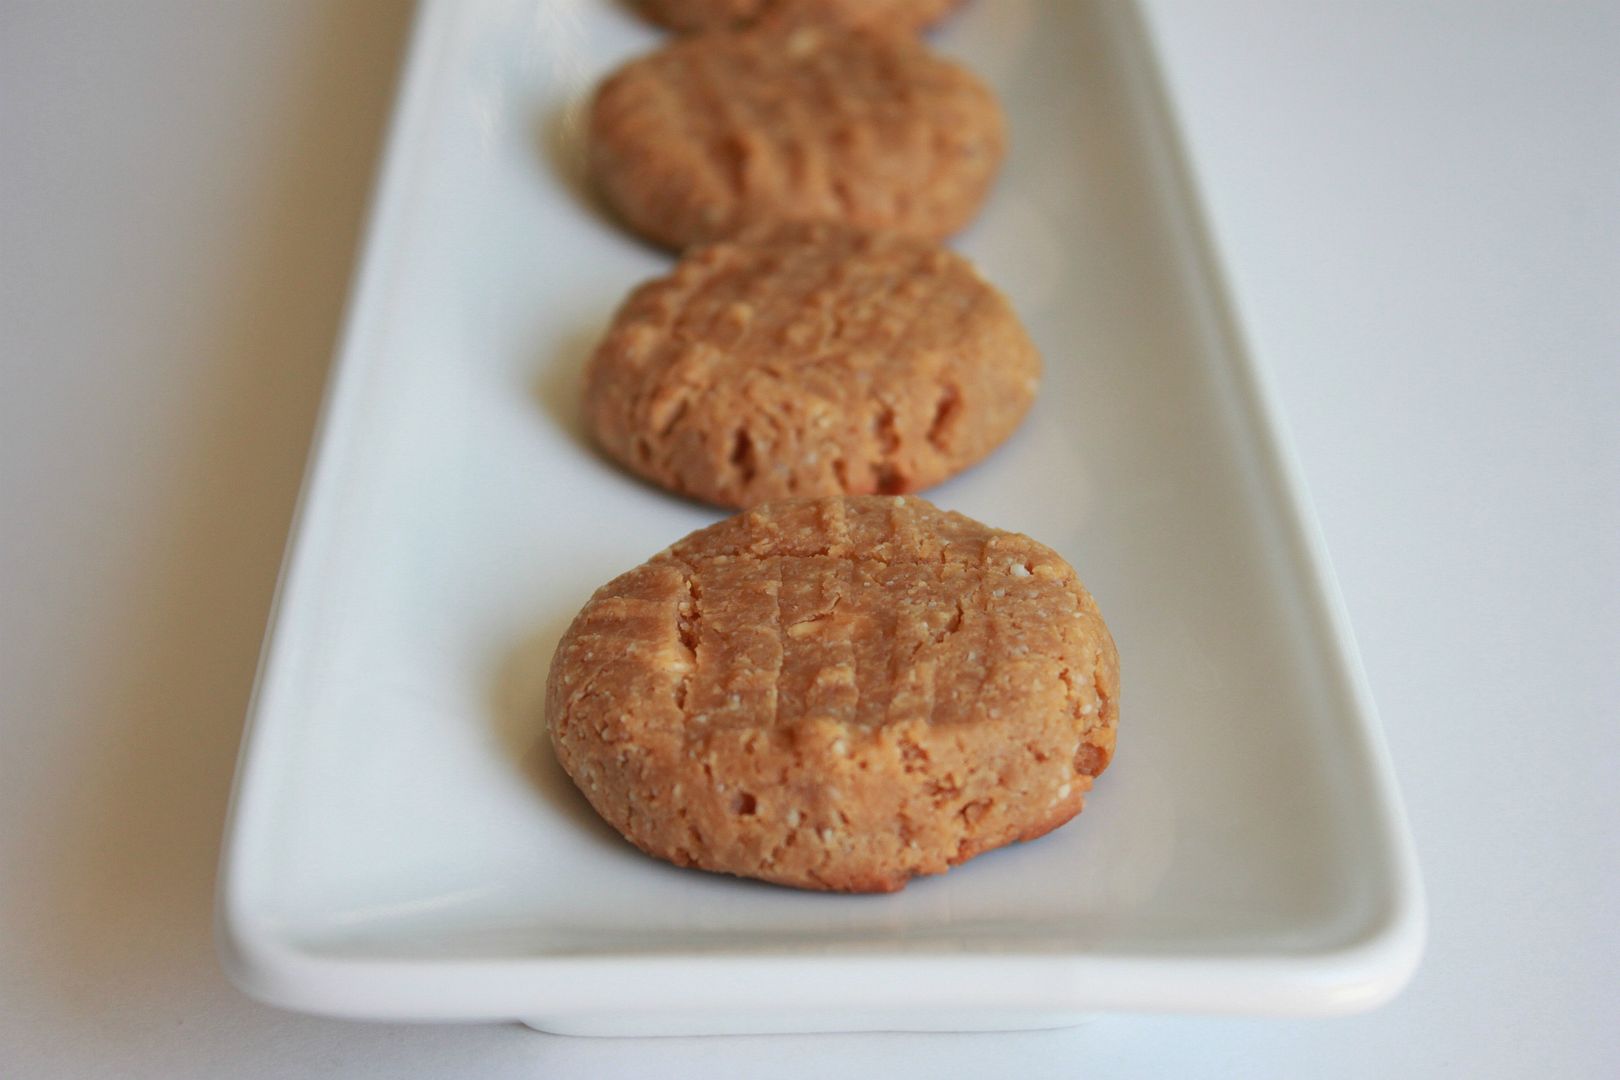
Low carb almond butter cookies...Mmm!

Have a wonderful weekend! We are relaxing, sleeping in (if Max allows) and just going to enjoy being a family of 3, which is all going to change soon!

DIY Half Circle Polymer Clay Necklace

Wednesday, May 16, 2012

I was recently browsing around on Etsy and I spotted this beautiful necklace. I was instantly inspired and since it was made out of polymer clay I knew I wanted to recreate it myself. Here is how I did it...

What you will need:
  • 2 polymer clay colors
  • Waxed cotton cord
  • A metal bead making tool. You can find this at Michaels or Hobby Lobby.
  • Razor (not pictured)

Start by conditioning your clay. Roll out two skinny tubes and attach them at the middle by rolling them together until they "fuse."

Poke your clay bead in the center and begin squishing your bead onto the metal tool. Don't worry if it looks all limpy and weird, it will all come together in the next step.

After you get the clay all the way onto your bead making tool, use the palm of your hand to roll out any imperfections and to make it smooth. Wiggle the metal tool around until you have a nice size hole. Carefully remove the clay bead and shape it into a half circle shape. Bake your bead according to clay directions. Once the bead is done, use the razor to slice off a tiny bit of each end to make it look clean. You will want to do this before your bead completely cools.

Such an easy and simple statement piece! I had so much fun making this that I think I will make a few more with bright and bold colors next.

36 weeks--Almost There!

Monday, May 14, 2012

Yep this is the only non blurry/halfway decent picture that I have from Mother's Day (other than an iPhone one my husband took). I am not surprised though. This is usually how it goes with our family. Have you seen these pictures? Unless we hire a professional photographer it is almost impossible to get a picture where we are all looking at the camera at the same time. This makes me smile though. My son was in true form...trying to escape and play with the balls on the grass a few feet away. I love this little guy more than I can even explain and I feel beyond blessed to be his Momma and call him my son.

I am now 36 weeks pregnant! I feel like a mini elephant and I can not wait to NOT be pregnant anymore. The countdown has really begun. I only have 3 weeks left.

A few things on my pregnant mind:
  • I have already hit the 35 pound weight gain. I would love to not gain anymore. Thank you.
  • Girls...never ever get your belly button pierced if you plan on getting pregnant. If you did get it pierced, take it out the moment you even think about getting pregnant. I will get all stretched out and weird. This is coming from personal experience.
  • Same goes for tattoos. I have one on the lower half of my belly (a dragonfly, so cool I know) and if it was any higher it would be a giant deformed bat by now. Thankfully it is still a small little dragonfly.
  • I am so ready to start tacking this lovely pregnancy induced melasma that has occurred over the past couple of months.
  • Why does my nose get all stuffed up the moment I lay down? Is this a weird pregnancy symptom? It's annoying.
  • I can not wait to have a glass of wine and go on a sushi date with my husband.
  • Will Ronin look like Max or look completely different, like me and my sister do?
  • I am SO excited to meet and hold my son in just a few short weeks!

Being Prepared + My Post Delivery Essentials

Friday, May 11, 2012

When I went to the hospital to deliver Max, lets just say that I was less than prepared. For starters I was thinking that I would have a normal birth experience, whatever that means. I thought everything would be all roses and I would look great and be all smiley post delivery. Not the case. I was induced (due to being type 1 diabetic) at 39 weeks. I was in labor for 48 hours and then ended up having an unplanned c-section. I was SO swollen from all the fluid they pumped into me, my face looked like it was going to explode. I had a horrible reaction to all the drugs and even hallucinated from the Nubain (pain relief medication) at one point and saw Simba from the Lion King in the big lights above me. I was so shocked that no one else could see him! I ended up spending most of the first moments with my son hovering over a bed pan.

I also did not realize you still look 6 months pregnant after you deliver (I actually did know this but thought I would magically be different). I brought pajamas that were uncomfortable, underwear that was too small and totally forgot a nursing bra! I was a hot mess. This pregnancy I am fully aware that I will be having a c-section and I am going to be so prepared it's not even funny. No need for family members to run off to Target to buy me "big girl high waisted underwear" this time around. Yes that really happened.

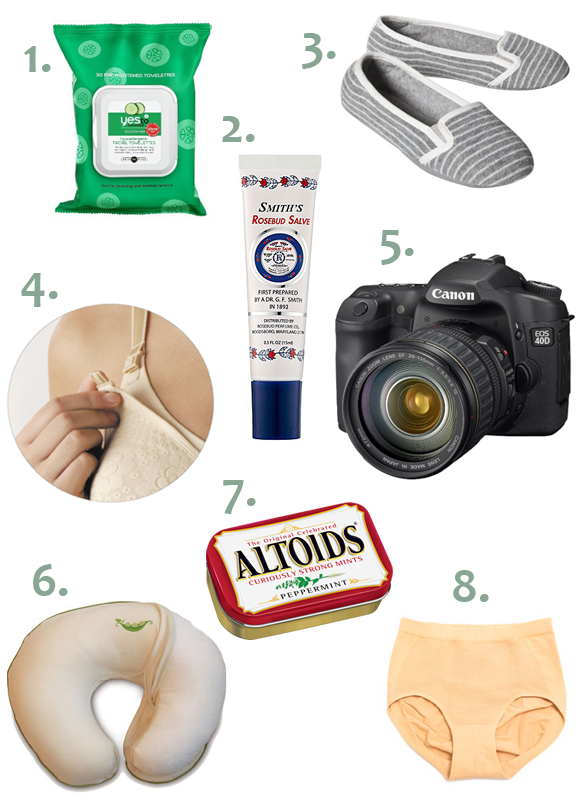
1. Facial Towelettes- these are a must! They cleanse your skin, remove makeup and moisturize all in one. Last time I packed my entire beauty routine into my over night bag and I used none of it (duh). This time I want to keep it simple.

2. Rosebud Salve- my go to lip balm to keep my lips nice and soft for all the kisses I will be giving baby Ronin.

3. Slippers- another thing I forgot with my first delivery. You NEED slippers. Especially when you want to walk to the bathroom or walk up and down the halls. Walking around in your socks is just yucky...trust me.

4. Nursing Bra- whoever invented this genius little design is a godsend.

5. Camera- this is one thing I never forget to bring. My friends actually laugh at me because I always have it no matter what. I just need to make sure it is fully charged and has the memory card in it.

6. Boppy- every new Mom needs one of these! It makes breastfeeding so much easier and is so much more comfortable than the air filled pillows that they have at the hospital.

7. Altoids- just in case I end up getting sick again from the medication these will be quite handy. Puke-y breath is no fun.

8. Comfortable underwear and Pajamas- I made the mistake of bringing low cut briefs last time, which is not okay with a c-section. High waisted granny panties are seriously the best for post delivery. No need to get all fancy here.

Did I forget anything?! If you have any other Mom after delivery essentials I would love to hear!

How To Make Your Own Nail Polish In Any Color

Wednesday, May 9, 2012

Pregnancy insomnia can be a little bit of a blessing (depending on how you look at it). Sometimes when I can't sleep I randomly get these ideas that just pop into my head. I quickly jot them down into my phone and revisit them when I am coherent in the morning. I would say only 30-40 % of them actually turn out like I imagined. Take this little project for example. I tested it out over the weekend to see if it would even work...and it worked! I did a little pregnant happy dance. The exciting part of this is you can make ANY shade you want! The color combinations are seriously endless.

What you will need:
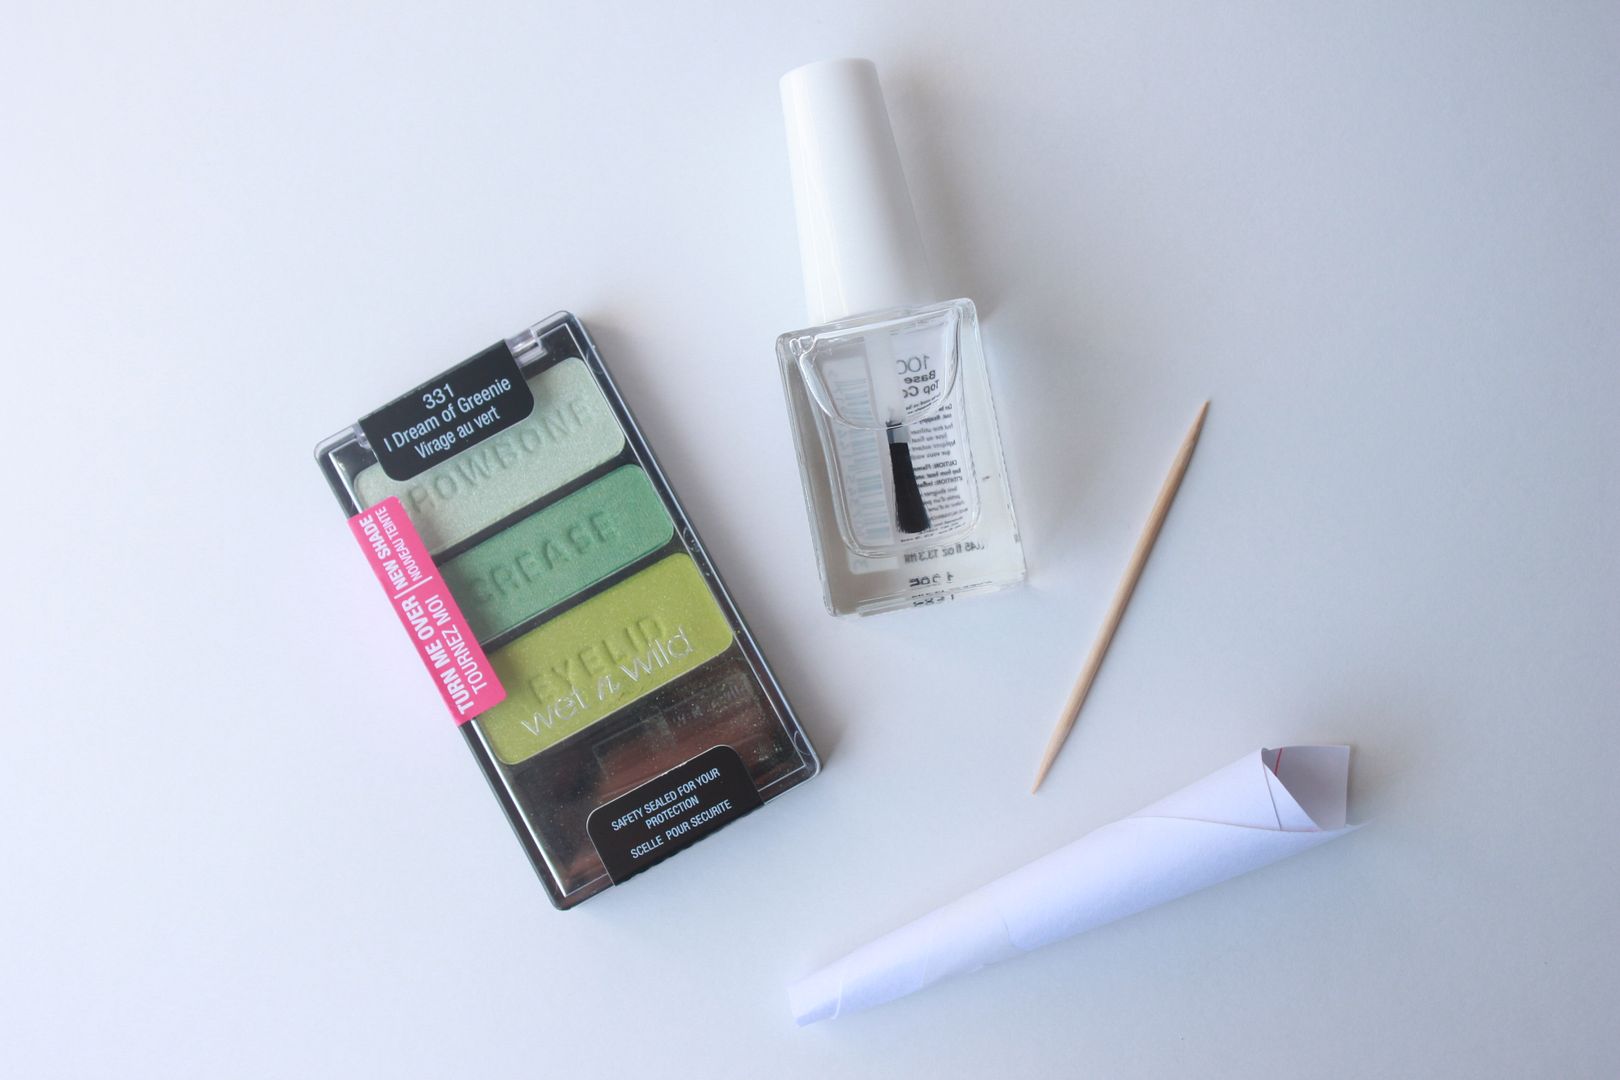
  • Clear nail polish.
  • Cheap eyeshadow. You could also use expired eyeshadow that may just be taking up space in your makeup drawer.
  • Toothpick
  • A funnel. I made mine by wrapping a note card into a cone shape and then taping it on the back.

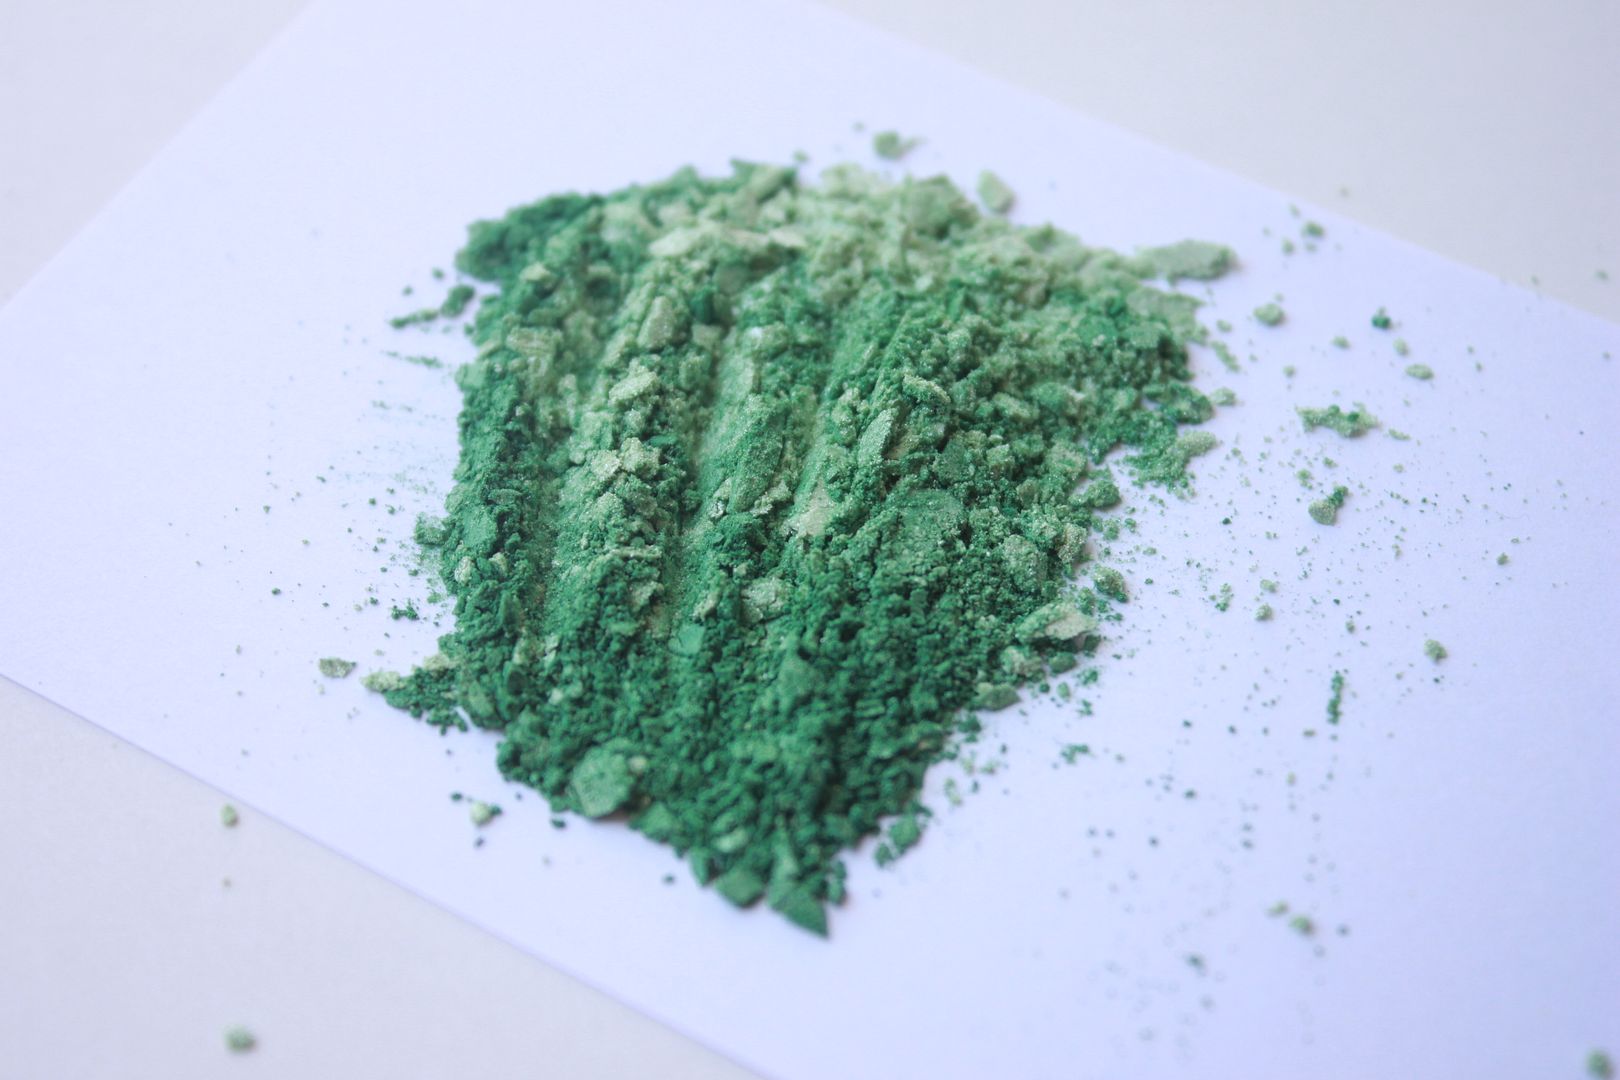
Take out the eyeshadow you want to use. I used a butter knife to scrape it out of the container. I combined the first two colors of the eyeshadow palette above. Crush it up so it is in a powder form.

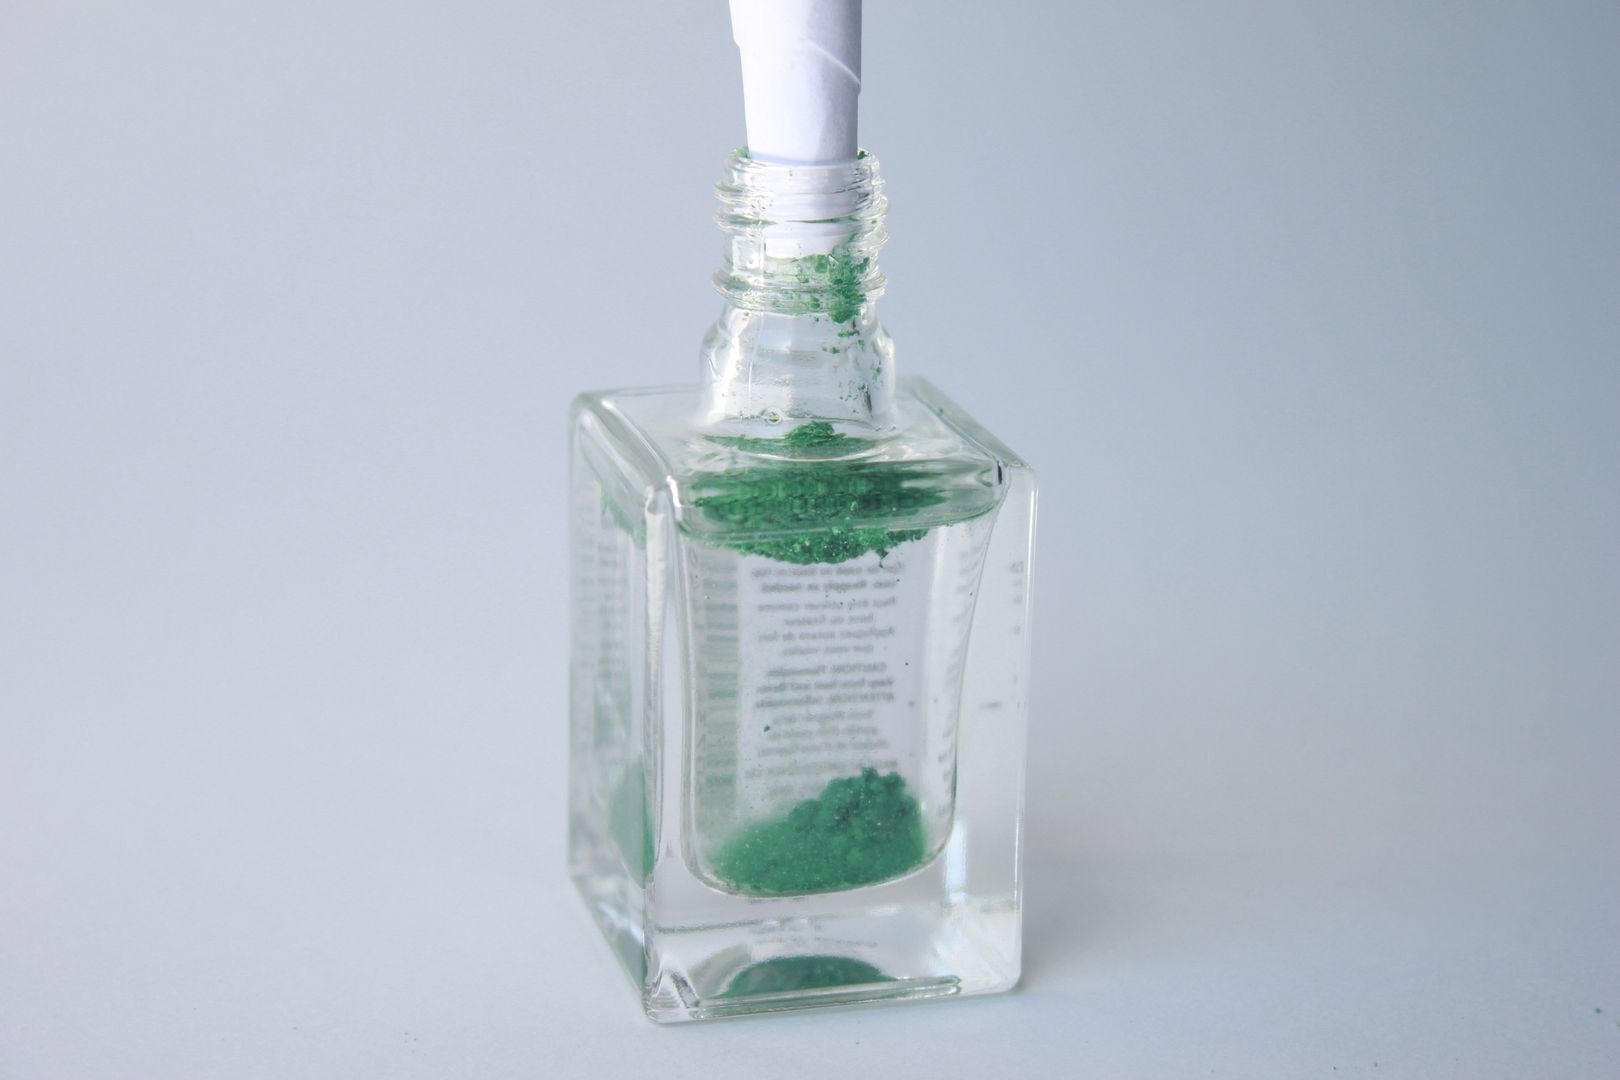
Empty a small amount of clear nail polish out so you have room for the eyeshadow powder. Place your funnel into the top. Add the color into the bottle.

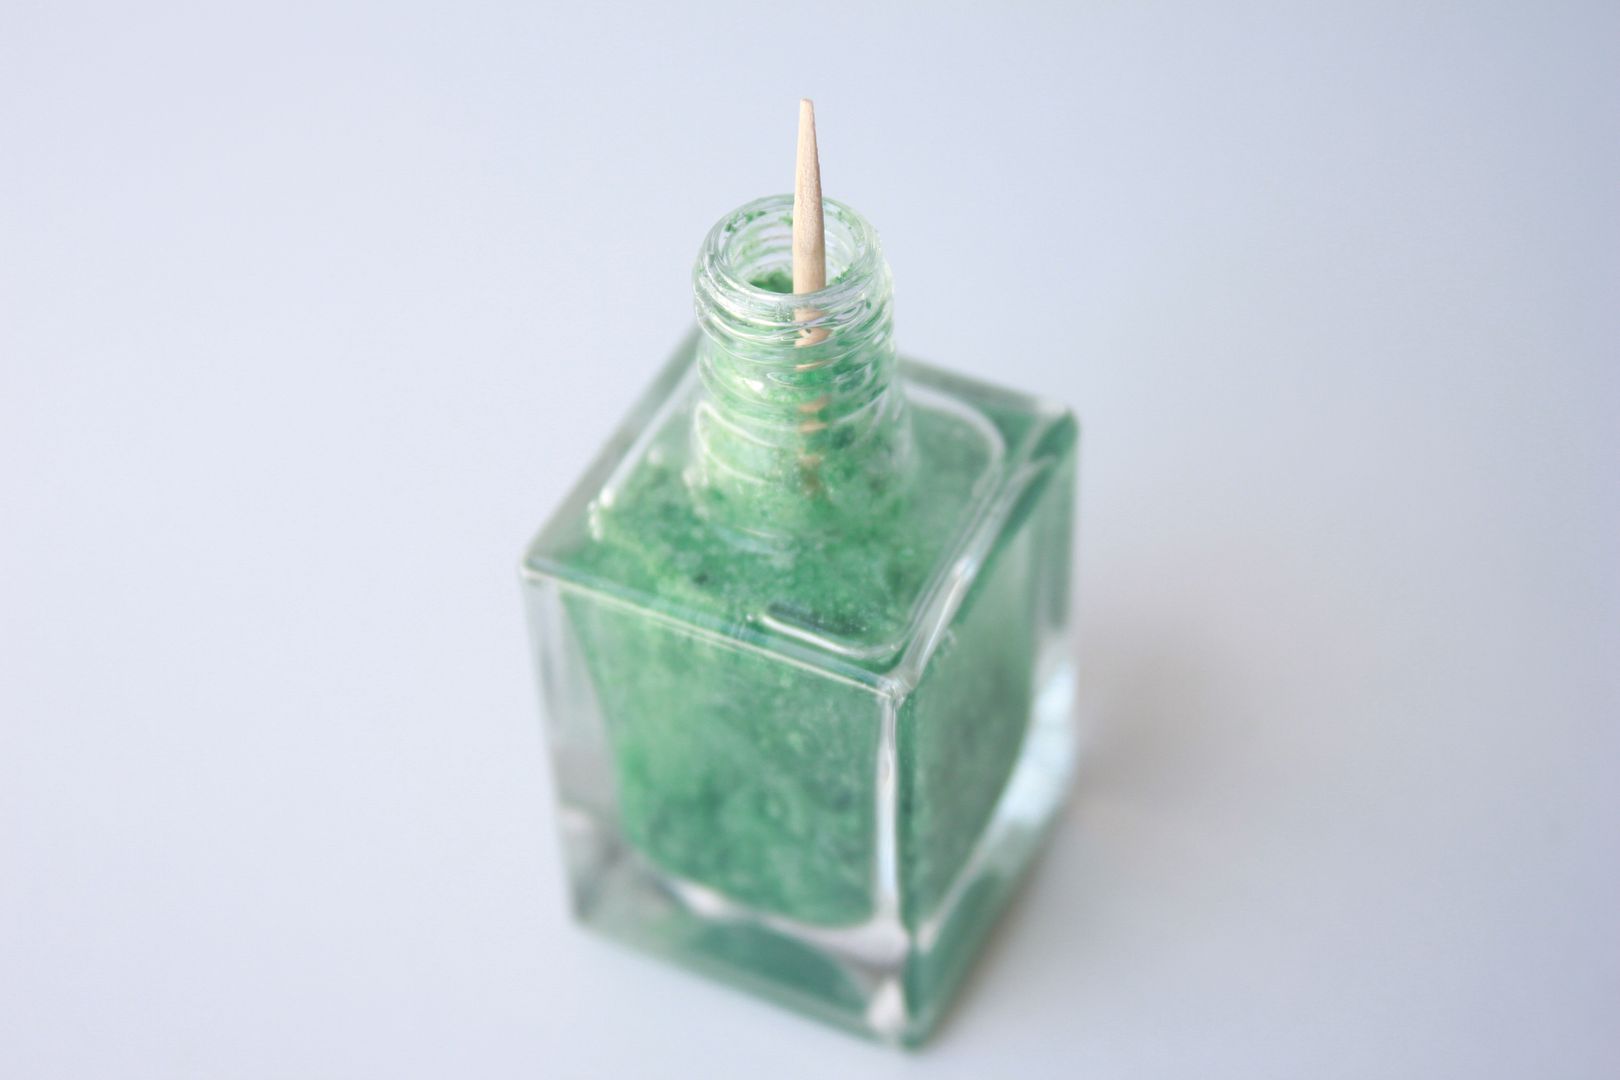
Use the toothpick to mix up the color into the bottle. Put the cap on and give it a good shake until it is evenly distributed.

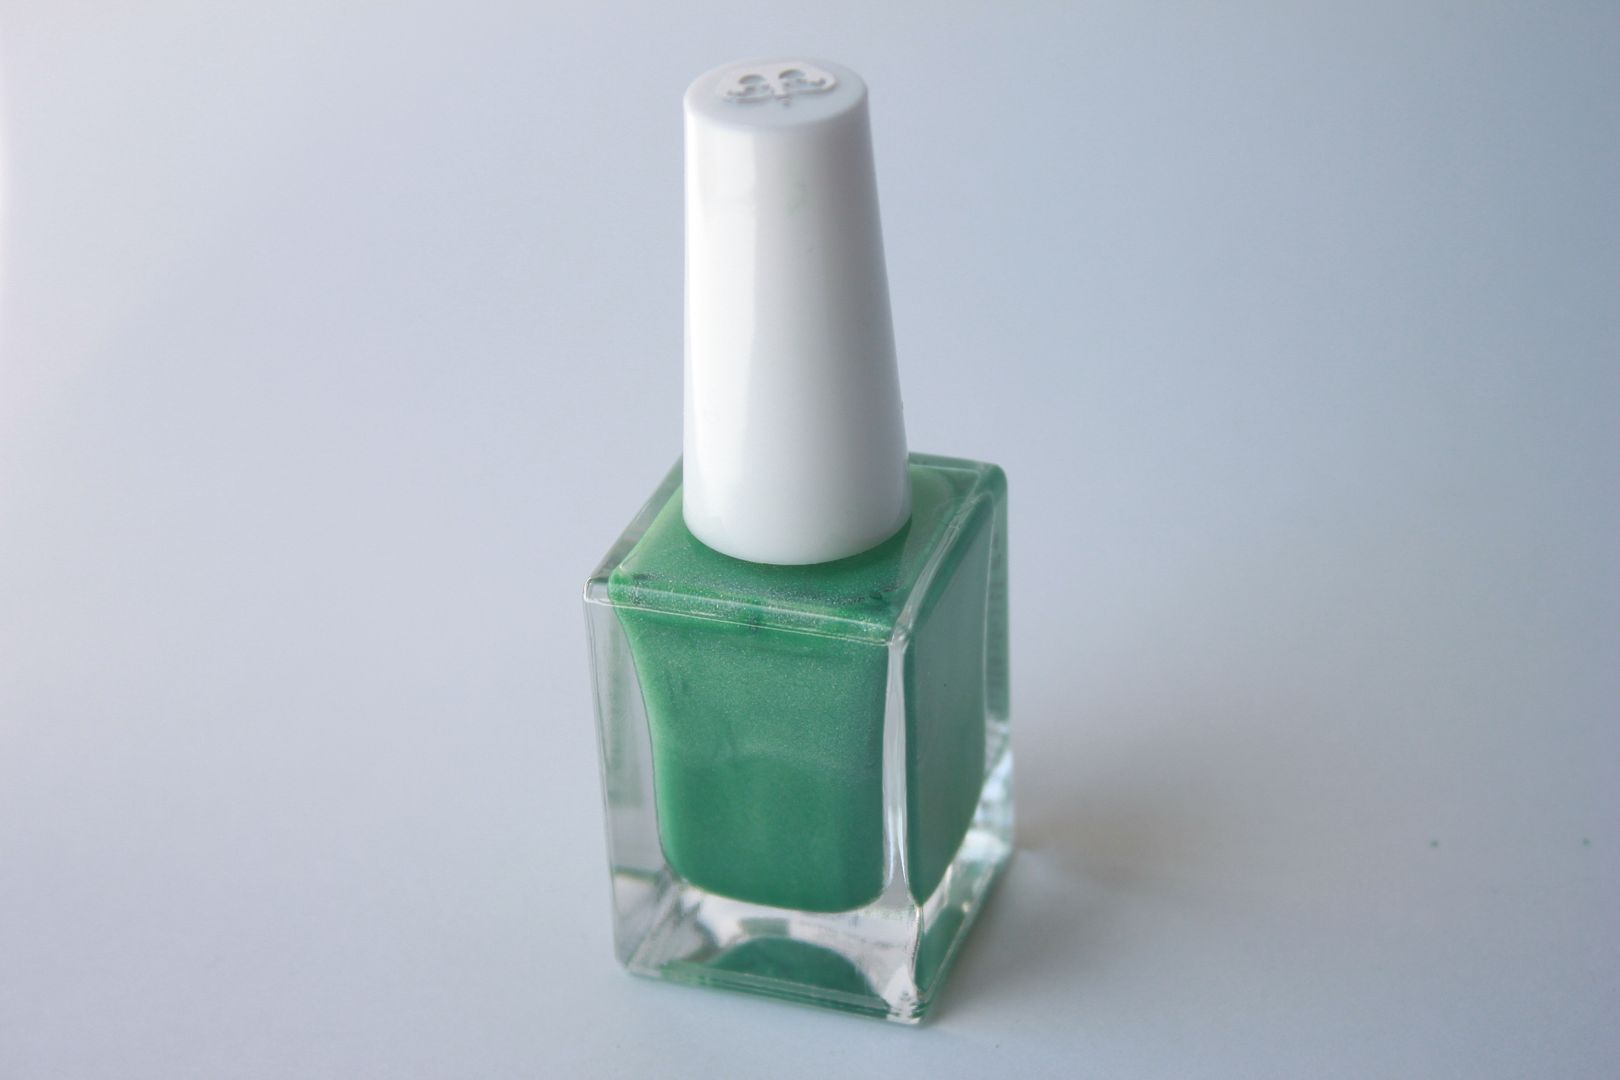
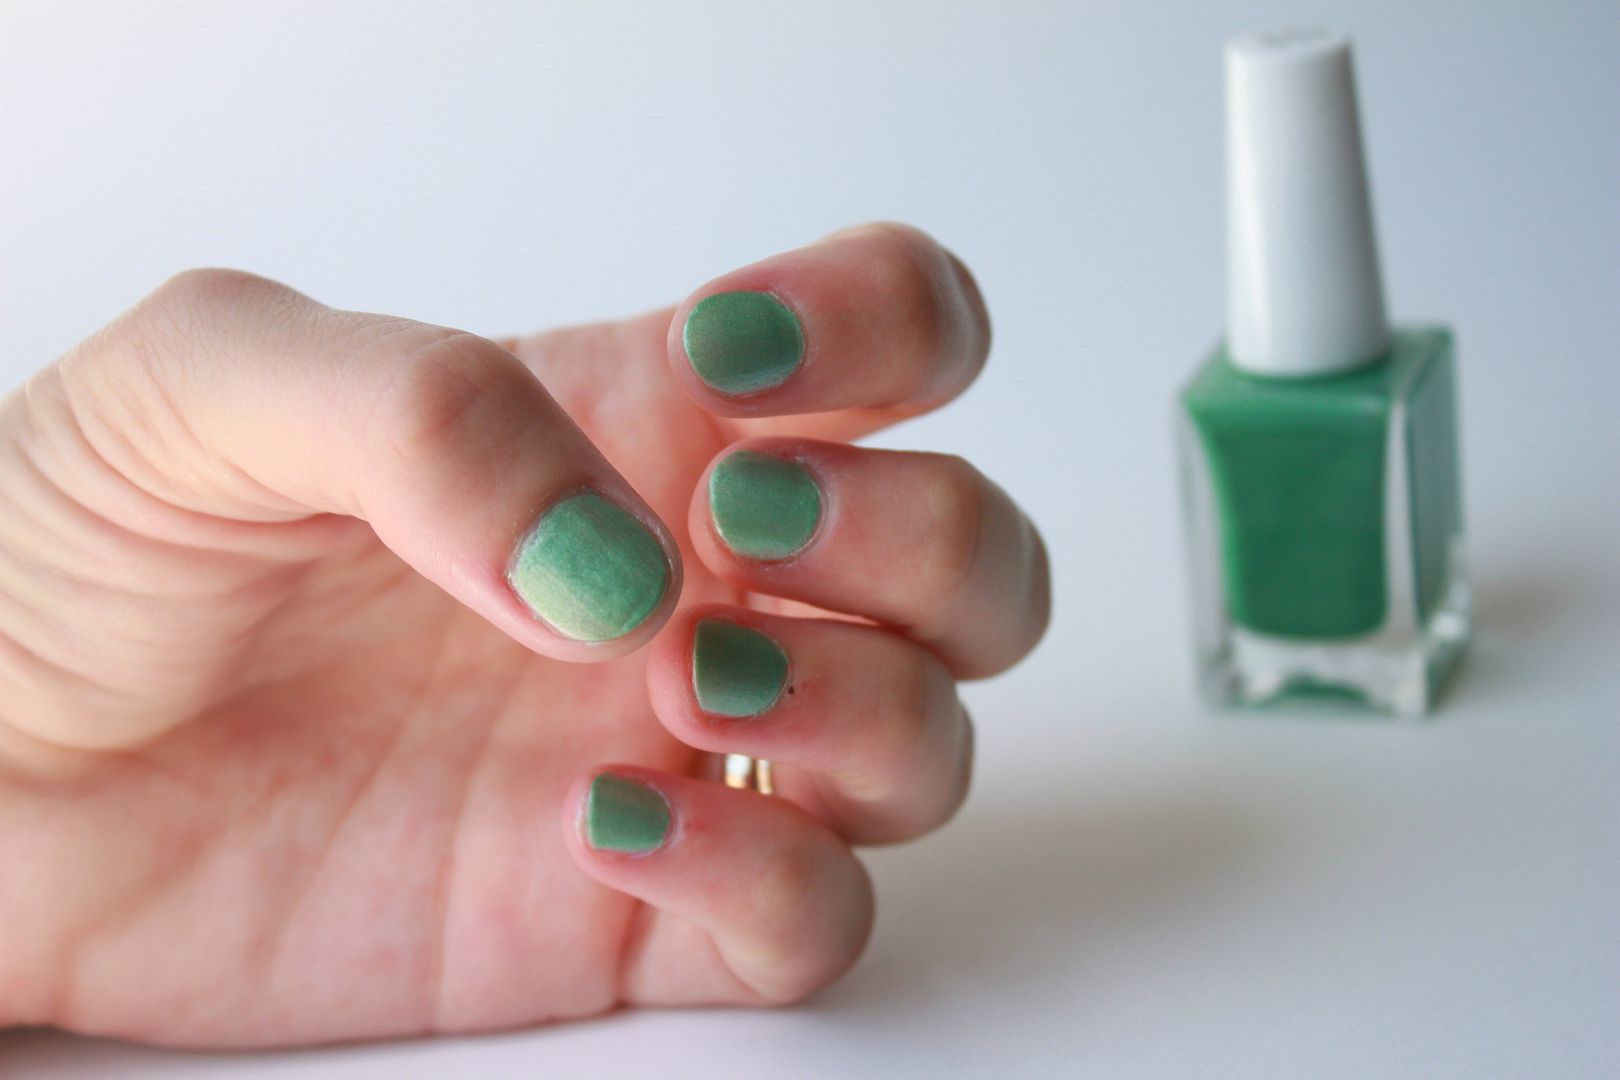
You now have you own custom shade of nail polish! I always wanted to name a nail polish so I think I will call this one Emerald Sea-ty ;) I asked my husband if he "gets it?" and he said I'm dork. What do men know about naming nail polish colors anyway?

Related Posts Plugin for WordPress, Blogger...