Showing posts sorted by relevance for query salt dough. Sort by date Show all posts

How to Make Salt Dough Ornaments + I may have cried over a Pinterest fail

Wednesday, November 21, 2012


I am a total loser.  I cried (well half cried half laughed) at a failed Pinterest project.

Let me back up a little a tell you the story.  It was the weekend and  I was beyond pumped to make these awesome homemade ornaments with my two year old.  I read all the instructions on the blog that had the tutorial and I got my ingredients, which consisted of cornstarch and baking soda.  That seemed simple enough...or so I thought.  My husband agreed to watch Ronin (he is a screamer when I am in the room and not holding him so this was a sweet gesture actually) so I could have craft time with Max.

I whipped up the first batch of "dough." I am not sure what I did wrong but my dough resembled a weird science experiment that would harden and then liquify when I touched it.  I know that makes ZERO sense but that is what happened.  It was like magic flubber.  I tried to do it again....and again...and again and each time it produced flubber not dough.  I was frustrated, Max was getting impatient, Ronin was screaming, my husband was getting irritated and 3 freakin hours later I had 4 giant batches of flubber a flour bombed kitchen and ZERO homemade ornaments.  My husband told me, well more like shouted above Ronin screaming to just give up and buy some damn premade clay.  Men do not understand the need to craft apparently.  I started crying, then started laughing and then cried and laughed all at once.  Fail.  Major freaking Pinterest FAIL.

So I decided to get back to basics and google a salt dough recipe.  This worked like magic, pure homemade ornament dough magic.  You can not mess this up, I promise. 

What you will need:
  • 2 cups of all purpose bleached flour
  • 1 cup of salt
  • 3/4 cups of water  *add a little more water if your dough is dry and not sticking together.  
Directions:
  1. Mix all the ingredients together.  
  2. Knead it until it's nice and doughy.  
  3. Use cookie cutters to make whatever shape ornaments you want. 
  4. Use a straw to poke a hole in the top so you can hang them with a string or hook. 
  5. Bake for 20 minutes at 200 degrees.  Turn over once at the 10 minute mark.
  6. Once they are baked you can paint them, bedazzle with glitter or whatever you want! I painted mine with a layer of Mod Podge and sprinkled gold glitter on top.

Have a wonderful Thanksgiving tomorrow!   xo

    Healthy Cinnamon Toast Crunch Crackers

    Thursday, August 15, 2013


    Growing up, my parents were actually pretty good about buying low sugar cereal (before I was diagnosed with type 1 diabetes, which ruined all my fun ha) but on occasion my Mom would surprise my sister and I with our favorite cereals as a treat.  Cinnamon toast crunch and Lucky Charms were the front runners.

    I decided to experiment a little with this recipe and make a cinnamon toast crunch version.  You will not be disappointed in these, I pinky promise.
    What you will need:
    • 3 cups of blanched almond flour
    • 1/3 cup of organic coconut sugar
    • 1 tsp of baking powder
    • 1 egg
    • 1 tbs of cinnamon + extra to sprinkle on top
    • dash of salt
    • 1/4 cup of melted ghee
    Directions:
    1. Preheat oven to 300 degrees
    2. Cover two baking sheets with parchment paper
    3. In a medium sized bowl combine the almond flour, coconut sugar, baking powder, cinnamon and salt.  Mix together. 
    4. In a separate bowl whisk together the egg and melted ghee. 
    5. Combine all of the ingredients and mix until dough starts to form.   Roll the dough into a ball.
    6. Lightly spray two more sheets of parchment paper with olive oil cooking spray.  Place the dough in between the two sheets.  Using a roller pin and roll the dough out until it is about 1/8 inch thick (the thinner the better).
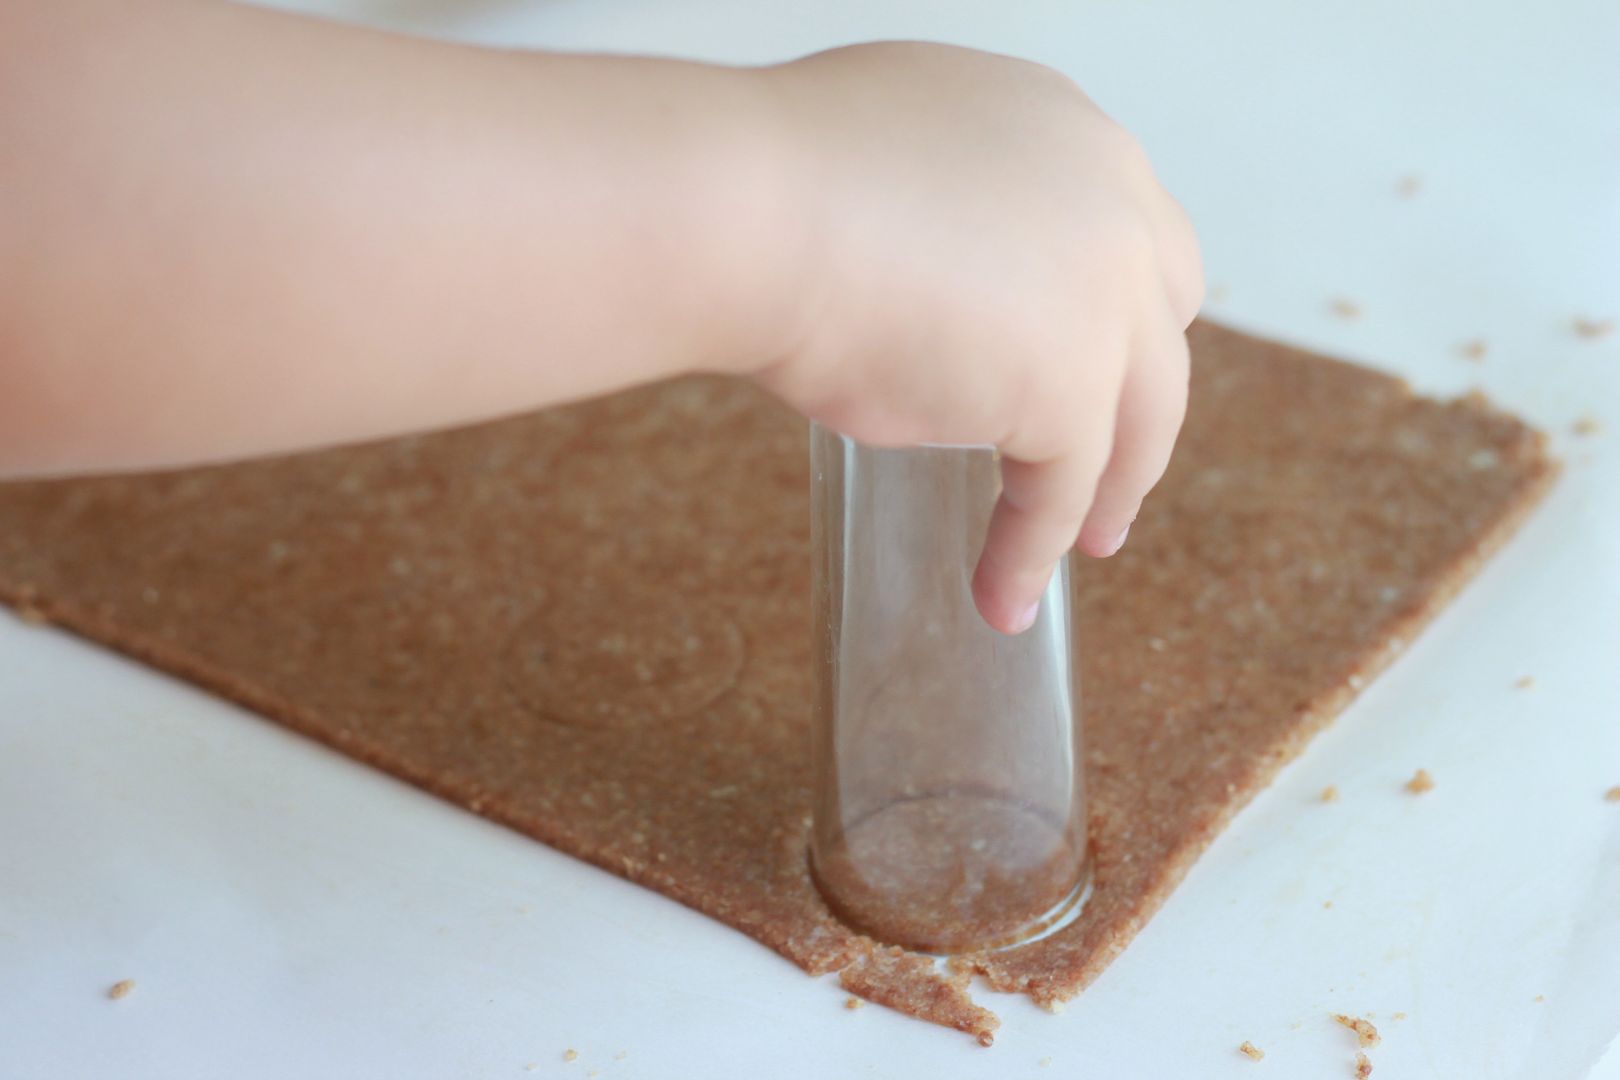
    7. You can either slice the dough up evenly with a pizza cutter (to make square crackers) or you can use a classy double shot glass like we do. 
    8. Gently remove the sliced crackers and place on the parchment lined baking sheets.  
    9. Mash together the leftover dough, roll into a ball and complete the above steps again until you have used up all of the dough. 
    10. Sprinkle the crackers with cinnamon.
    11. Bake for 20-25 minutes or until crackers are nice and golden. 
    Tips:
    • The thinner you roll out the dough the better. 
    • If some crackers look more done than others before baking time is completed, remove those and then continue baking the others.  
    • Allow crackers to cool before enjoying.  
    • Make sure you keep these in an airtight container to keep them fresh and crispy.  


    These easy to make, crunchy, crispy, extra cinnamon-y and good for you crackers are a giant hit with my boys ( husband included) and have quickly become a regular snack around here.  You can eat these plain or cut them into smaller squares and pour a little almond milk over them and happily enjoy a healthier bowl of cinnamon toast crunch.

    Recipe makes about 80 crackers.  The whole batch has 40 grams of carbohydrate and each cracker has less than .5 grams of effective carbs.

    Flourless Cheez-It Crackers

    Tuesday, May 14, 2013

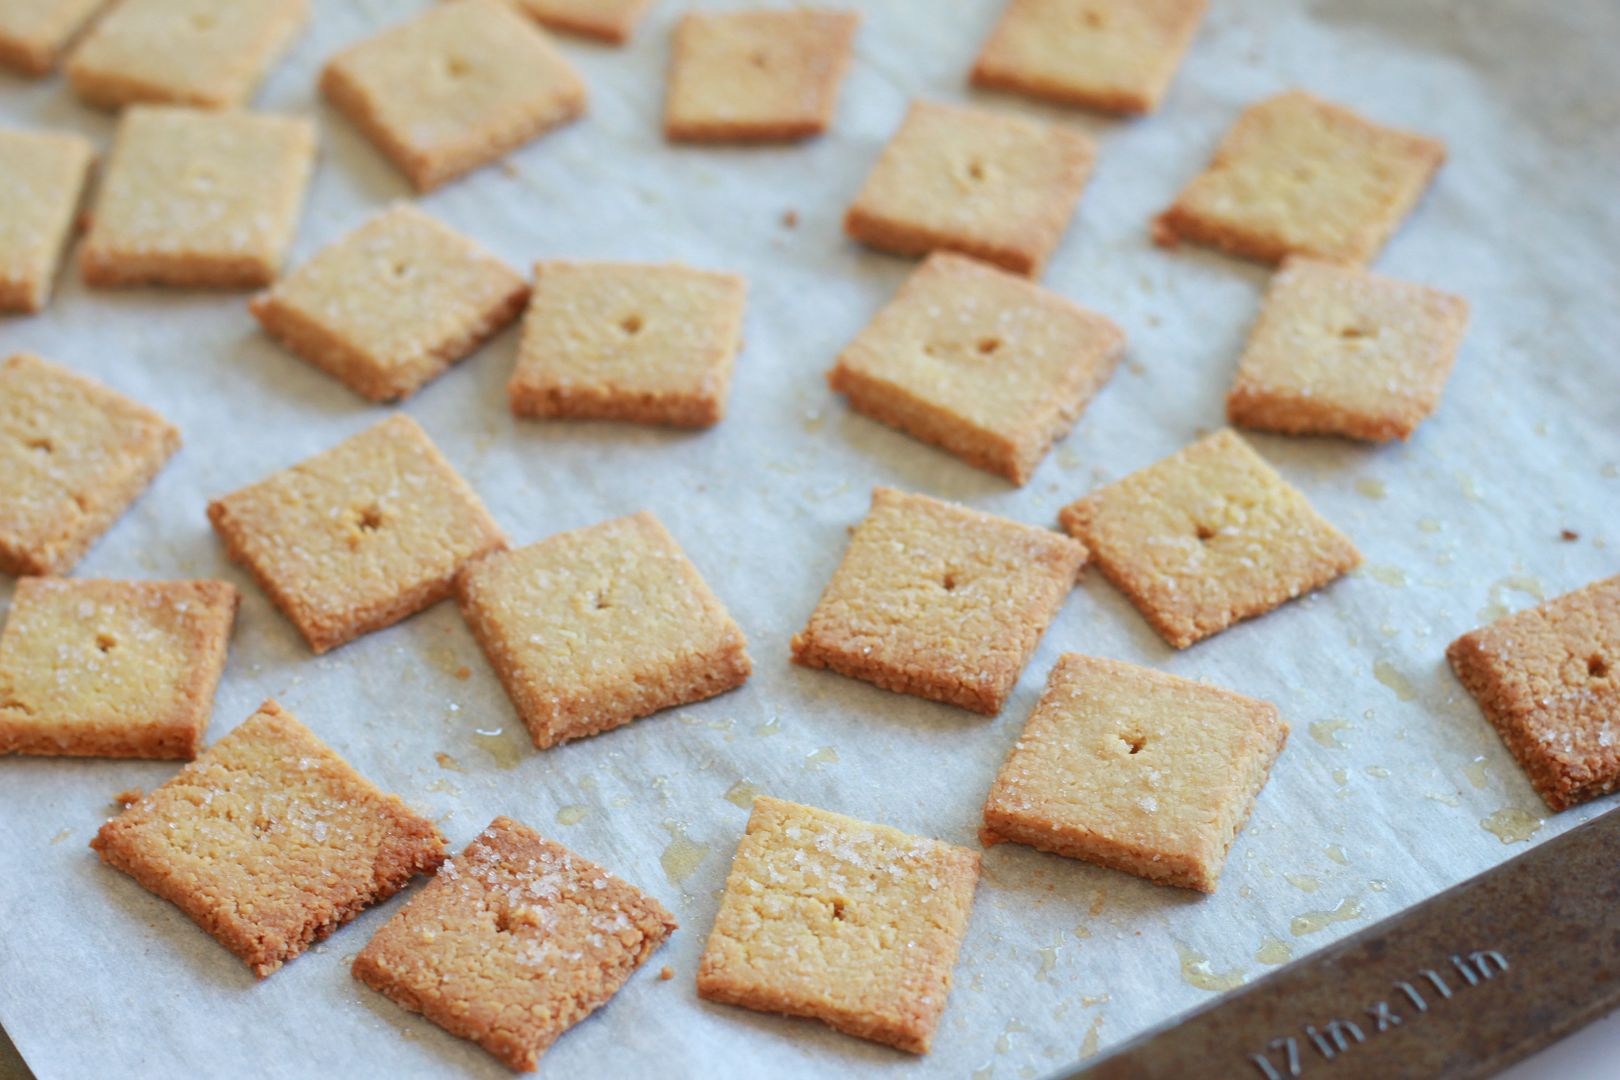
    One of the challenges I have as a mom is finding healthy on the go "cracker style" snacks for my toddler that he actually likes.  Let's be real, he is not totally stoked when I pack him a little baggie of trail mix when all his friends are eating Cheez Its and Goldfish Crackers.  Tradsies anyone?  So I have given in from time to time and bought boxes of crackers and I am pretty sure he might be turning into a cracker-aholic so I have decided to cut back on those processed little snacks.

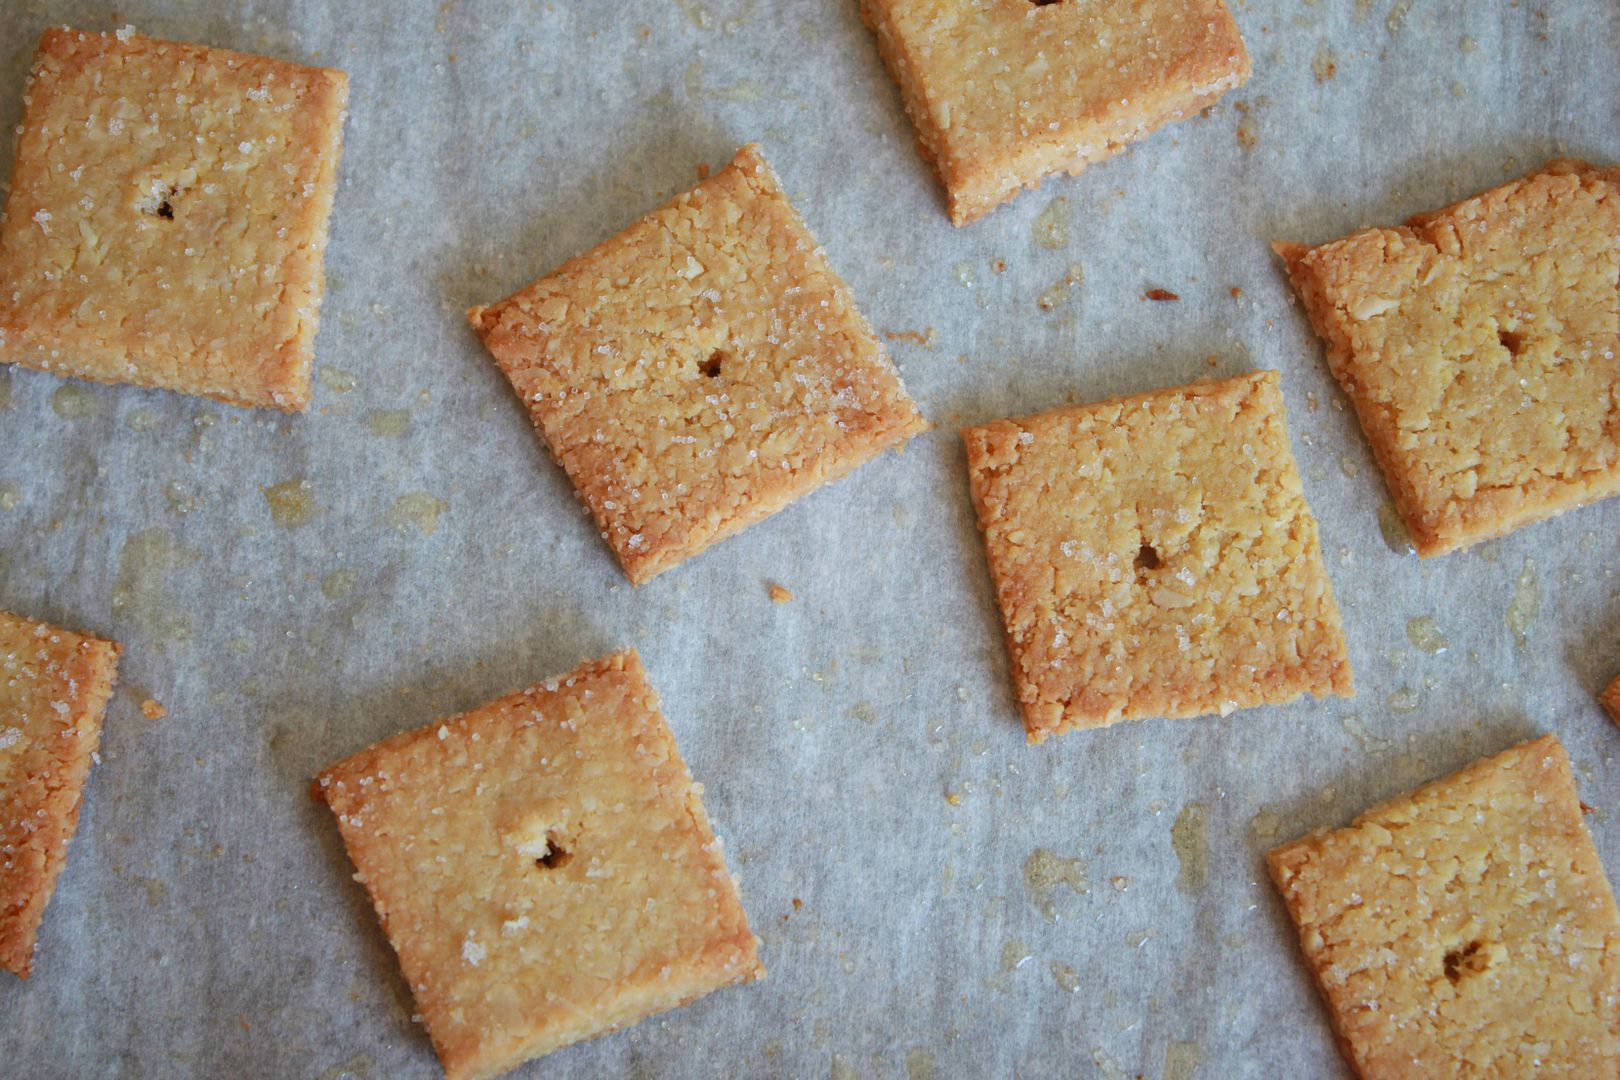
    Yesterday I decided to give homemade cracker making a shot.  I always imagined making your own crackers wold be a long time consuming project,  that only those Martha Stewart type Moms would attempt but I was so wrong.  This was a breeze!  Plus making your toddler a happy little camper is pretty awesome as well.  I found this recipe and made a few small changes and I can not believe how good and "Cheez It" like these taste!

    What you will need:
    • 1 3/4 cup of blanched almond meal 
    • 4 tbs of nutritional yeast
    • 1/2 tsp of sea salt + a little extra for sprinkling on top
    • 1 egg
    • 1 tbs of melted coconut oil or *butter
    • 2 tbs of lemon juice 
    Directions:
    1. Preheat oven to 350 degrees.
    2. Combine all the dry ingredients together. 
    3. Mix together the lemon juice and egg.  Add the lemon juice and egg to the dry ingredients.  
    4. Stir in the melted coconut oil or butter. 
    5. Mix well until dough forms. 
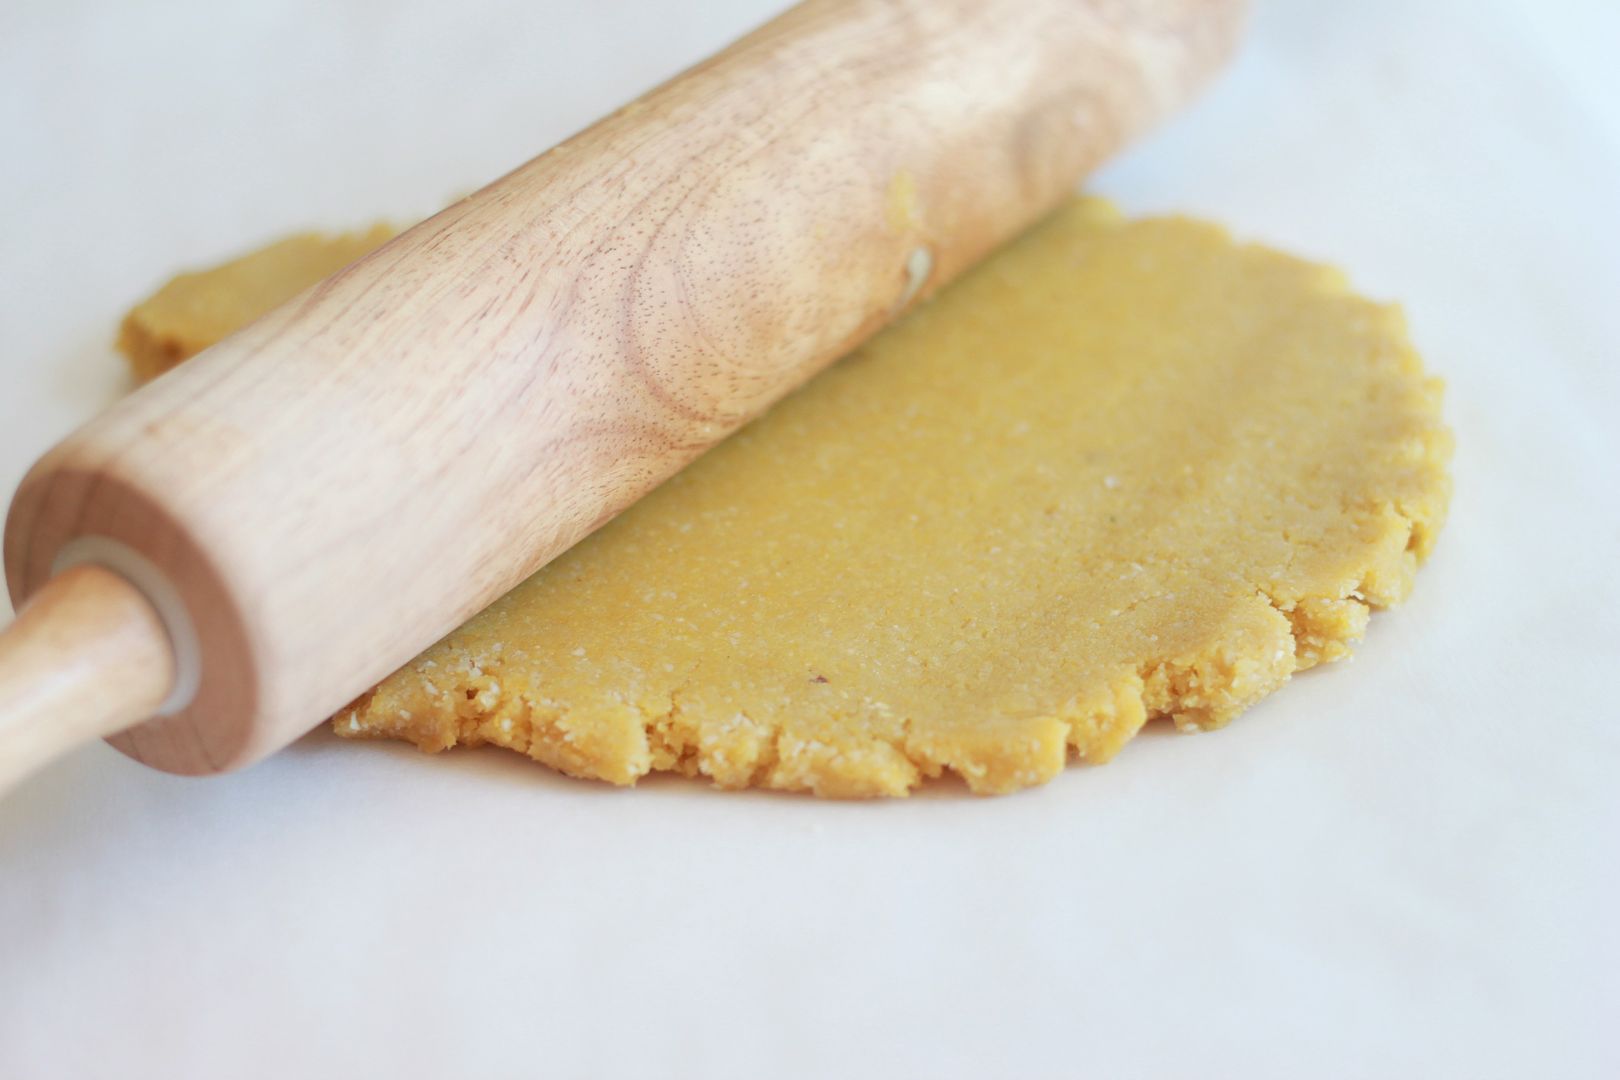
    6. Place the dough on a sheet of parchment paper and using a rolling pin roll the dough until it is about 1/8 inch thick. 
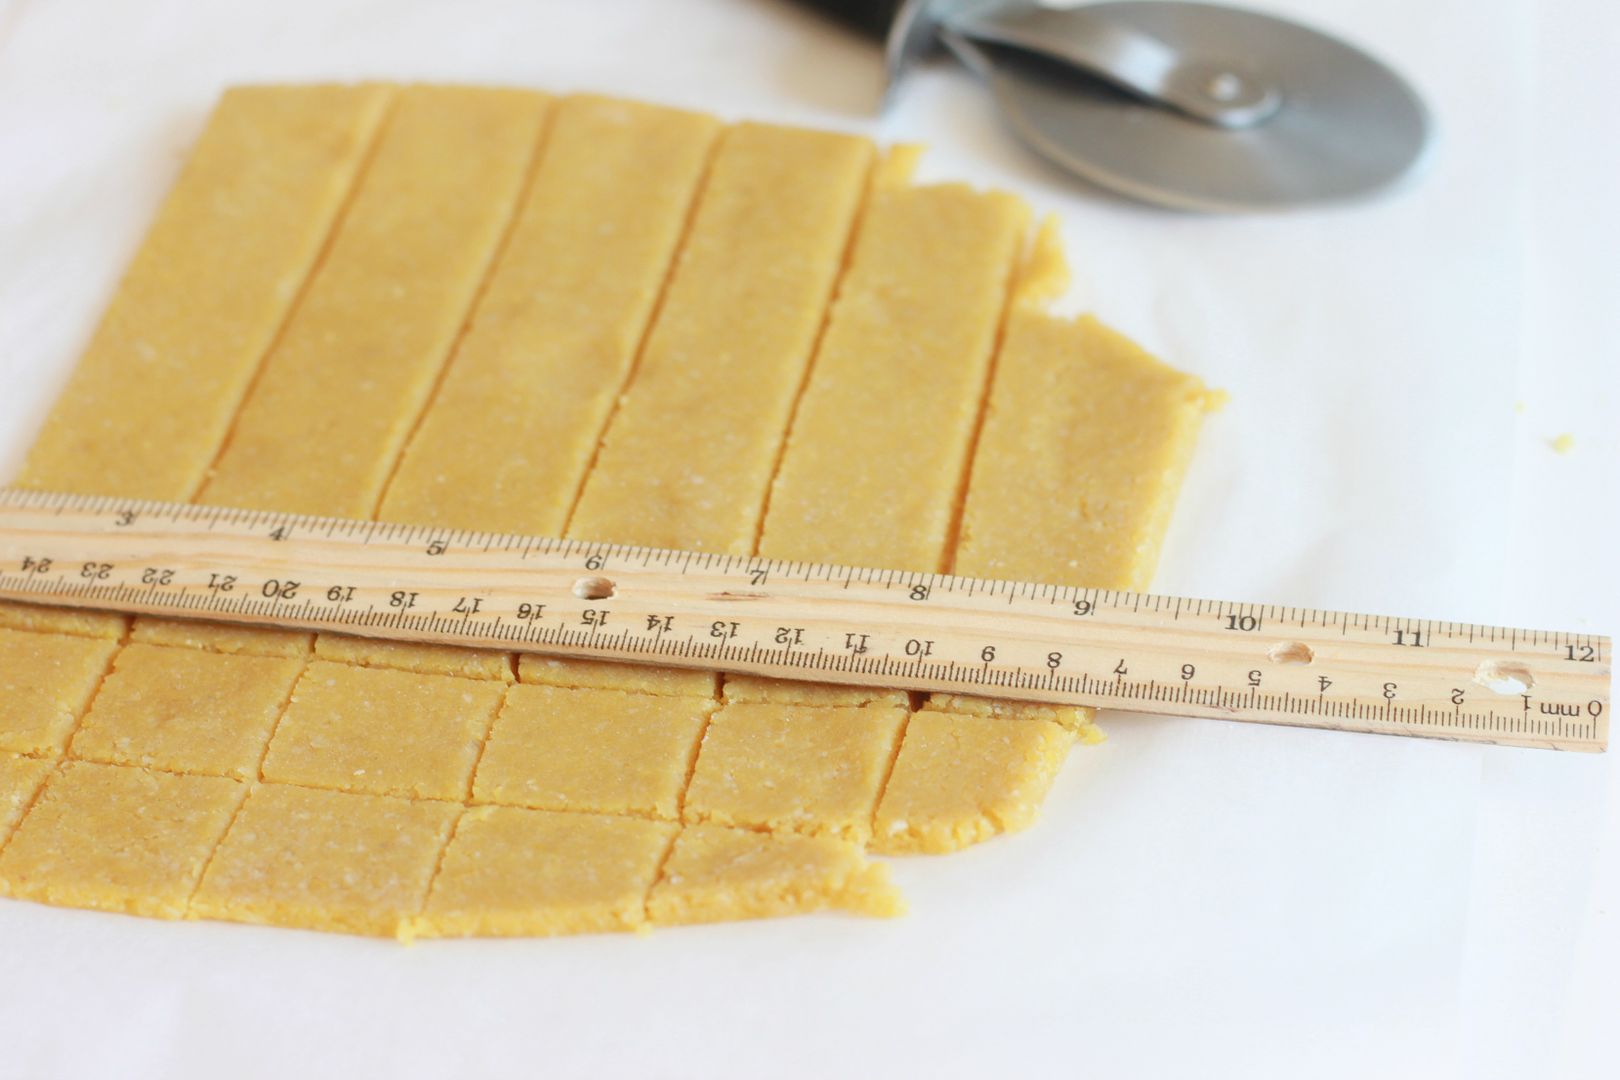
    7. Using a sharp knife or pizza cutter, cut crackers into desired size.  Using a ruler will help if you want to make them all the same size. 
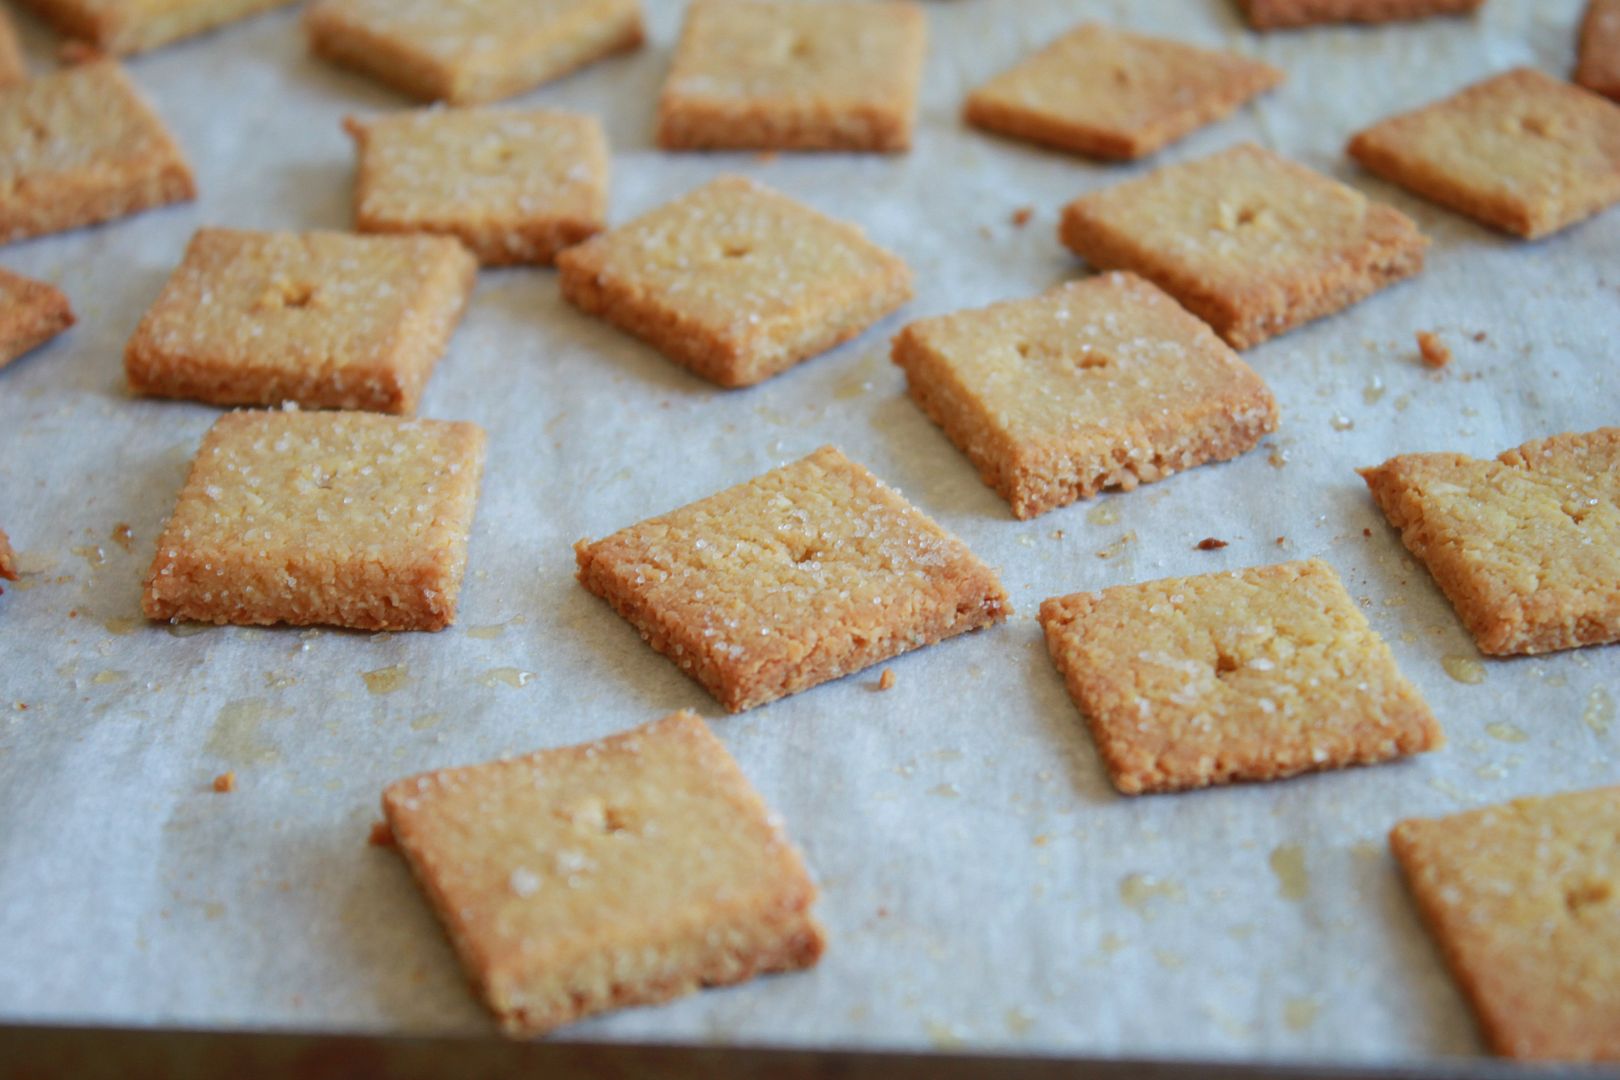
    8. Use a toothpick to poke holes into the middle of each cracker. 
    9. Sprinkle a little sea salt on top of the crackers.
    10. Place the parchment paper with the crackers onto a cookie sheet. 
    11. Bake for 20-25 minutes.  Keep an eye on the crackers and since the outer crackers will be done faster than the ones in the middle remove those one and keep baking the others until they are nice and crispy. 
    * Tips
    • I made a second batch (Max LOVED them so much) and in the second batch I used olive oil butter and they tasted even better.
    • The thinner you roll the dough the better they will be.
    • The browner and crispier crackers were the best so if you need to bake them a little longer do so.


    The real taste tester for these babies was my son Max (he is almost 3).  He loved them!  He loved them so much I made a second batch so we could have more for the rest of the week.

    Flourless Cranberry Scones

    Tuesday, November 26, 2013


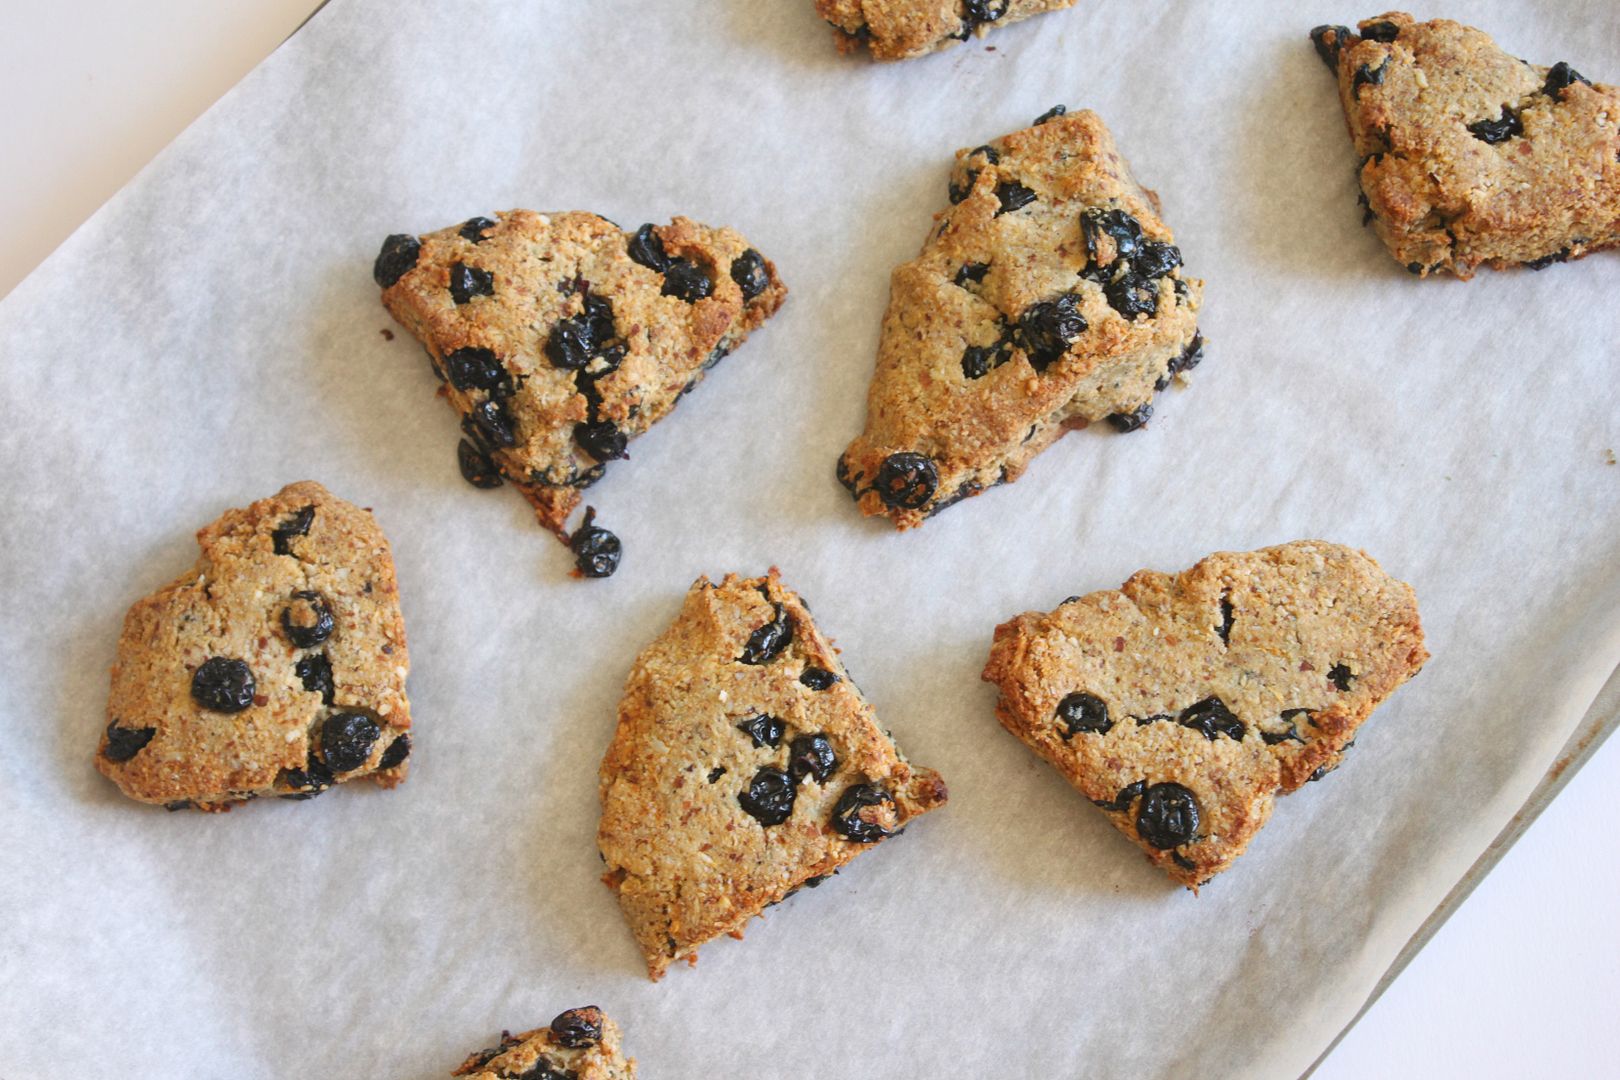
    The week of Thanksgiving is here, which really is my favorite time of the year.  I will be somewhat unplugging from the blog until next week so I can really soak up this time with my family but in the meantime I wanted to share an easy, delicious and festive breakfast idea that we have all been loving around here.  And if you are thinking that these scones are lookin pretty ugly, I would have to agree haha.  BUT they are delicious and that's really what matters most :)

    Hope you all have a wonderful Thanksgiving!

    What you will need:
    • 2 cups of almond meal 
    • 1/3 cup of shredded unsweetened coconut
    • 1 cup of fresh cranberries 
    • 1 tsp of baking soda
    • a few dashes of sea salt
    • 1 egg
    • 3 tbs of honey 
    • 1 tbs of melted ghee 
    Directions:
    1. Preheat oven to 375 degrees
    2. In a large bowl, mix together the almond meal, sea salt, baking soda, cranberries and coconut. 
    3. In a separate bowl, mix the egg, honey and melted ghee together.  Add the wet ingredients to the dry ingredients.  Mix well.
    4. Use your hands to knead together the dough.  It will be somewhat dry and sticky and that is normal.
    5. Form dough into two large circles about 1/2 inch thick.
    6. Cut each circle like a pizza. You can determine how large or small you would like to make your scones.
    7. Place scones on a parchment lined baking sheet and bake for 10 minutes or until tops have a hint of golden brown. 

    Enjoy!

    Flourless Blueberry Scones

    Tuesday, July 3, 2012

    Yep you read that right...flourless scones! How? Almond flour (whole almonds that have been ground into a fine powder). Do they taste good? I am just answering your questions ahead of time ;)... YES.

    As a type 1 diabetic, scones are on the top of my DO NOT eat list. If I even attempt to taste a real carby loaded scone it will send my blood sugar into the dangerous high zone for hours...leaving me feeling like crap all day long. After making delicious Paleo flourless brownies, I knew this recipe for Paleo scones was something I needed to try asap. I made a few little modifications and I was so happy with how these turned out!

    What you will need:
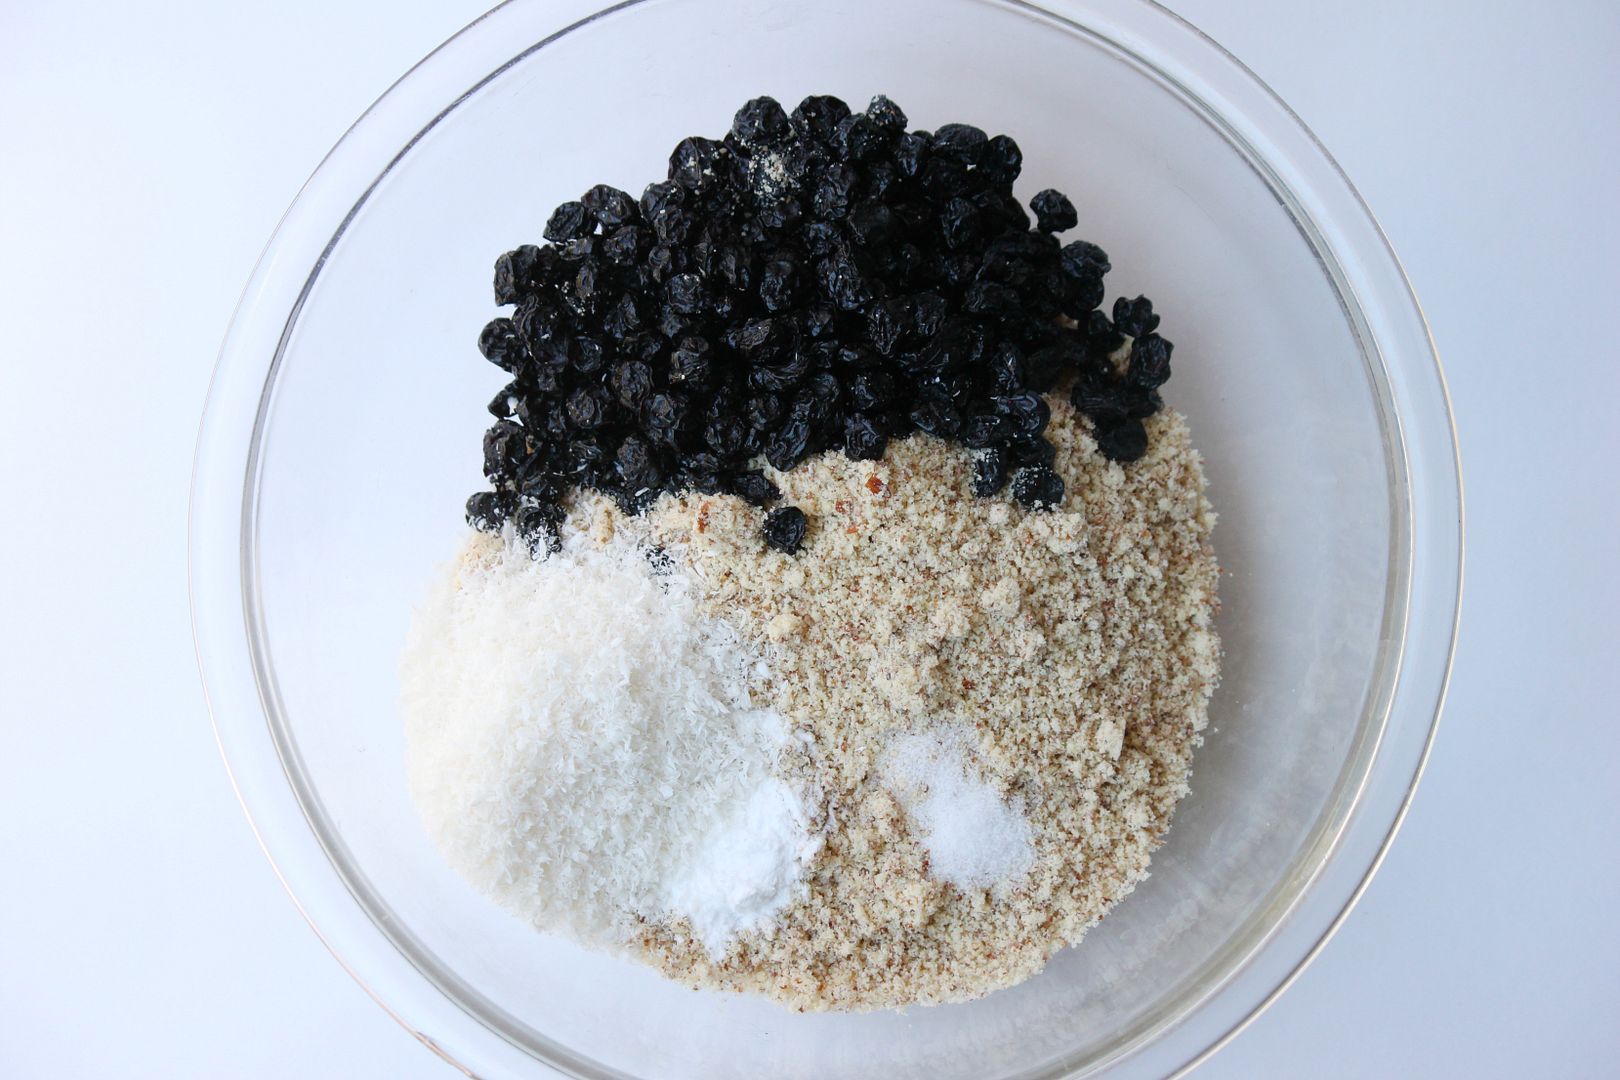
    • 2 cups of almond flour
    • 1/4 tsp of sea salt
    • 1 tsp of baking soda
    • 1 cup of dried blueberries
    • 1/4 cup of unsweetened shredded coconut
    • 1 egg
    • 2 tbs of agave nectar

    Directions:

    1. Preheat oven to 375 degrees
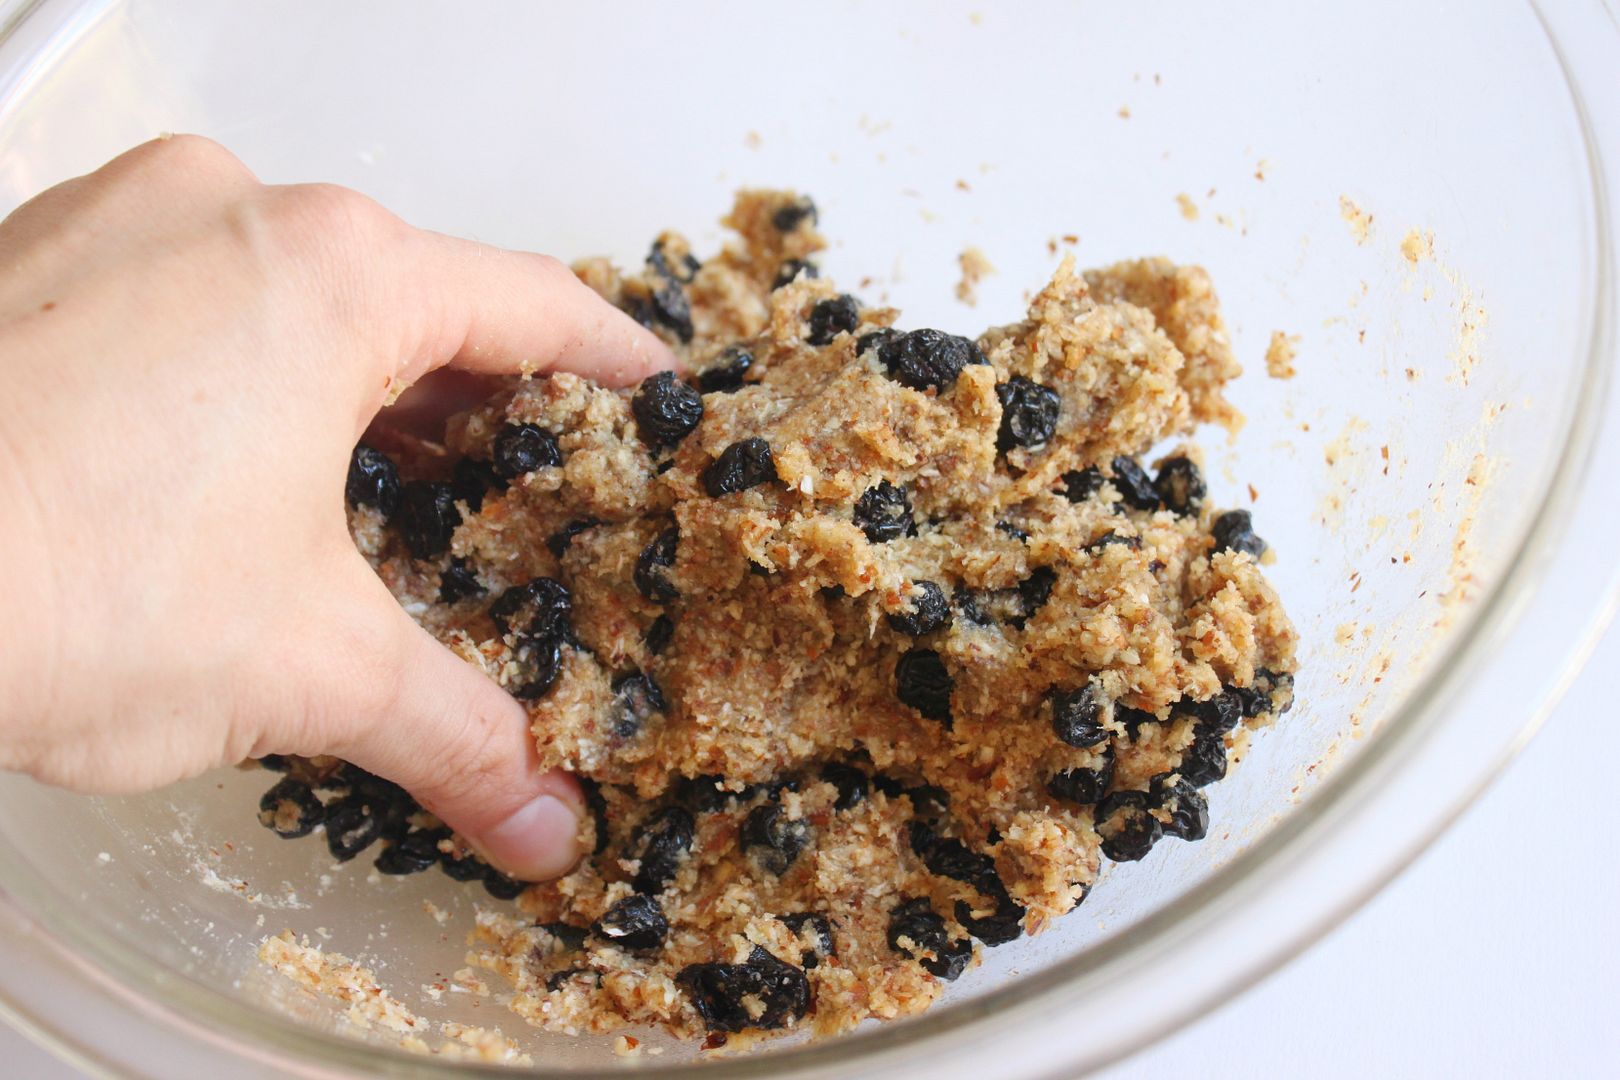
    2. In a large bowl, mix together the almond flour, sea salt, baking soda, blueberries and coconut.
    3. In a small bowl, mix the egg and agave nectar together.
    4. Combine the wet ingredients to the dry ingredients and mix until blended together.
    5. Use your hands to knead the dough to thoroughly distribute all the ingredients.
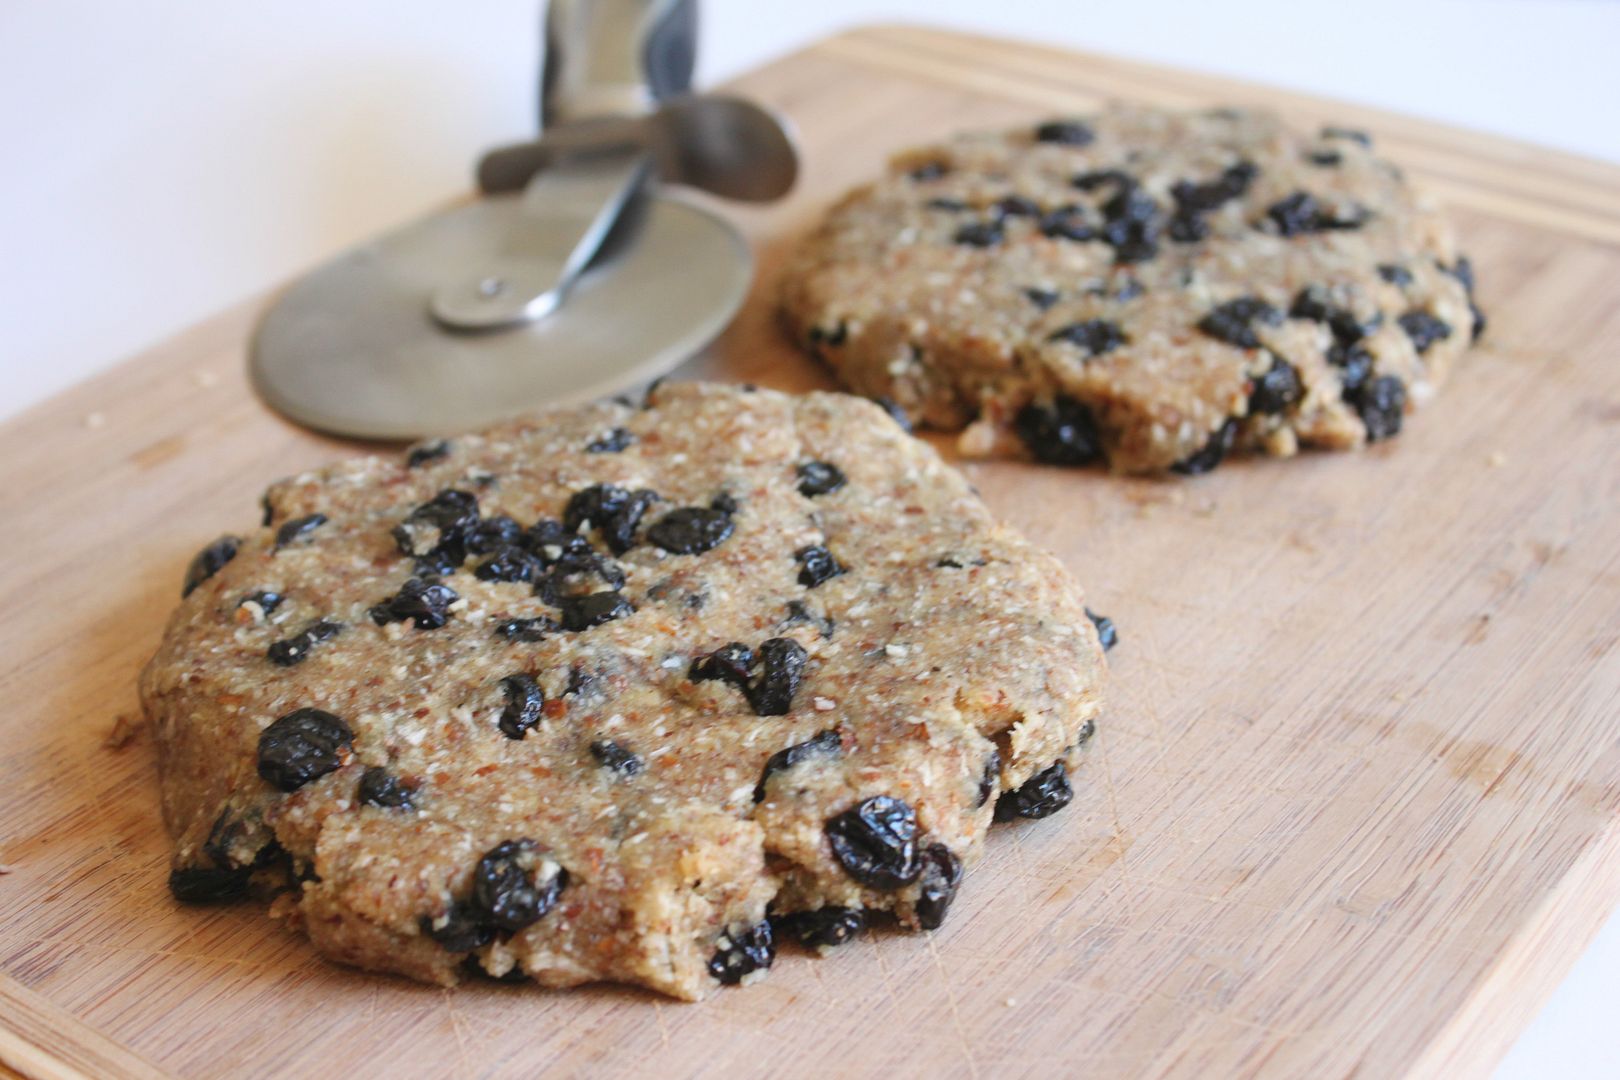
    6. Form dough into two large circles about 1/2 inch thick.
    7. Cut each circle like a pizza. You can determine how large or small you would like to make your scones.
    8. Place scones on a parchment lined baking sheet.
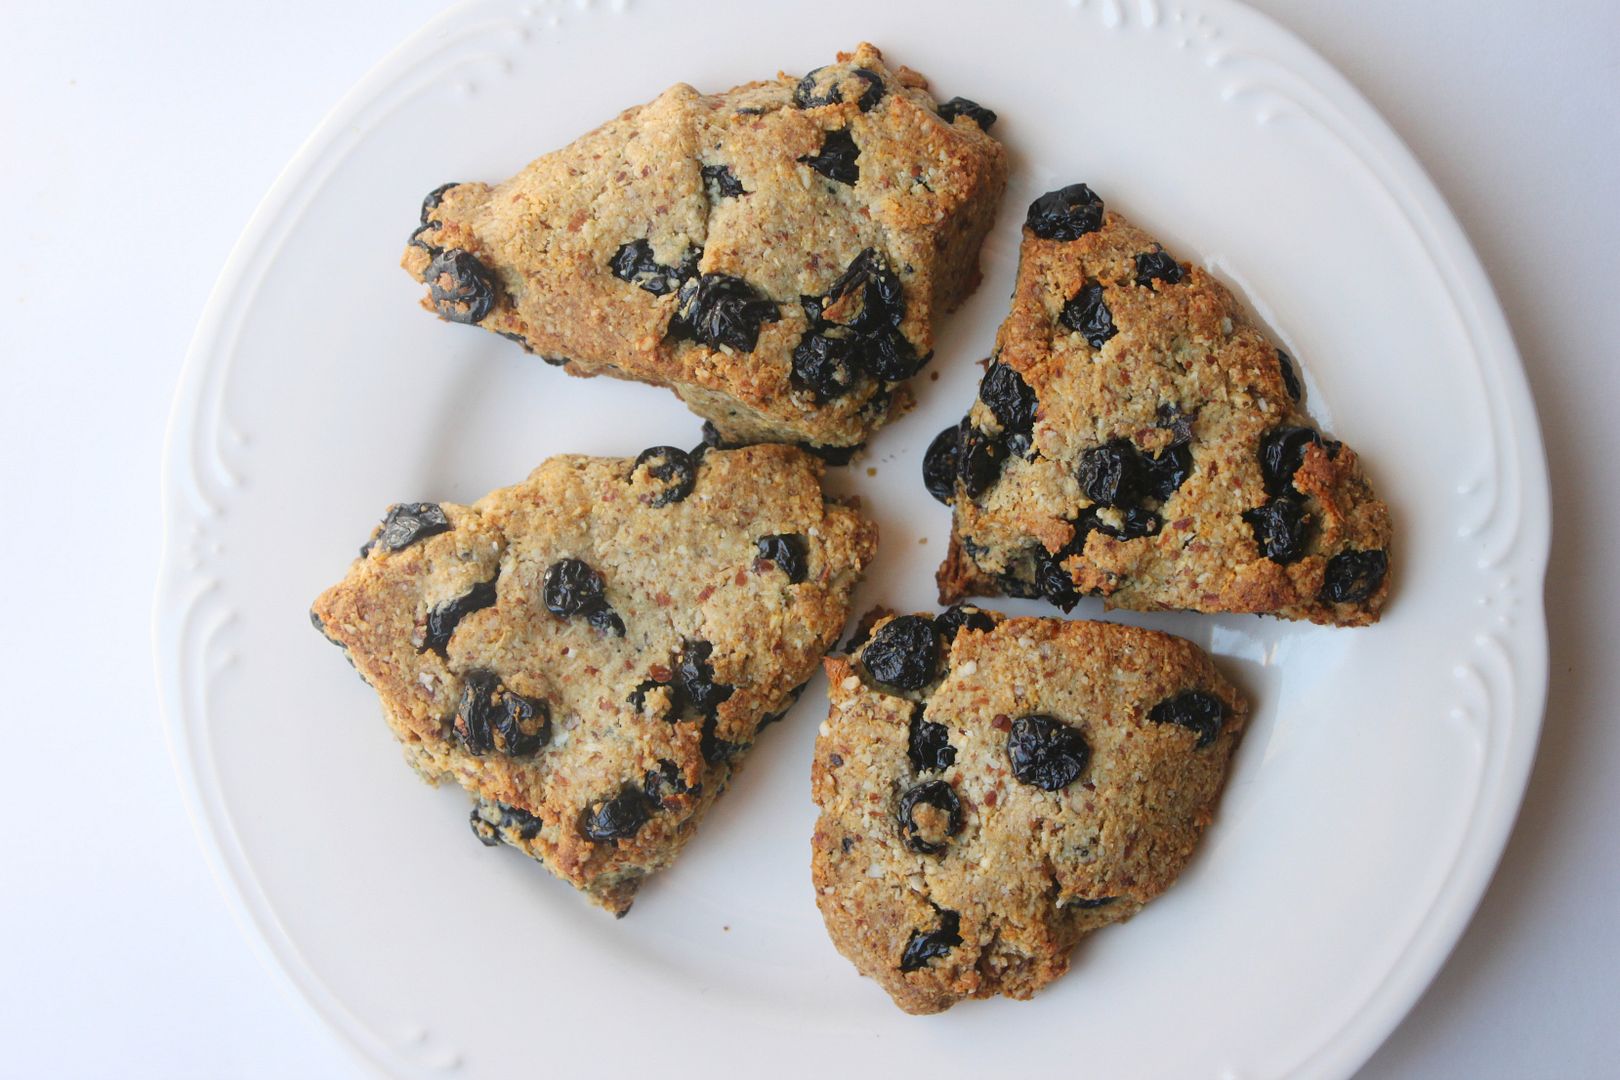
    9. Bake for 10 minutes or until the tops are golden brown.
    I was shocked how "real" these tasted. I topped mine with a little coconut butter and enjoyed every last morsel. I highly recommend that you don't just take my word for it and make these yourself so you can be in flourless heaven like me.

    Flourless Snickerdoodle Cookies (Paleo)

    Wednesday, August 29, 2012

    I wish I had a cool story as to why I made these cookies but I don't. I was just craving some cookies and since I am eating Paelo I wanted to make sure all the ingredients used were top notch and Paleo friendly. I also am really wishing fall would hurry up and get here and nothing screams fall like a house full of freshly baked cinnamon snicker doodle cookies (never mind the fact that it was over 100 degrees outside when these were baking). I did a little searching and used this recipe as a guideline with just a few little modifications.

    What you will need:
    • 1 1/2 cups of almond meal
    • 1 tbs of coconut flour
    • 1 egg
    • 1/4 cup of honey
    • 1/4 cup of melted coconut oil
    • 1 tsp of vanilla
    • 1/2 tsp of cinnamon + extra for rolling dough in
    • 1/2 tsp of nutmeg
    • 1/2 tsp of baking soda
    • 1/4 tsp of sea salt

    Directions:

    1. Combine all the ingredients together in a bowl and mix well.
    2. Cover the cookie dough and place in the fridge to chill for one hour.
    3. Preheat oven to 350 degrees.
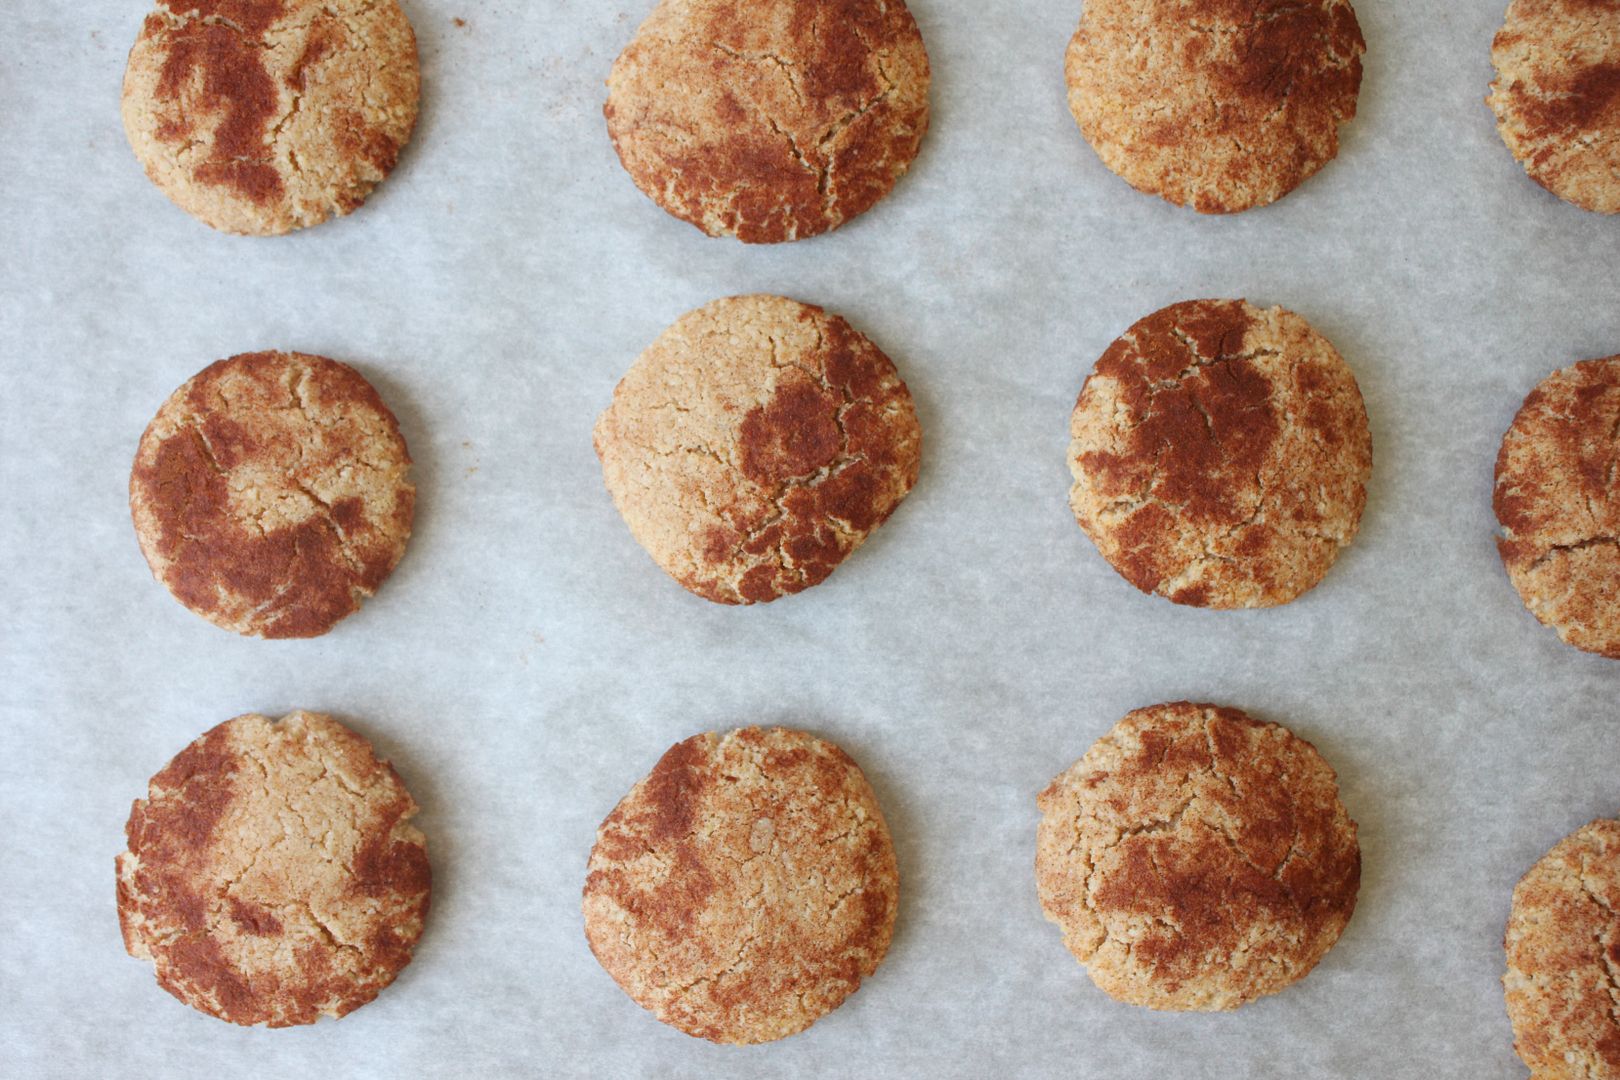
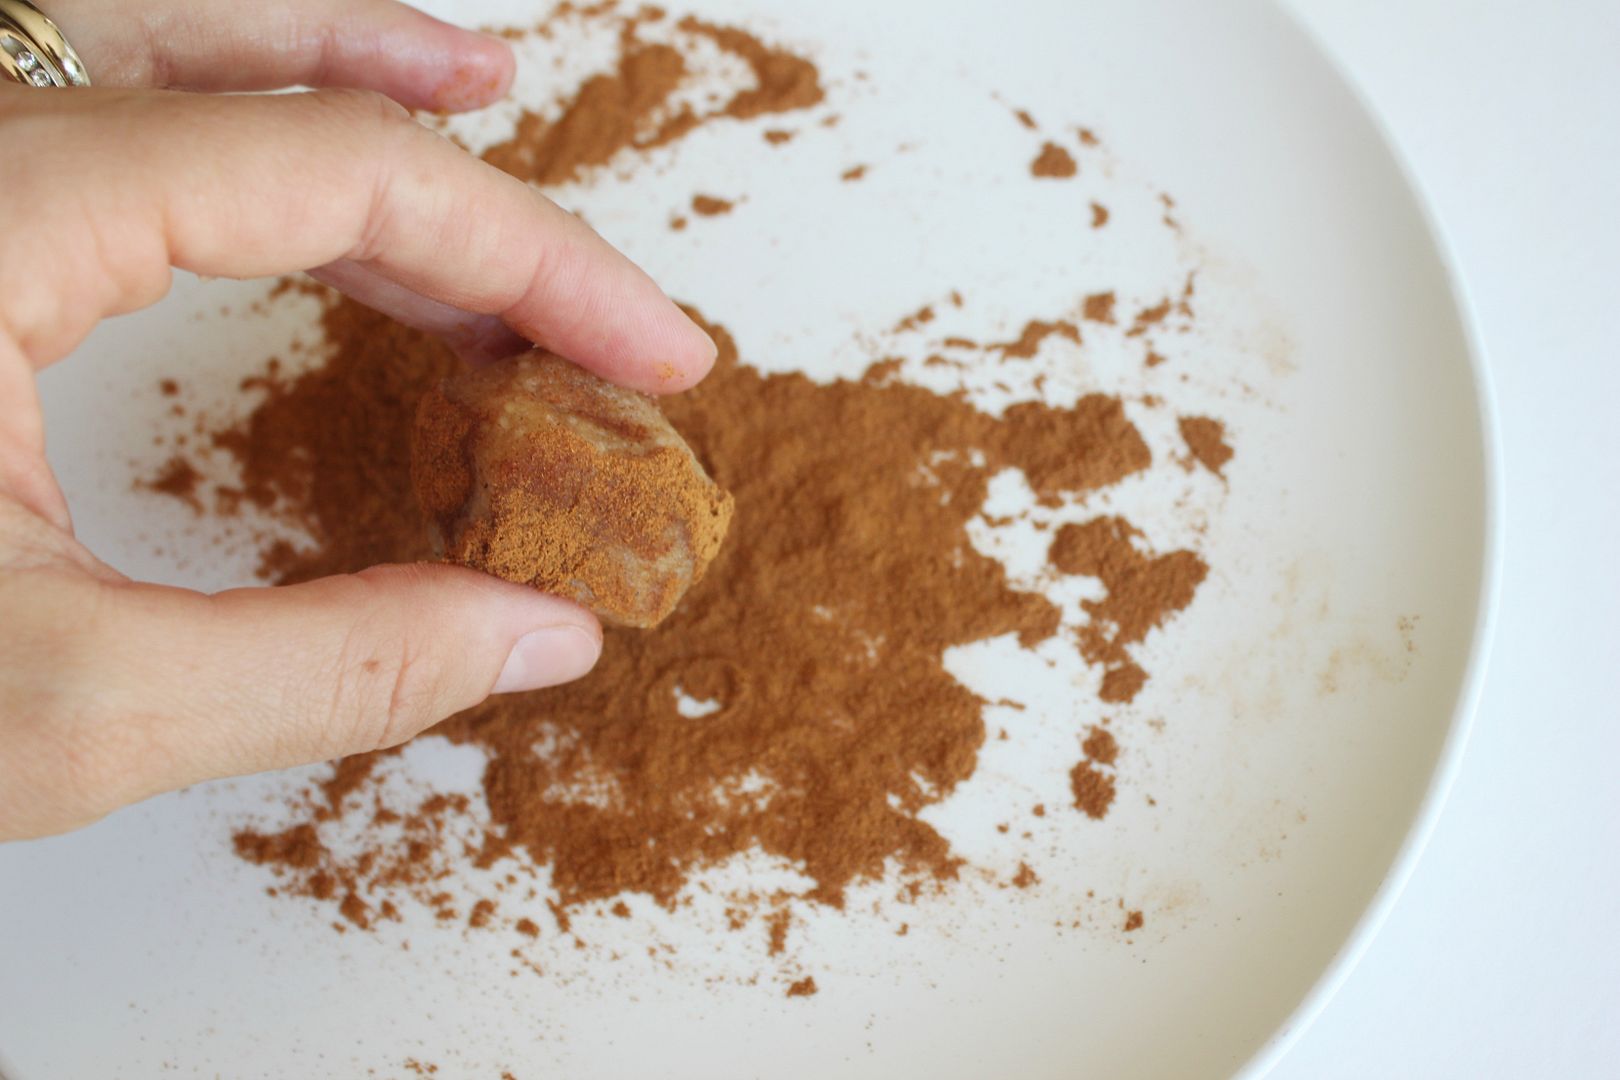
    4. Roll the cookies into small balls and coat in cinnamon.
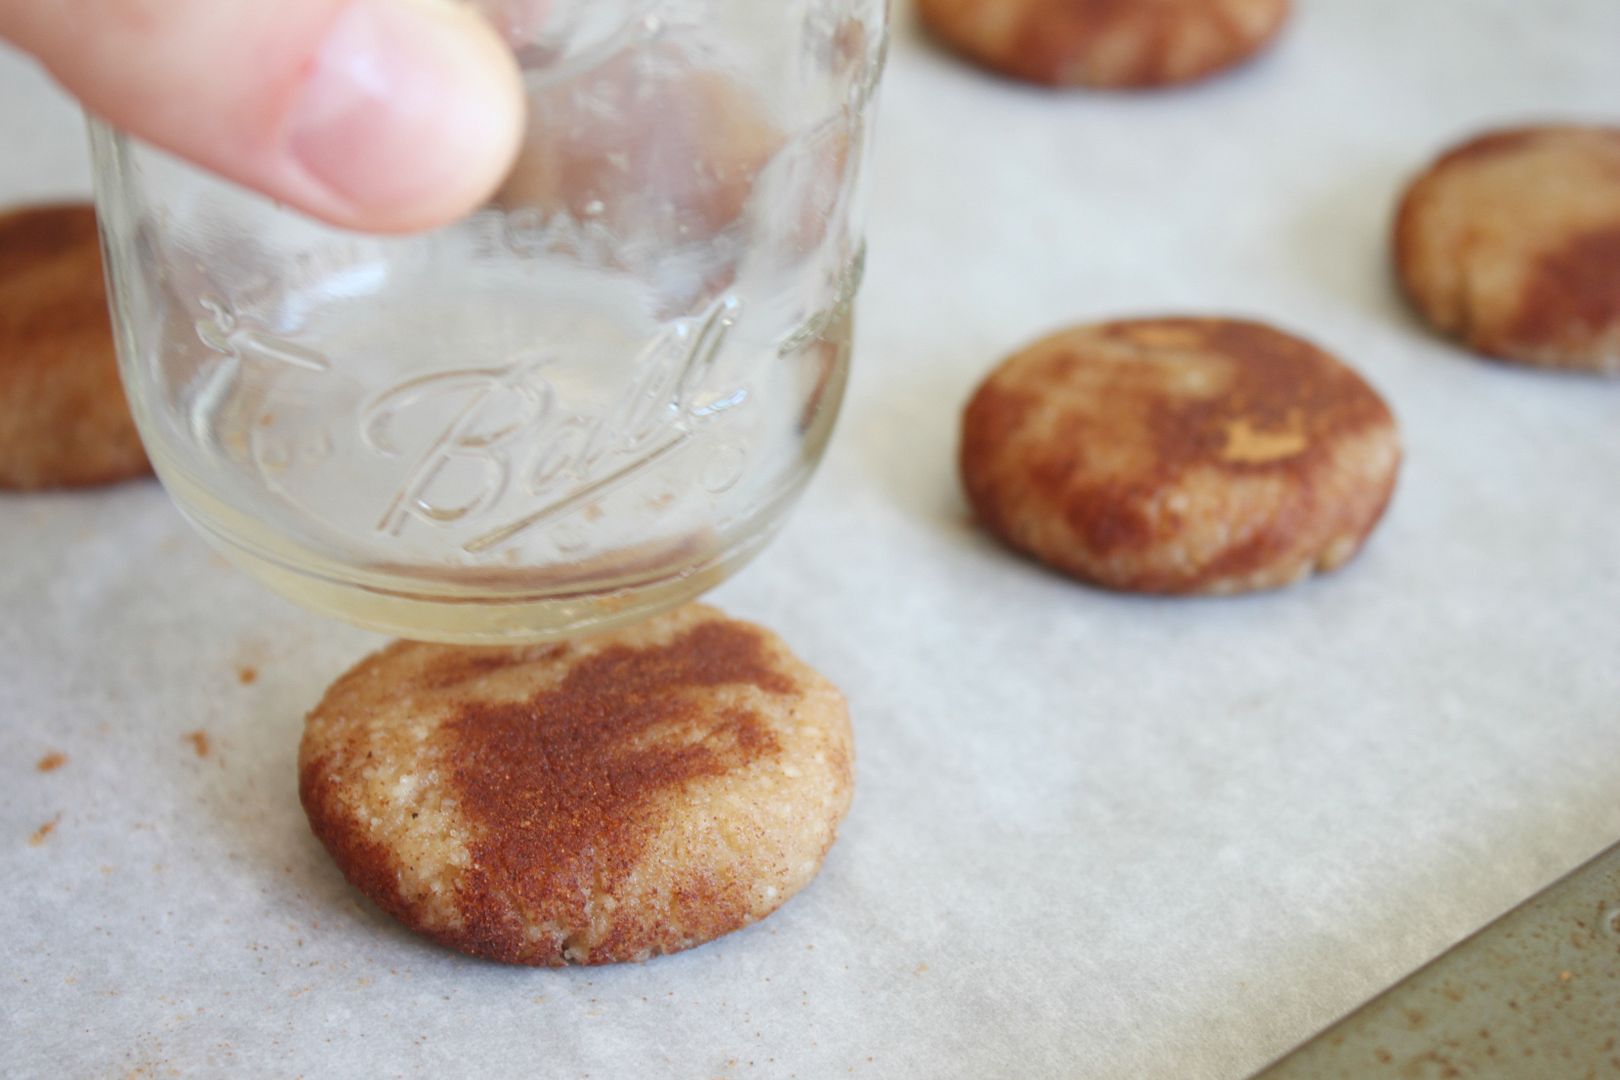
    5. Use the bottom of a cup or jar to flatten them out.
    6. Place cookies on a parchment lined cookie sheet and bake for 10 minutes.
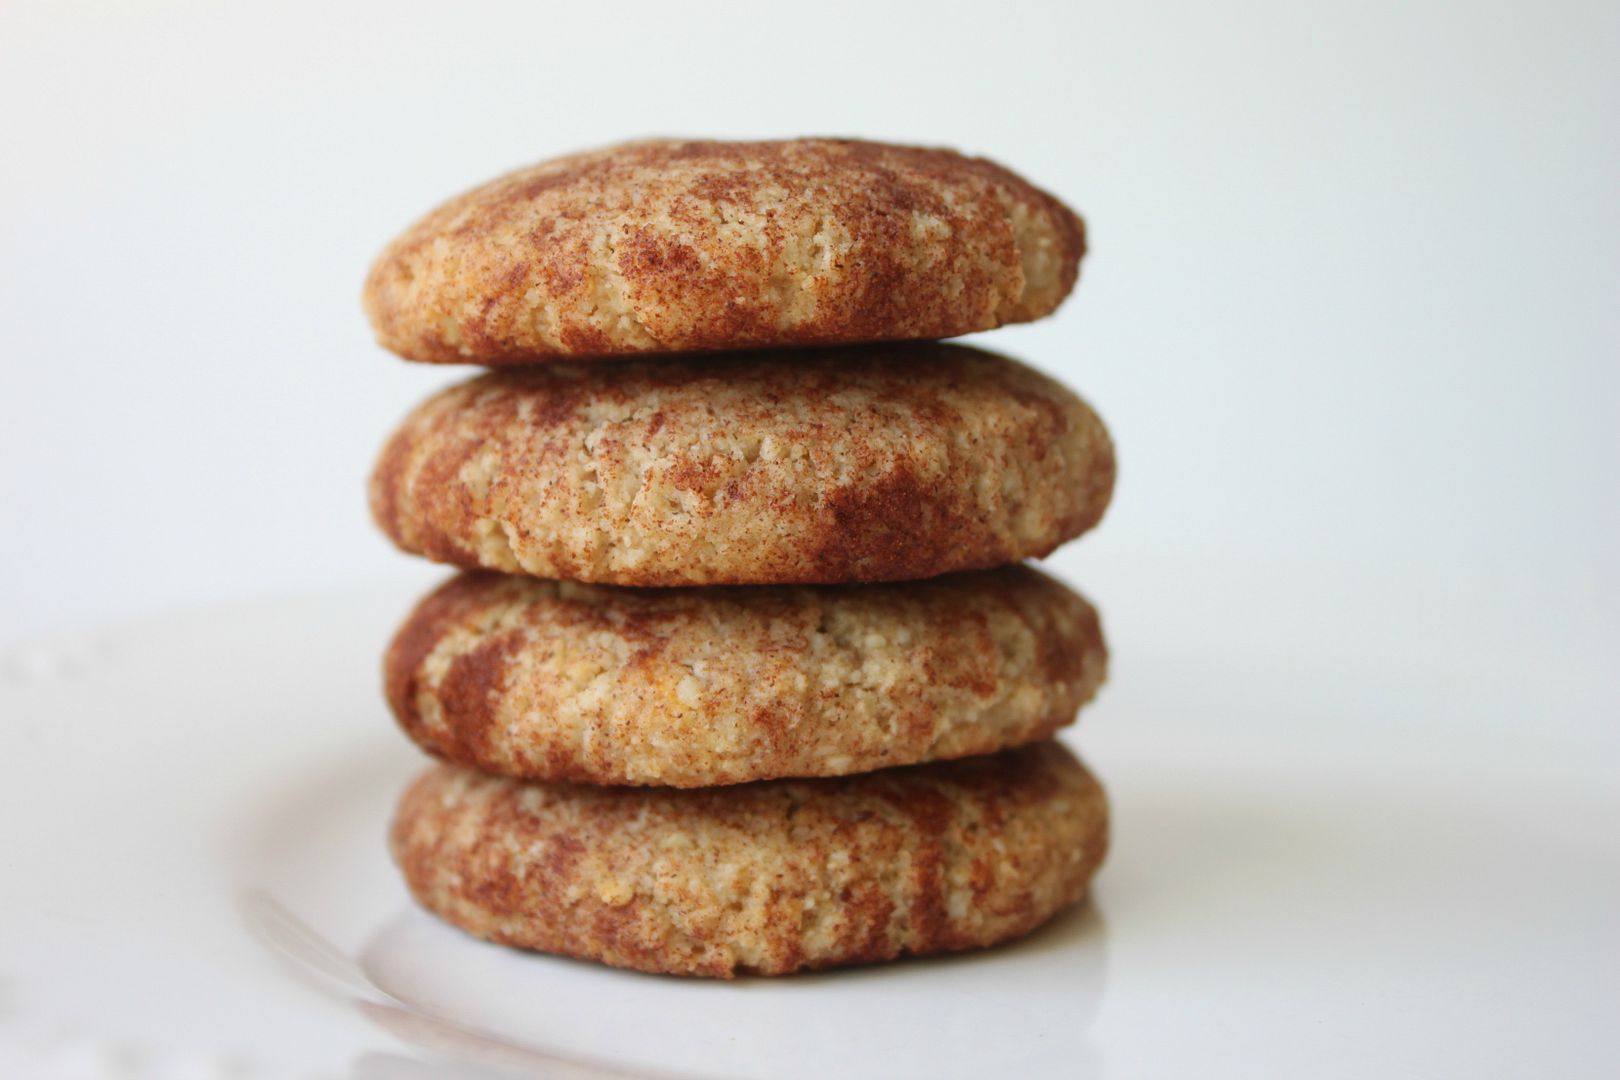
    The end result is a soft almost dough like cookie that has just the right amount of sweetness and spice. My husband, who is my true taste tester (and not always so nice with his "constructive criticism") said these were, "BOMB." He ended up eating almost the entire batch himself. I would say this recipe was a success.

    This recipe makes 14 cookies and each cookie has approx 5 grams of effective carbohydrate.

    On a side note: I just googled, "When does fall start?" and it is September 22 just FYI. Wooo just a month away!

    Low Carb Pizza

    Wednesday, February 15, 2012

    Just because I can not eat carbs does not mean that I will say bye bye to the foods that I love...pizza being one of them. I recently discovered a low carb pizza crust recipe and I could not be more excited about this, since eating a low carb diet is a must for me in order to keep my diabetes and blood sugars in the tightest possible control.

    The key ingredient to making this crust low carb is flax seed meal.

    What you will need:
    • 1 1/2 cup of flax seed meal
    • 2 tsp of baking powder
    • 1 tsp of oregano
    • 1 tsp of salt
    • 1/2 tsp of Stevia or natural sweetener
    • 3 eggs
    • 3 tbs of olive oil
    • 1/2 cup of water

    Directions:

    1. Preheat oven to 425 degrees.
    2. Mix dry ingredients together.
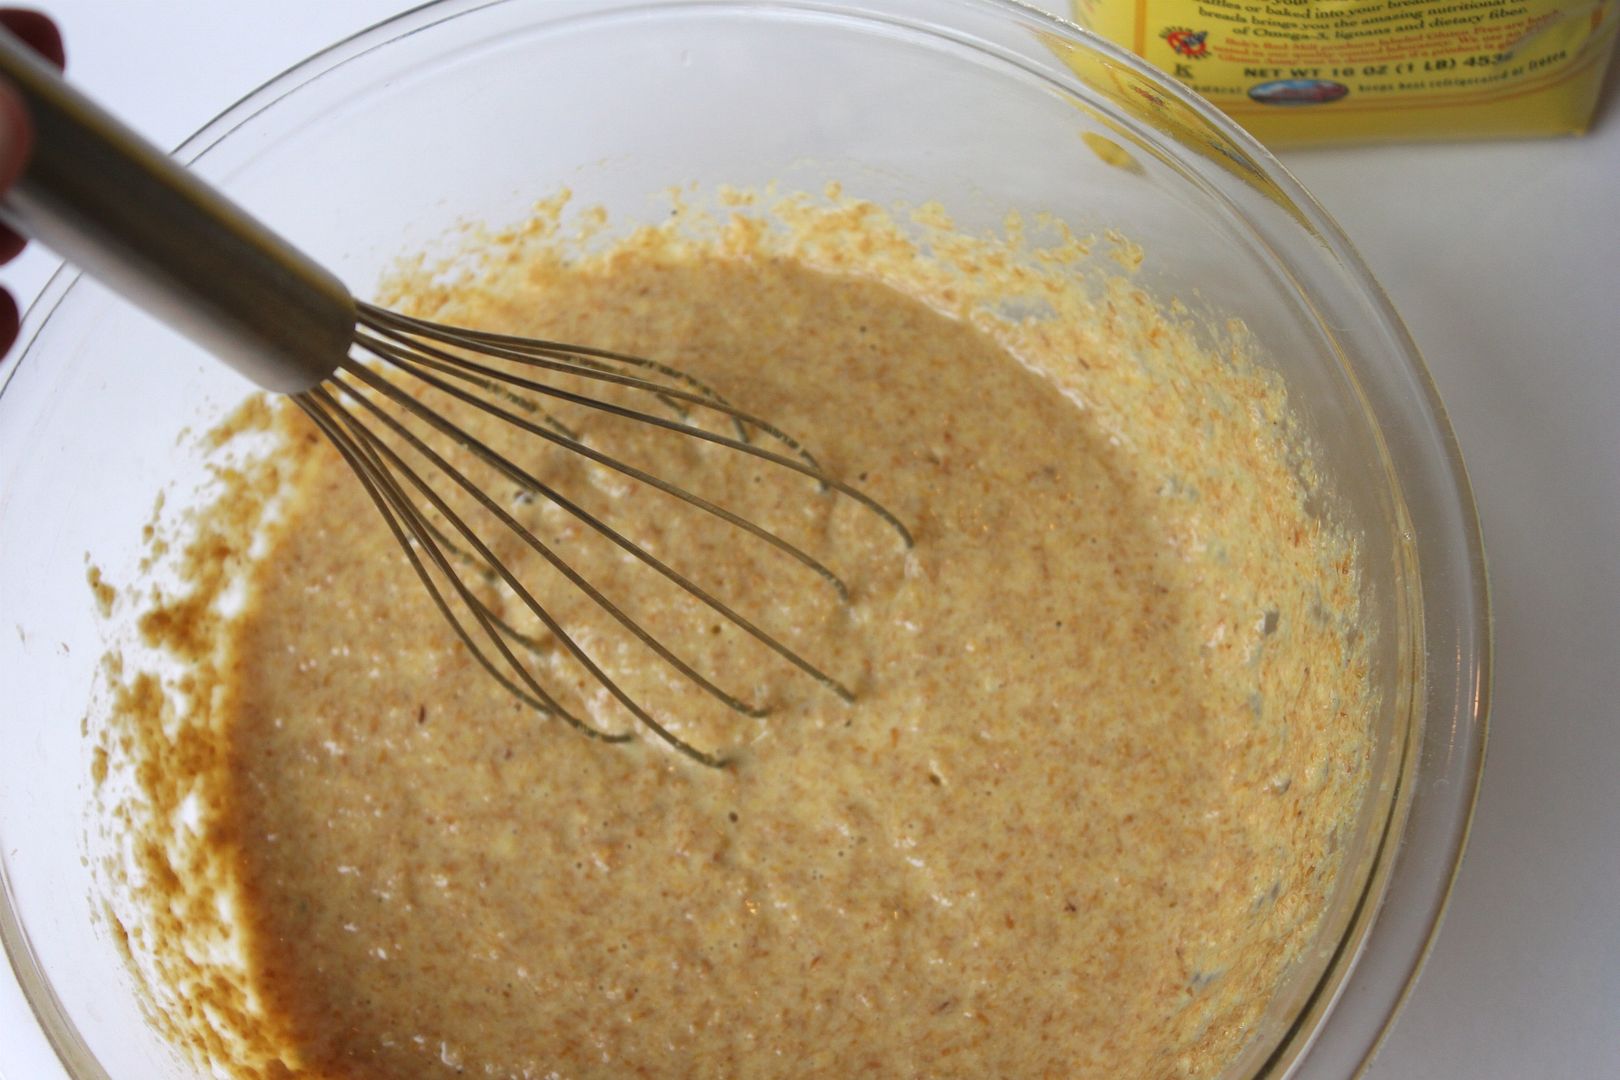
    3. Add wet ingredients and mix well.
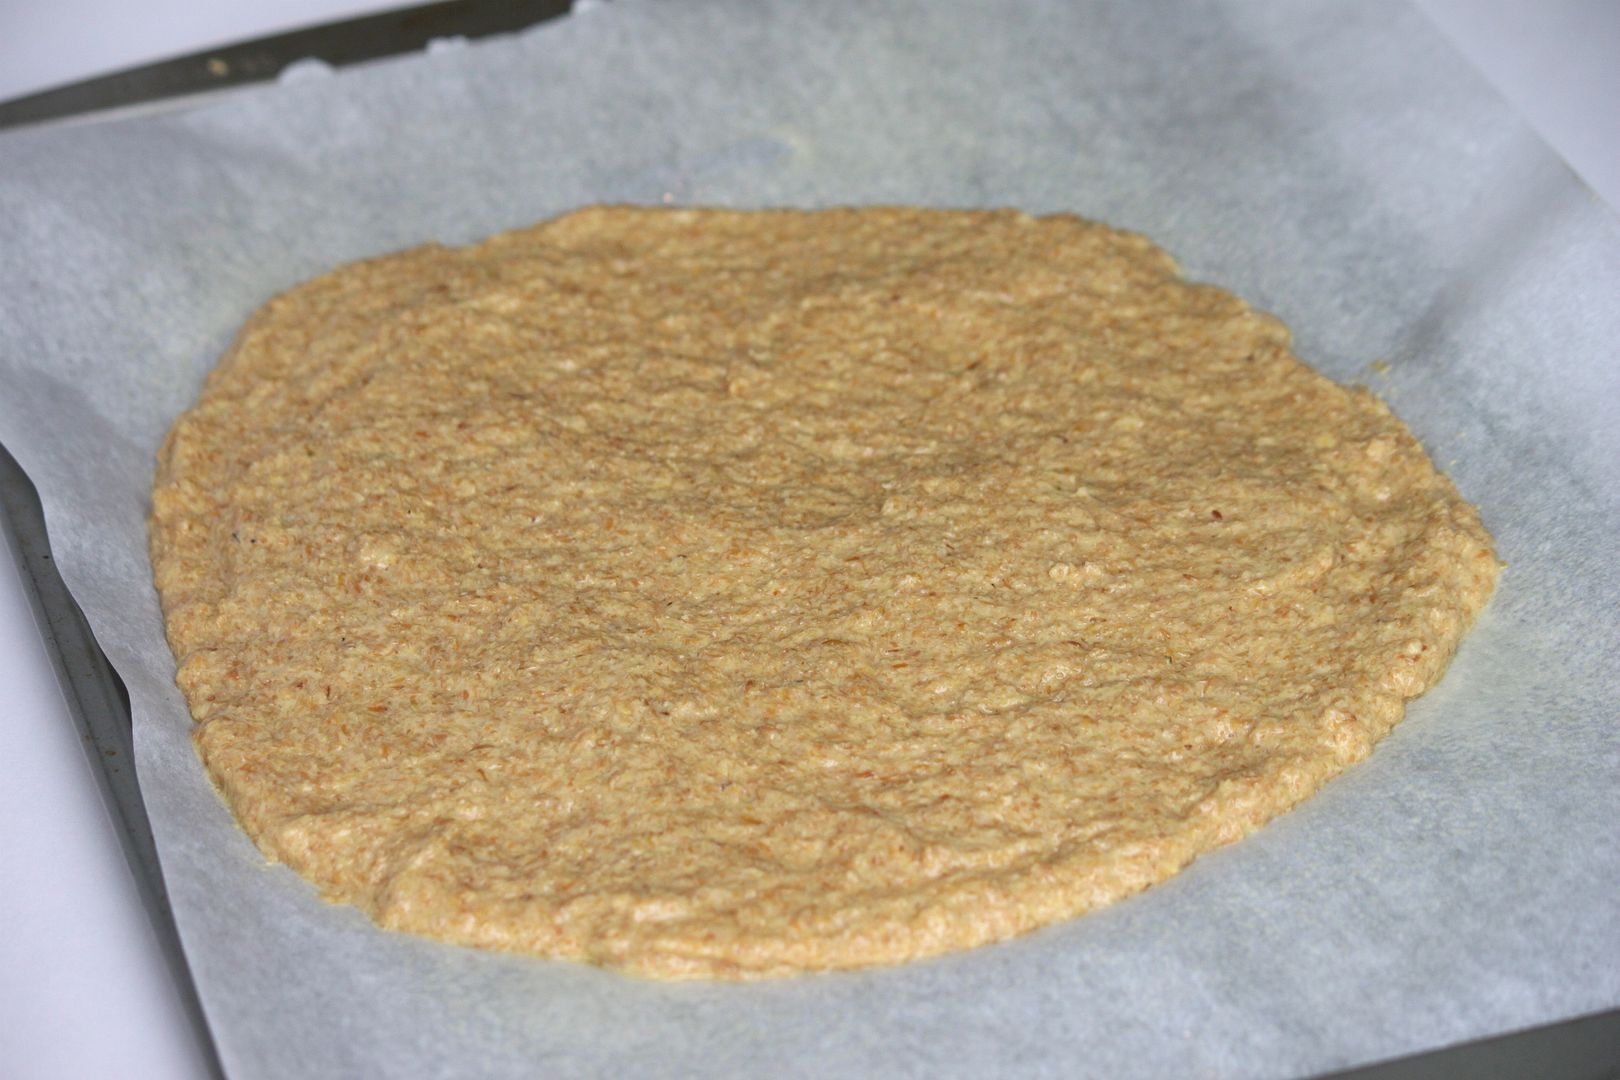
    4. Let the dough sit for about 5 minutes to thicken up.
    5. Spread dough on a large round pan. If you don't have this you can line a cookie sheet with greased parchment paper (this is what I did).
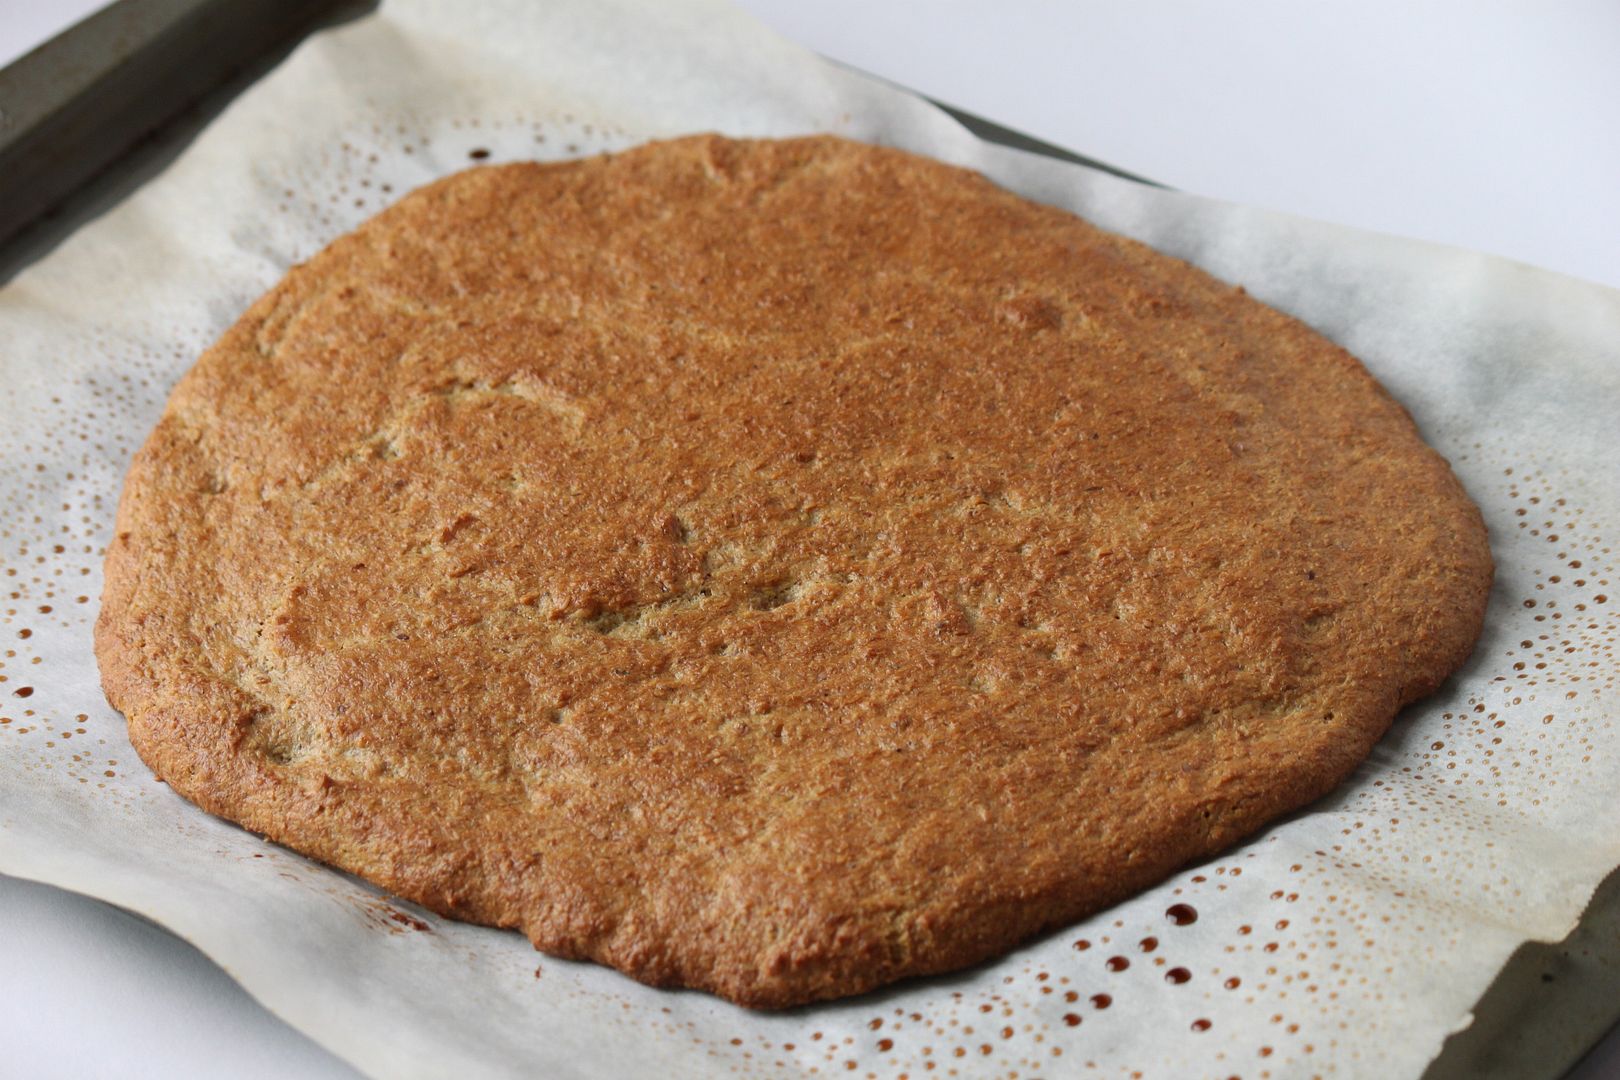
    6. Bake for 15-20 minutes or until cooked through. Check it at the 15 minute mark and take out if it looks done.
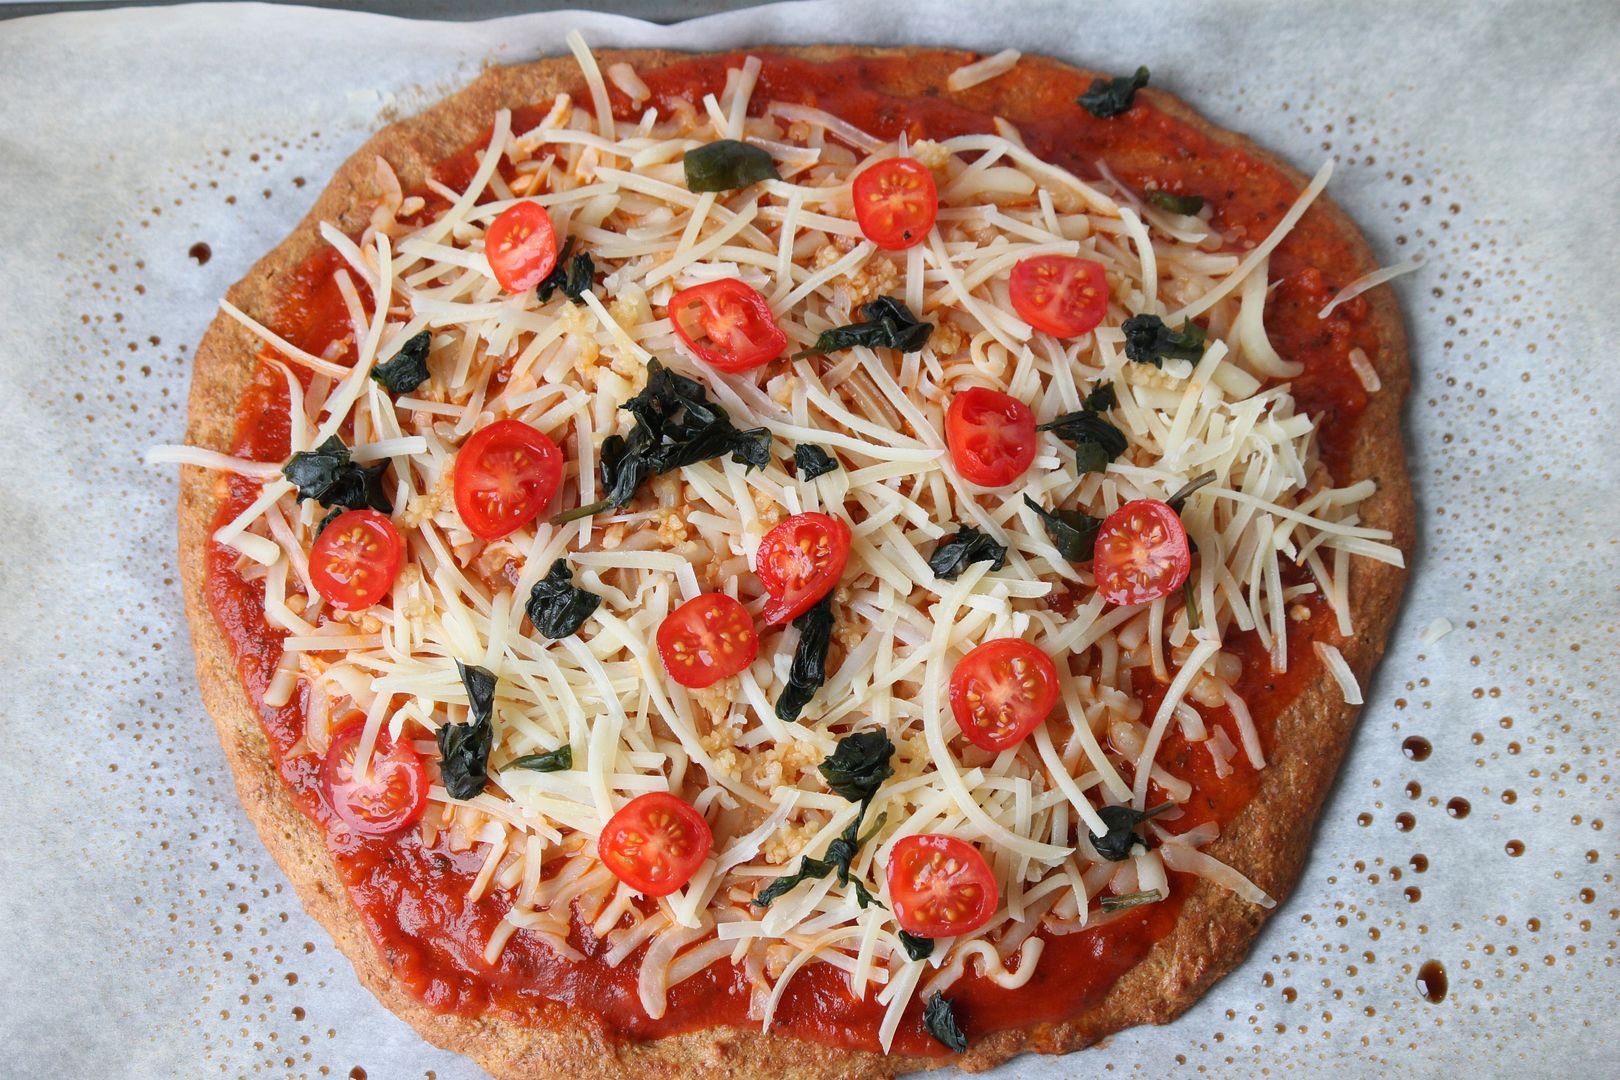
    7. Add toppings and place back into the oven to melt the cheese.

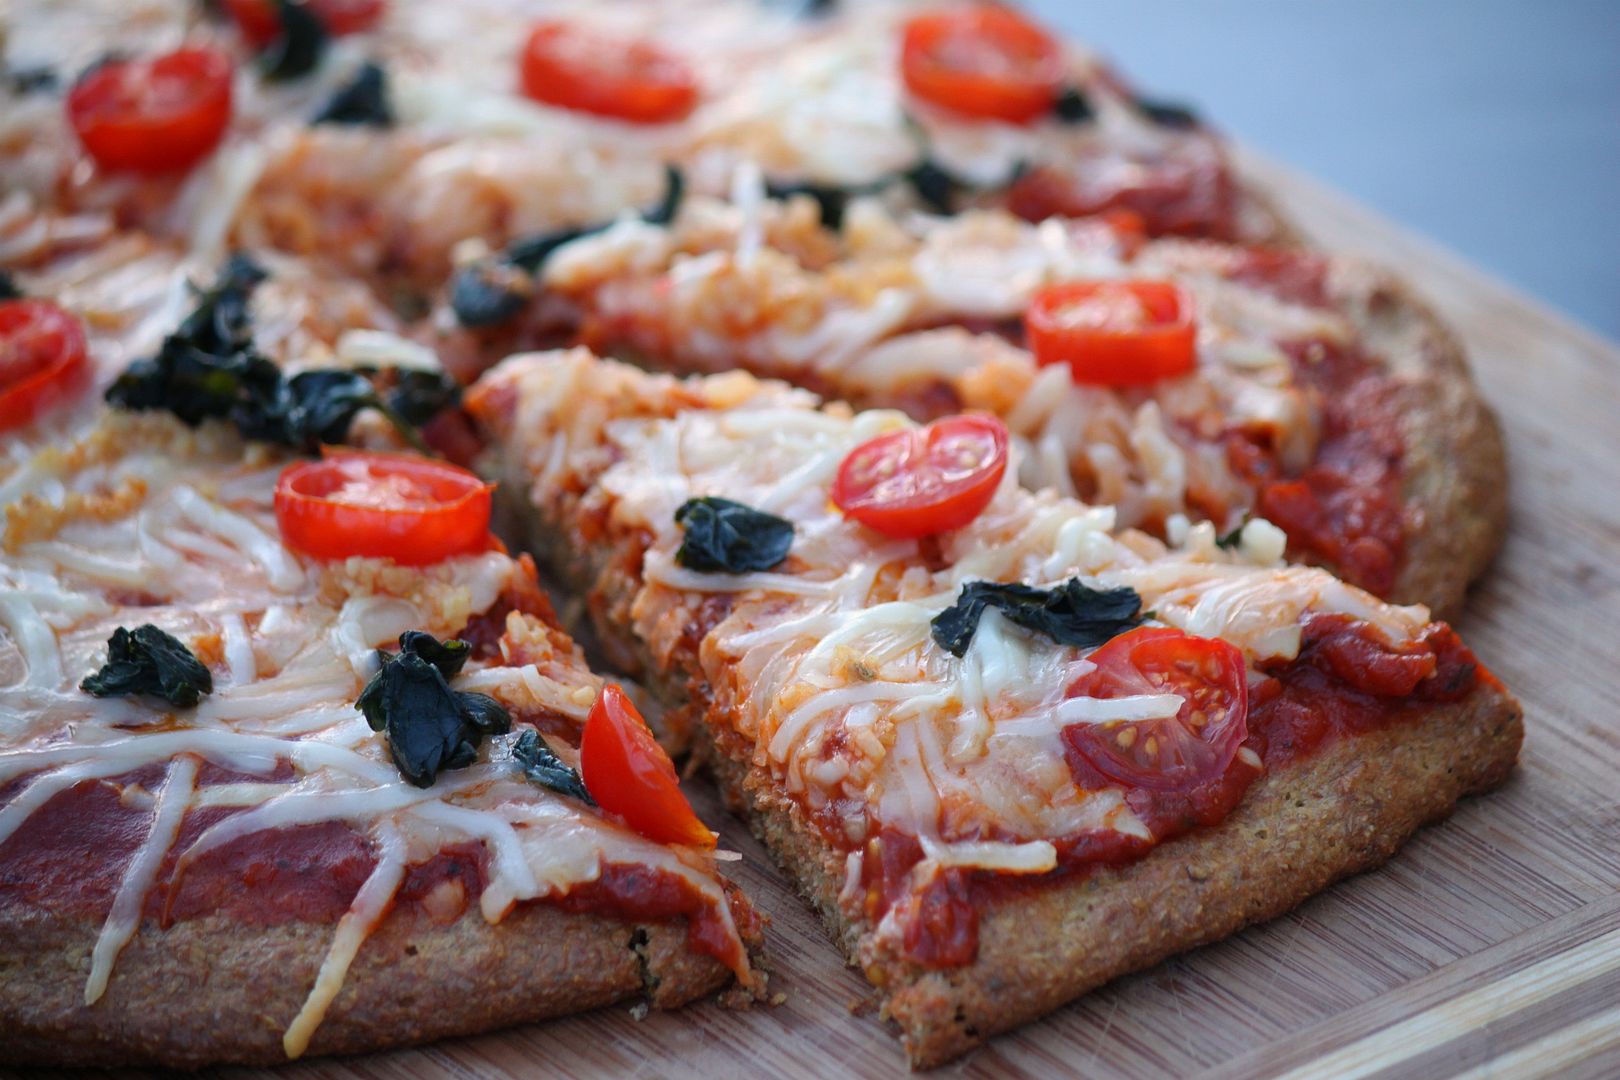
    For the toppings I used organic pizza sauce, Parmesan and mozzarella cheese, tomatoes, garlic and basil. After you add toppings place pizza back into oven to melt the cheese.

    I am officially in heaven. The whole pizza was devoured by my family before any one could blink.

    For you carb counters out there, this entire pizza has only 7 grams of carbohydrate! One slice of regular pizza has 25-30 grams. That is insane to me. I see no point in ever making pizza the old way again.

    Pin It

    Paleo Chocolate Chip Cookies (no flour, dairy or refined sugar)

    Wednesday, July 25, 2012

    If I had a dollar for every low carb, flourless, cookie recipe that I have attempted over the past four or so months I would probably have about $13. That's a lot of cookie recipes that have SUCKED. I promise I will never post recipes on here that suck.

    If I have my mind set on something I will not stop until I feel like I have accomplished it. This motto also applies to cookie making. I was about to just give up and move on until I came across this recipe. I decided to give it one last shot. SO glad I did.

    What you will need:
    • 1 cup of coconut flour (you can find this at almost any health food store)
    • 1/2 cup of coconut oil
    • 3 tbs of raw honey
    • 4 eggs
    • 1/2 tsp of vanilla extract
    • 1/8 tsp of sea salt
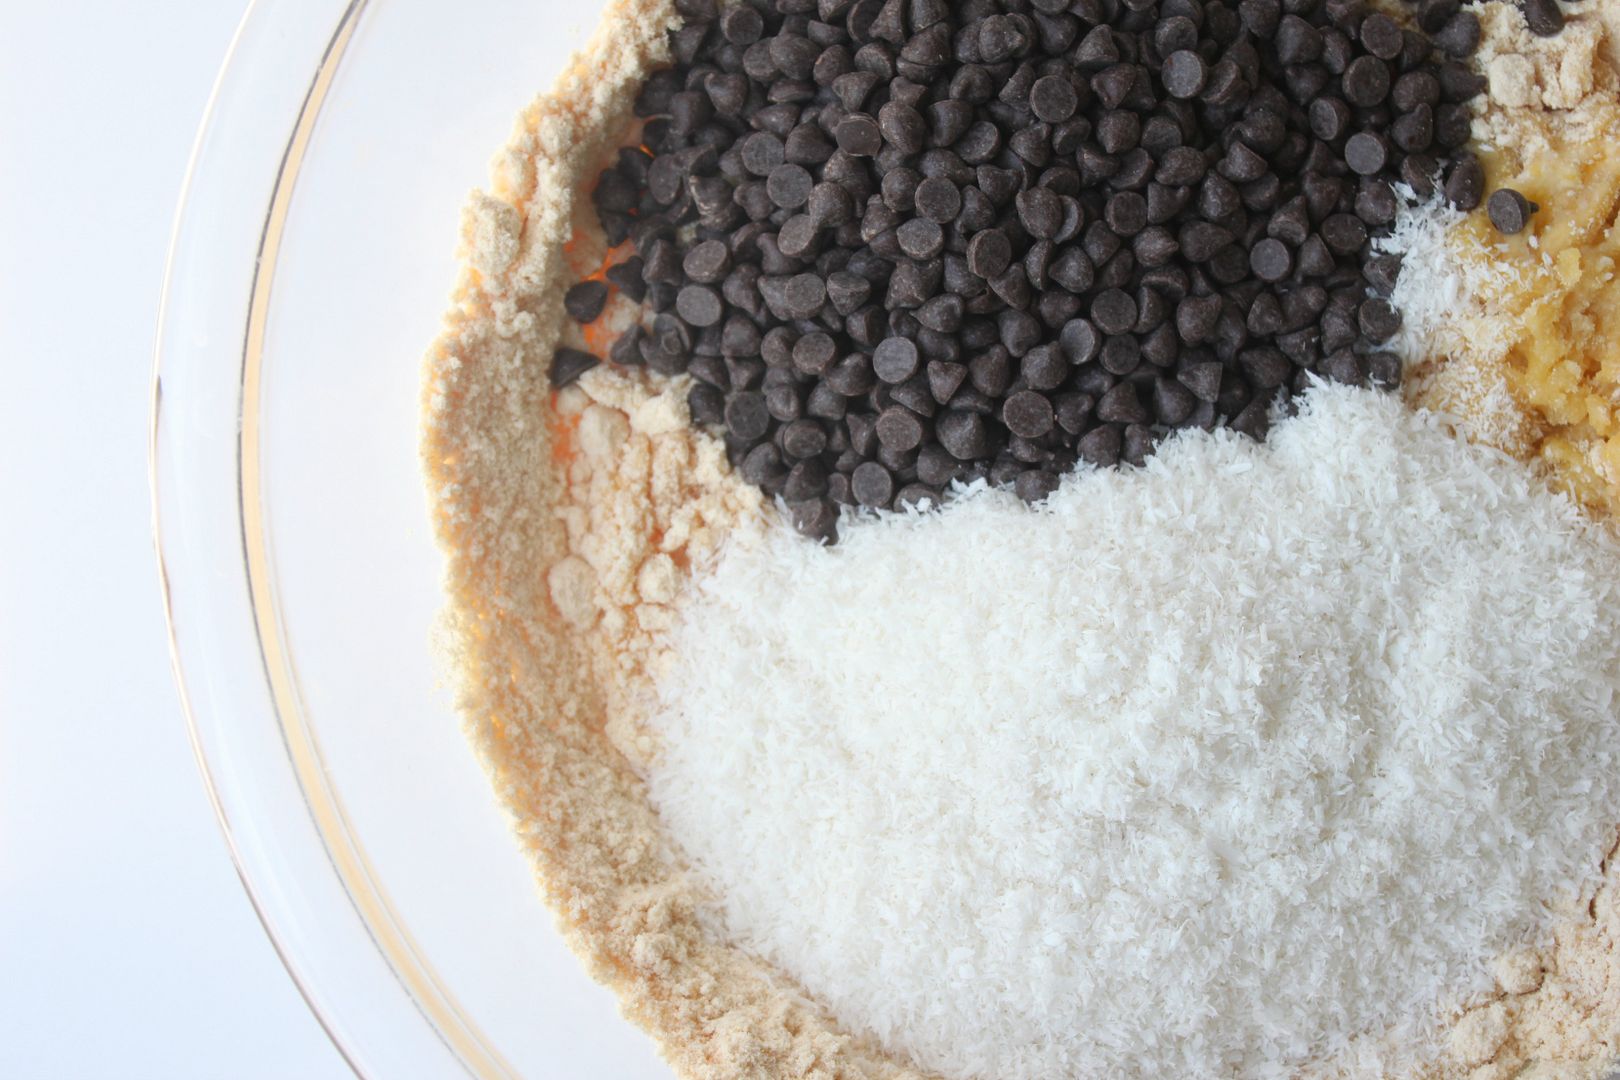
    • 1/2 cup of shredded unsweetened coconut
    • 3/4 cups of gluten free chocolate chips (if you can not find gluten free you can use regular)
    Directions:
    1. Preheat the oven to 375 degrees.
    2. Melt the honey and coconut oil together in the microwave for about 15 seconds.
    3. In a large bowl mix together the coconut oil, raw honey, eggs, vanilla extract and sea salt.
    4. Stir in the coconut flour, shredded coconut and chocolate chips.
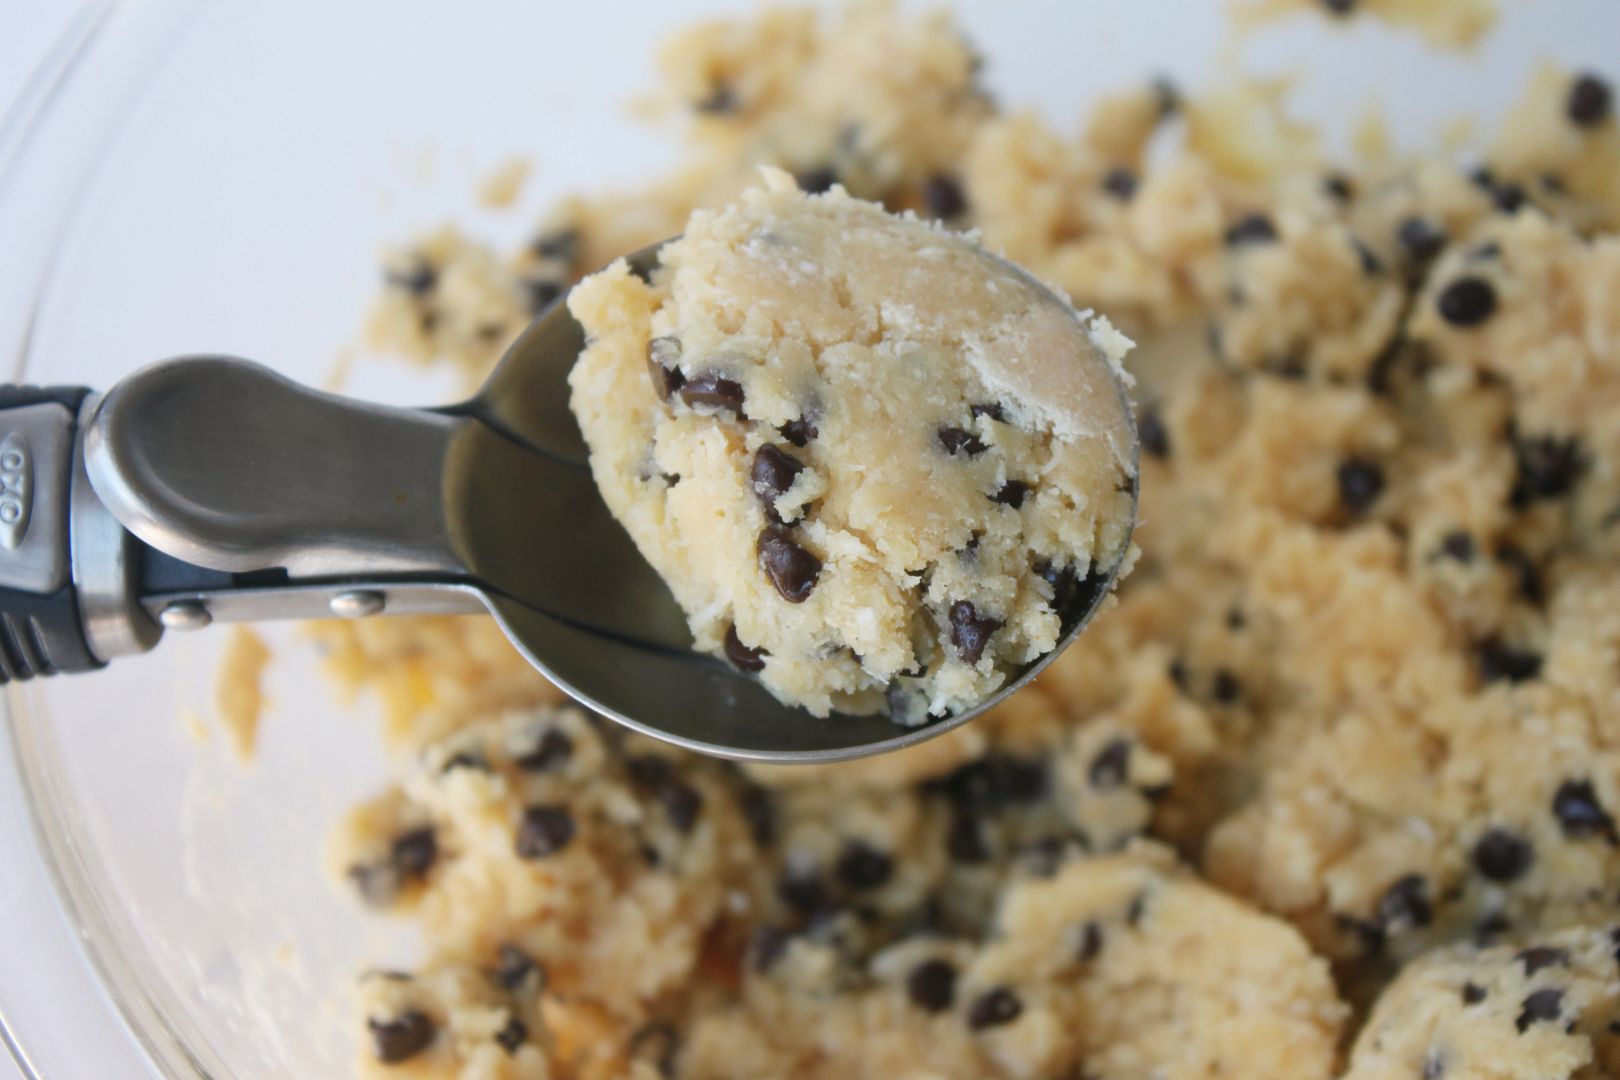
    5. Line a baking sheet with parchment paper and roll out little tbs size balls of cookie dough. Place on the baking sheet and gently press down so they look pretty once baked :)
    6. Bake for 12-15 or until golden brown.
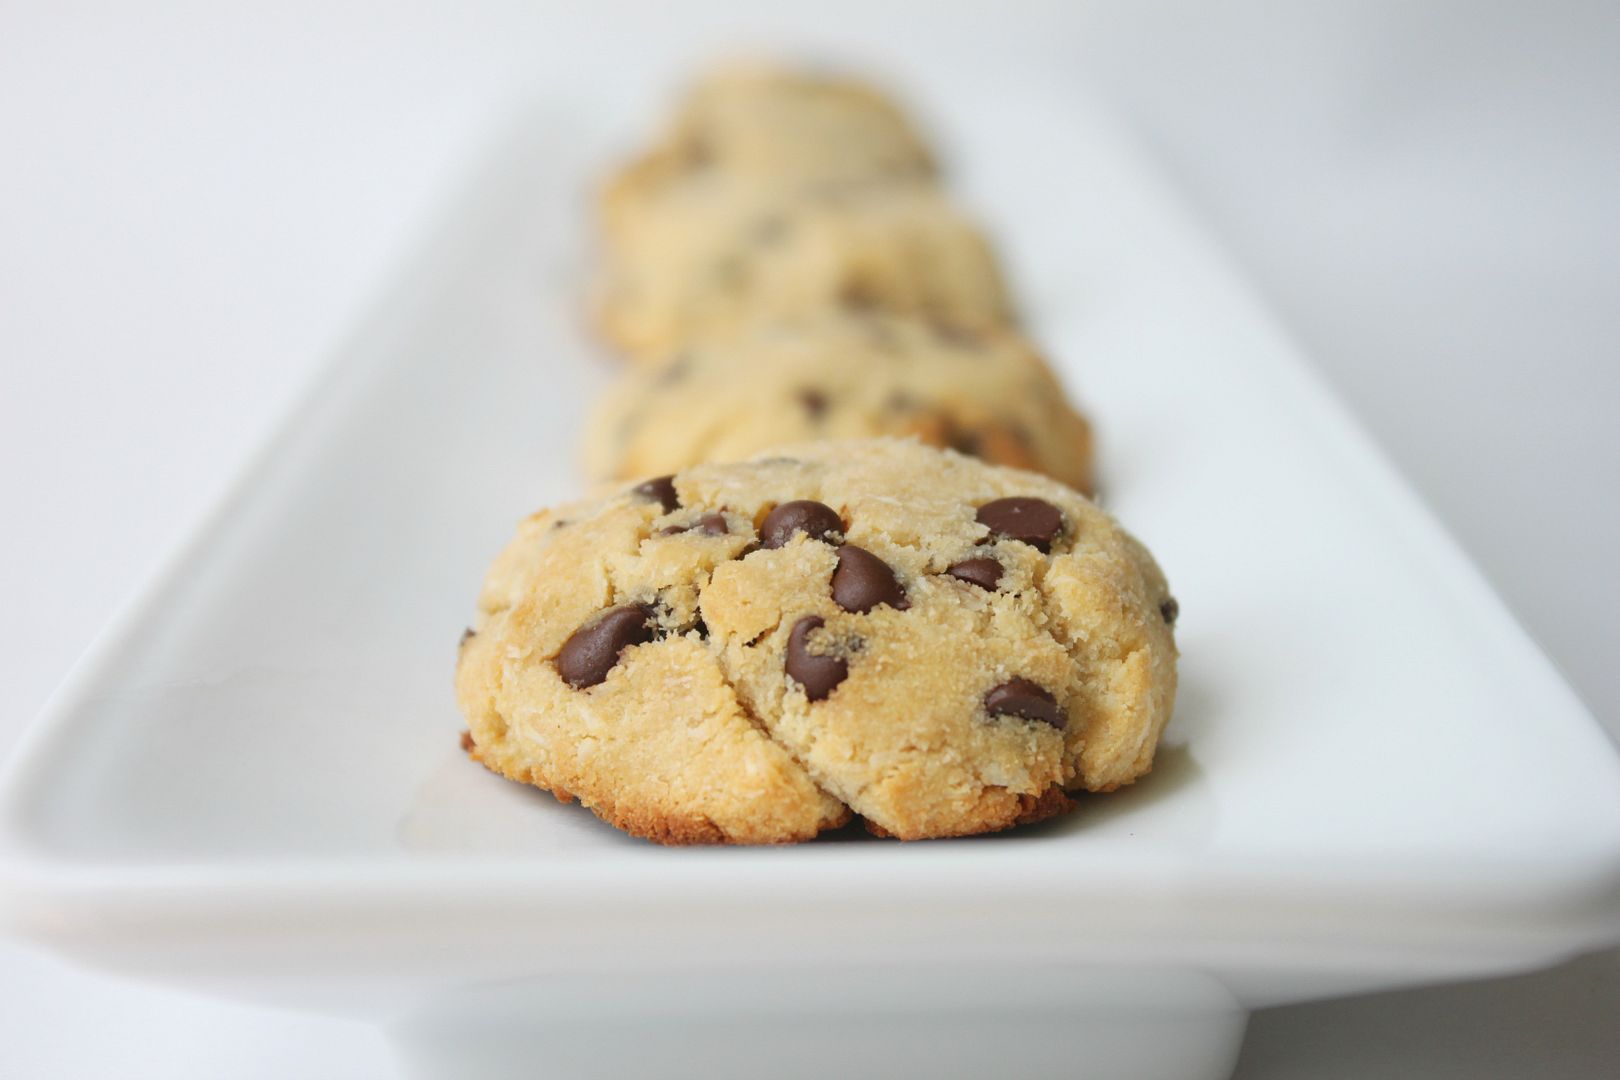
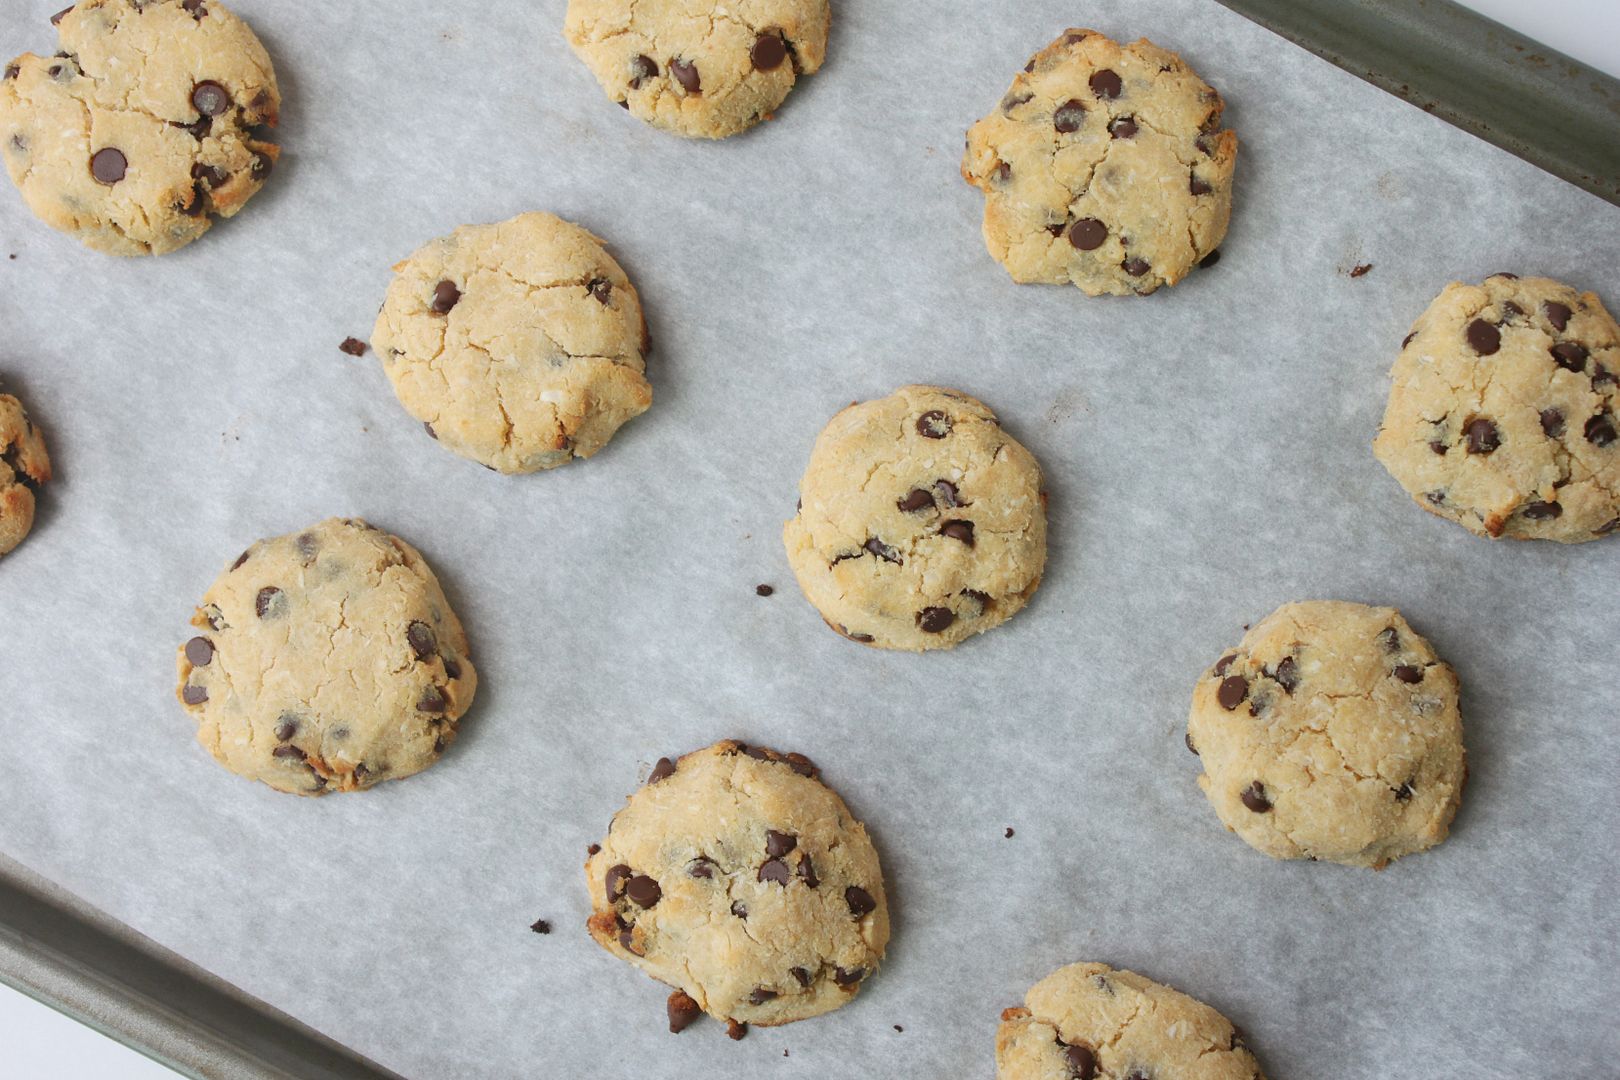
    These did not suck. They were amazing. They were soft, chewy and moist. You would never know that they are flourless, have no butter, dairy or refined sugar. If you are following the Paleo diet these are %100 Paleo friendly.

    Flourless Chocolate Chunk Pecan Cookies (Paleo)

    Monday, December 10, 2012


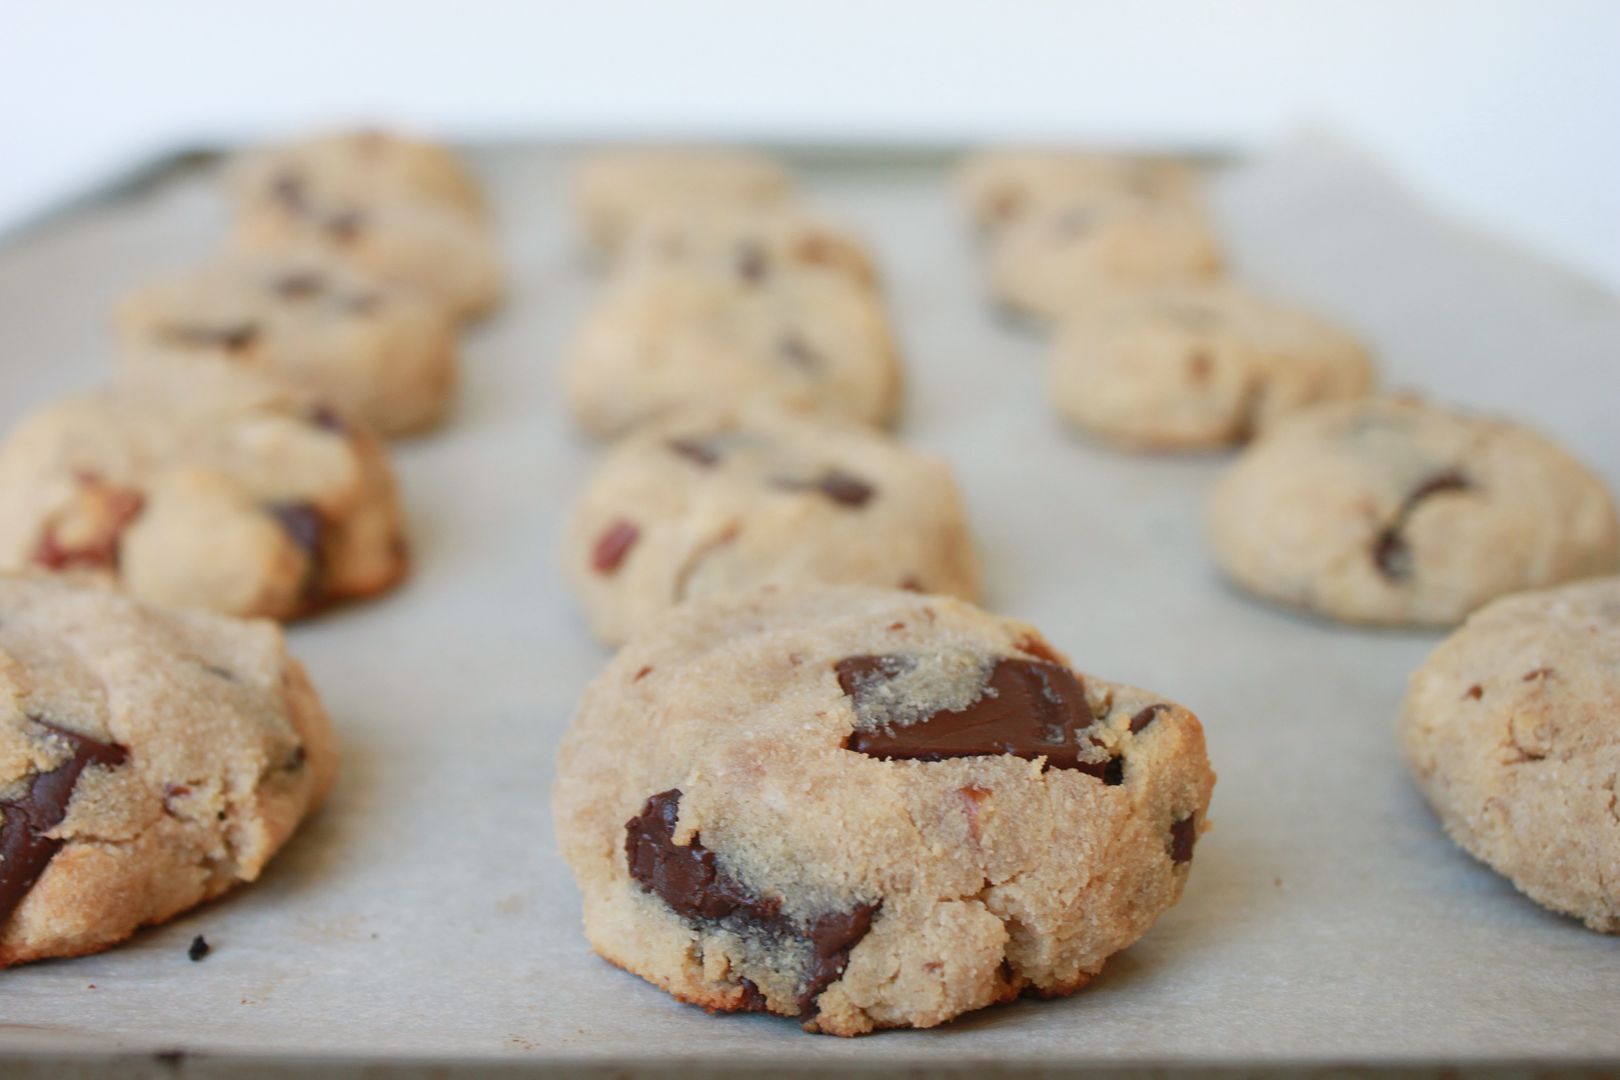
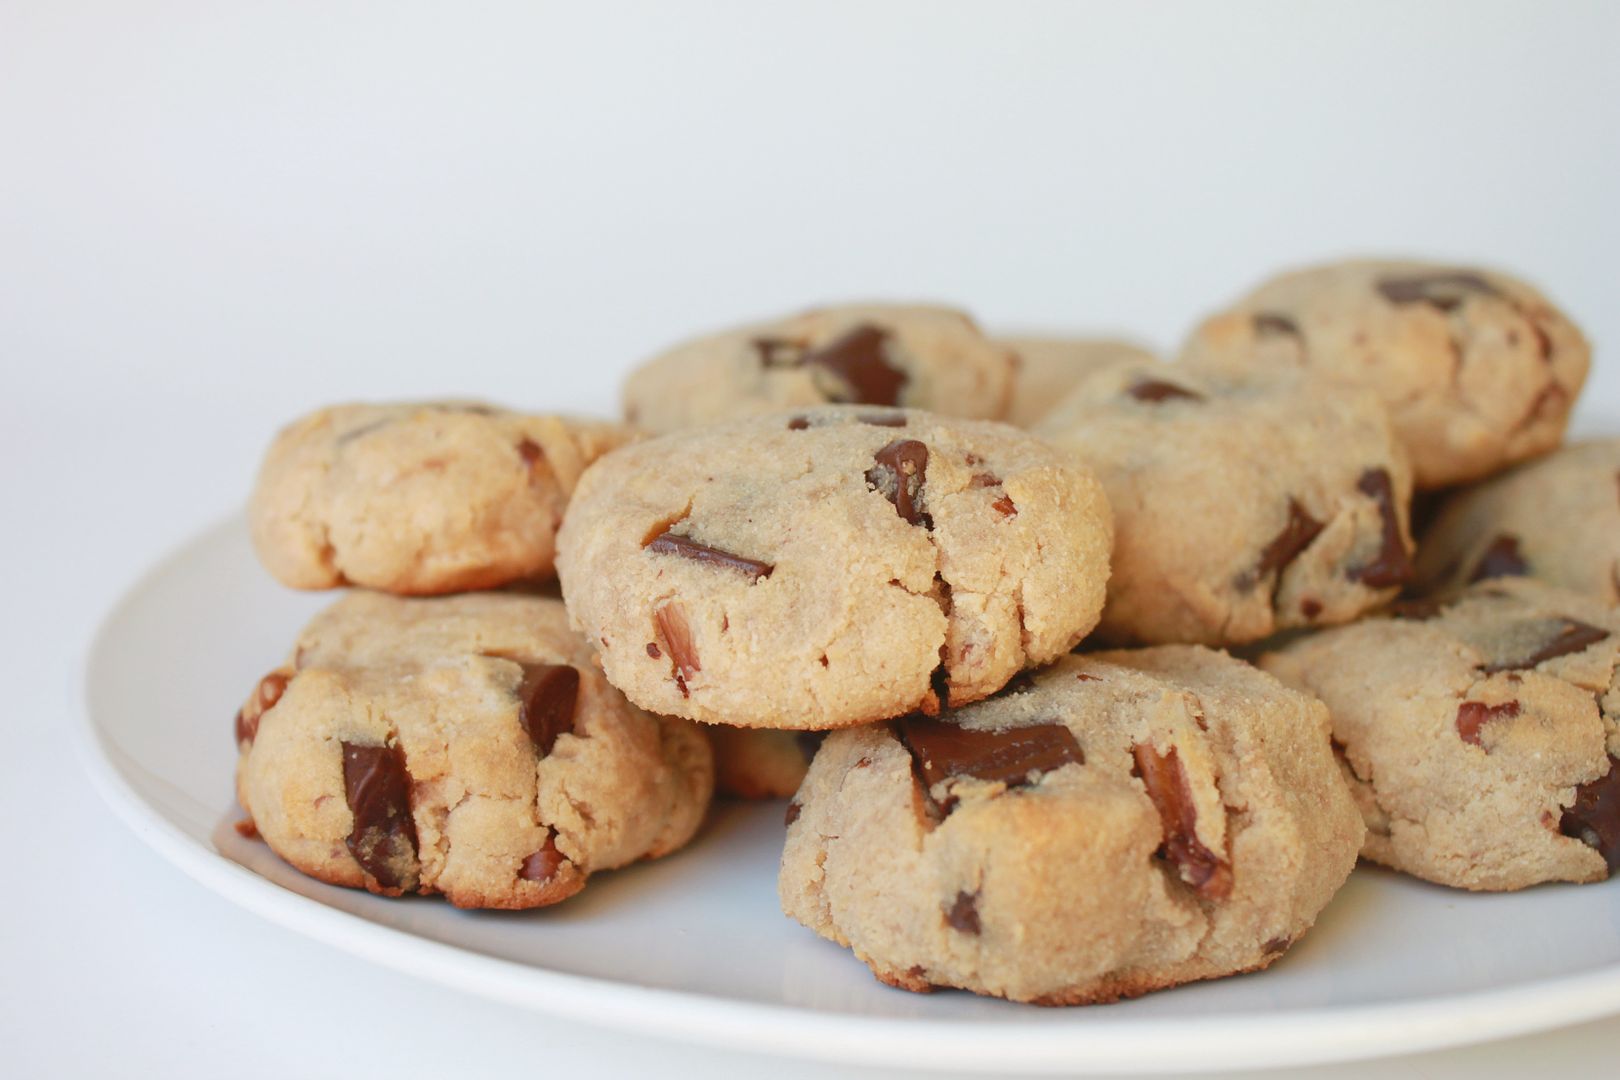
    Does anyone really read the whole intro and little story (like the one I am writing at this exact moment) when looking at a flourless chocolate chunk pecan cookie recipe?  I mean lets be real...most people just look at the pictures, decide if they look good enough to make and then get a warm fuzzy feeling inside once they decide to make them for themselves.  Well that's what I do at least when I see a recipe that makes me feel all warm and fuzzy.  Recipes like this do not need a whole lotta talkin.

    This recipe is based off this cookie recipe, but I made some minor changes based off your feedback to make them more moist and just a little bit more awesome.

    What you will need:
    • 1 cup of coconut flour (check your local health food store for this)
    • 1/2 cup of coconut oil
    • 1/2 cup of raw honey
    • 3 eggs
    • 2 tbs of almond milk
    • 1 tsp of vanilla extract
    • 1/8 teaspoon of sea salt
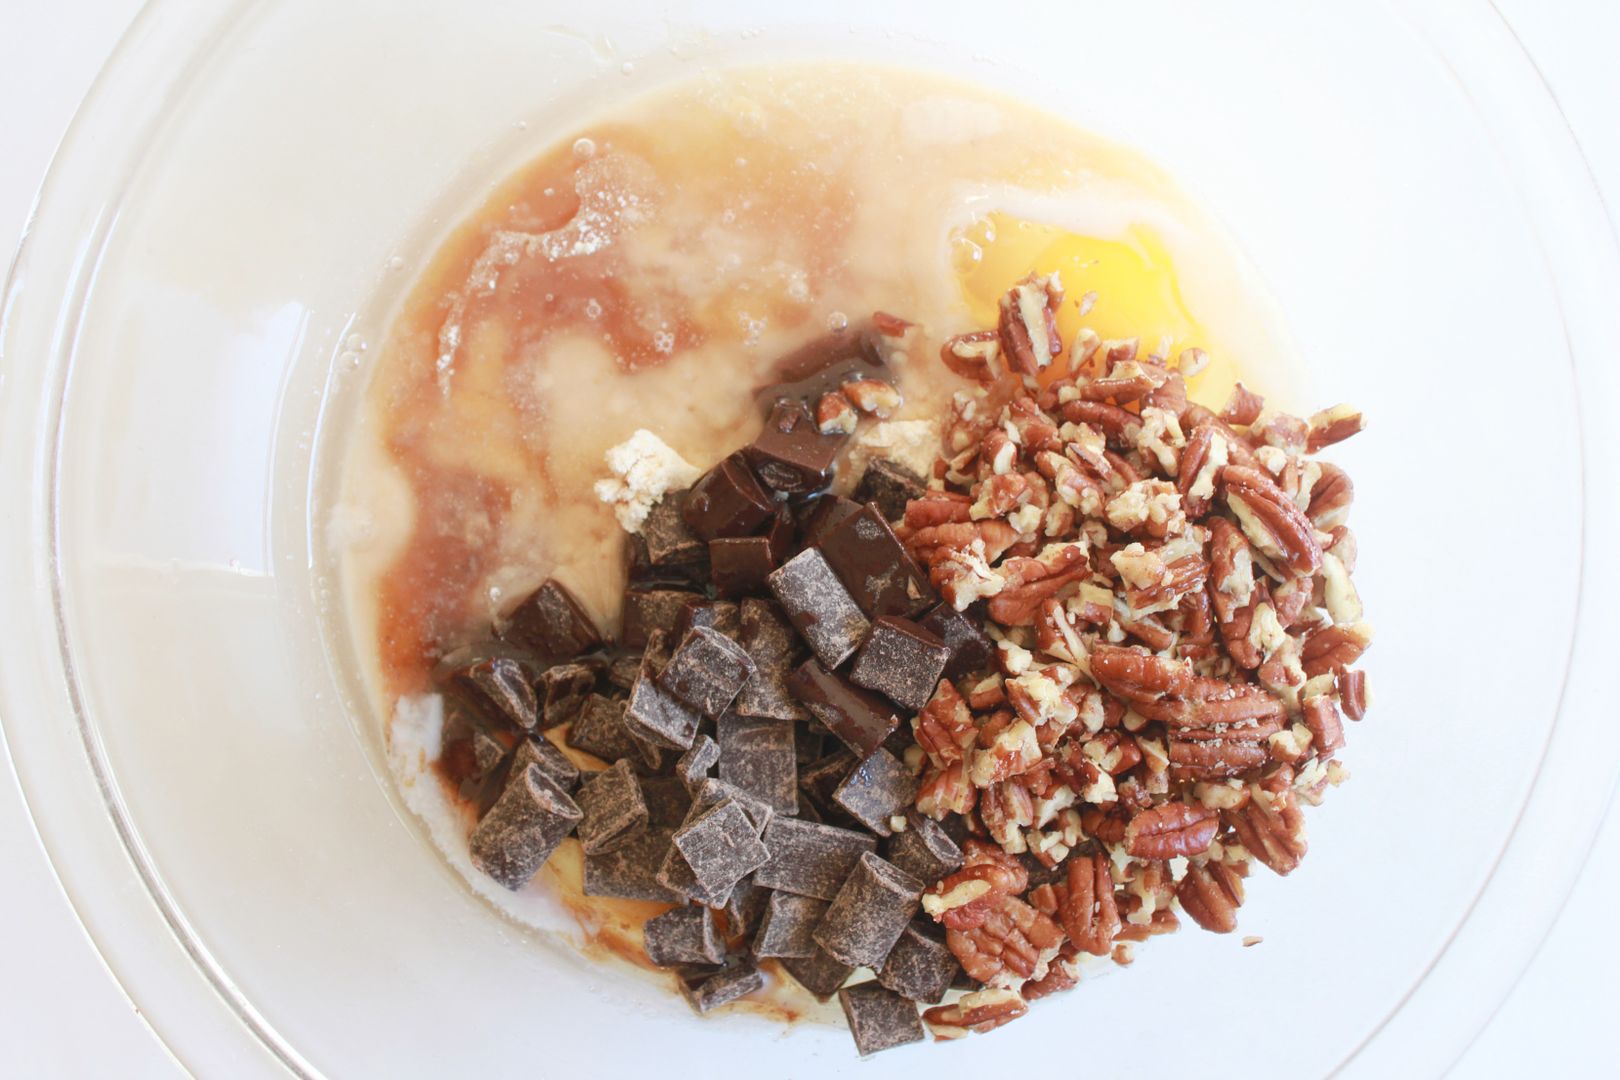
    • 3/4 cup of Enjoy Life semi-sweet mega chunks chocolate  (If you can not find these you can use gluten free chocolate chips)
    • 1/2 cup of chopped pecans
    Directions:
    1. Preheat oven to 350 degrees
    2. Melt the honey and coconut oil together in the microwave for about 15 seconds.  
    3. In a large bowl mix together the coconut oil, raw honey, eggs, vanilla extract, almond milk and sea salt.
    4. Stir in the coconut flour, chocolate chunks and chopped pecans.
    5. Line a baking sheet with parchment paper and roll out little tbs size balls of cookie dough. Place on the baking sheet and gently press down so they have a pretty cookie shape once baked :)
    6. Bake for 12-15 minutes or until golden brown. 
    7. Let cool for 10 minutes and then enjoy!
    I made these on Saturday and by Sunday every last cookies had vanished...

    This recipe makes 15 cookies. 

    Related Posts Plugin for WordPress, Blogger...