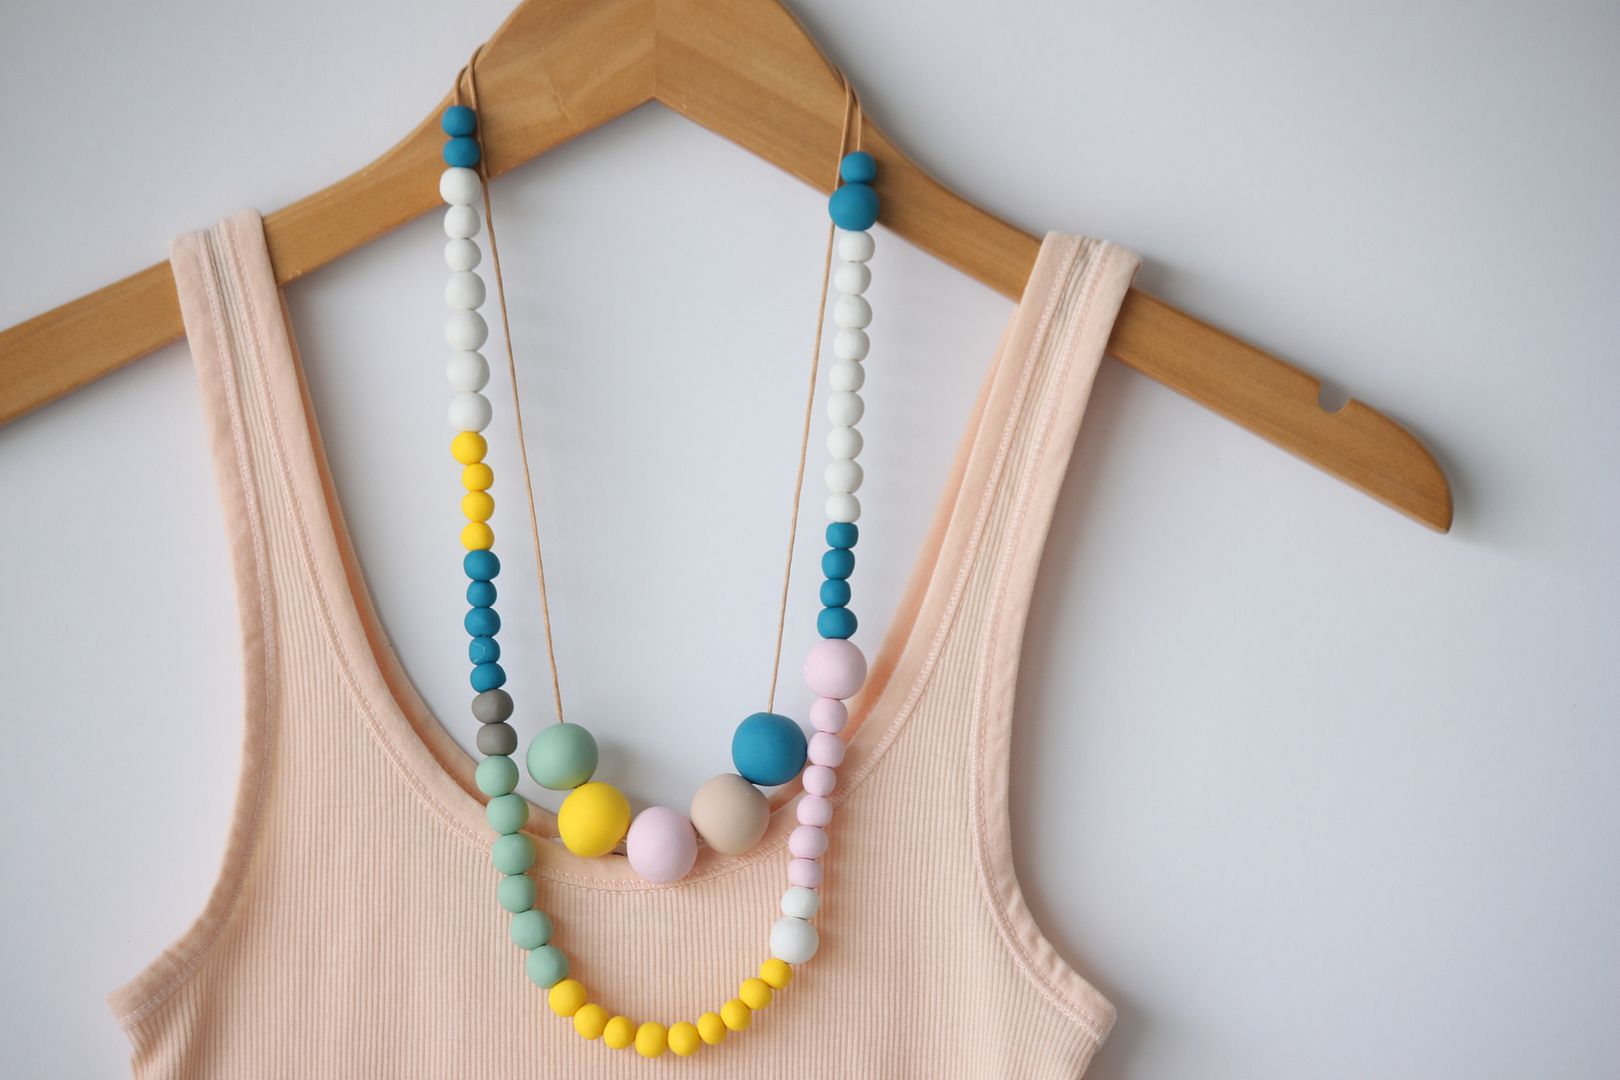
DIY Polymer Clay Bead Necklace

Wednesday, March 7, 2012

Once upon a time (8 or so months ago) I had this great idea that I was going to open up an Etsy shop...then I got pregnant and realized I had no time for something extra. I came to the conclusion I enjoy sharing and showing you how to make your own jewelry so much more than I would selling it. So here is to another fun and super easy polymer clay diy!

This is s great project to start with if you are a beginner or polymer clay seems intimidating to you. You can not mess this one up.
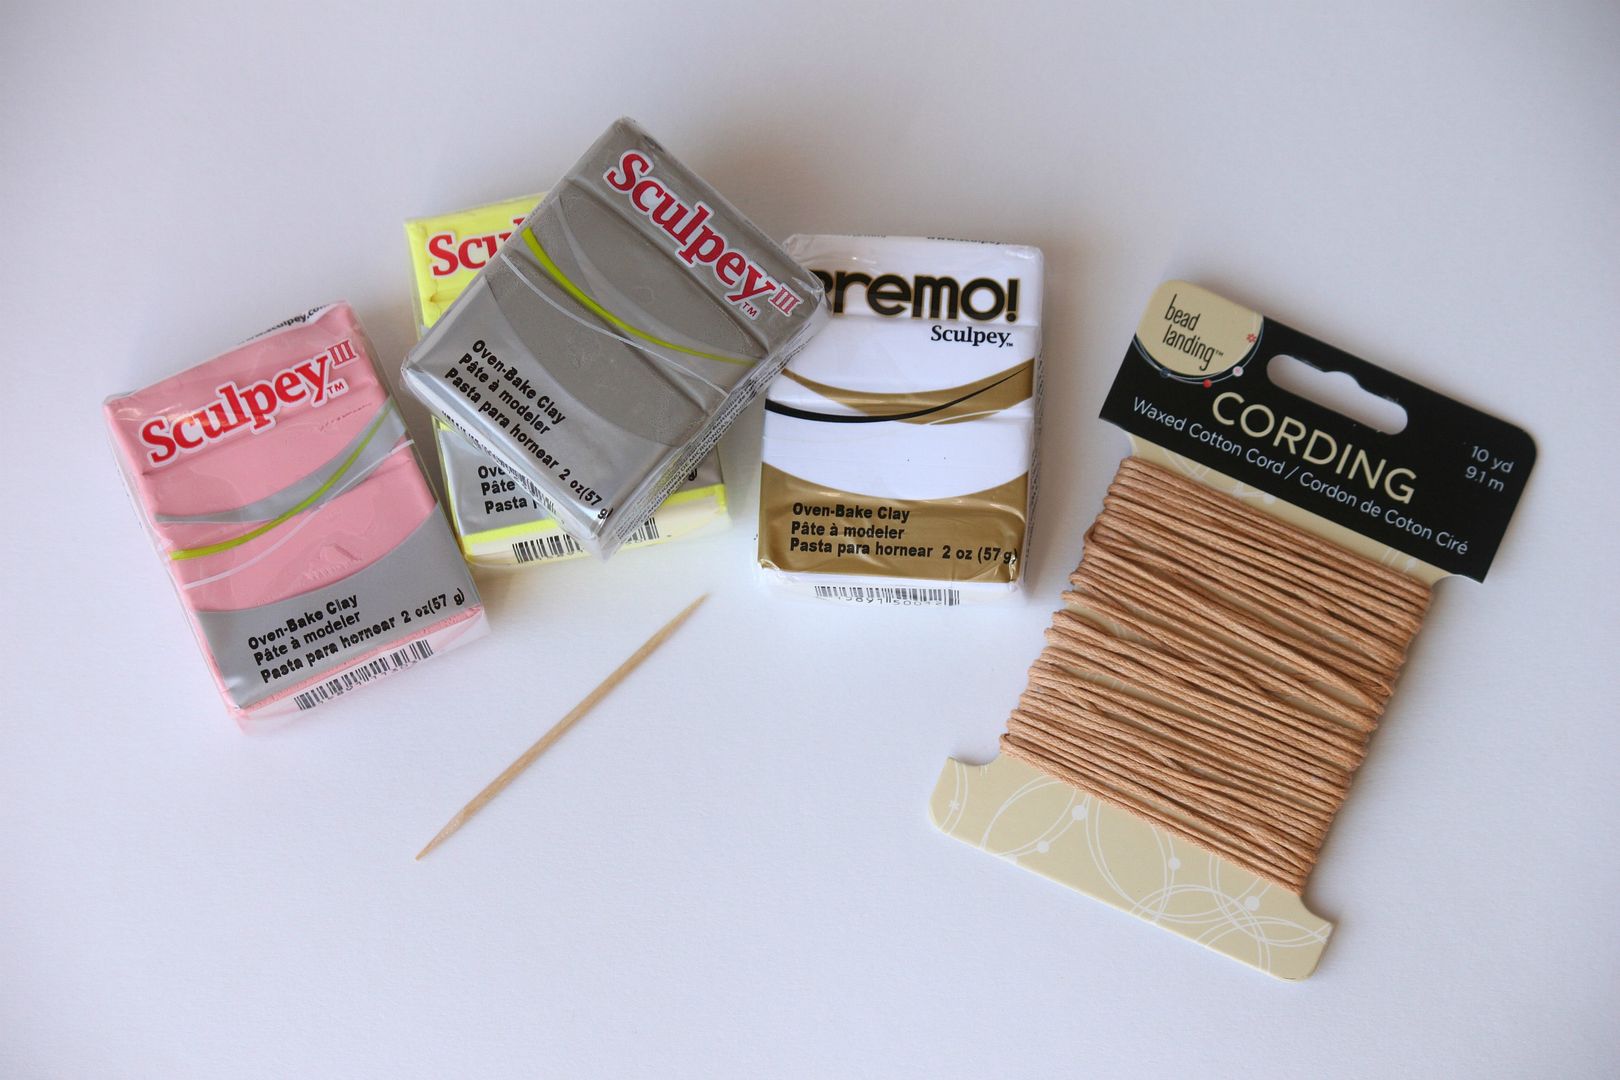
What you will need:
  • Polymer clay--you can use as many colors as you want. The color combinations are endless.
  • Waxed cotton cord
  • Toothpick
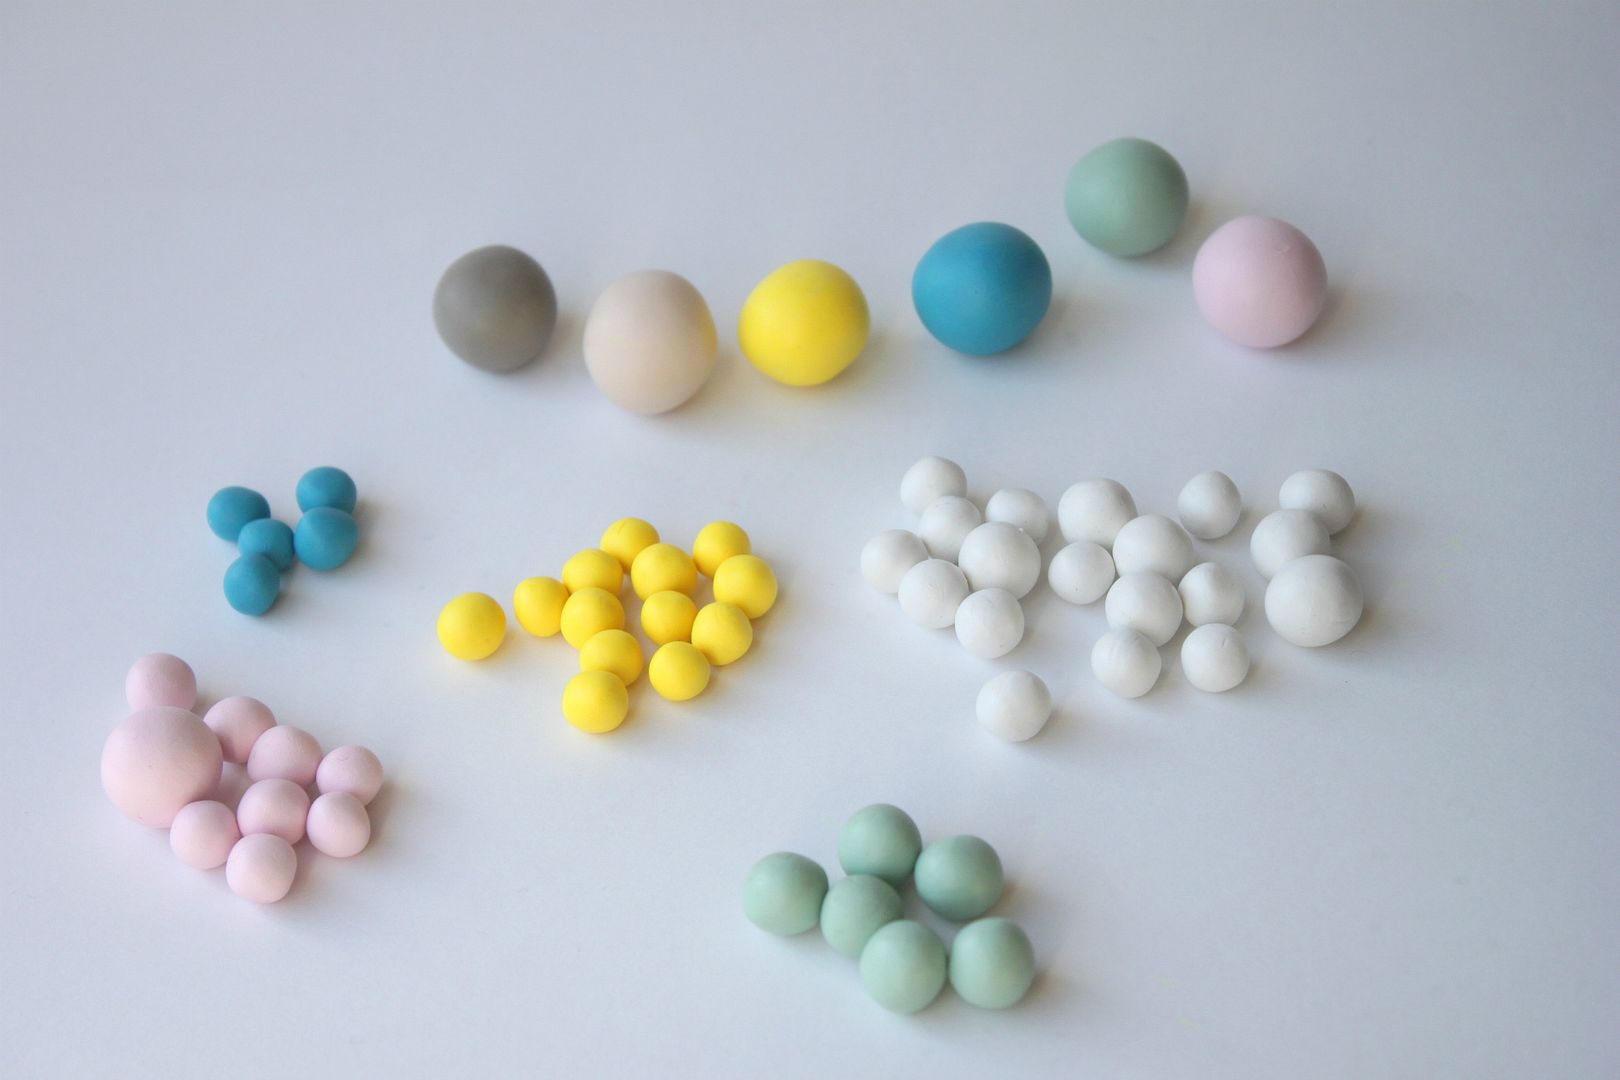
Begin by conditioning your clay in between your hands until it is soft and pliable. Roll out your clay beads by taking a small piece of clay and then making a little ball with the palm of your hand. You can make them as large or small as you like.
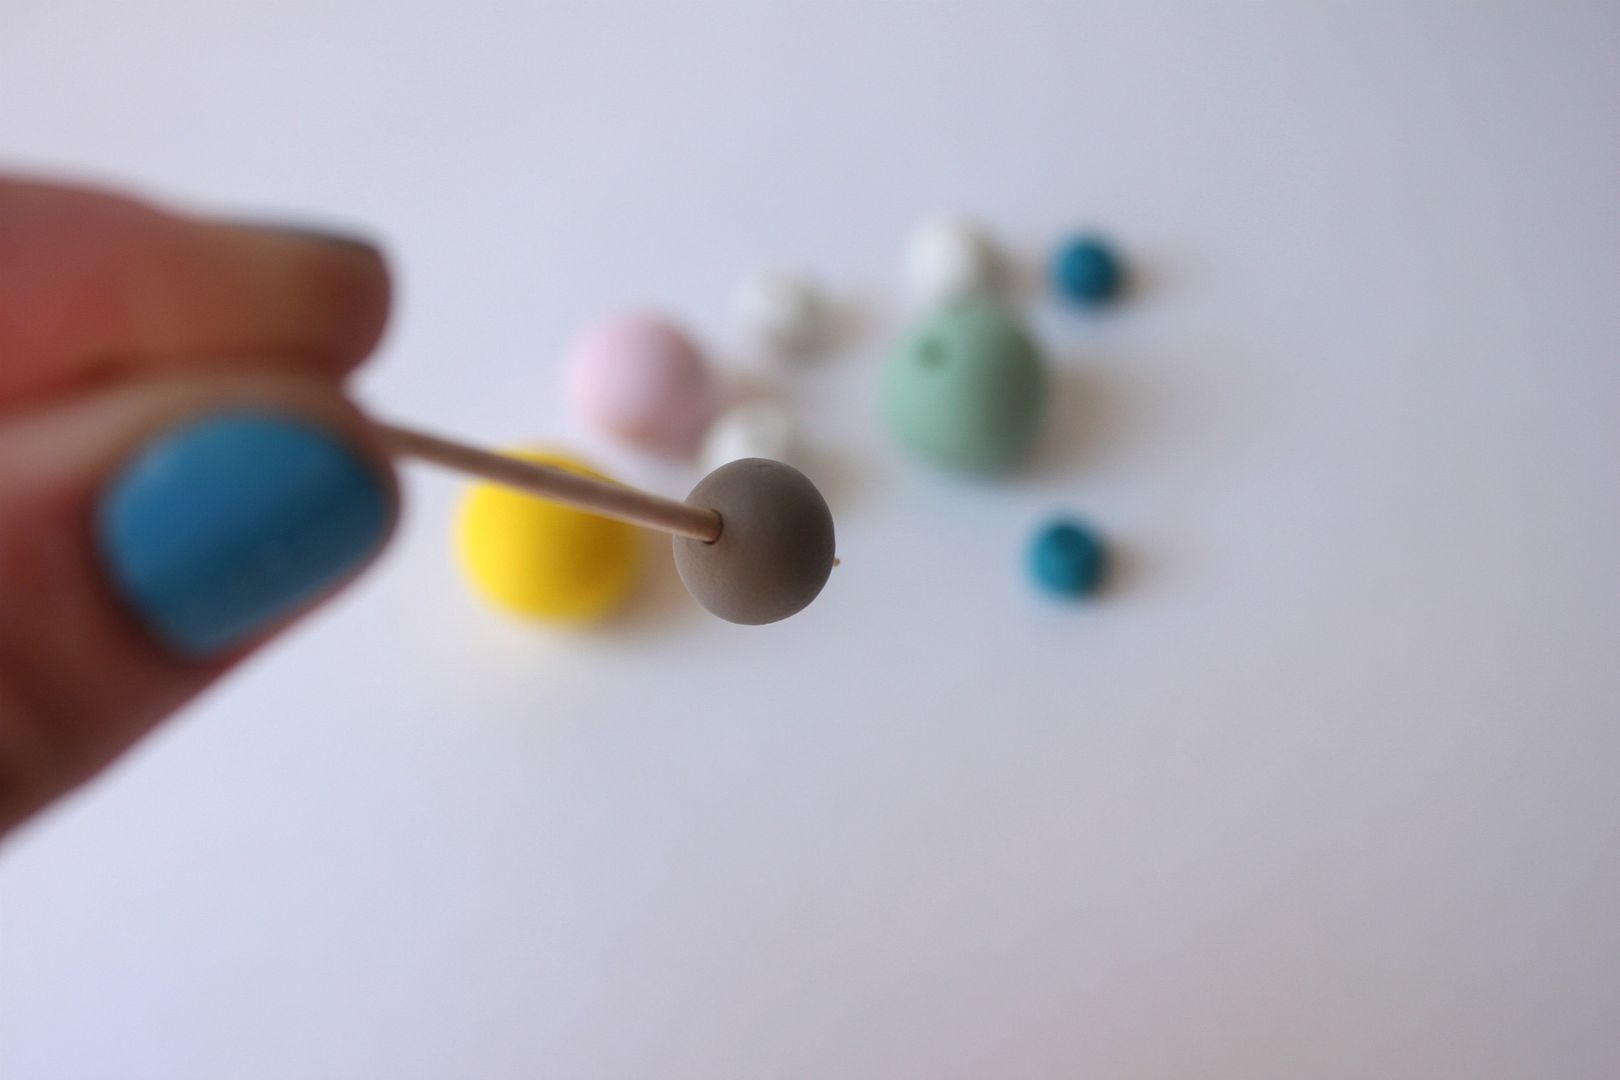
Use the toothpick to poke a hole in the center of each bead. If the clay you are using is really soft, you can wear latex gloves to help prevent fingerprints. Place your beads on a baking tray and bake according to clay directions. I baked mine at 270 degrees for 25 minutes.

String your beads onto the cotton cord. This is where you can get creative. You can place all your beads on one stand or make a bunch of necklaces and layer them. Totally up to you!

Attach some kind of closure on the back (I used a magnetic closure) and you are ready to go.

If you want to make geometric looking polymer clay beads you can read this post.

Pin It

A Surprise Sprinkle Shower!

Tuesday, March 6, 2012

On Saturday my two best friends surprised me with a "sprinkle" shower! I thought I was just meeting them for lunch and when I arrived there were balloons, table decorations and all my friends were there! I was so shocked, which is surprising since I am usually Nancy Drew when it comes to secrets and surprises. I did not have a clue.

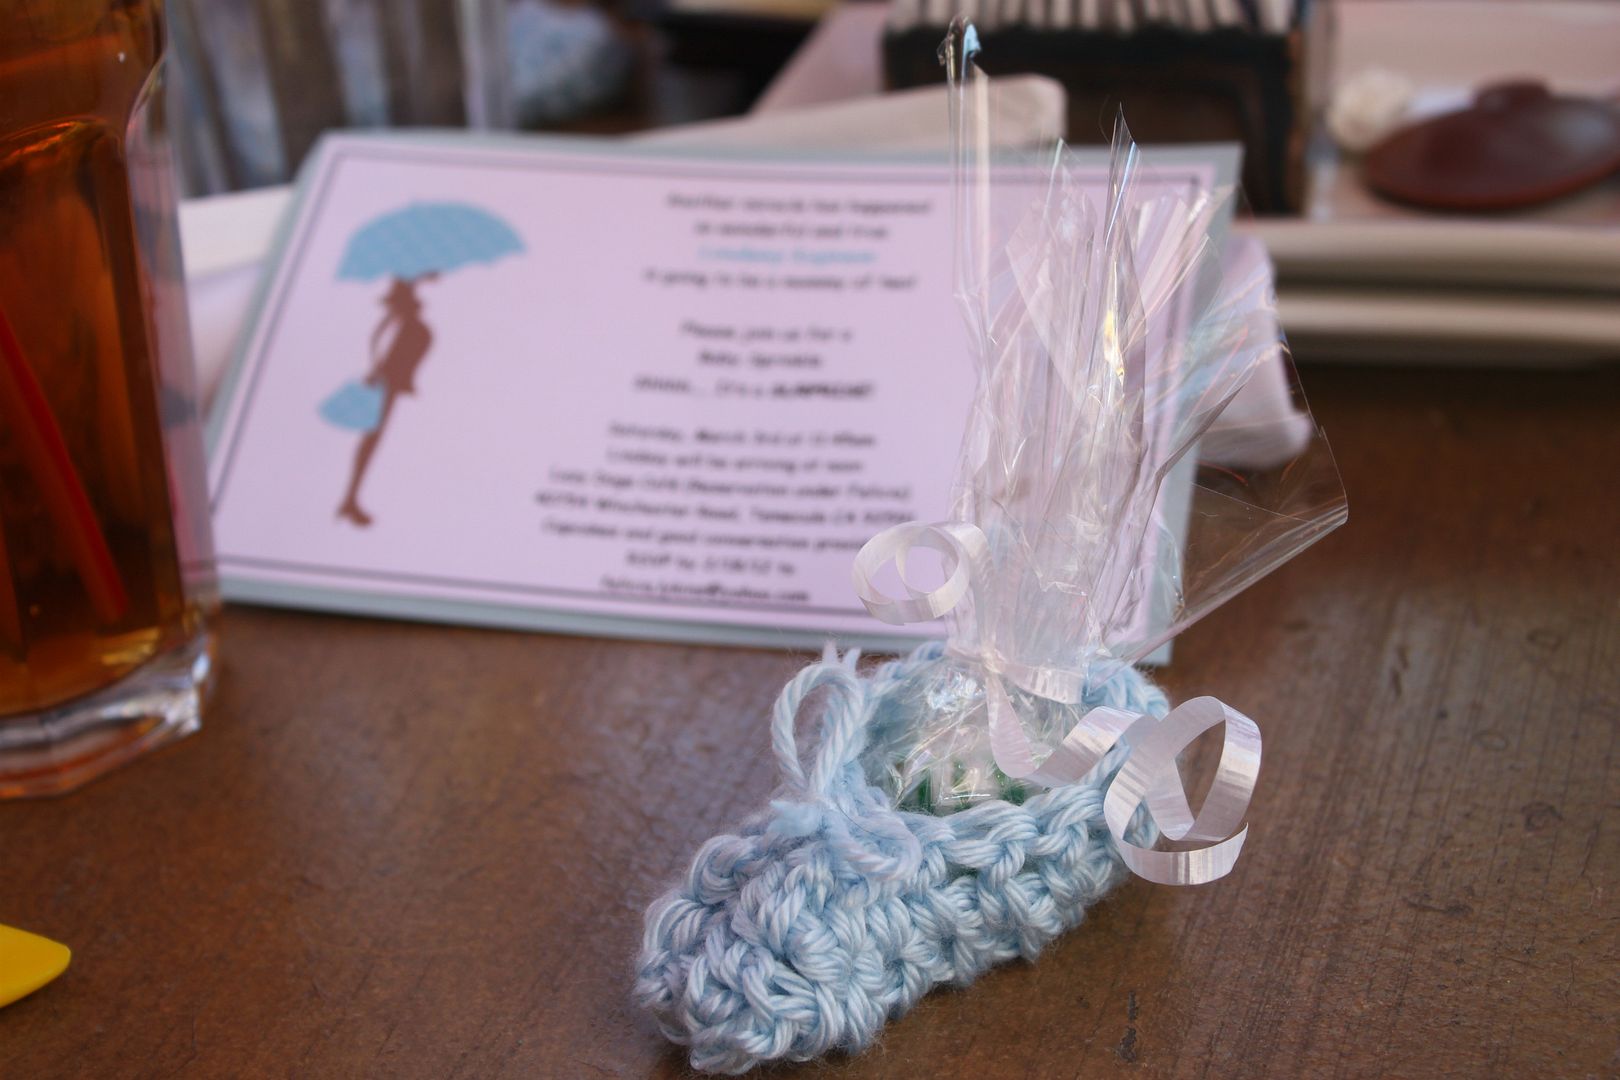
See the little crocheted baby booties above? My sweet friend hand made all of those for each person who came. So cute! Since I bring my camera with me wherever I go I was able to get a few pictures...

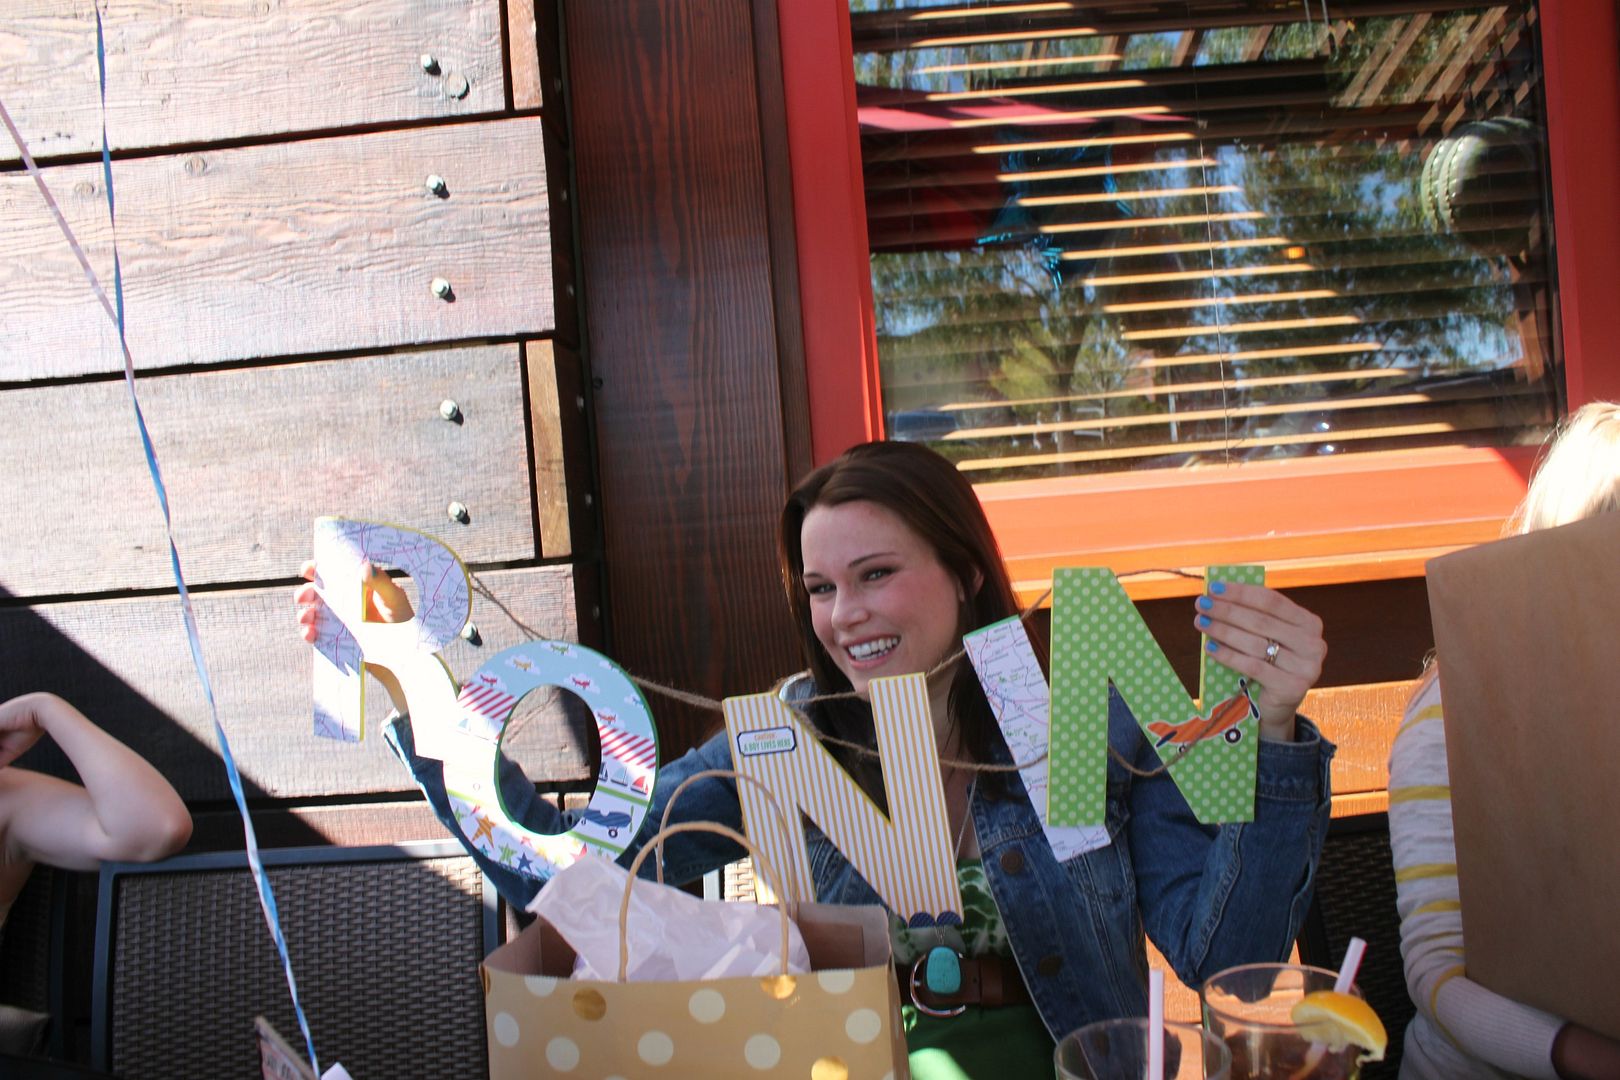
Opening all the fun little gifts for baby Ronin.

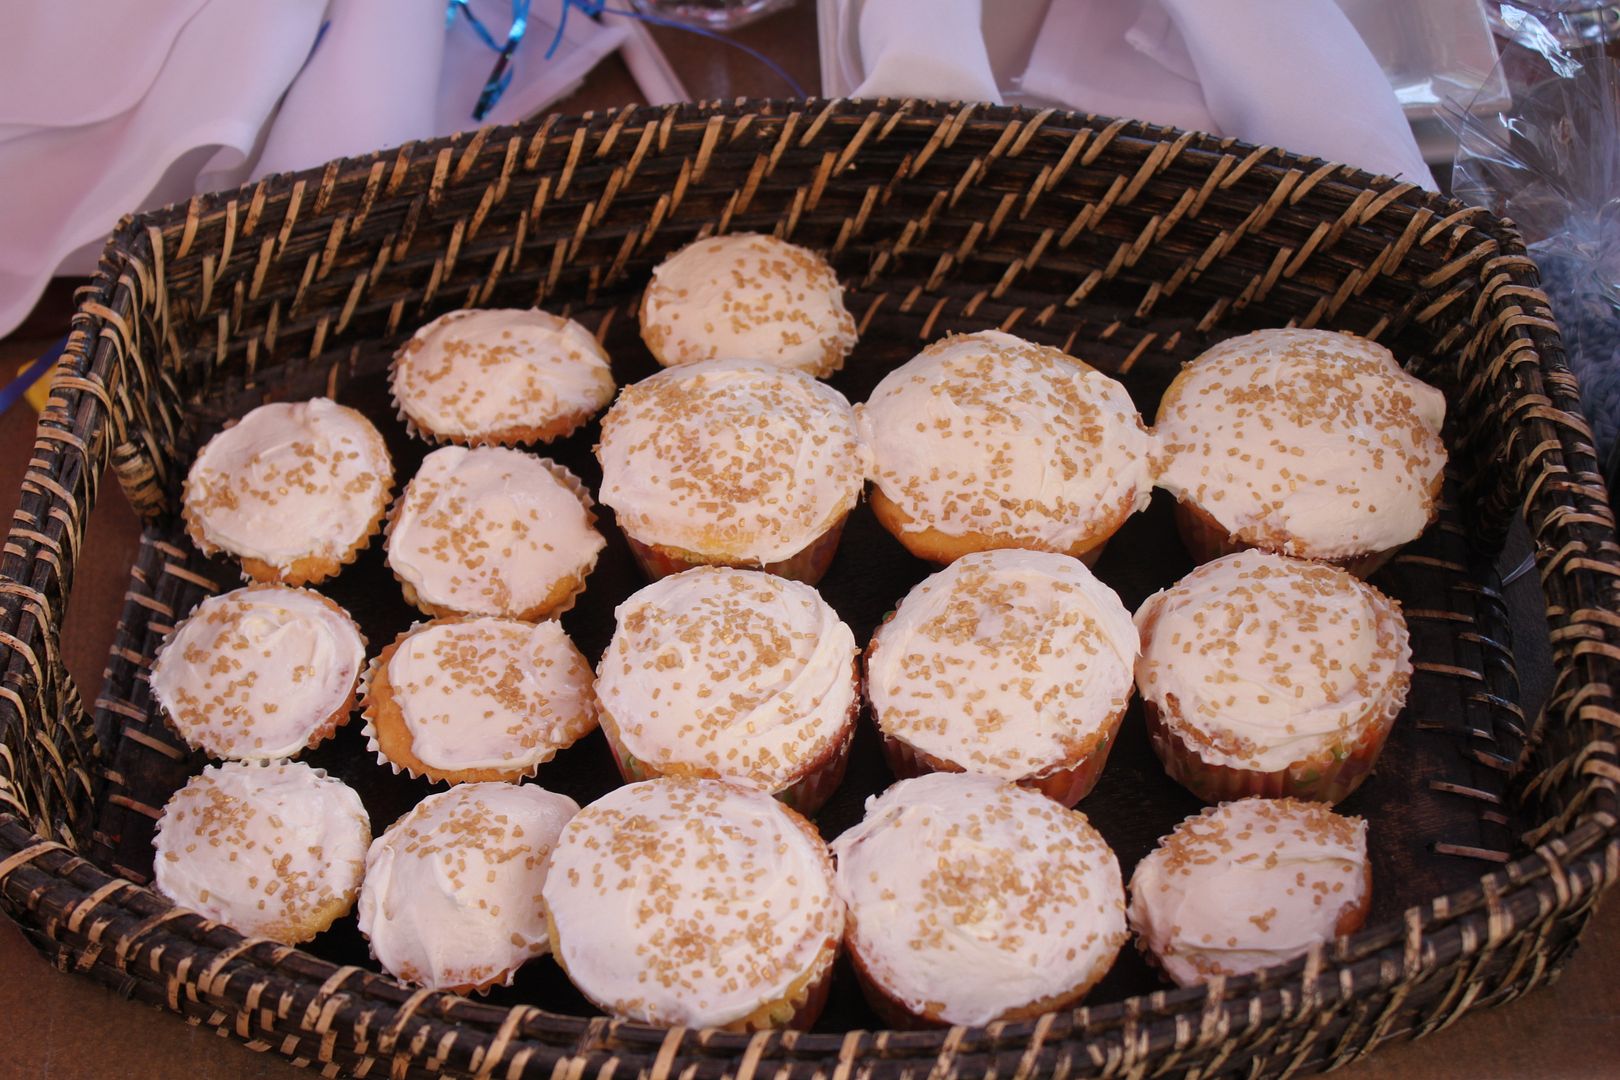
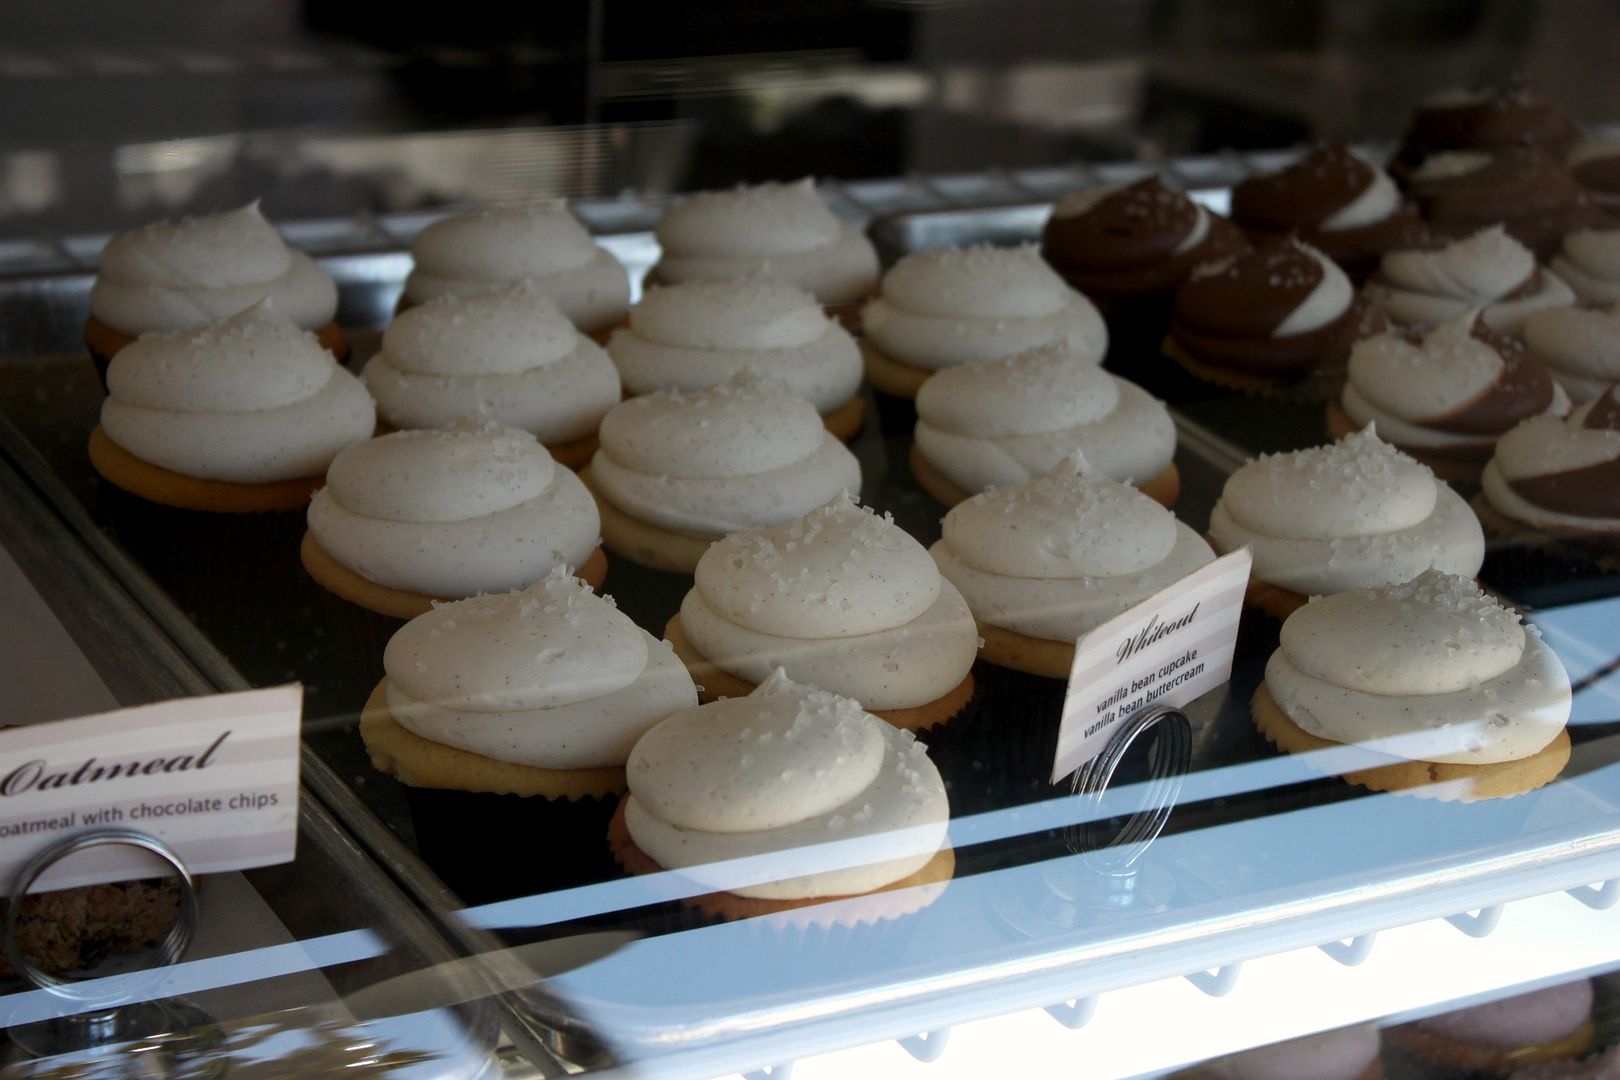
Cupcakes for all the non diabetics...which is everyone except me...

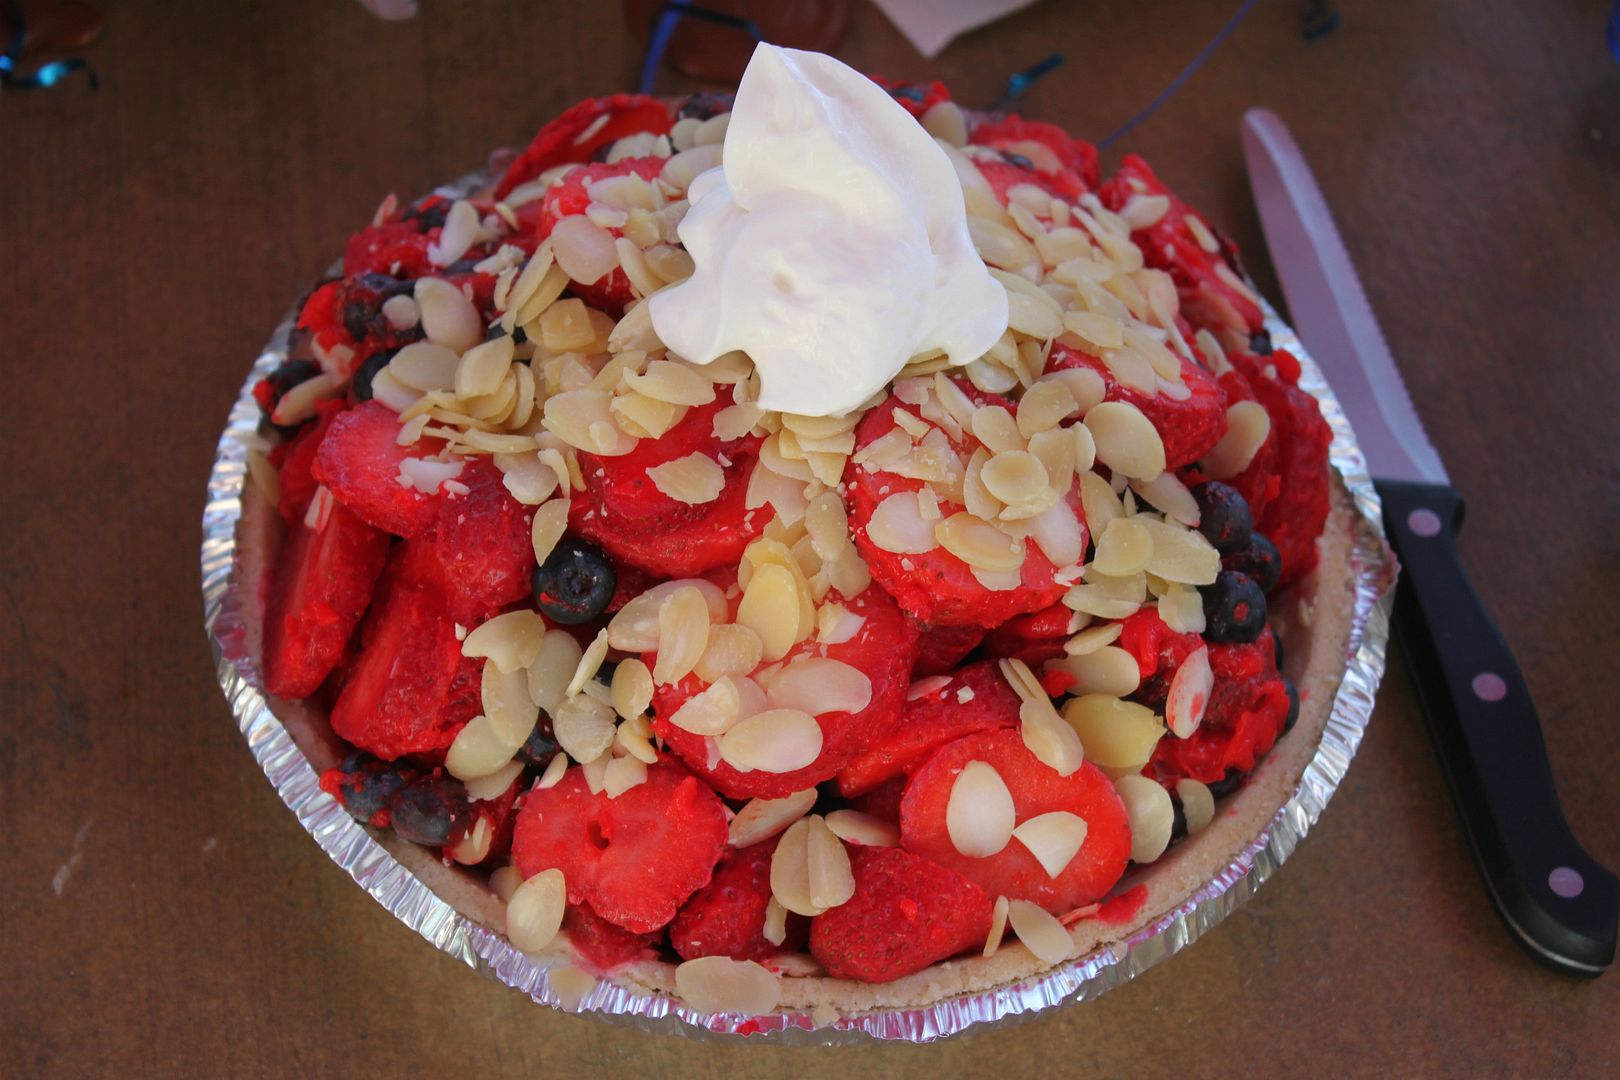
...and a giant all natural strawberry low sugar pie for me!

I was actually contemplating wearing yoga pants and Nike's (not an unusual outfit for me during pregnancy) to lunch since I thought it was just going to be my two friends. Good thing I changed my mind last minute.

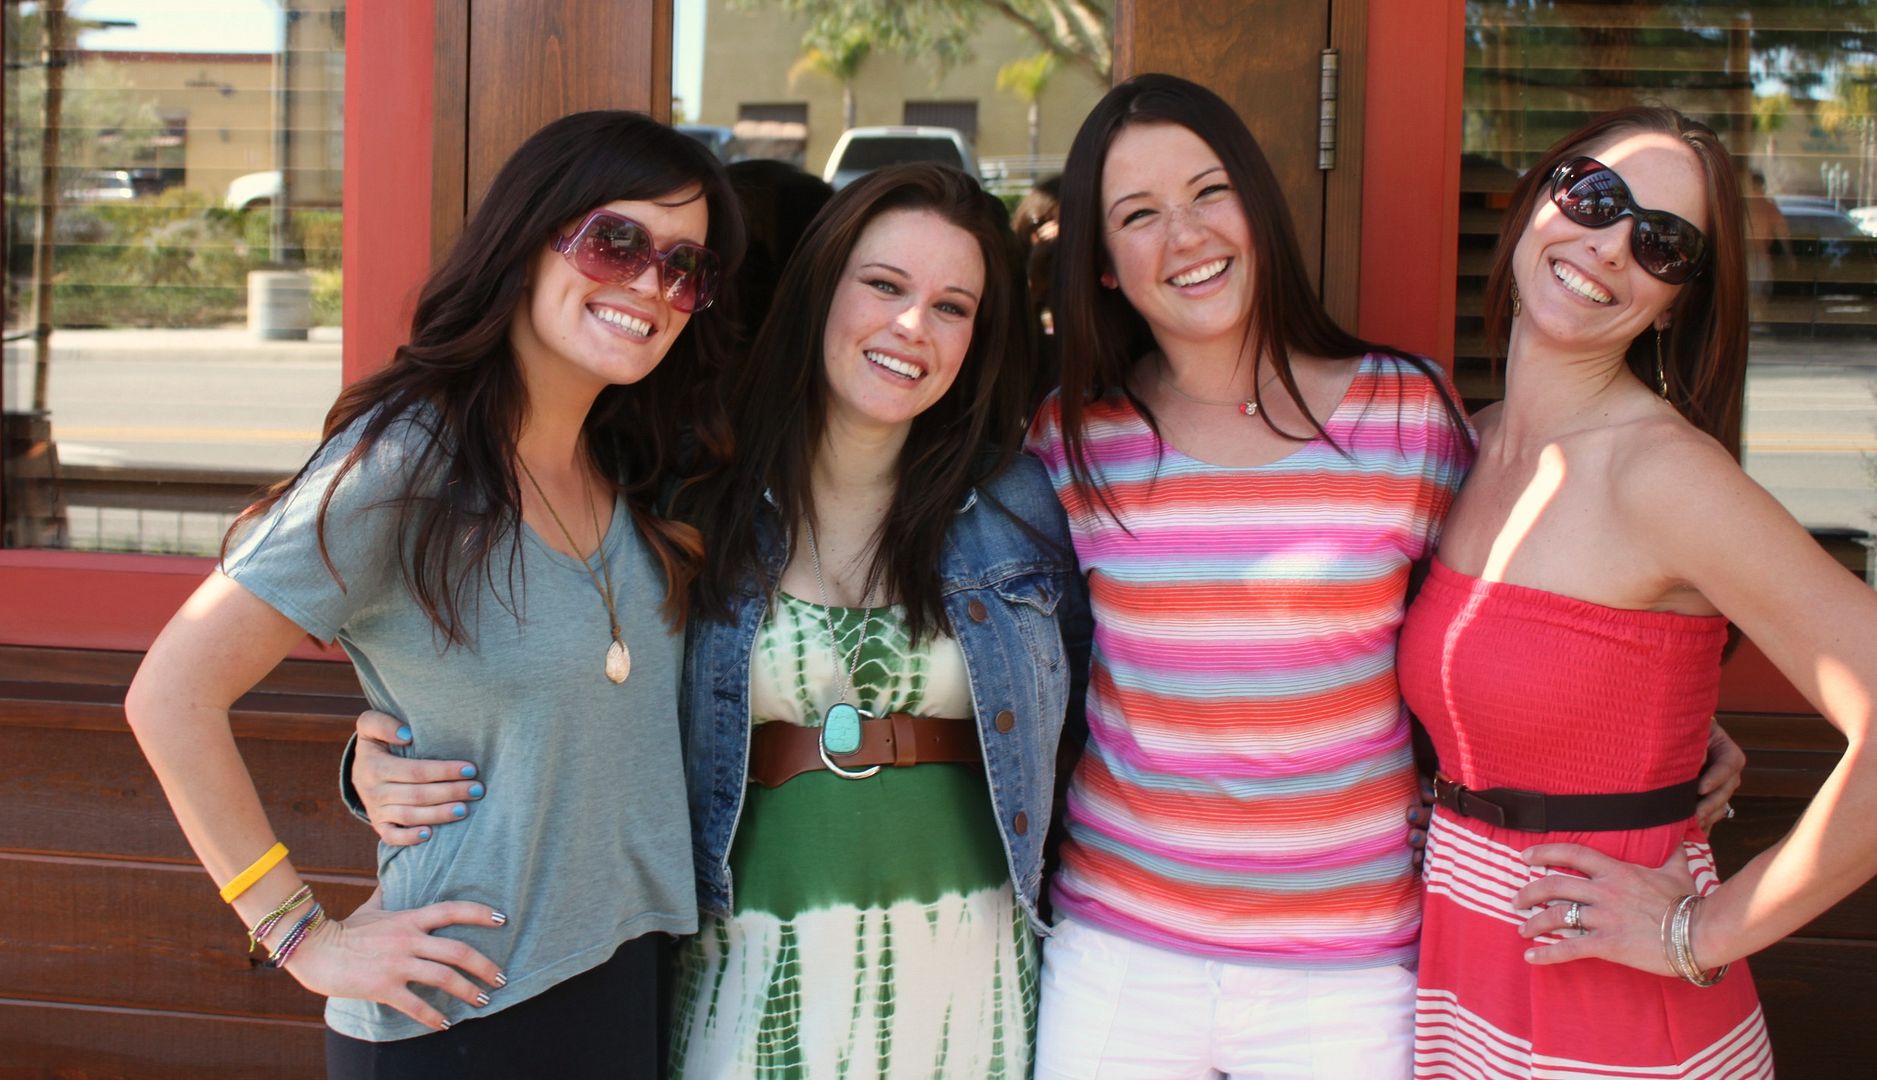
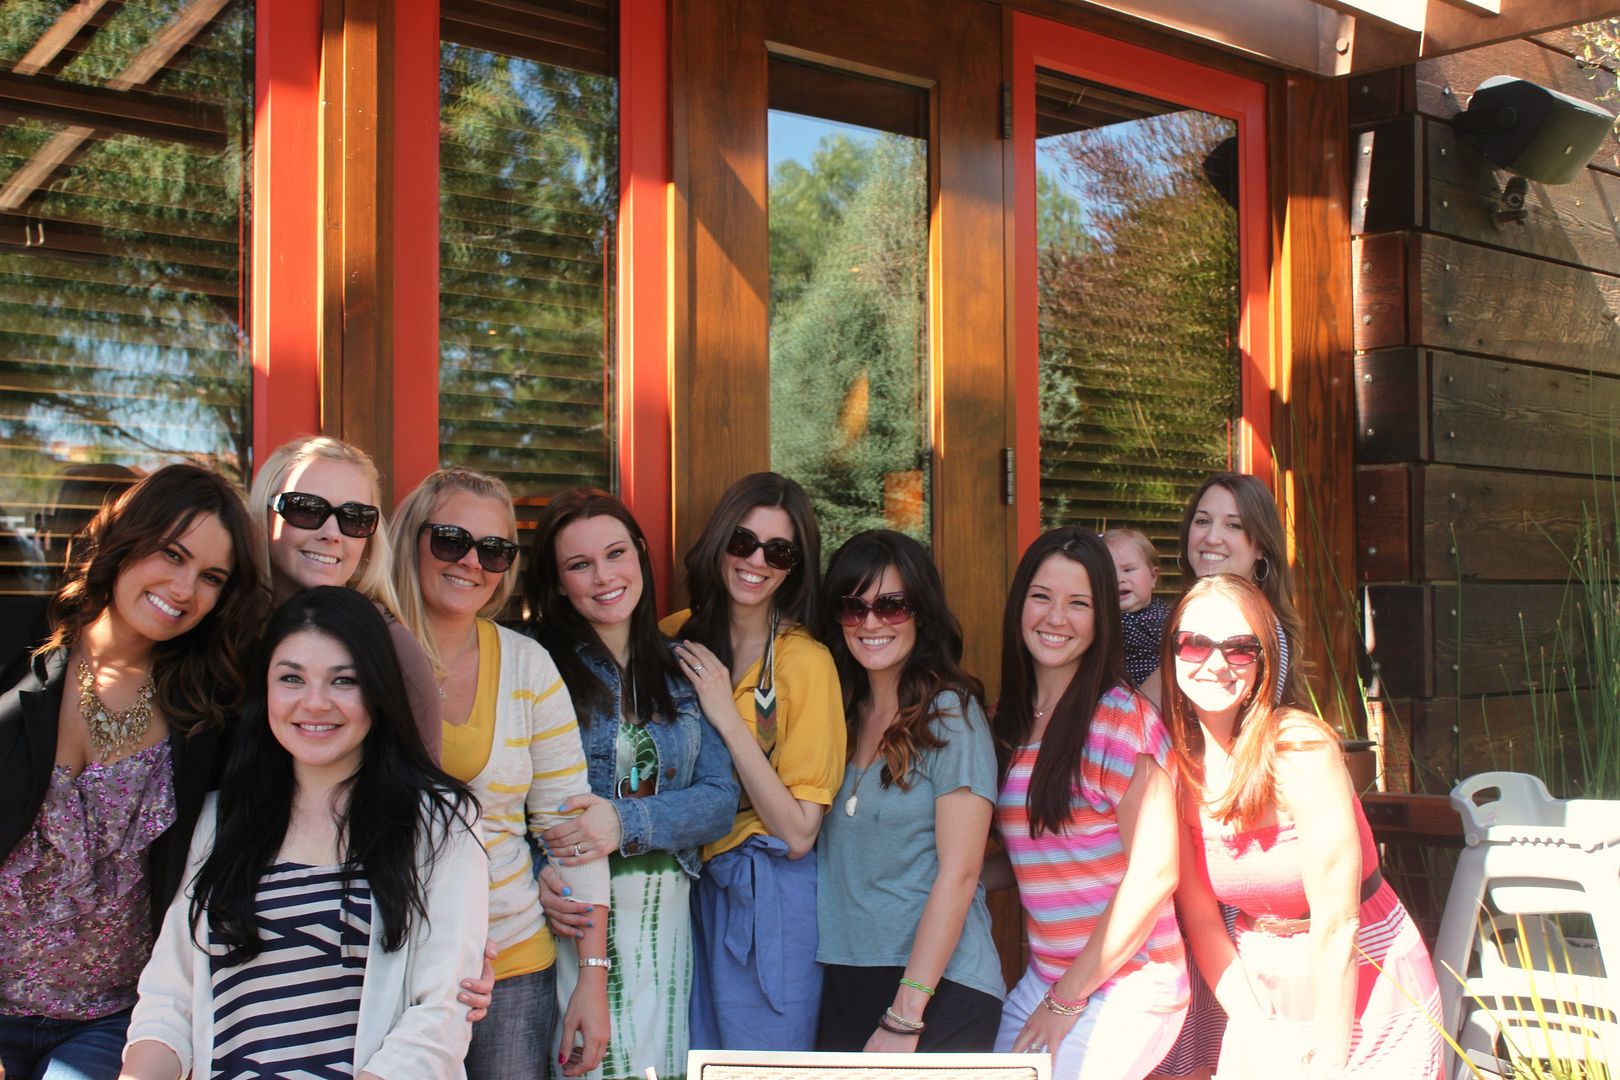
My beautiful friends! It was such a fun afternoon. I feel so blessed to have such a wonderful group of women in my life.

On a side note: I am sharing a super easy polymer clay diy tomorrow...that just might be one of my favorites so far!

Skin Care Tip of the Week *BB Cream- a great time saving product*

Monday, March 5, 2012


1-2-3-4

BB Cream (aka blemish or beauty balm) is the new skincare and beauty craze. The trend originally started in Asia and and has recently made its way over to the United States. Do I think it's as good as it's cracked up to be? YES I do!

What is BB Cream- it is a makeup/skin care product that does pretty much everything. It treats, protects, hydrates, minimizes lines, helps diminish pores and conceals all in one. With just one little pump your skin will look flawless and natural.

Who would benefit from a BB cream? - this is the perfect product for someone who wants a simple quick morning beauty regime that takes less then 5 minutes. If you dread putting on a whole list of products in the morning then you may want to give a BB cream a try.

My personal favorite is Boscia BB Cream. It is loaded with antioxidants and has an SPF of 27. It is also formulated without parabens, sulfates, synthetic fragrance and dyes.

Have you tried a BB cream yet? If so I would love to hear what you think.

Things that make me say yeay

Friday, March 2, 2012

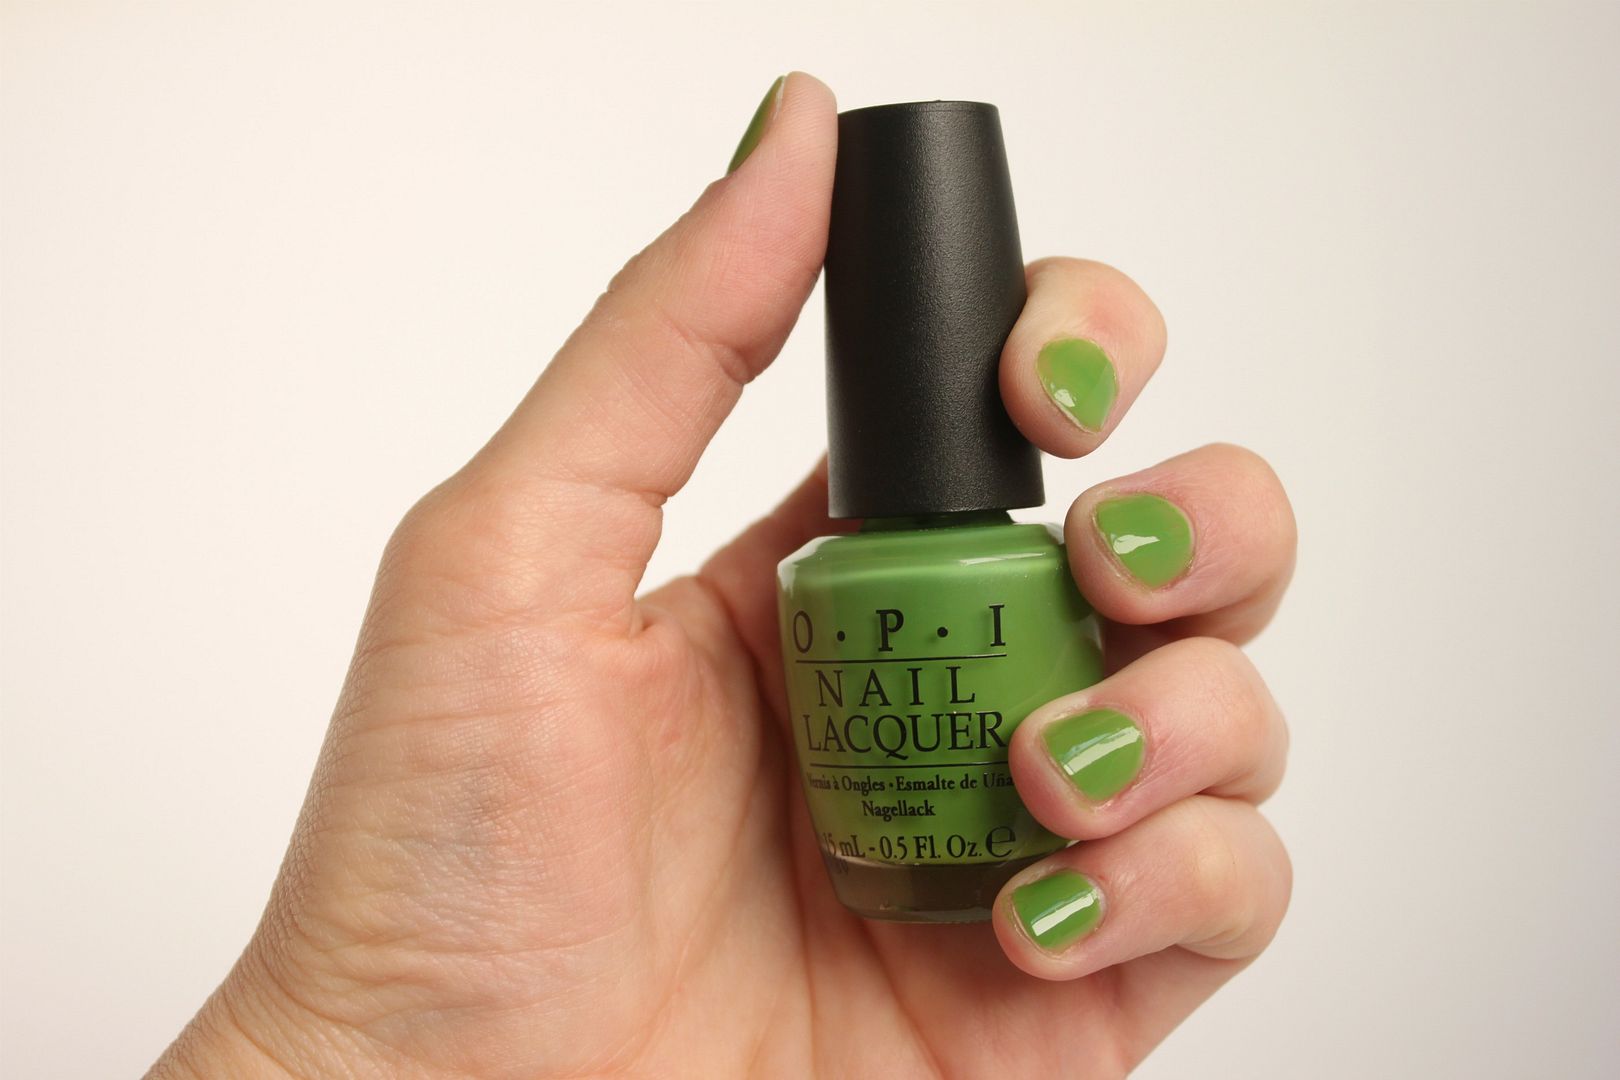
Every time I see these kind of pictures on Pinterest they kind of weird me out. A giant hand holding a nail polish is a little strange no?...BUT it is the best way to showcase a fun color. I am loving bright shades like this one from OPI called Green-Wich Village.

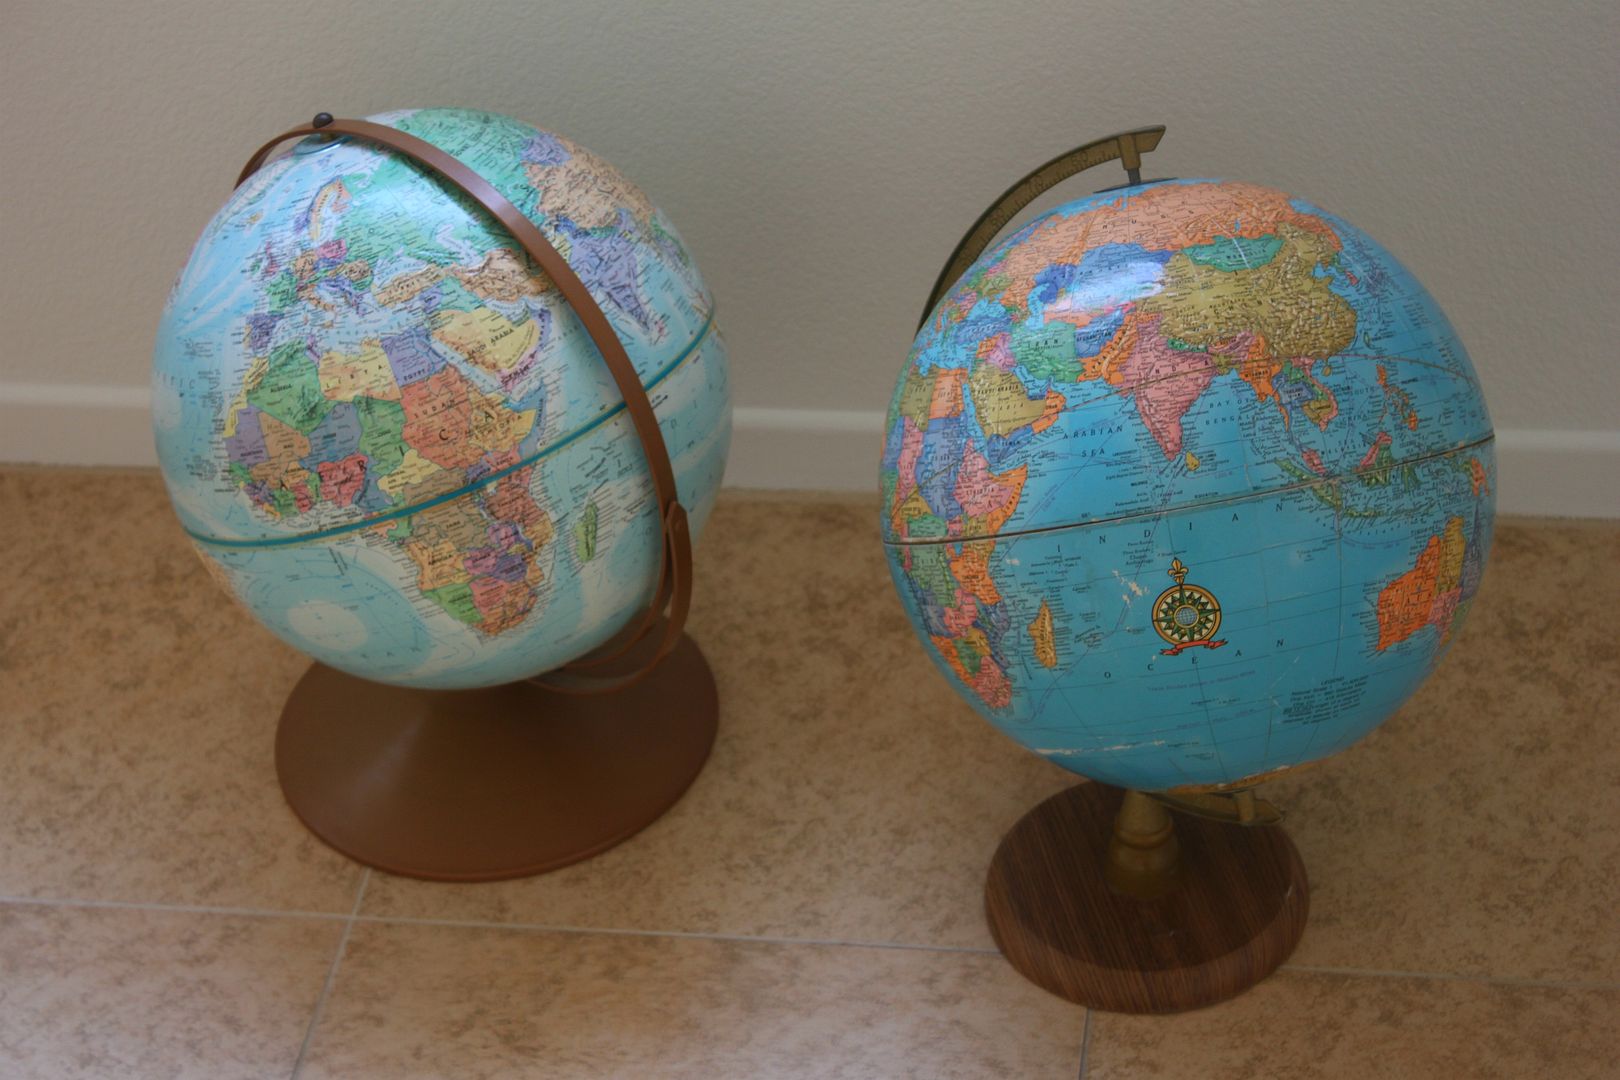
Two thrifted world globes for Ronin's Nursery.

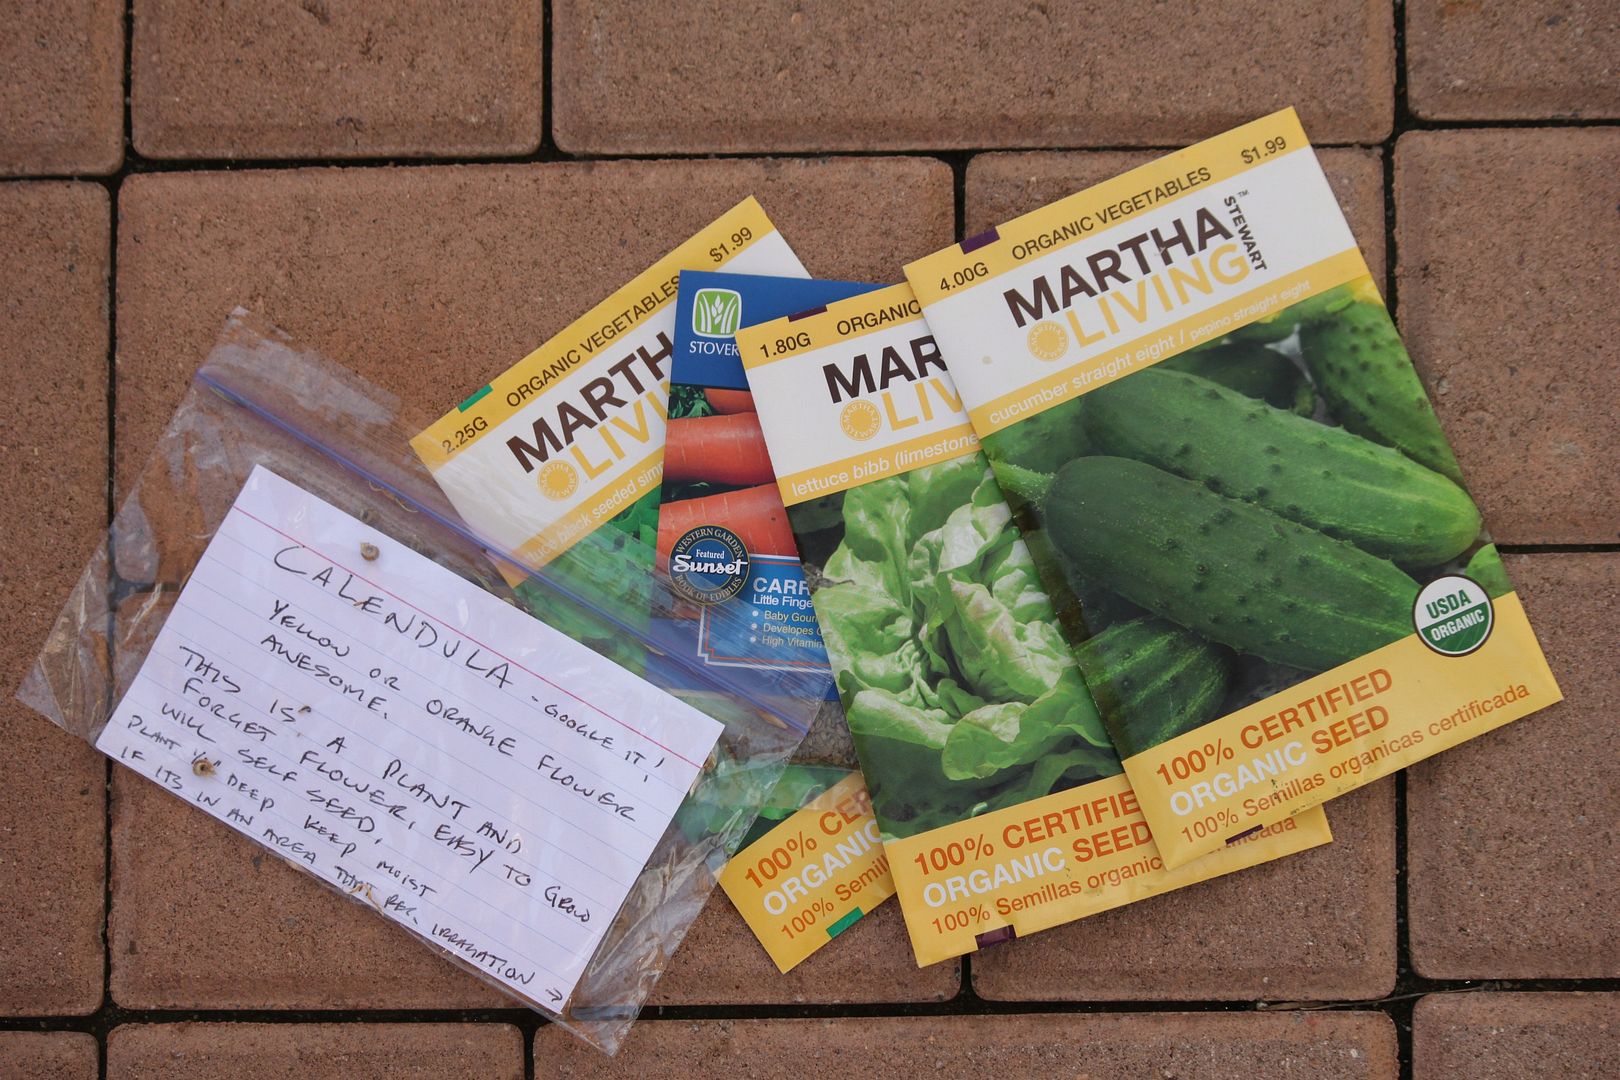
Gathering seeds to plant in our garden for spring. My Dad recently gave me calendula seeds so we can grow organic calendula flowers. I love how he wrote "Google it!" on the card--ha! Even though I know what calendula is, that made me laugh.

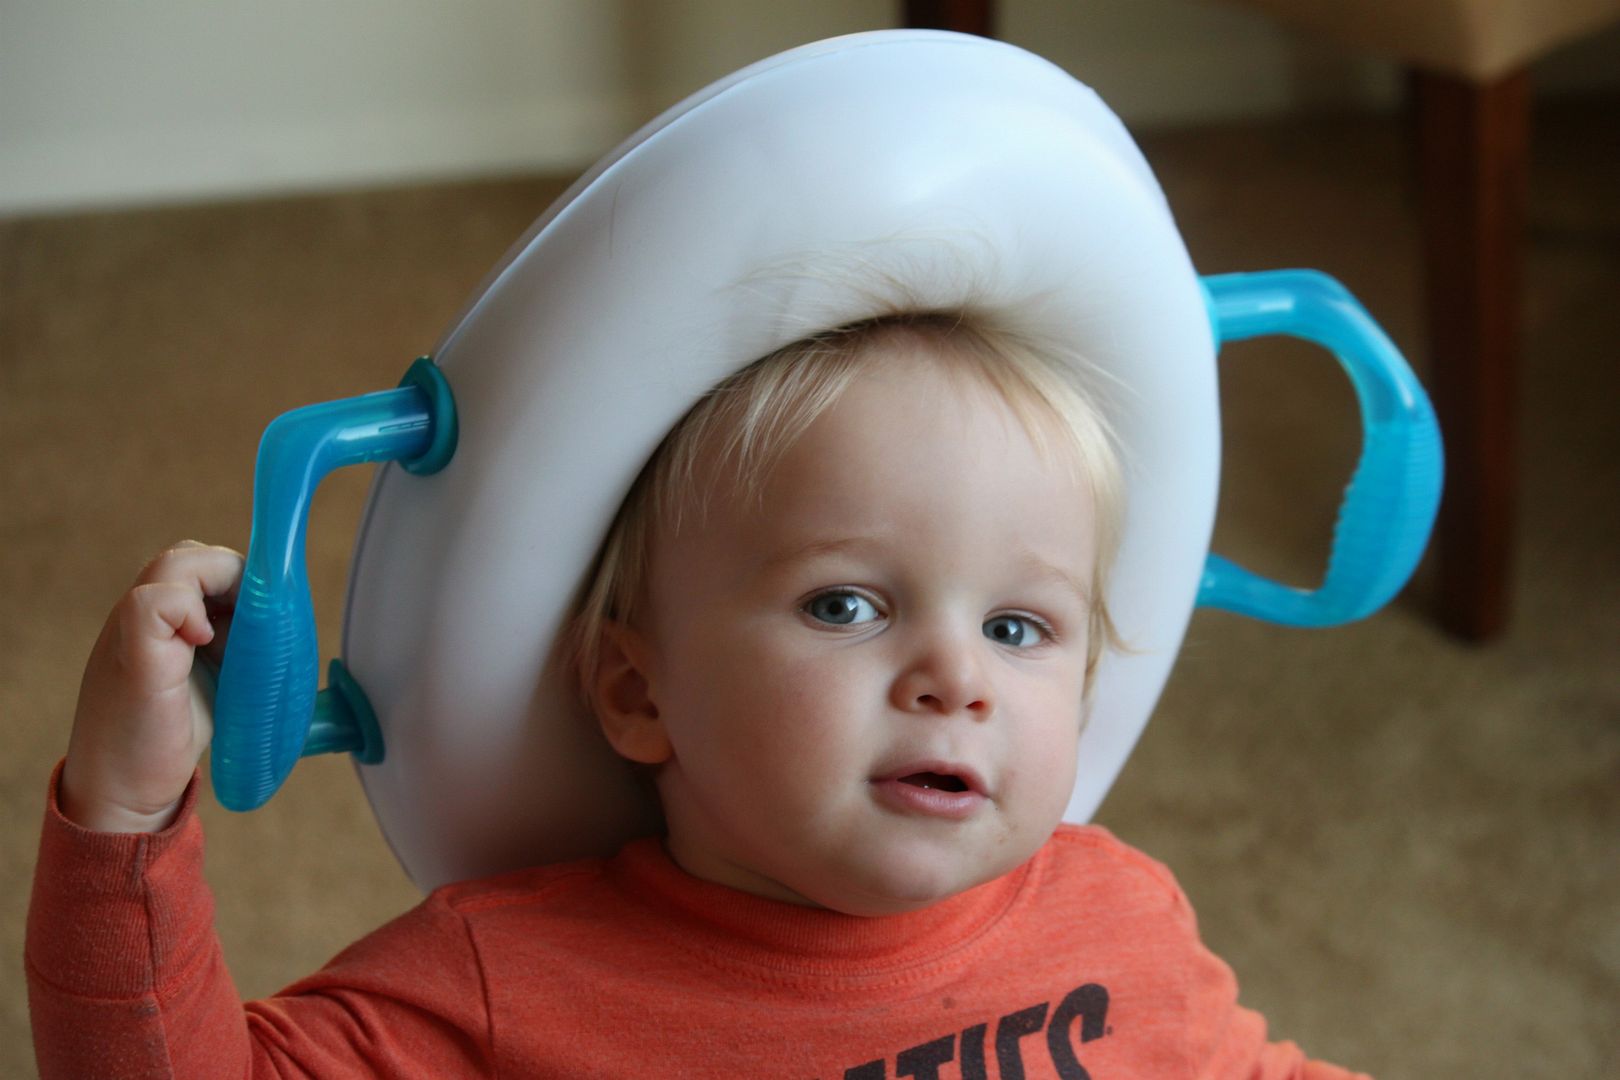
This is what Max thinks of potty training. He would much rather wear his potty seat like a sombrero than actually sit on it. I had high hopes but he is terrified of the big potty! I guess my reality will be two kids in diapers...bummer.

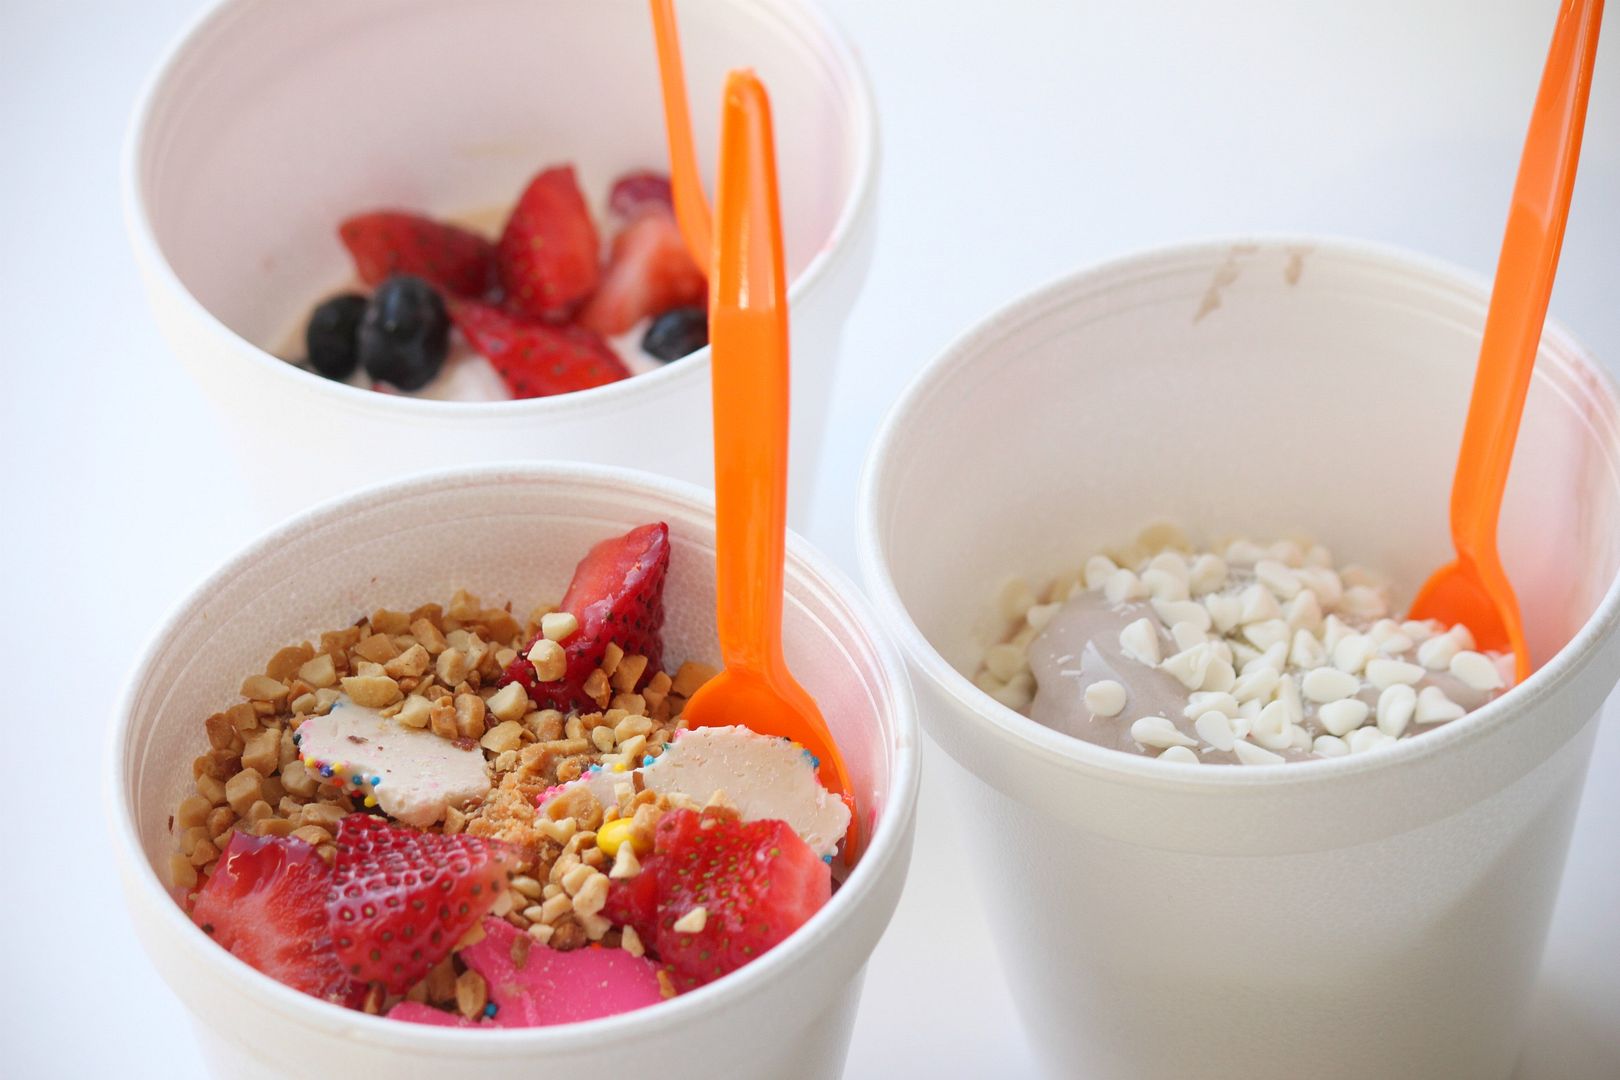
Saturday night yogurt for the whole family. I found this awesome self serve place that has low carb ice cream and I am so excited about it. Can you tell which one is my husband's? No wonder our total was like $10.

Have a wonderful weekend! Any fun plans? My best friend is down vising from Maui (lucky girl) so I am excited to spend some quality girl time this weekend catching up.

DIY Necklace Holder

Wednesday, February 29, 2012

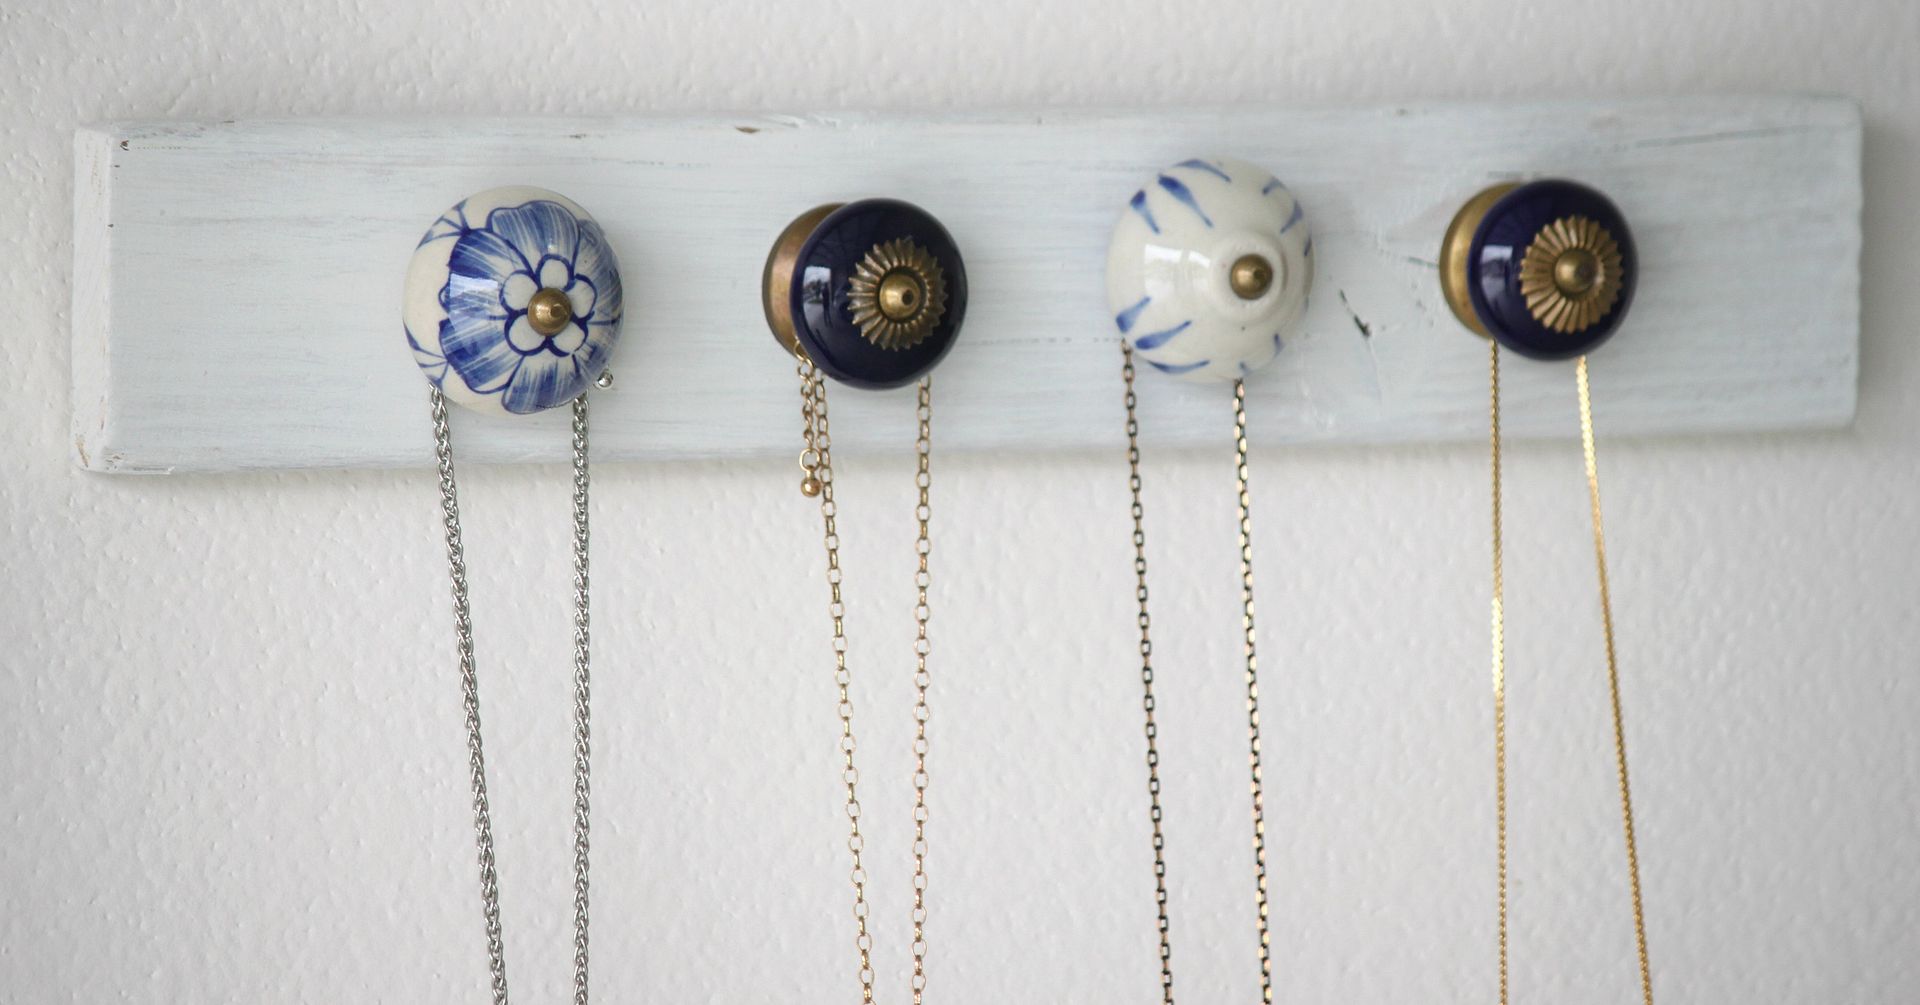
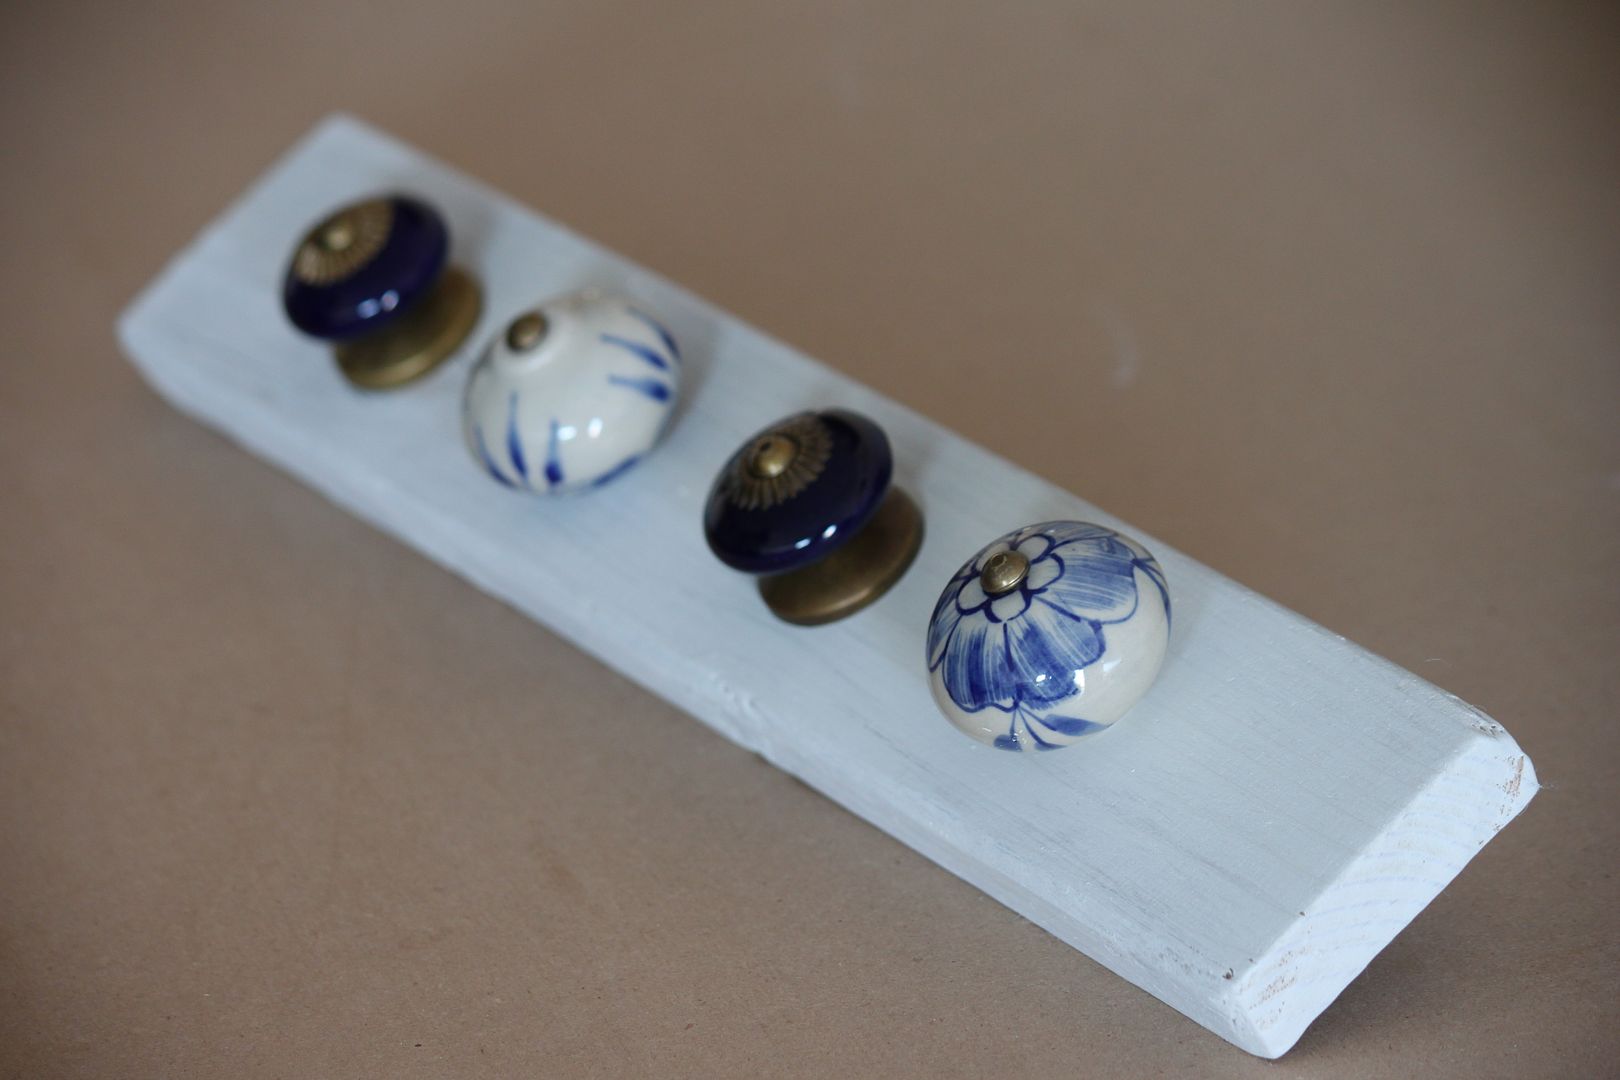
I recently spotted this great necklace hanging idea from a cute Etsy shop. I realized I had all the materials including extra knobs that I had purchased from World Market and never used...so I knew it was something I wanted to diy--instead of buy.

I am not gonna pretend like I did this ALL by myself. My husband told me he did not "trust me with his power tools (lame)," so he helped cut the wood and drill the holes. I think I need my own girl set of tools.

What you will need:
  • A piece of wood cut about 14 inches long
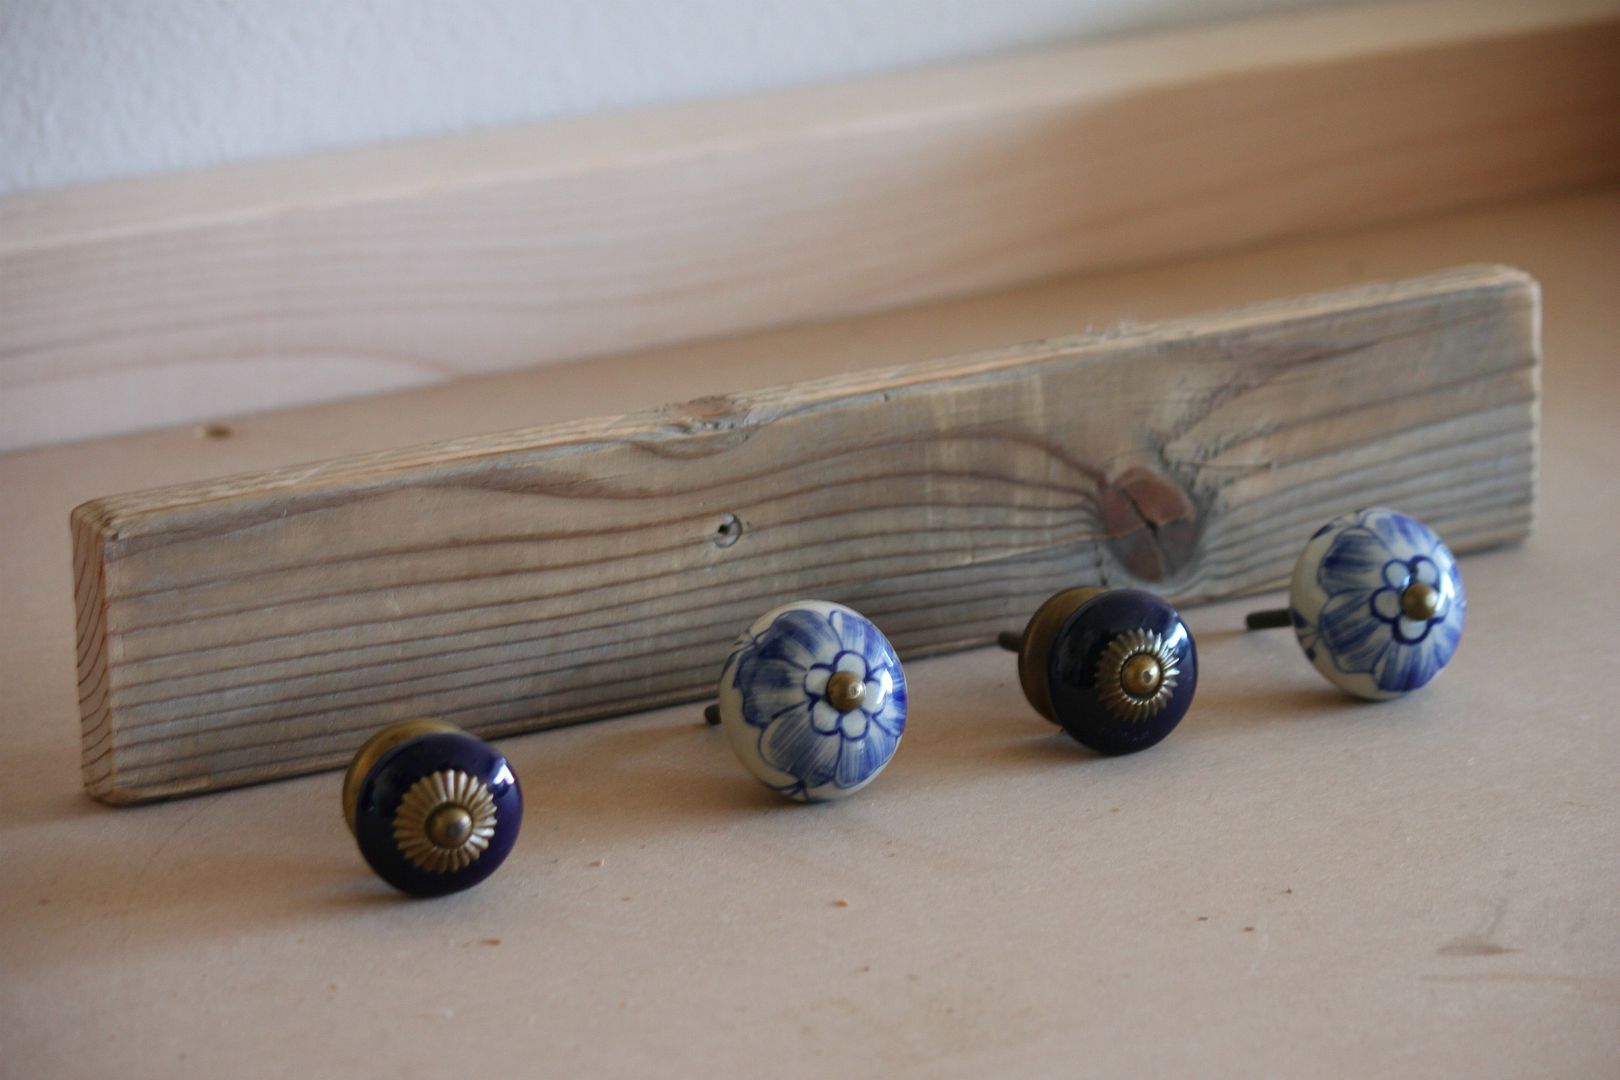
  • 4 knobs. I got mine at World Market
  • A drill
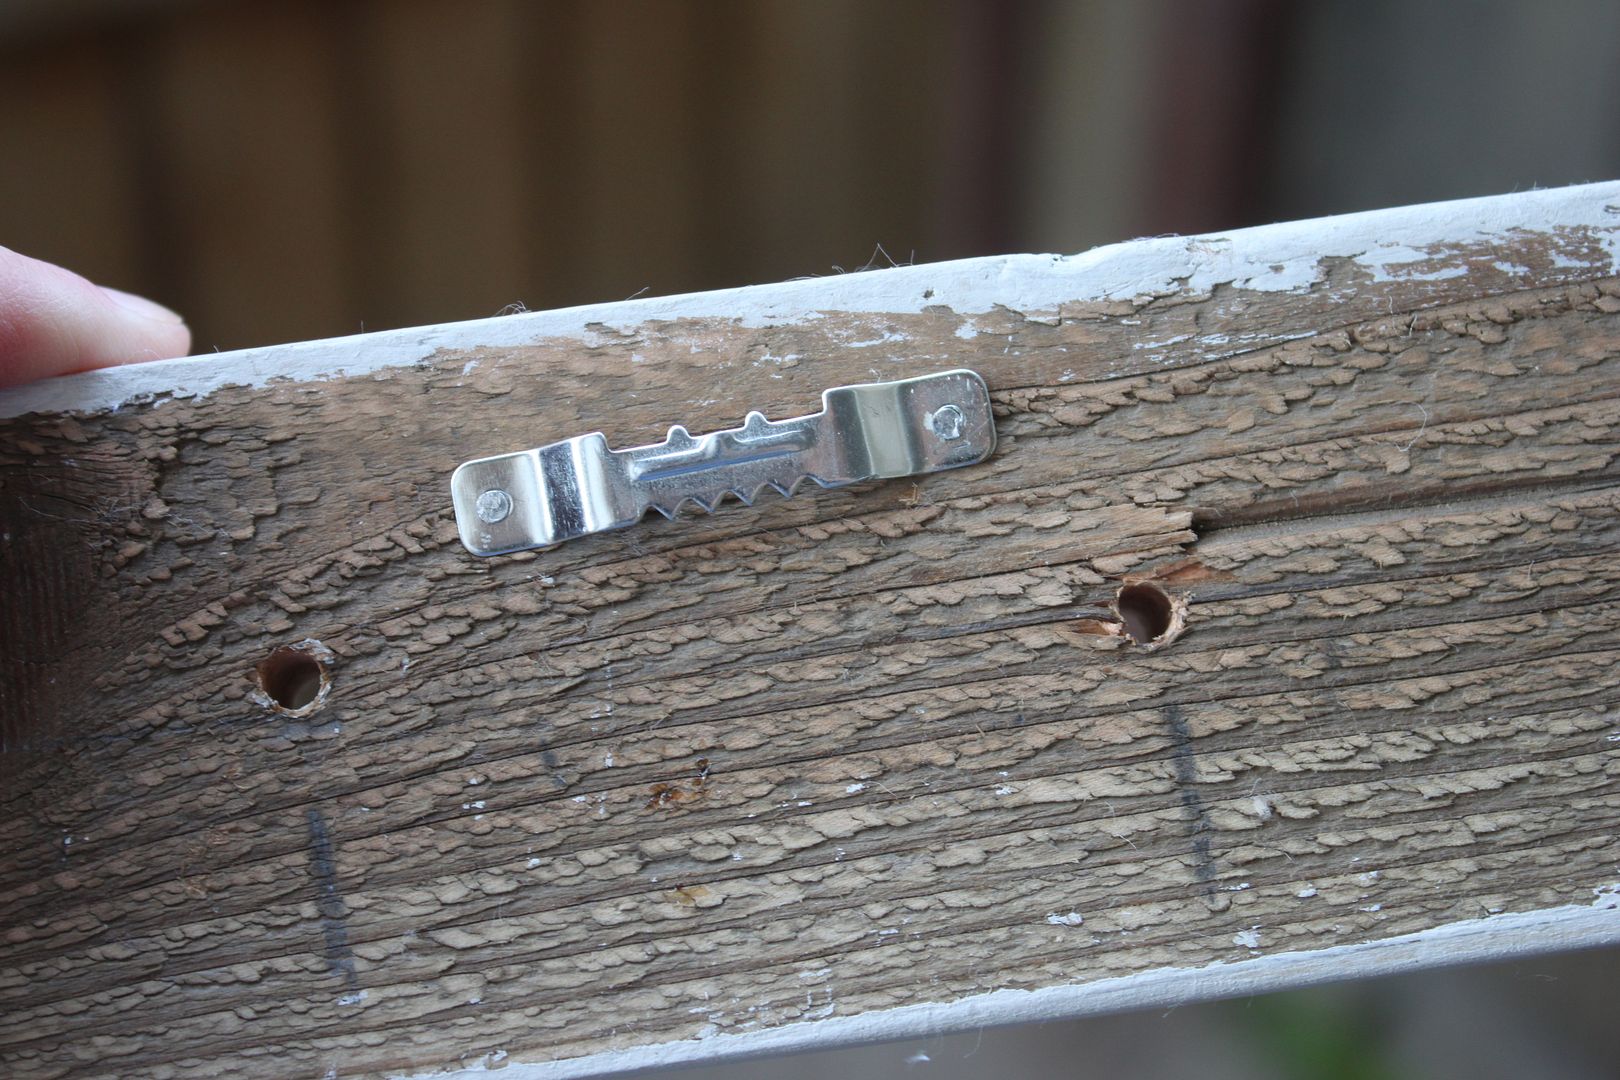
  • A sawtooth (to hang it up on a wall)
  • Paint brush and paint (optional- only if you want to paint it)
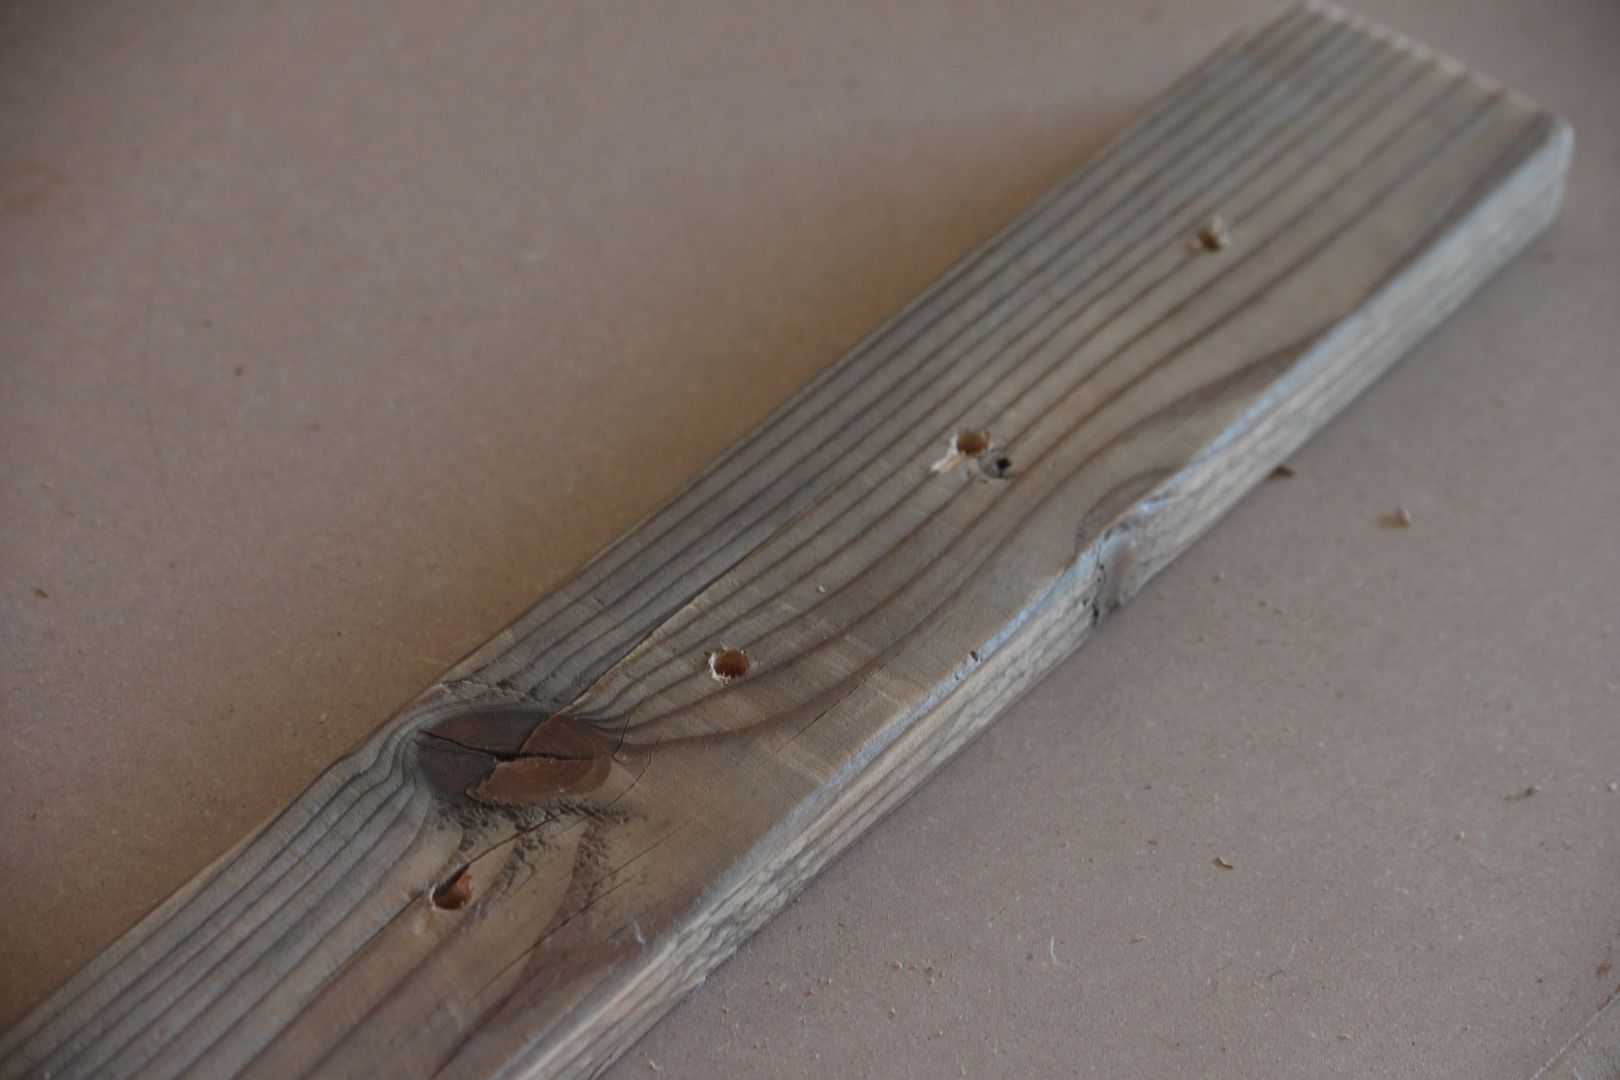
Cut your piece of wood so it is about 14 inches long. I used an old piece of wood that was on our side yard. It was a little rough so I sanded it down to smooth it out.

Drill 4 holes into the wood. If your man is protective of his tools (like mine) let him do it so he can feel like he was apart of your diy ;)

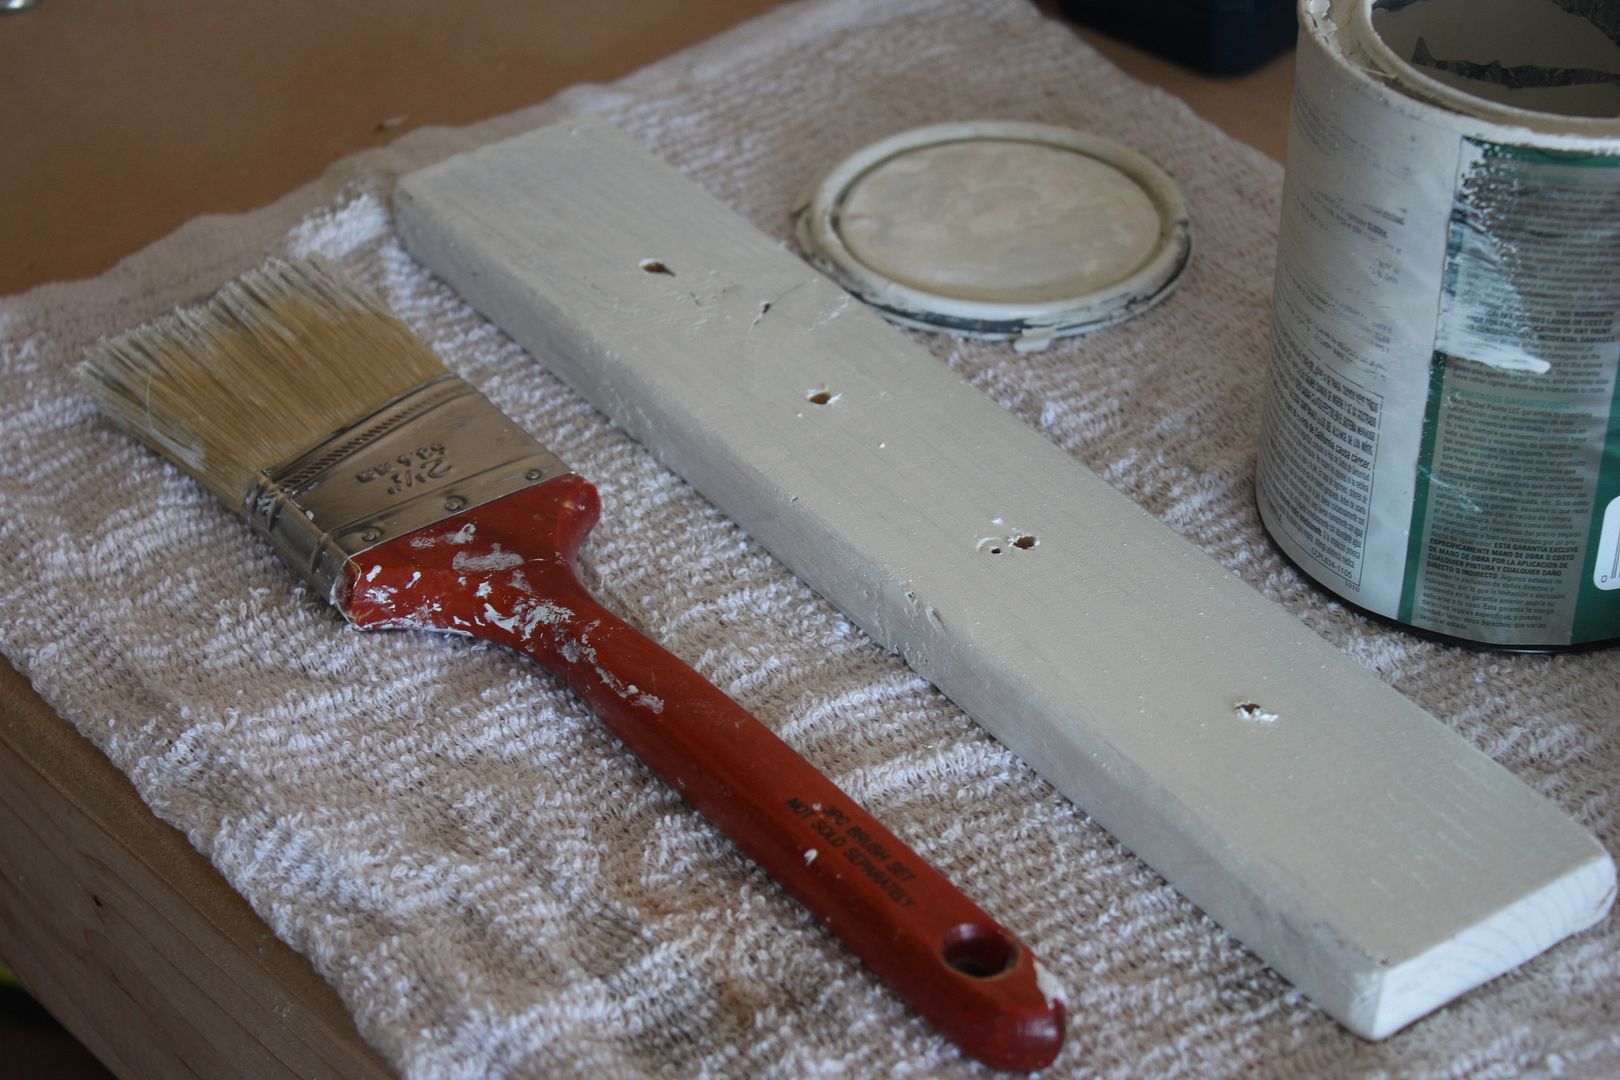
Paint your necklace hanger (optional) and let dry.

Attach the sawtooth on the back. Screw in the knobs. I realized they stuck out the back a little too far so I had my husband (okay I actually DID need him for this part...I like my fingers) use a power saw to remove the extra backing of the knob.

Attach your necklaces and hang up in your closet or wherever you like! Such an easy and inexpensive way to display your necklaces.

Pin It

Low Carb Strawberry Crunch Smoothie

Tuesday, February 28, 2012

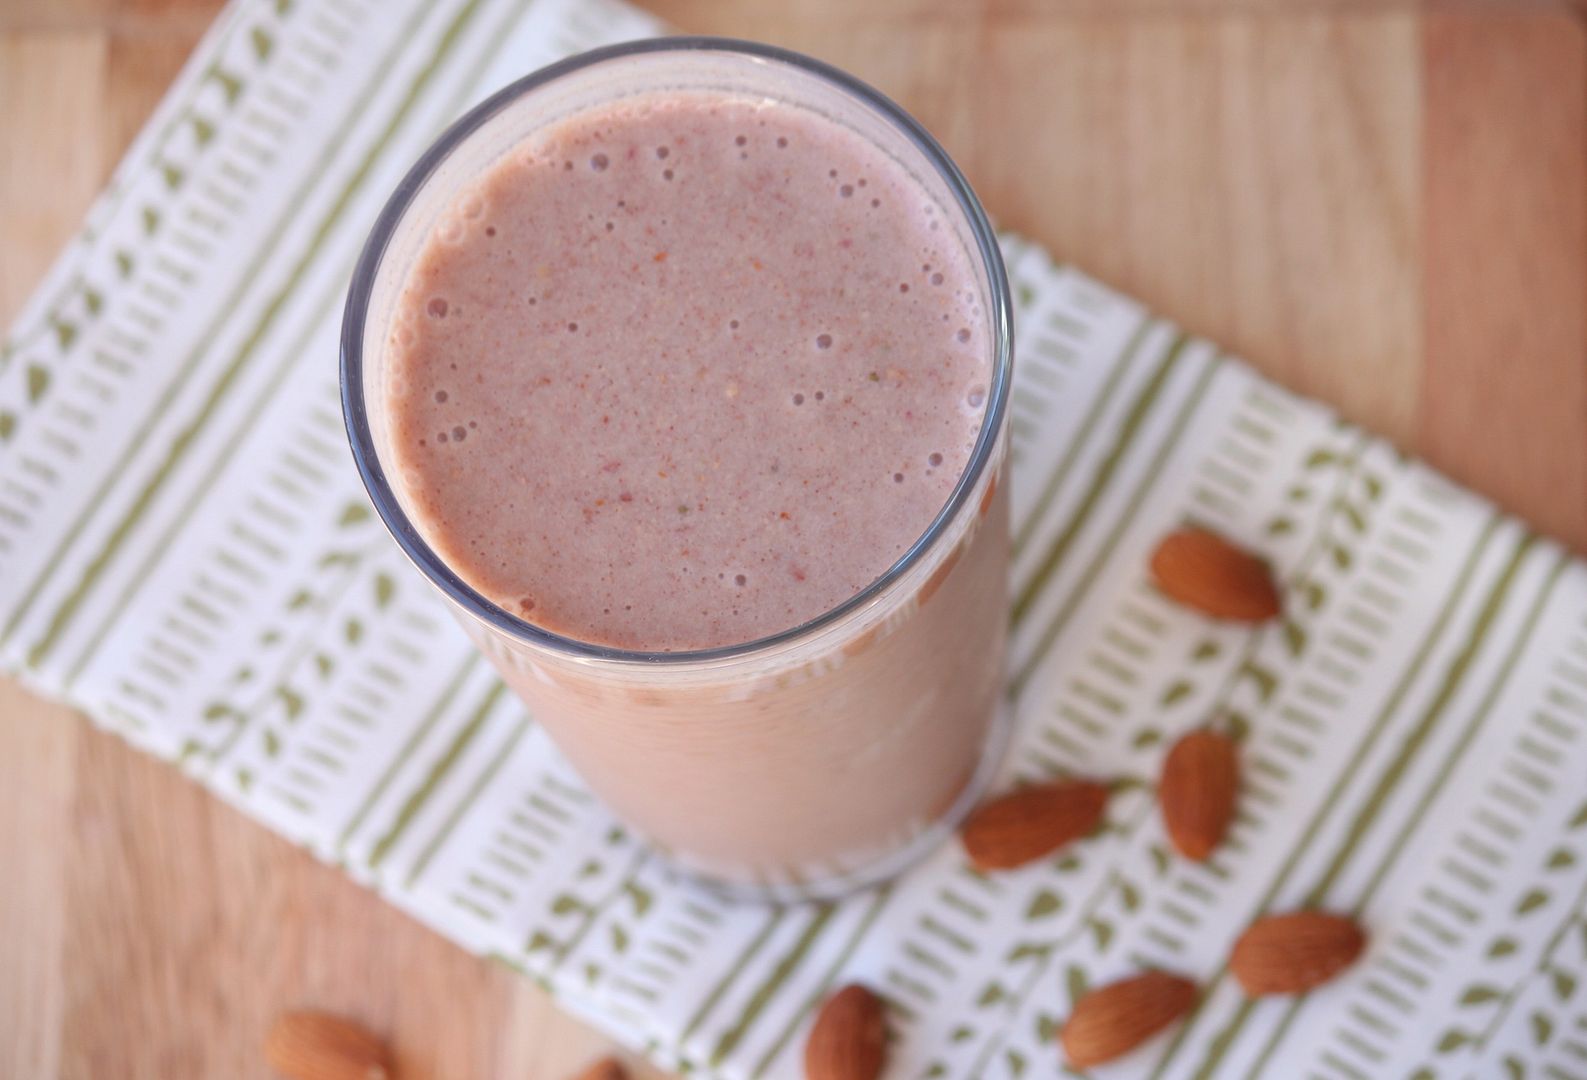
Several of you asked for the low carb smoothie recipe that I mentioned in this post...so I am happy to share it! I drink this for breakfast every morning. It's easy to make, keeps my blood sugars stable, gives me energy and fills me up--the perfect way to start the day in my opinion.

What you will need:
  • 1 cup and about about a tbs of unsweetened vanilla almond milk (if we are being exact here). Make sure you check the back label. The one I buy only has 2 grams of carbs for every cup.
  • 1/2 cup of frozen organic strawberries
  • 1/2 tsp of cinnamon. Cinnamon is great for controlling blood sugars, diabetic or not
  • About 2 tablespoons of almonds
  • 1 tbs of chia seeds (optional)
Directions:
Put everything in a Magic Bullet (if you are an avid smoothie maker I highly recommend this nifty little gadget) or blender. Blend until smooth.

The whole smoothie only has about 7-8 grams of carbs. Enjoy!

Pin It

Delighted Momma Turns One!

Monday, February 27, 2012

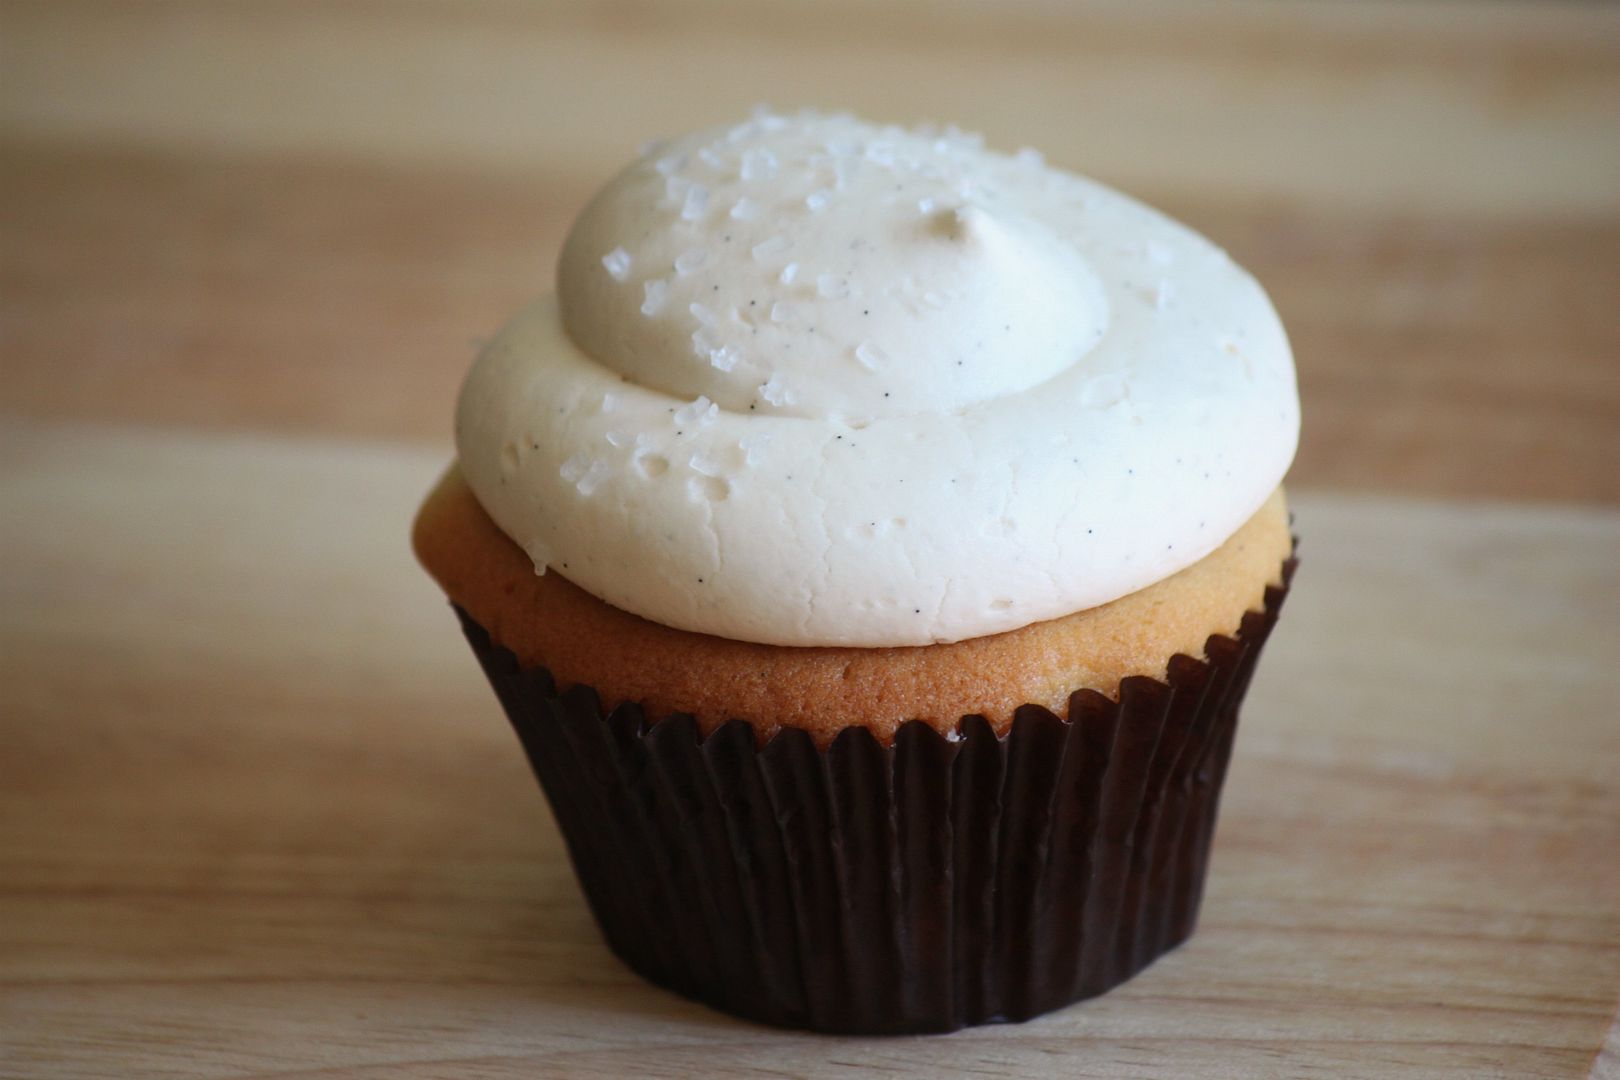
Today Delighted Momma turns one! I celebrated (yesterday) by splitting a vanilla butter cream cupcake with Max...it was worth it even though I had to do a boat load of extra insulin to cover it!

One year ago I decided I wanted to start a blog...a blog where I put time and effort into. I had a personal blog before but never updated it and was not passionate about it. I had so many ideas in my head and having a creative outlet where I could share them sounded like a great plan.

I had no idea what I was doing or what direction my blog would take. I didn't even know how to upload a picture and I barely knew how to operate my camera (as you can tell by this post). I told myself I would learn how to use my camera (I watched hundreds of You Tube videos) and figure out basic html. I sat down at my computer and wrote my very first post. That was the day this little blog was born.

Blogging has been such a fun journey. I have loved writing and sharing with you all over this past year. I truly appreciate those of you who continue to support and read. Thank you so much!
Related Posts Plugin for WordPress, Blogger...