Things That Make Me Say Yeay
Friday, January 15, 2016
Black hexagon tile in the powder bath, and proof that not everything in my house is white ;)
Daily step tracking with my Fitbit, which I love so far. My daily goal is 10,000 steps and so far so good!
Max, after his new haircut. He was feelin pretty fly at this exact moment :) Such a little stud muffin.
A new vegetable I am excited to try, which is called a Romanesco Cauliflower. Pretty cool looking right? Also... by the looks of this picture I am in major need of some lotion ASAP.
Finished up painting the open shelving in my kitchen yesterday. It just needs a few more minor things and it will officially be done. I will share all the details of the after soon!
Have a wonderful weekend!
Labels:
my life,
things that make me say yeay
Chocolate Chip Almond Butter Blender Muffins
Wednesday, January 13, 2016
Say the name of this recipe 5 times fast. Ha! Coming up with recipe names is seriously one of my favorite parts.
Anywhooooo....
You guyyyssss I finally have a full working kitchen! You have no idea how freaking excited I am about this. Especially considering our temporary kitchen for the last 7 months was dark, tiny and dusty (from all the construction) 24/7. So you can imagine how un-motivating it was to cook and bake in there. I am now back on the wagon and ready to share so many new recipes I have been testing out.
For those of you who have been long time readers, you know I love easy, minimal, no fuss recipes and these blender muffins fit that bill perfectly. They literally take 5 minutes to put together, which makes them even more appealing when most of you are already strapped for time as is. I know I am.
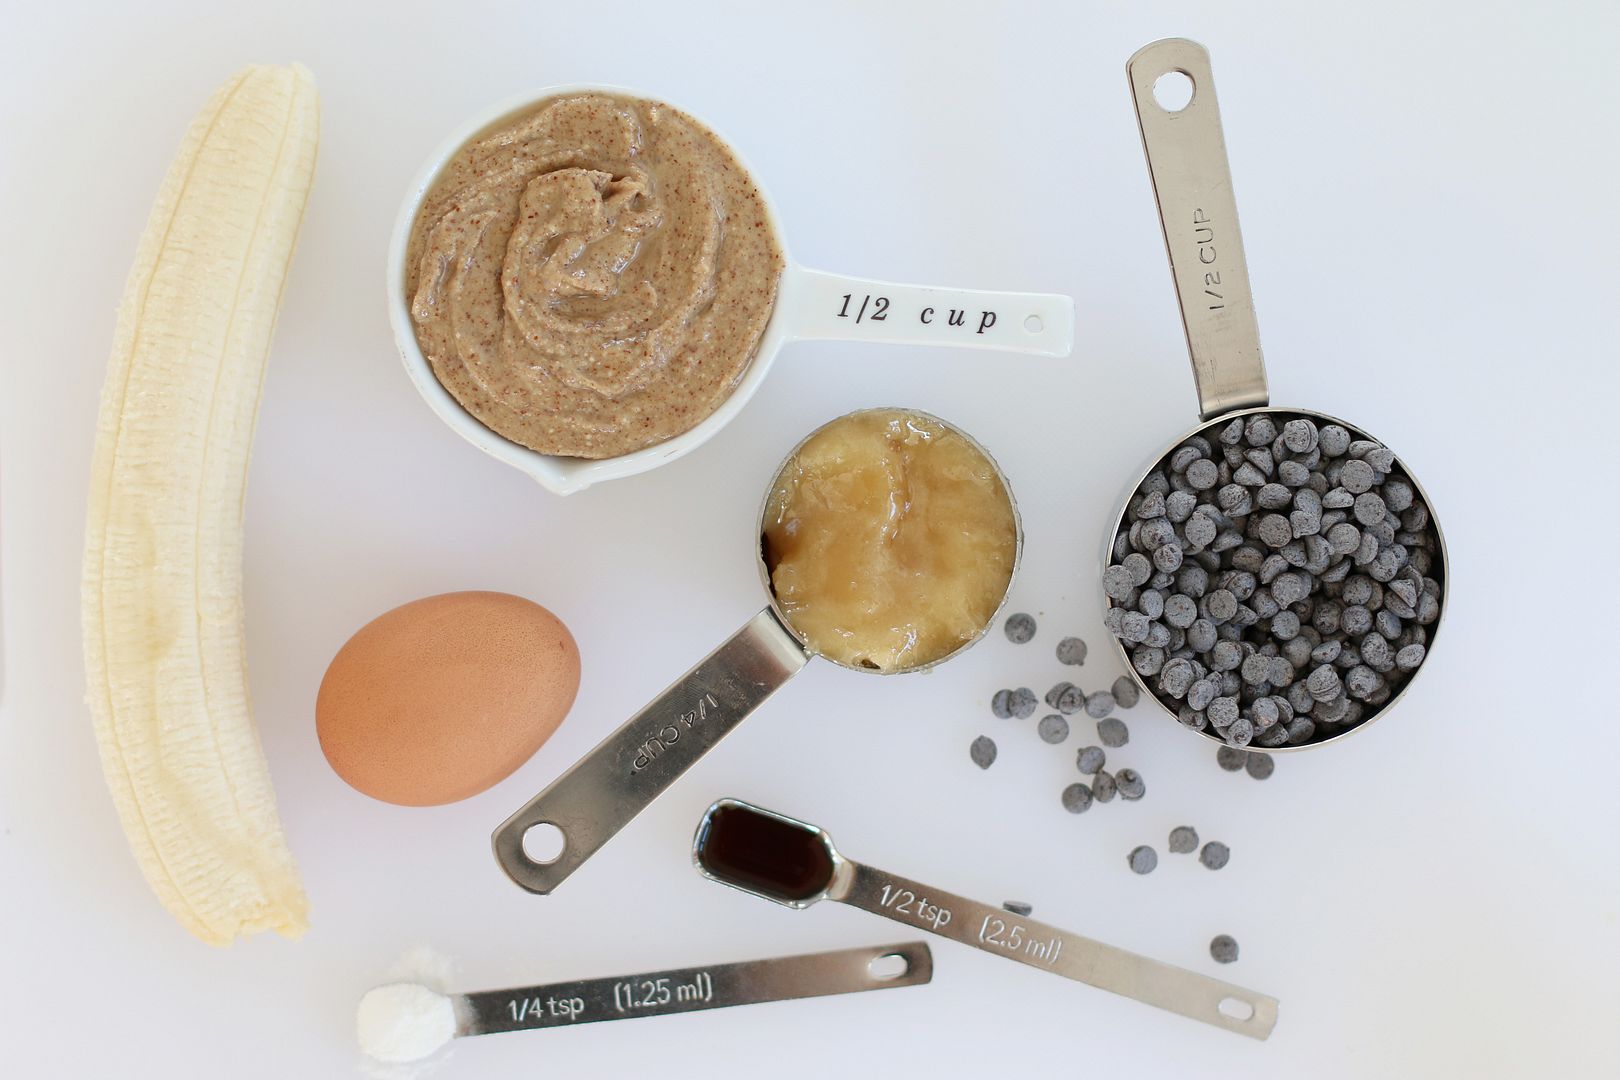
What you will need:
- 1 large ripe banana
- 1/2 cup of creamy maple almond butter (or you can use another nut butter of your choice)
- 1 egg
- 1/4 cup of honey
- 1/2 cup of Enjoy Life Chocolate Chips
- 1/2 tsp of vanilla extract
- 1/4 tsp of baking powder
Directions:
- Preheat oven to 400 degrees.
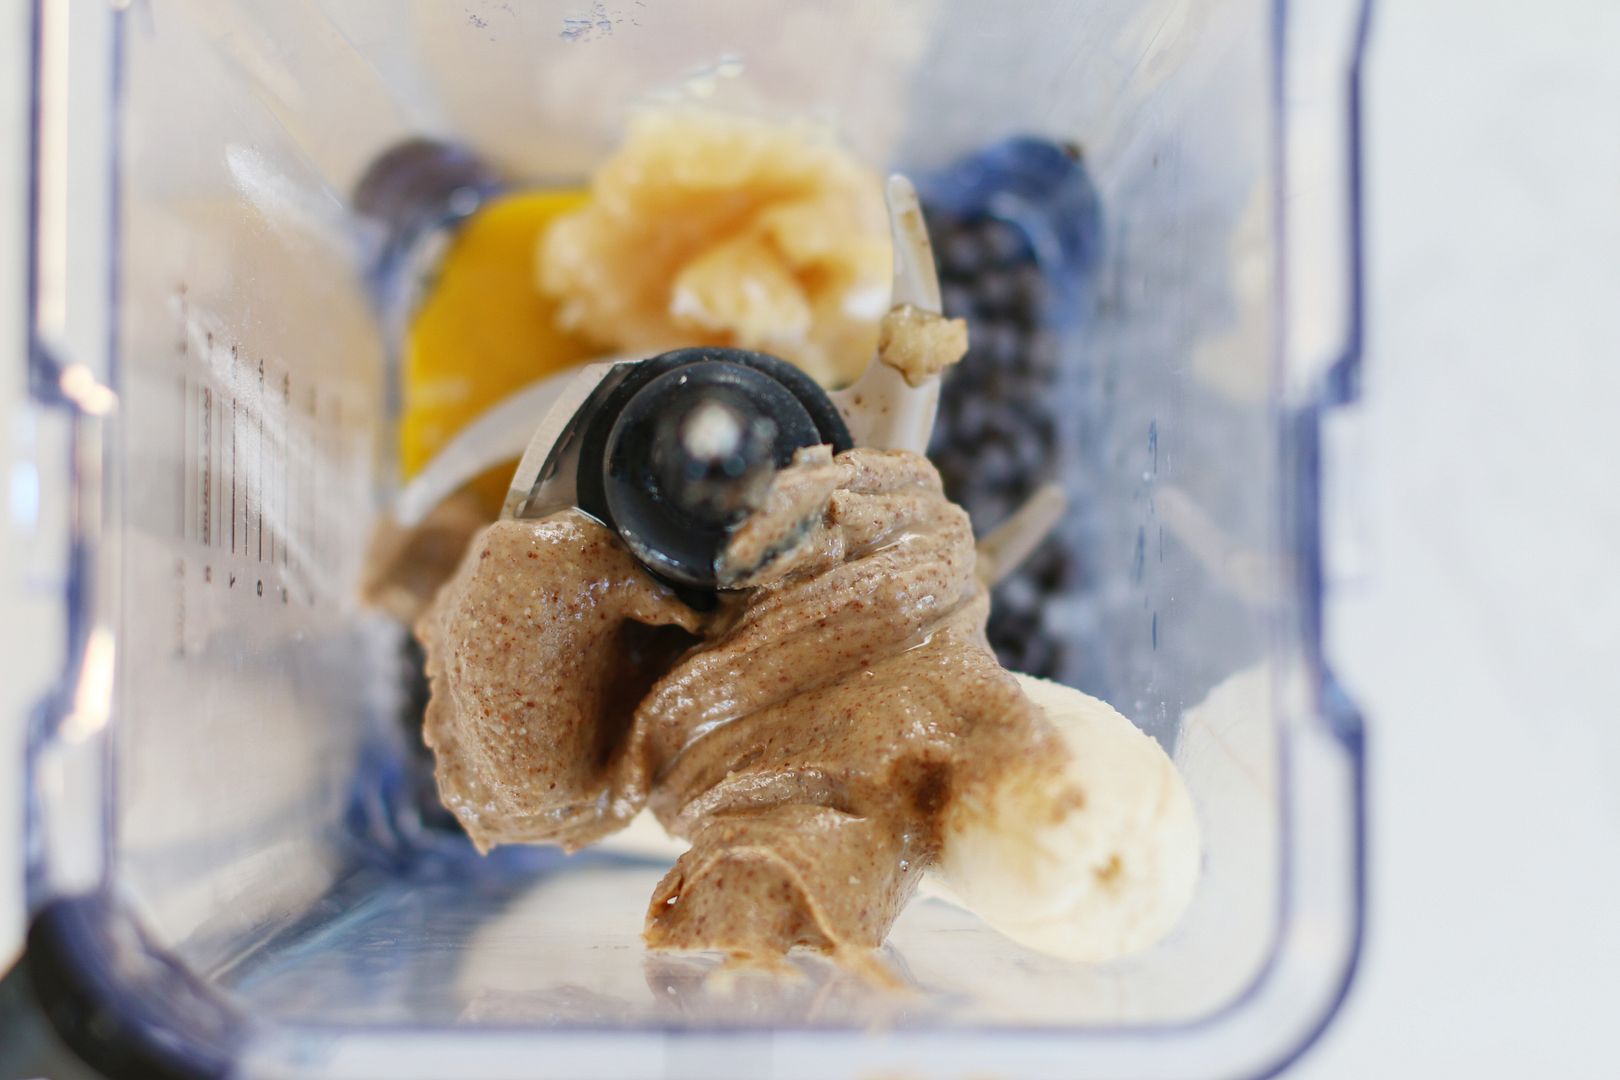
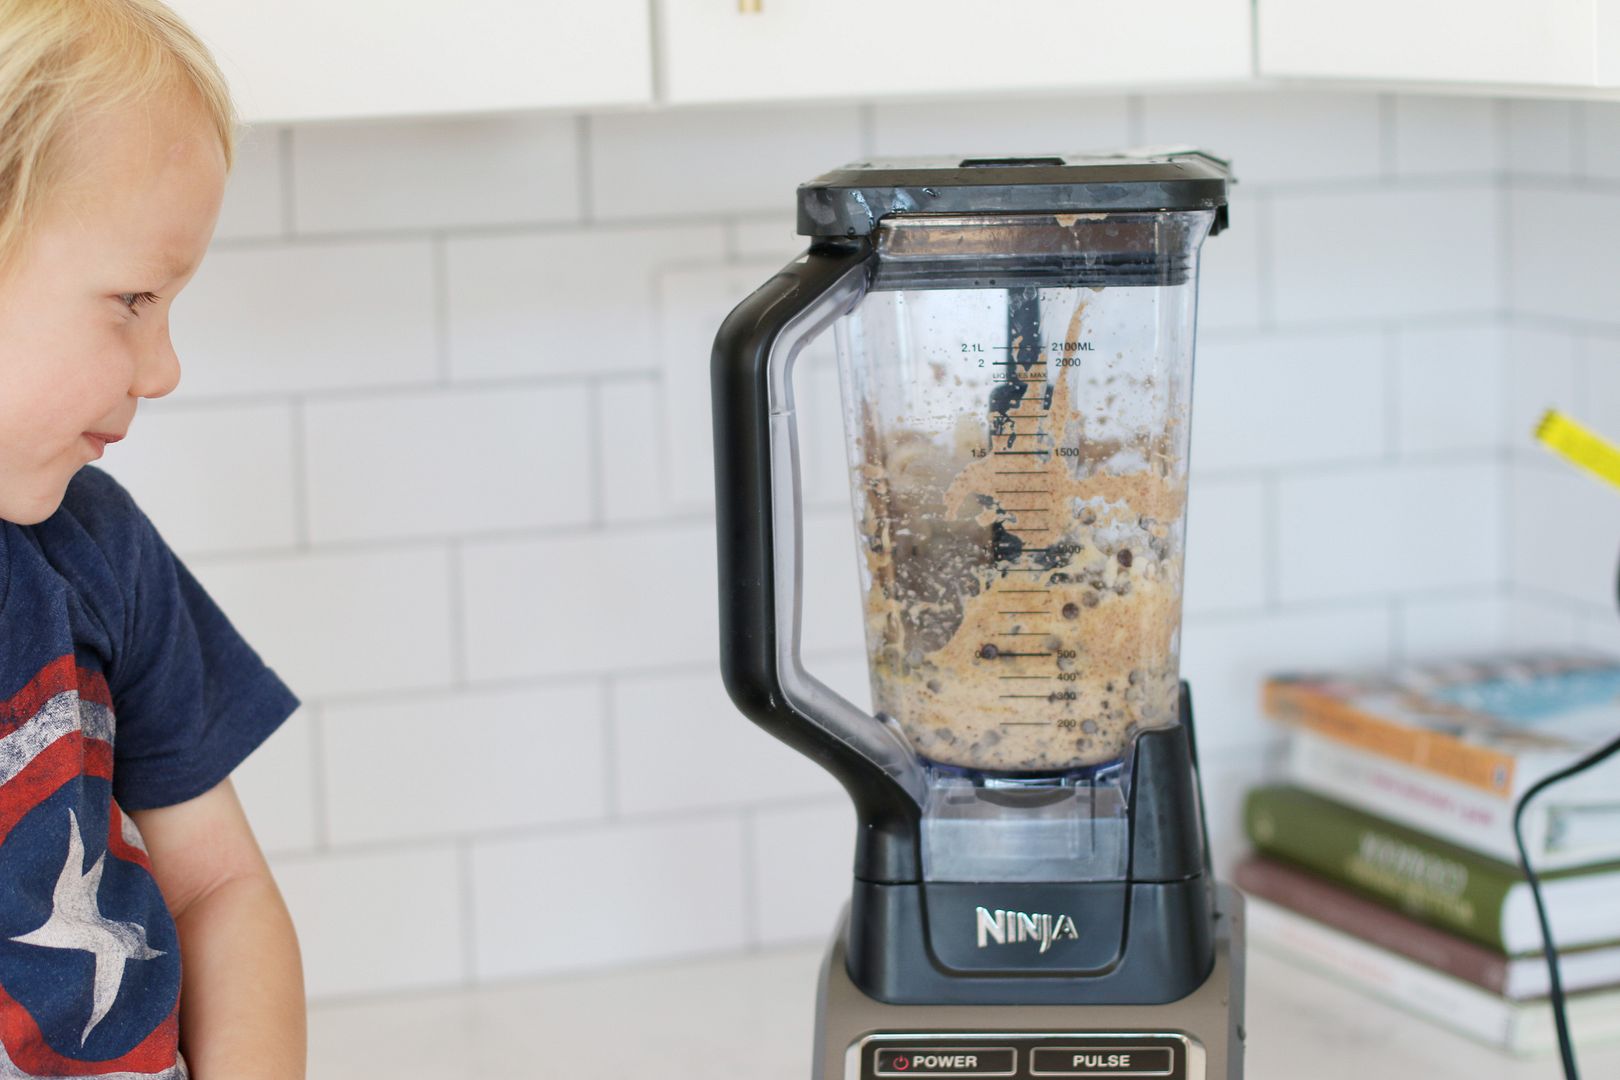
- Throw all of the ingredients above into a blender. I LOVE my Ninja blender, which I literally use for everything.
- Blend for about 30 seconds or until you have a smooth consistency.
- Place muffin liners in a muffin tin* and fill each muffin cup with batter.
- Bake for 10-12 minutes or until knife or toothpick comes out clean.
- Let them cool and then enjoy!
* I used paper muffin liners (versus a silicone baking pan) for the second batch and they held up much better.
Labels:
recipes
New Things for the NEW YEAR at Delighted Momma
Monday, January 11, 2016
It's 2000 freaking 16! A new year means a new start and since almost half of last year was consumed with our renovation, I am so ready to let out some of this major pent up creativity and share my new outlook for my blog and what is to become of Delighted Momma.
So lets kick off 2016 with a recap of what I have been up to...
We started off last year with the crazy idea of buying a horse barn and transforming it into our dream home. Well, fast forward 6 1/2 months later and we are DONE! We freaking did it. We barely did it, but we did it. My original plan was to share every step of the way, but I soon realized that was nearly impossible since Ian and I were so heavily involved in the renovation all my extra time was devoted to that. BUT lots of posts will be coming up with after reveals very soon.
With the new year I am ready to bring my blog back to more of its original roots, and basically think and worry less about each and every post and just have fun with this space again. I plan on getting back to sharing more tidbits about my life and the journey of being a momma, fun beauty tips and trends, healthy recipes, DIYs, and whatever else I am feeling inspired by at the moment. My blogging style has always been a tad bit ADD, but that works for me :)
Thank you for reading and I look forward to getting back to regular sharing here soon!
Labels:
my life
Things That Make Me Say Yeay
Friday, December 11, 2015
Max and Ronin decorating a giant gingerbread man. I actually purchased this by mistake and thought I was going to open a box with a bunch of tiny gingerbread men, but instead it was just this guy. It ended up being just as fun for them since all they really care about in the end is eating the actual cookie.
A grass happy face in the side of a hill :)
Newly installed brass lighting in our master bathroom. Love these so much!
A pretty funny autocorrect from Ian, haha!
Our ugly/awesome sweaters for the Christmas party we are going to tomorrow night. Can't wait to get all festive and have some fun!
Have a wonderful weekend!
Labels:
my life,
things that make me say yeay
EASY DIY Wood Headboard
Monday, November 23, 2015
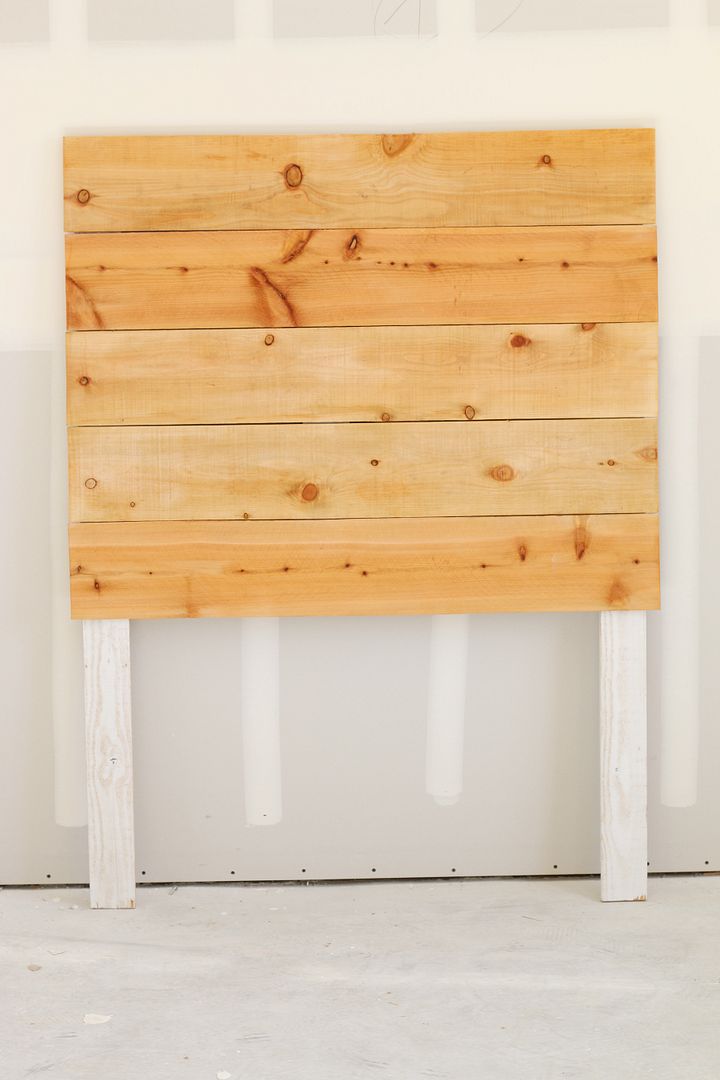
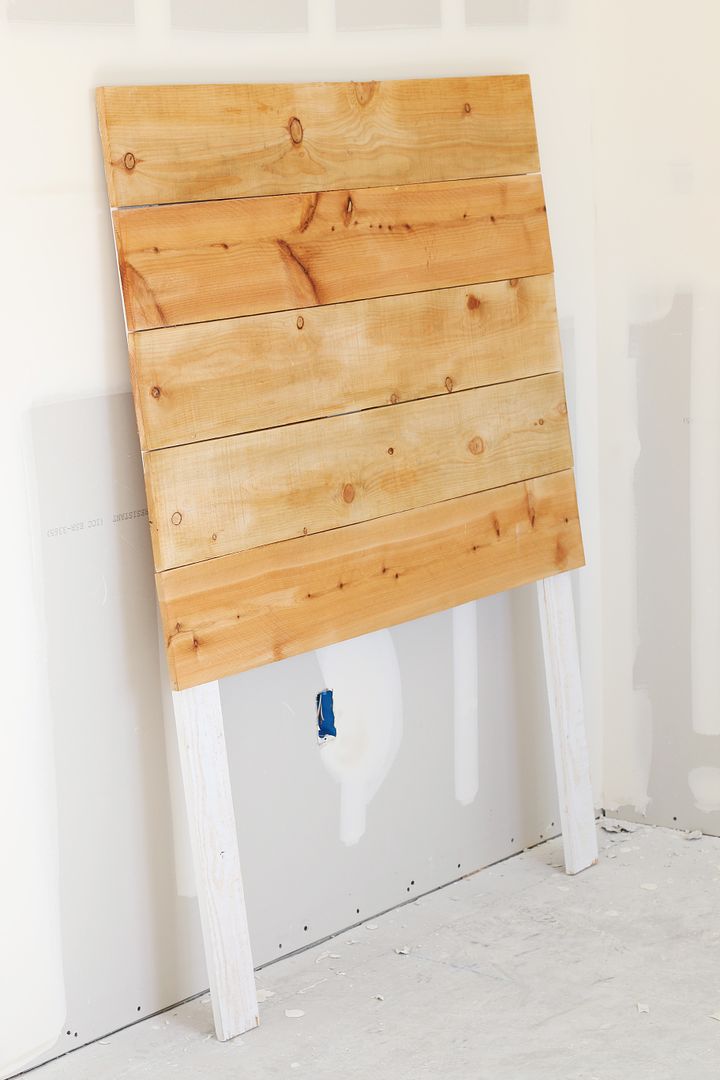
We are getting super close to being done with our renovation! That means that very soon the boys will each have their own bathroom (thank God for that) and bedrooms. Ronin has completely outgrown his toddler bed and is more than ready to be in a twin bed. Since the decorating vibe in our new home will have more of a rustic/eclectic vibe, I wanted to branch out of my DIY comfort zone and build something myself. I was originally inspired by this tutorial but wanted to make my life easier with less steps so I put my own spin on it and I'm not gonna lie, I surprised myself when I was done. I actually built something I liked! ;)
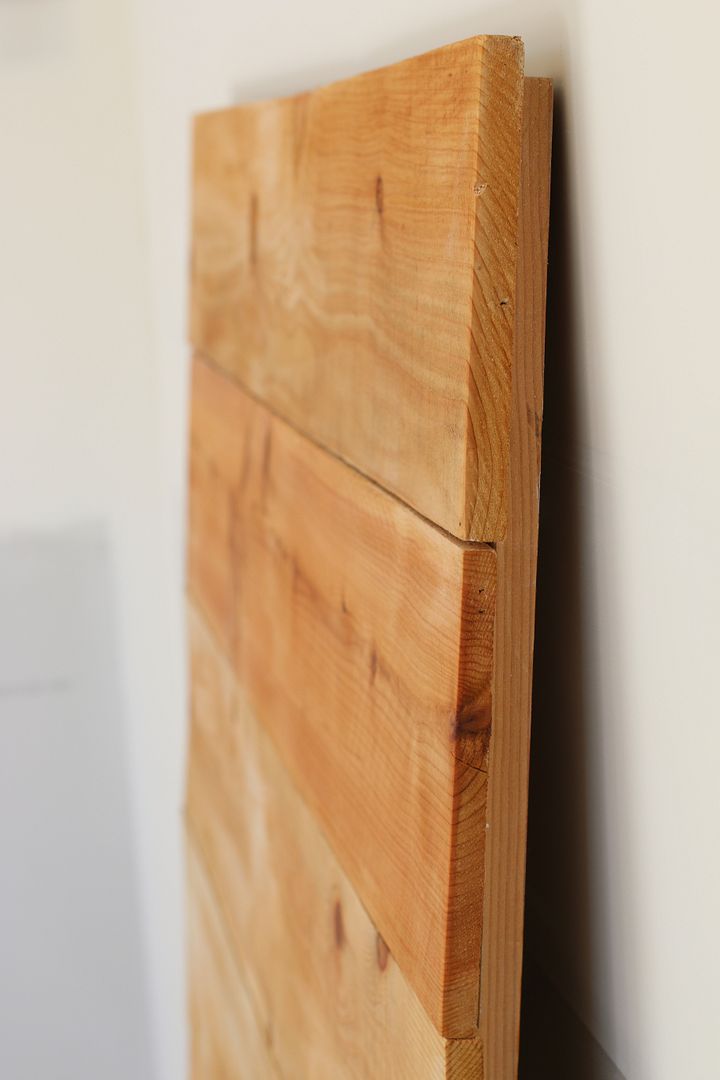
My original plan for Ronin's headboard was to use the old barn siding that I had saved from demolition. BUT after putting it together it weighed about 200 pounds (not even joking) and I decided that the goal here was not to DIY how to knock out your child while they are sleeping so I saved that wood for another project and moved on to something that was much lighter...fence picket wood! You can find fence picket wood at Home Depot for around $2 a pop and its super light weight. Plus, they can cut it right there for you to any length you want, which saves you some fingers and time.
So here is how I built this super duper easy bed frame...
What you will need:
My original plan for Ronin's headboard was to use the old barn siding that I had saved from demolition. BUT after putting it together it weighed about 200 pounds (not even joking) and I decided that the goal here was not to DIY how to knock out your child while they are sleeping so I saved that wood for another project and moved on to something that was much lighter...fence picket wood! You can find fence picket wood at Home Depot for around $2 a pop and its super light weight. Plus, they can cut it right there for you to any length you want, which saves you some fingers and time.
So here is how I built this super duper easy bed frame...
What you will need:
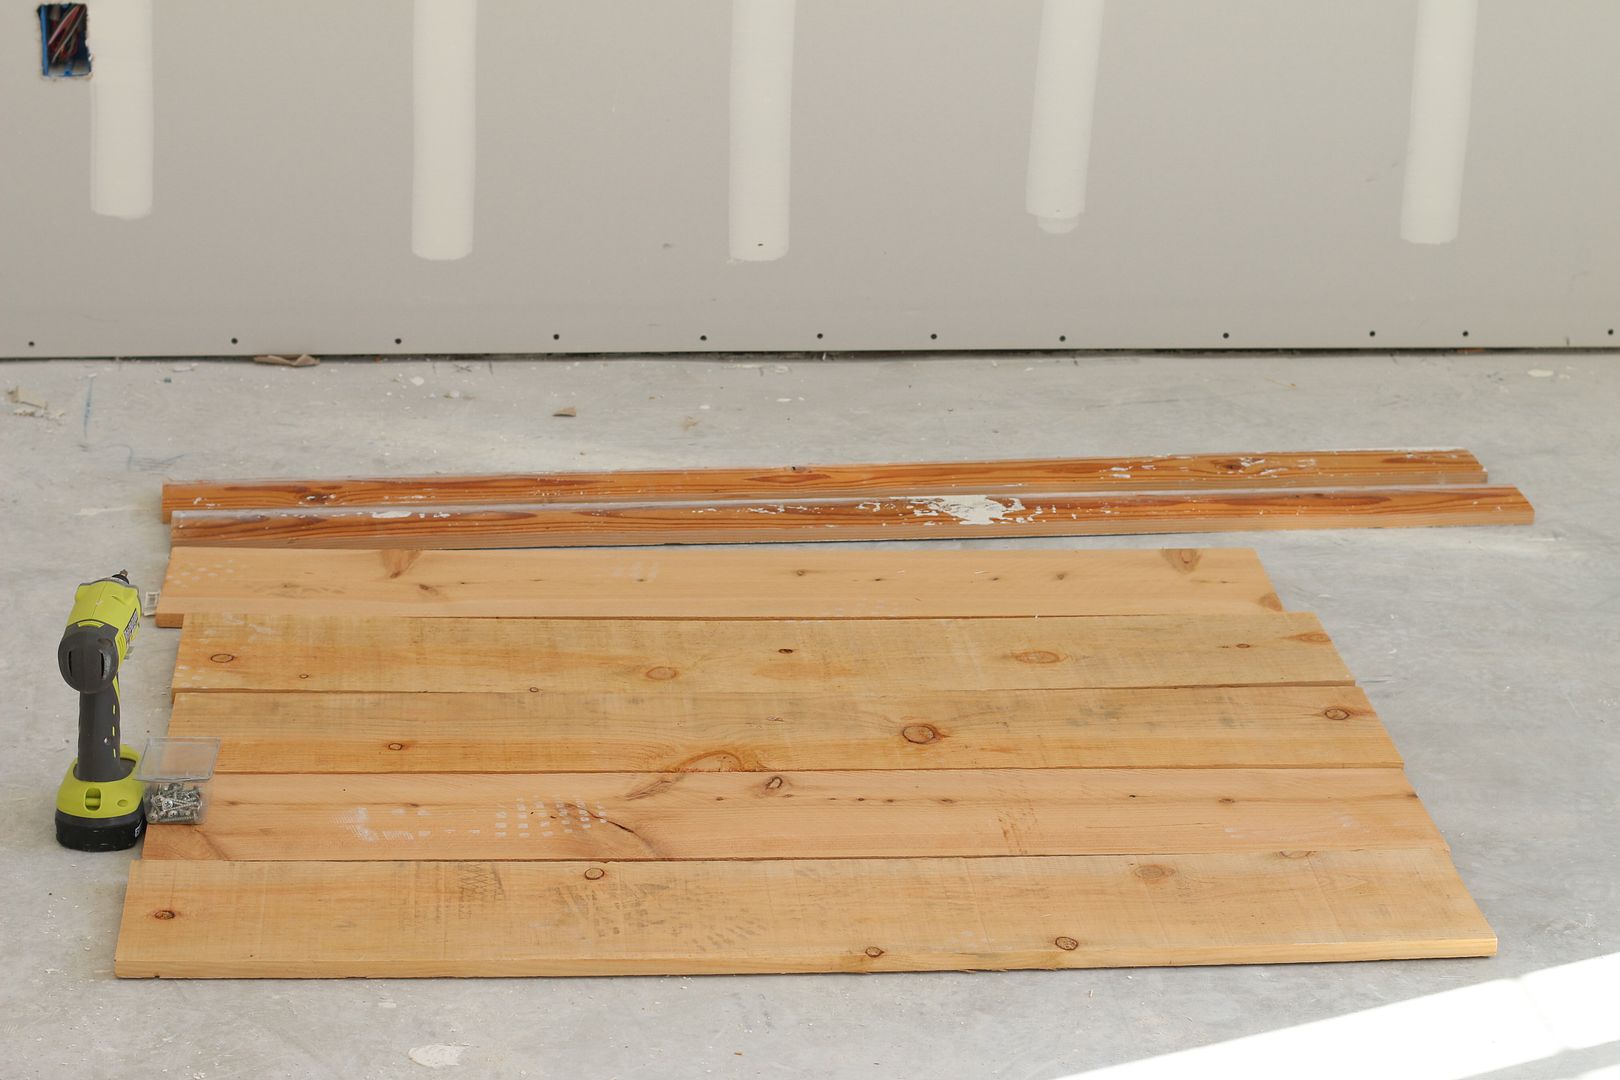
- 5 pieces of wood fencing (I had each piece cut to 46" for a twin sized headboard. So if you are making a larger headboard adjust the lengths accordingly)
- 2 -- 1" x 4"s each cut to be 60" long
- A bunch of 1.5" wood screws
- Drill
- 150 grit sand paper
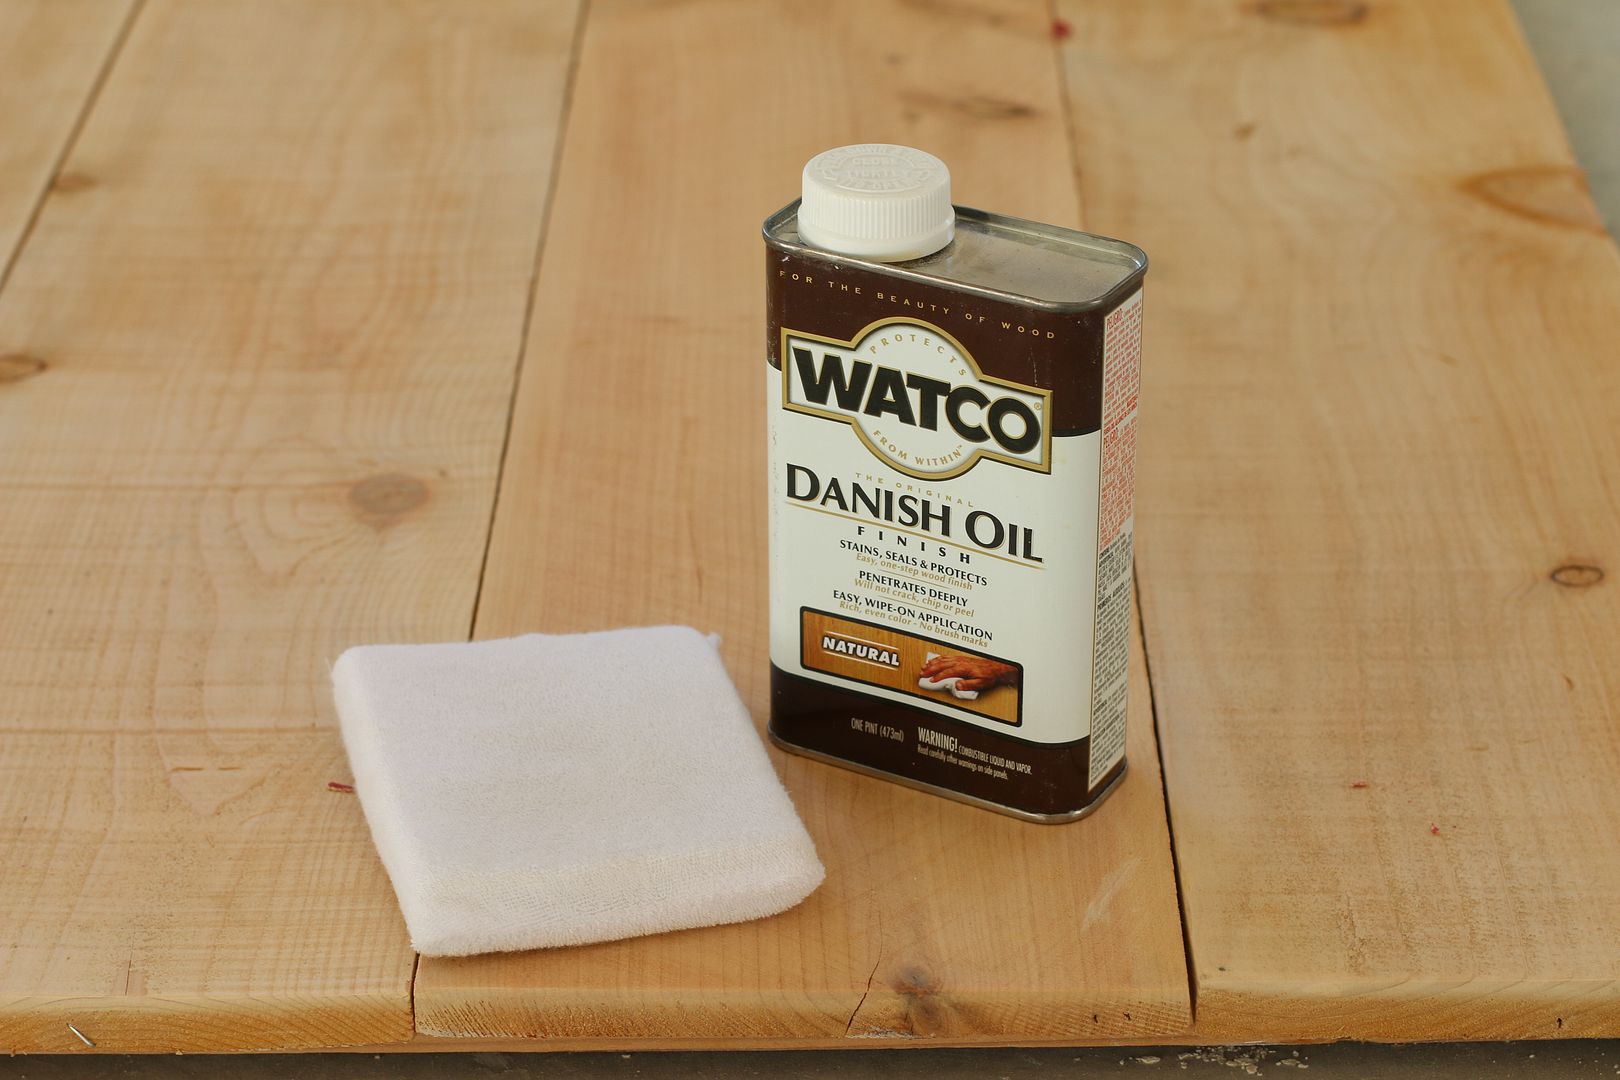
- Danish Oil in Natural
Here is how to make it:
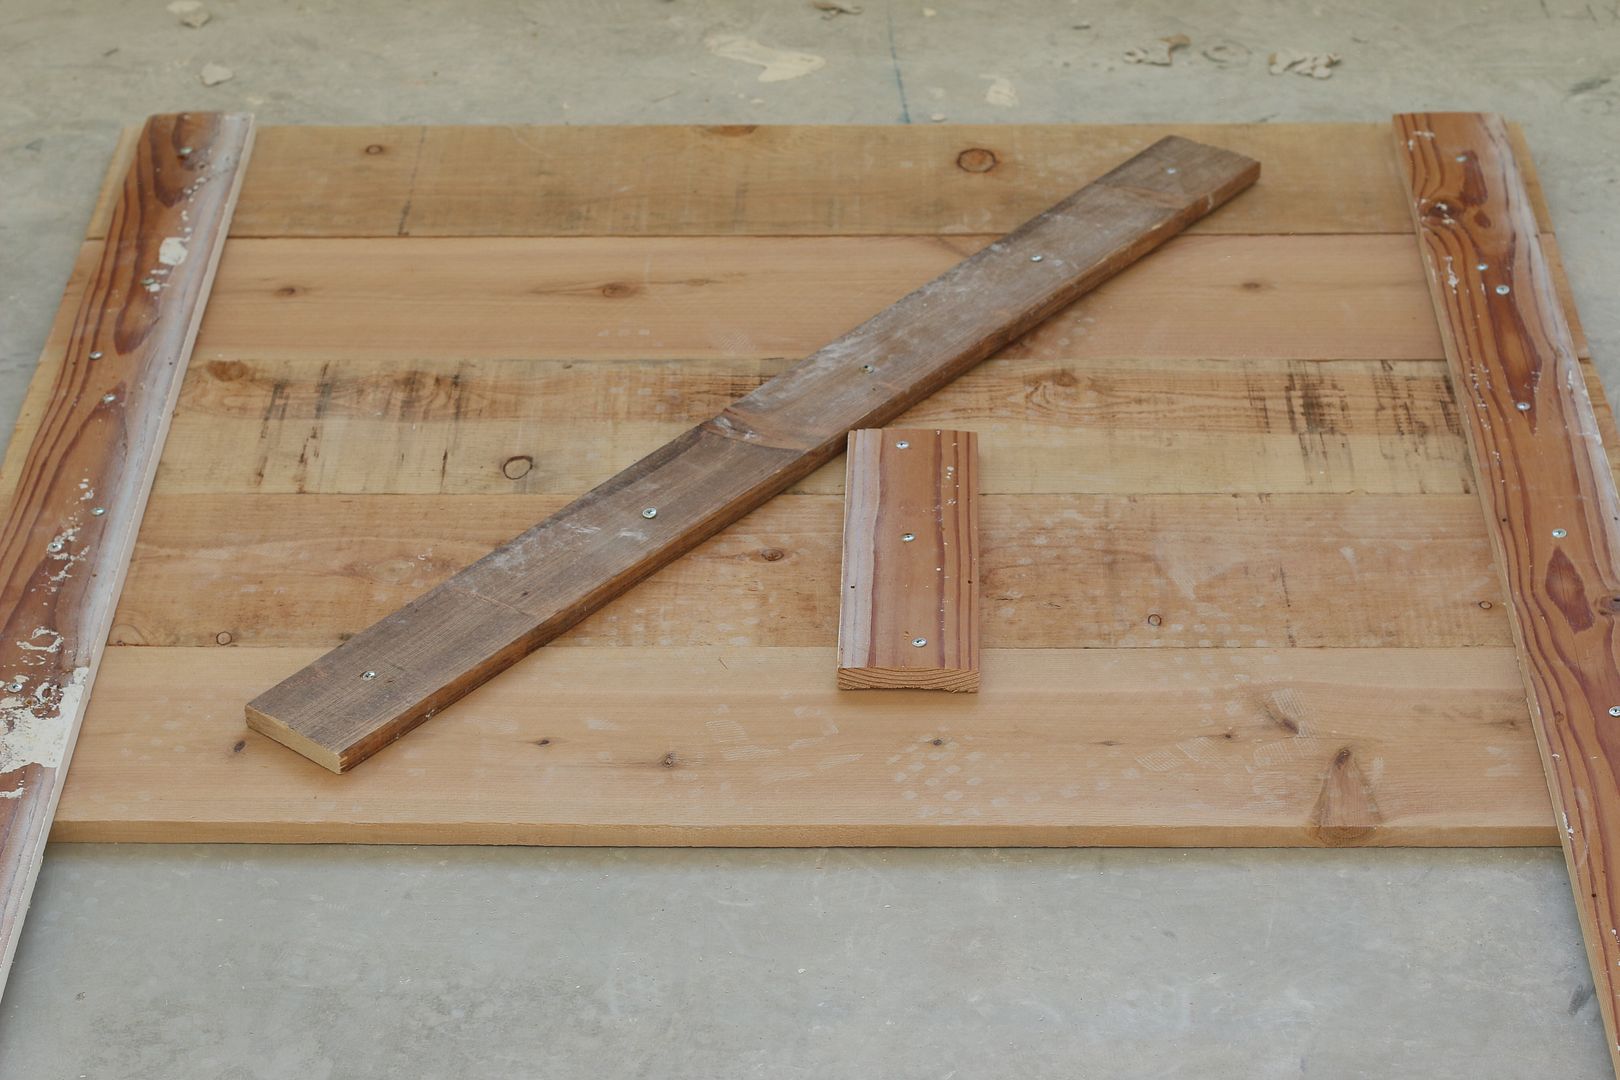
Lay your pre cut pieces of wood on the ground in the order that you want.
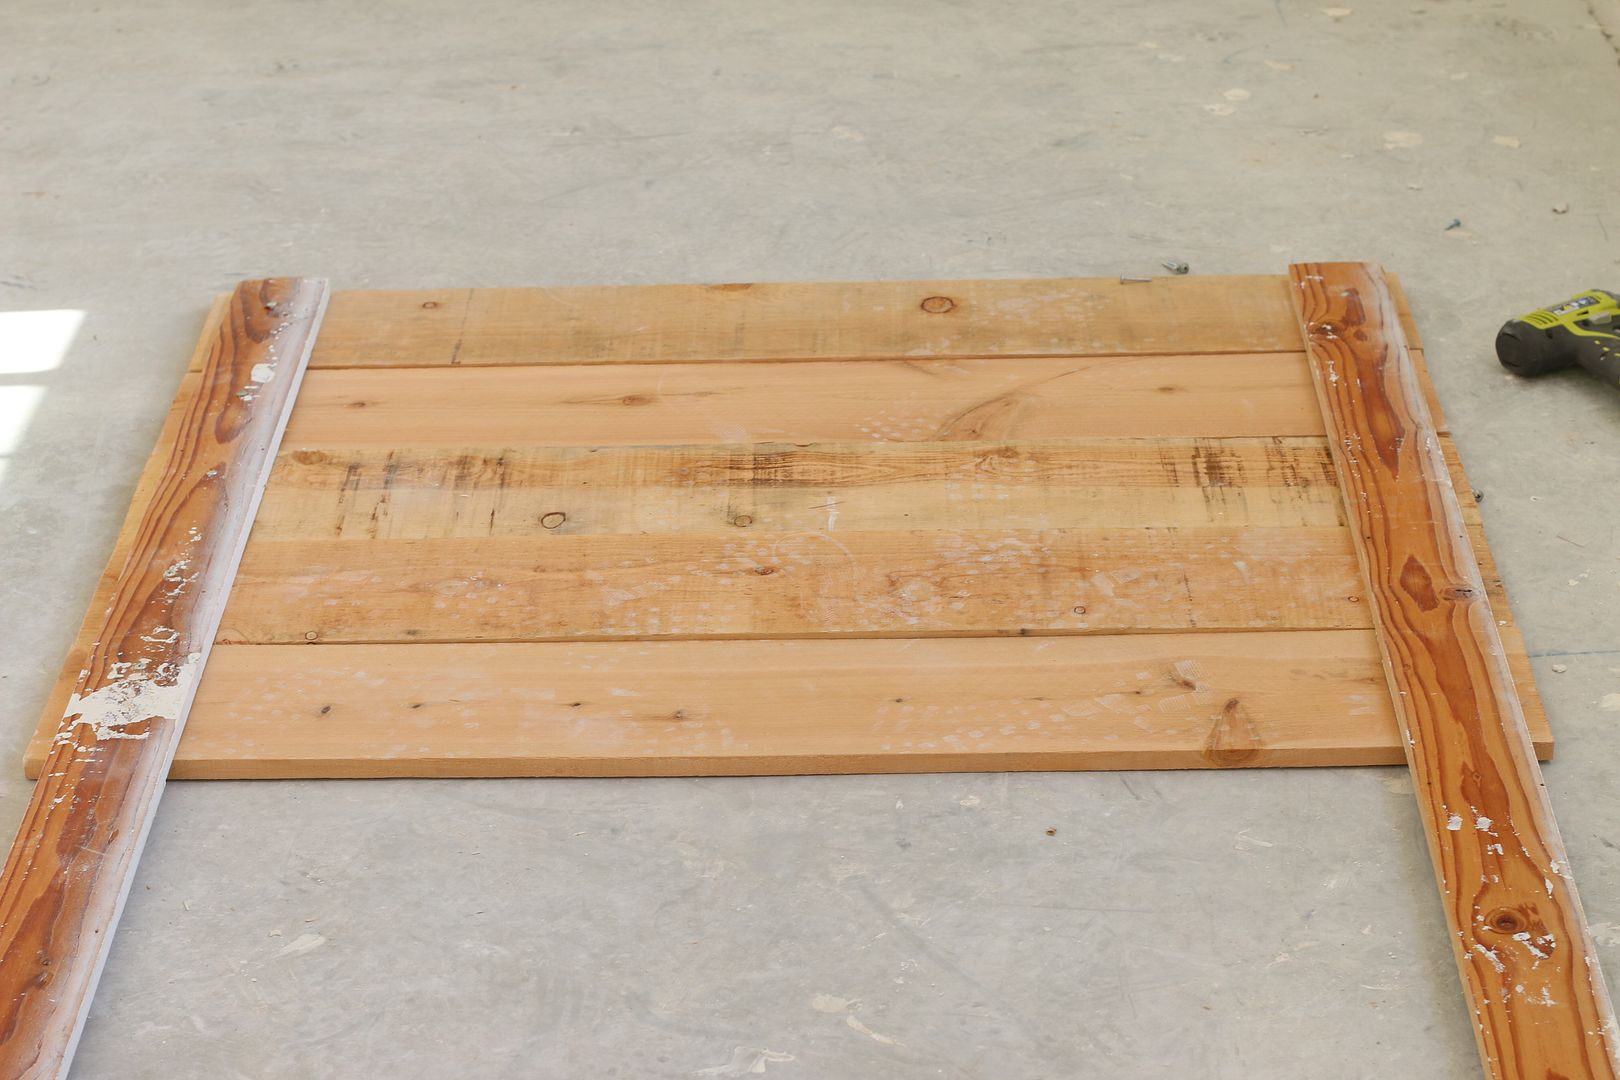
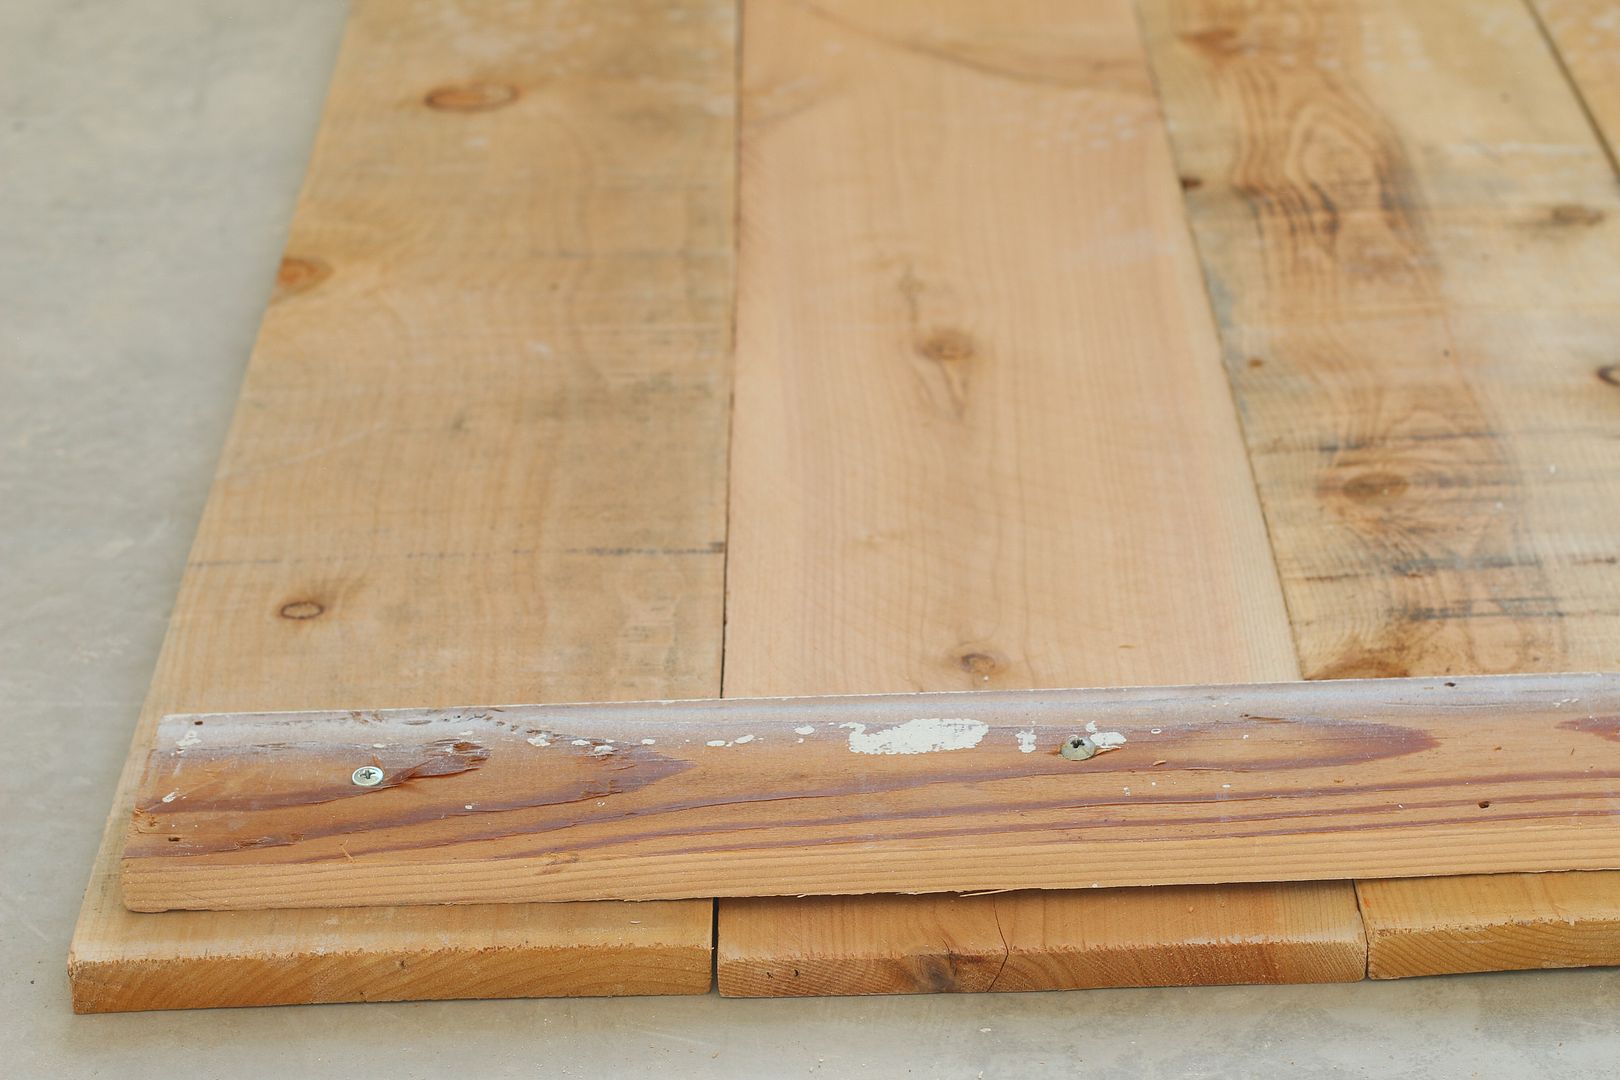
Place the 1" x 4"s evenly on each side of your headboard like shown above. Using the drill, screw your legs into the fence wood from the top to the bottom. I wanted a little extra support, so I also drilled in a few scrap pieces in the middle.
Once your headboard is fully secured with the legs, turn it over and give it a good sand with 150 grit sand paper. Wipe off all the dust after you are done sanding and evenly apply a coat of Danish Oil. Make sure to apply oil in the direction of the natural wood grain. You could also use a dark wood stain, but since I loved the raw natural color I decided to just brighten it up a bit with the oil.
Labels:
diy projects
Barn Tour! (Video)
Monday, November 16, 2015
Okay... lets try this barn tour thing again! The first video I shot was pretty horrible and I took it down not long after posting it, so round two here ya go! The upstairs is still a work in progress so I will share that part when it is more finished.
The plan with this video was to film it when it was nice and quiet and clean, BUT since we have people at our house doing different things until the sun goes down, this is as good as it's gonna get for now. Filming is definitely not one of my strong points as you are about to witness ;)
Labels:
house,
Our Real Life Fixer Upper
No More Excuses + Making Some Personal Changes
Wednesday, October 14, 2015
I'm sitting here trying to figure out a clever way to start this post, but instead of white picket fencing things I am just going to lay it all out there. So here goes...
Since moving into our temporary living space within our renovation, I've gained almost 10 pounds. And to be honest, I'm feeling pretty unhappy with myself right now, and ya know I'm allowed to feel that way. I'm 5'4" so for my body this feels like a lot of weight. I can be honest with myself and acknowledge that I have been drinking way more wine at night than I probably should, wearing gym clothes more often then I actually go to the gym, and I have not been handling stress in the right way at all.
Since I refussseeeeee to buy bigger jeans and make more excuses (and room) for my expanding butt, starting right now I am making some changes.
Here is how I plan to get myself back on track:
- Get back into running daily. I love running and have almost given it up completely since moving. And when I do go to the gym I need to turn off my phone to avoid distractions and just focus on myself for that one hour. That has definitely been one of my biggest problems. I have the hardest time turning everything off. But people, instagram, e-mails, texts and googling for things for our house can all wait.
- Swap out wine on weeknights with yummy decaf tea. I'm not saying no wine at all, I just need to get back to enjoying a glass here and there and not every single night.
- Track my progress on Lose It! My husband uses this app and he loves it. Not sure how I feel about counting and tracking every little single thing that I eat, but I am going to give it a shot. Has anyone else used this app? Did you like it? I would love hear.
- Realize it's okay to put myself first sometimes when it comes to my mental and physical health. My husband is more than understanding and I just need to talk to him more. I know he would completely understand if I told him I just need to go outside (away from the chaos) to clear my head and get some exercise.
And that is the extent of my personal goals at this very moment. The reason I've decided to share this is because in some way it makes me feel more accountable for the things I do. I need to work on myself and I am sure we can all relate to feeling like that at one point or another. I will share an update with you next week on how things are going.
So here's to a healthy and positive new day!
Labels:
my life