repurposed mug tree

Monday, May 9, 2011

Found this little thingamajig at the Goodwill for $1. To be totally honest..I had no clue what it was. But I knew it had a purpose. I PROMISE I am not hoarding useless junk!

Google rocks. I entered in the description and hit "images" and a bunch of these mug trees popped up.

Spray painted it white...and hung some of my jewelry.

Okay...I am not TOTALLY stoked on it..only my shorter necklaces fit...and they were still getting a little tangled but OH WELL. At least some of them will avoid the tangled mess party in my top dresser drawer.


Tip  Junkie handmade projects

Momma's Day

Sunday, May 8, 2011

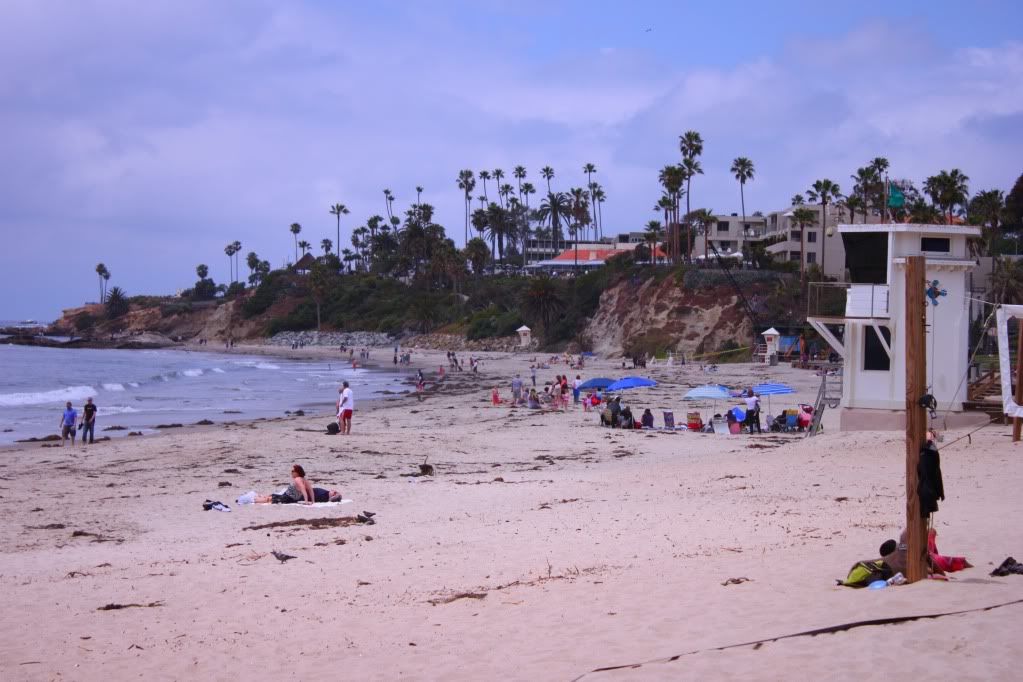
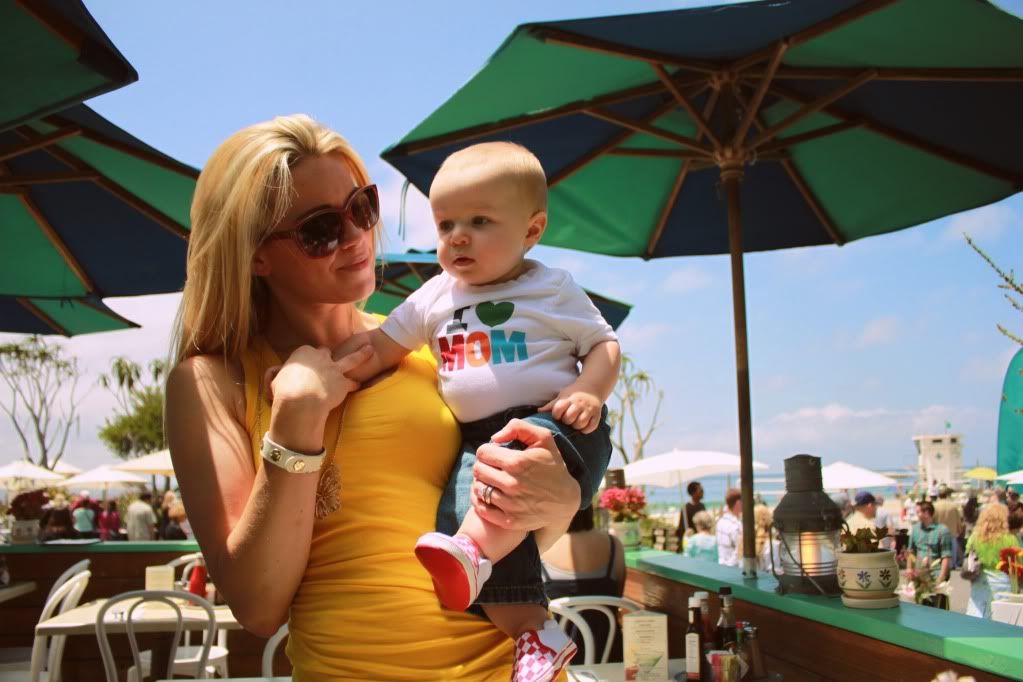
We drove to Laguna Beach and had a beyond lovely day!


Today was my very first Mother's Day! I feel so blessed to have such a wonderful man.. and a baby who is the happiest little guy ever. Ian went over and above to make this day special. He thought of everything. I was totally spoiled...and I loved every second of it! What a lucky girl I am to have these two boys in my life.

I hope all you Momma's had a special day!

diy distressed picture frames

Saturday, May 7, 2011

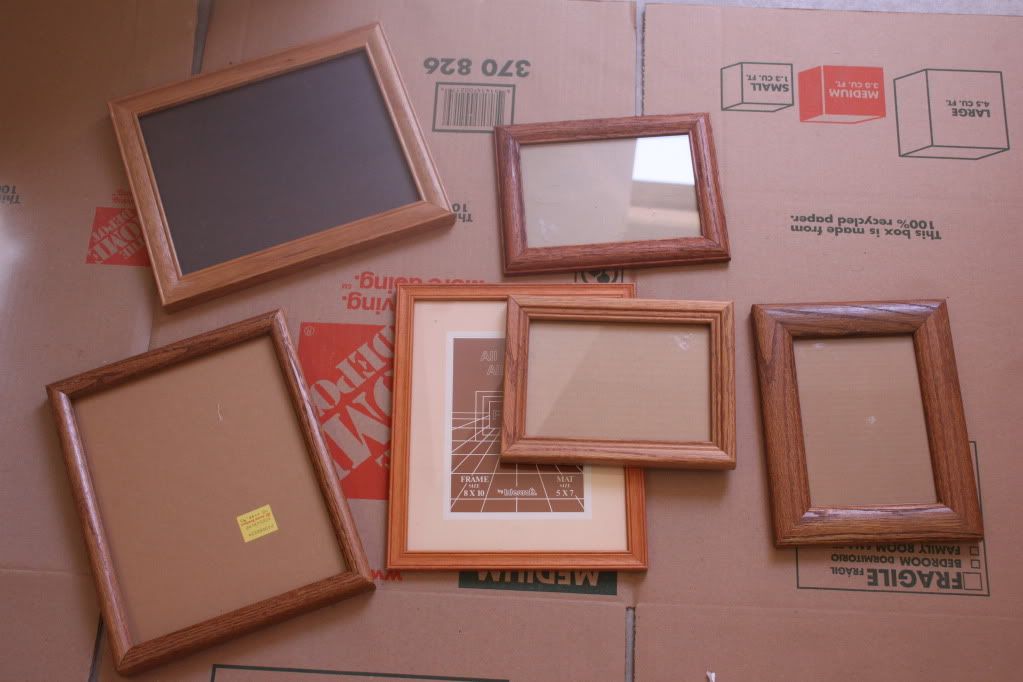
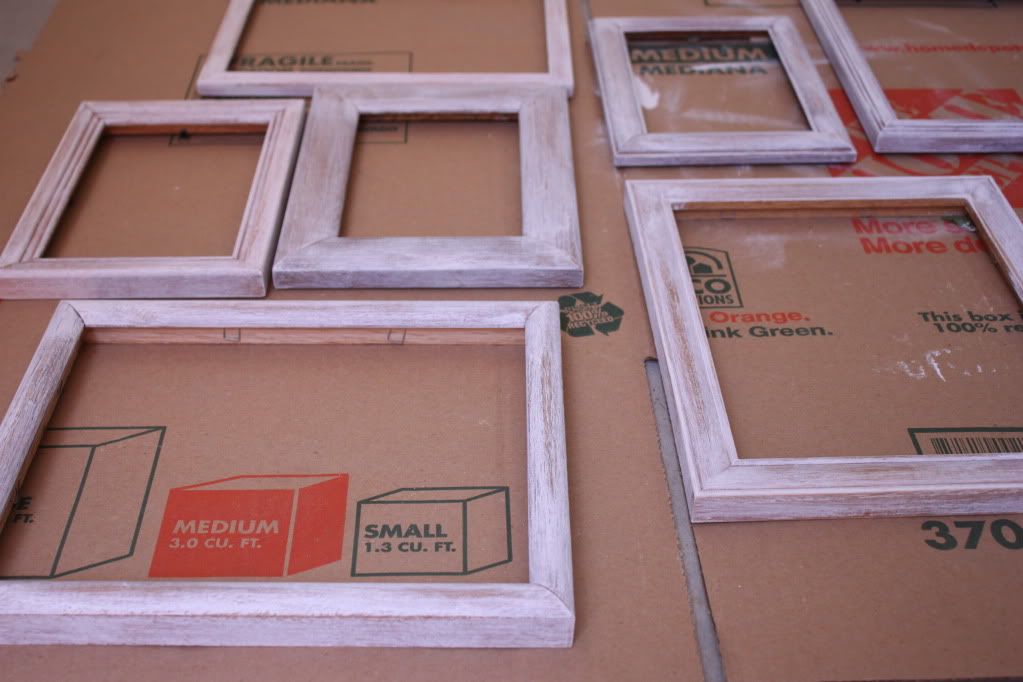
Bought all these frames for a total of $5 at my favorite, secret..moving soon (BOO) thrift store.

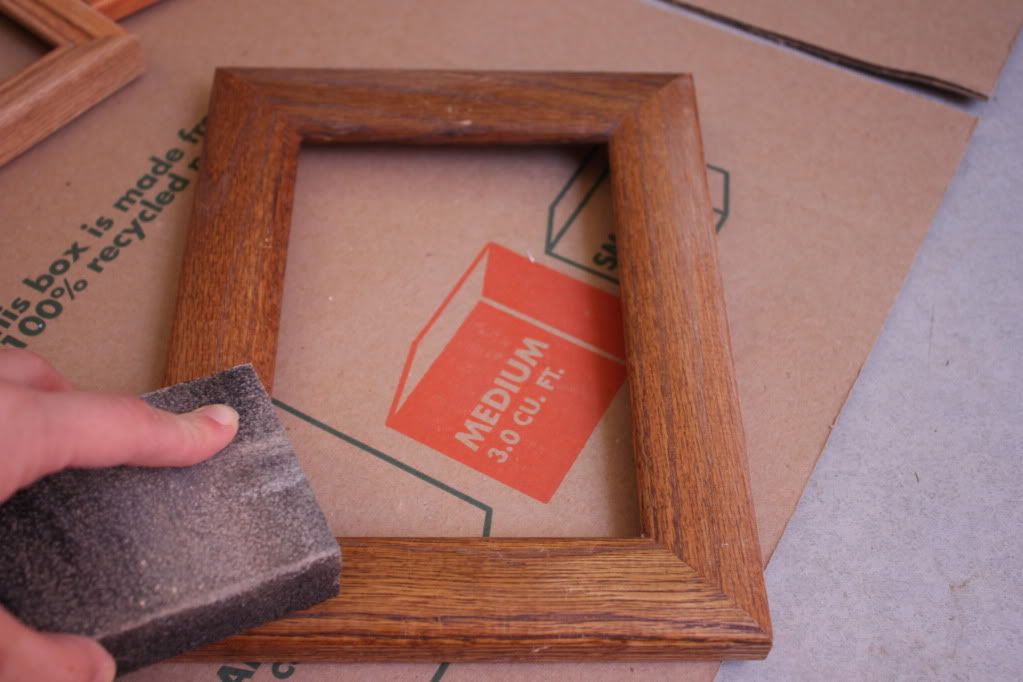
Hand sand them down to remove any shininess.

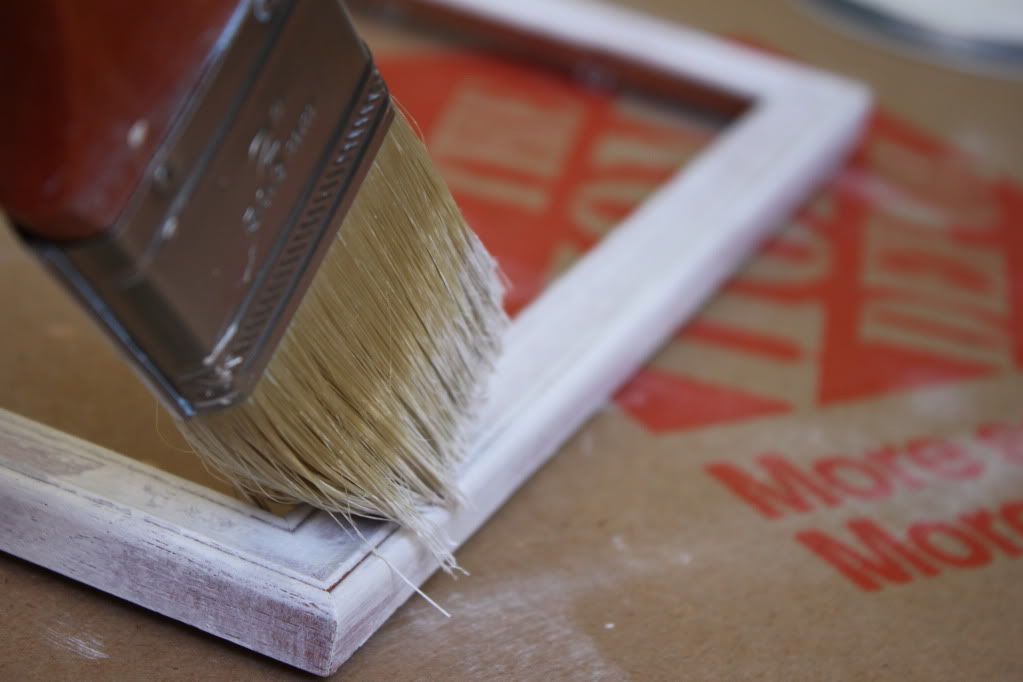
Paint them all white (or whatever color you like) using the dry brush technique.

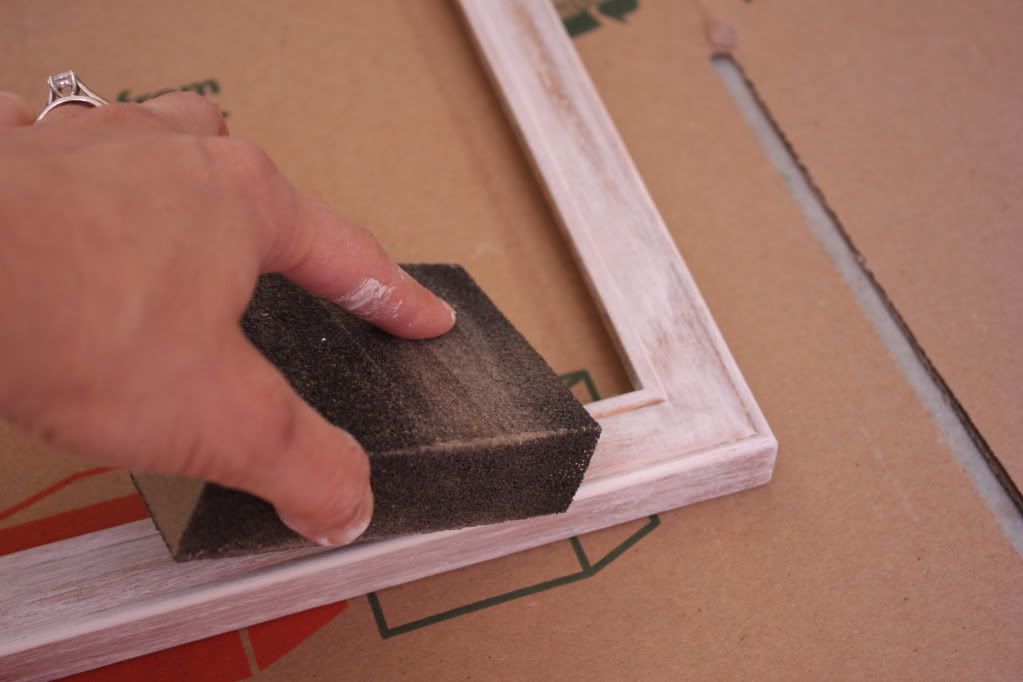
When the paint dries, hand sand them again to give them the distressed look.

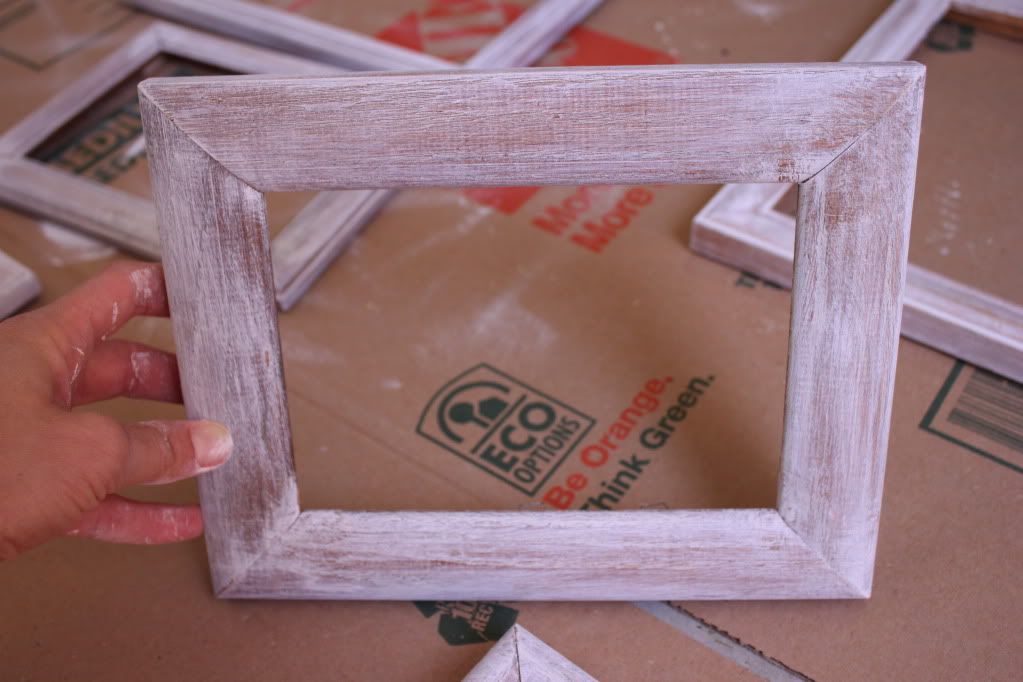
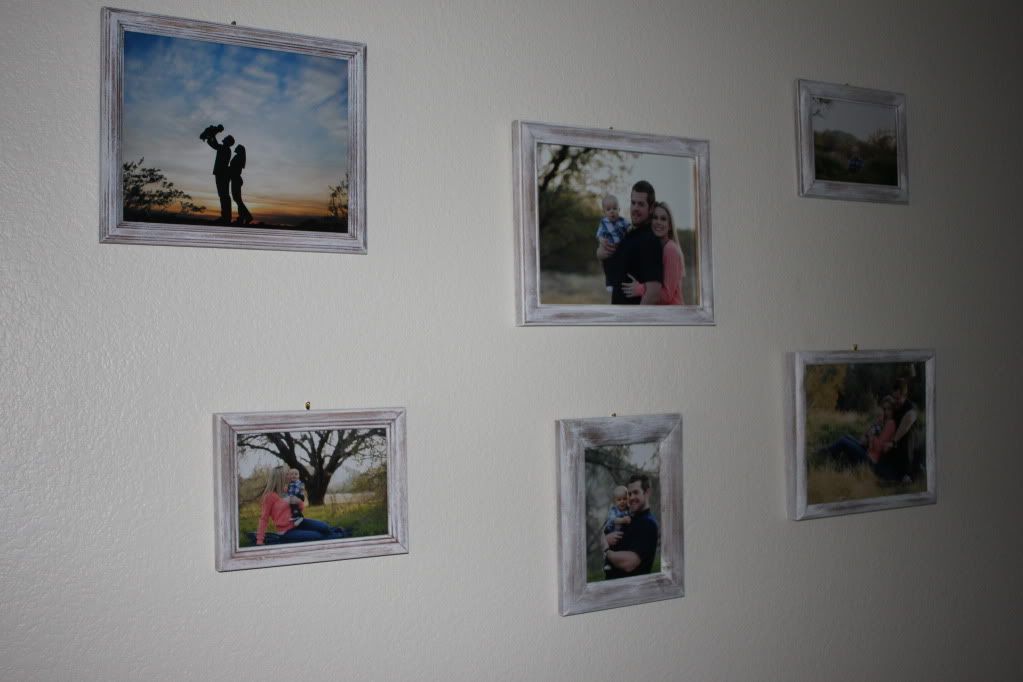
Here is a finished frame.

All finished..waiting for them to dry completely..I hate waiting!


I am not gonna pretend like I'm a fabulous decorator and have always know what I was doing because that's not true. As a matter of fact decorating is one of my BIGGEST challenges. It took me two years of being in my house (and lots of wasted dollars) to finally figure out what exactly I like. To sum up my up style it's a little French country, a tiny bit shabby chic, a tad anthropolgie inspired, with hints of Pottery Barnish influenced decor.

I have always wanted a family photo framed wall...and was a little discouraged when I was researching the kinds of frames I wanted and the ridiculous costs..so I decided to recreate them myself. Surprisingly they turned out how I pictured..love when that happens because it doesn't happen often ;)

low carb citrus shrimp tacos

Thursday, May 5, 2011


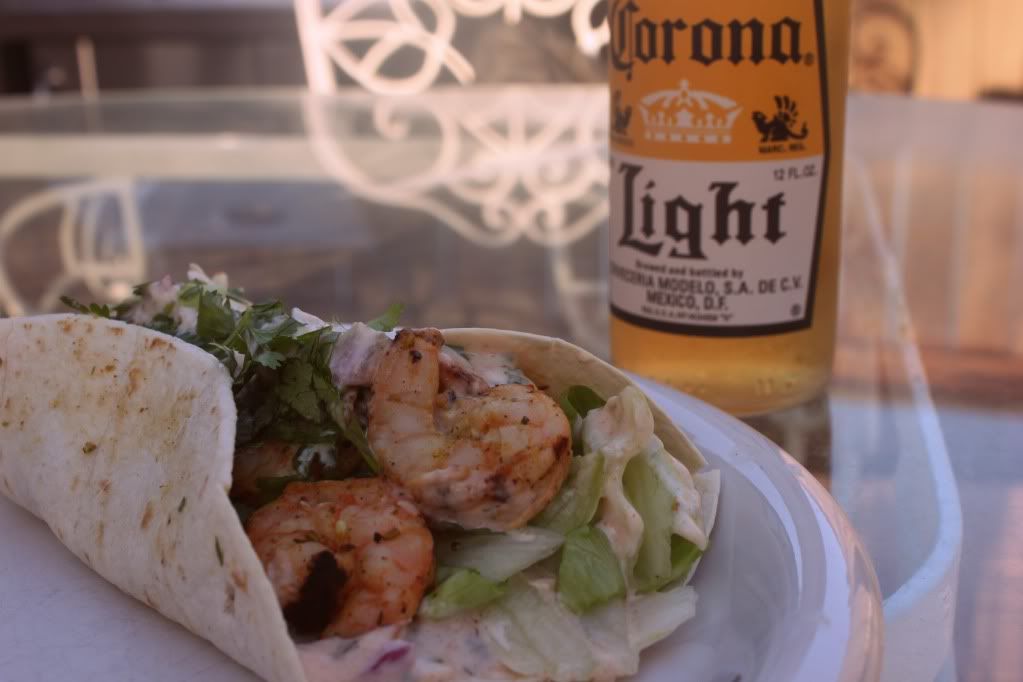
Happy Cinco De Mayo! Even though I am not of Mexican heritage I love just about any excuse to make a delicious Mexican meal...and drink a Corona of course ;) Tonight I made low carb citrus shrimp tacos...Ian had 5 so I can officially say they were a hit!

What you need:
  • 1 pound of shrimp (I really don't like buying frozen shrimp...it's one of those weird things that I get freaked out about so I bought fresh Tiger Shrimp from Henry's)
  • 4-5 skewers for grilling the shrimp
  • 2 tbs of Mexican seasoning (bought at Henry's)
  • 2 cloves of garlic minced
  • 1 red onion
  • 1/3 cup lime juice
  • 4 tbs of lemon juice
  • 7 Mission Carb Balance flour tortillas...5 for Ian one for me and one for his lunch tomorrow :)
  • 1 head of iceberg lettuce, finely shredded
  • 1/2 cup of fresh cilantro
What you need for the citrus cream sauce:
  • 1 tub of light sour cream
  • 1/2 cup of diced red onion
  • a dash a salt..then a few more..
  • a few dashes of pepper
  • 2 tsp of Mexican seasoning
  • 1/2 cup of cilantro
  • 3 tbs of lime juice

1) Combine the lime juice, lemon juice, garlic, onion and Mexican seasoning in a bowl. Add shrimp and coat with the marinade.

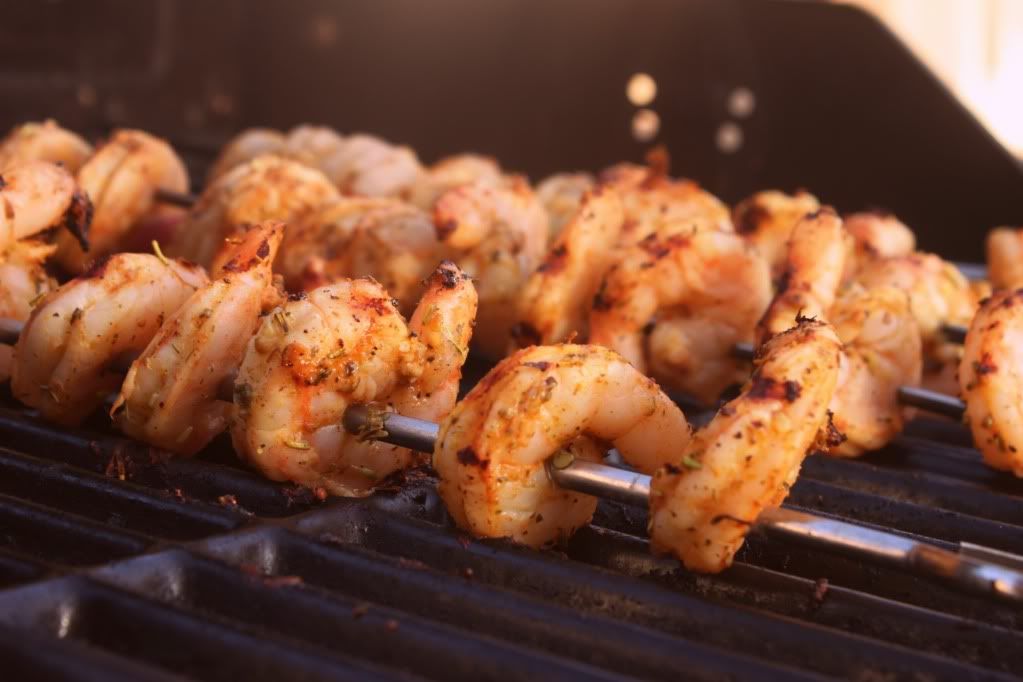
2) Preheat grill to 400 degrees. Place shrimp on the skewers and place on the grill. We like our shrimp extra crispy so I grilled them for about 10 min total.

3)Combine all the ingredients for the citrus cream sauce

4)Spread a good amount of the cream sauce on the bottom of the tortilla (which I also warmed up on the BBQ) and place 5-6 shrimp on each tortilla.

5) Add a dollop ( I like that word) more of the sauce on top of the shrimp. Add sliced iceberg lettuce and garnish with the cilantro!

6) Enjoy!!

Lesson learned:
NEVER ever turn the skewers with your bare hands (HELLO)....because when the grill is turned up to 400 degrees this is HOT....I have two lovely little burn blisters to remind me I should never do this again.

making memories

Wednesday, May 4, 2011


Its so easy to get caught up in the busyness of life. Same routine day in day out. Its nice to break the cycle every once and awhile and do something a little out of the ordinary..

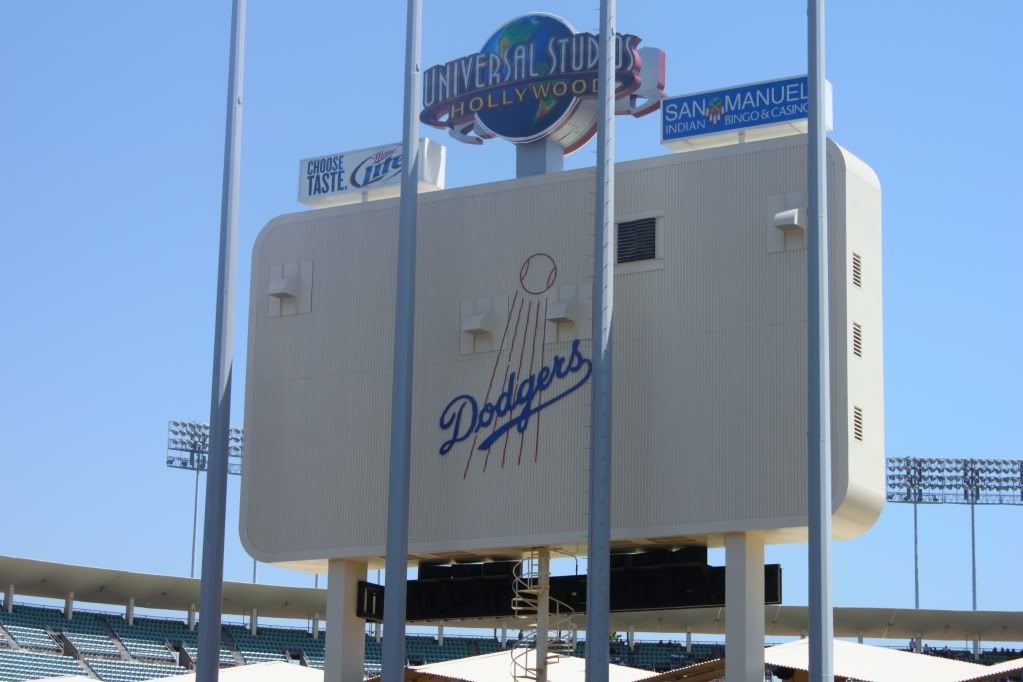
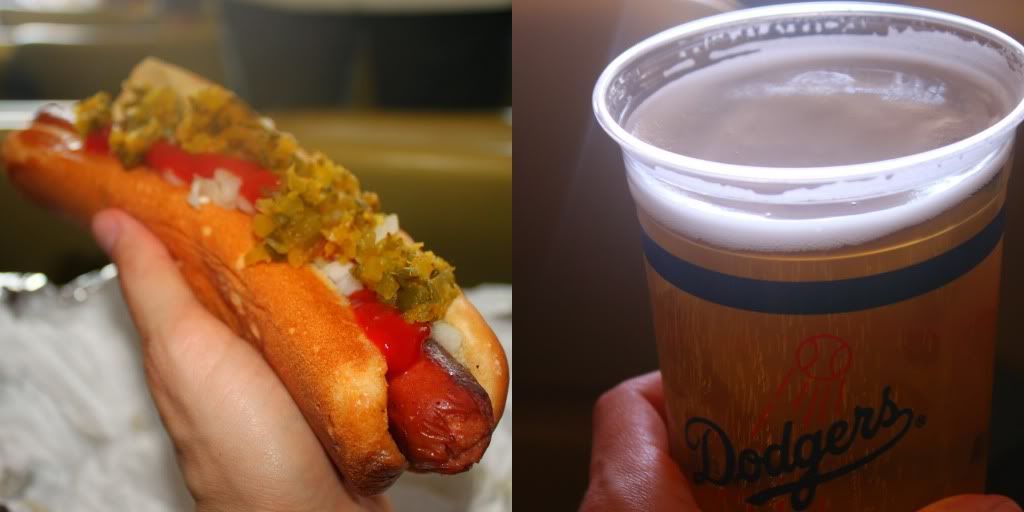
Ian took today off and we took Max to his first baseball game. Such a lovely family day date!

Today's lessons learned:

1) ALWAYS bring Max an extra change of clothes (DUH) just in case he has a diaper explosion and you have a 2 hour drive home...

2) ALWAYS remember where you park. The Dodger staduim is HUGE and when its 100 degrees out and you cant remember where your car is... this can give any Mom a panic attack! Thank God for the sweet old man who offered to drive us around to find our car. I'm sure the sight of a little family sweating and frantically walking around in circles is a dead giveaway you need some assistance :)

part 2- diy recycled belt bracelet

Monday, May 2, 2011

This is part 2 of the recycled belt bracelet. I hate throwing away perfectly good left over leather. Plus I really love the color and the slight wear of this leather belt so why not use it to its full potential!

What you need:
  • The leftover leather from the first project
  • Scissors
  • Leather hole punch (or you can use a nail and hammer). You will only need to punch one extra hole since you are utilizing the holes that are already there.
  • 6-7 snap fasteners
  • Snap setter (you can buy this at Michaels)
  • Hammer

Decide how snug you want your bracelet to be.

Cut the end..and leave yourself a little slack...you can always make it tighter.

Round out the edge with the scissors.

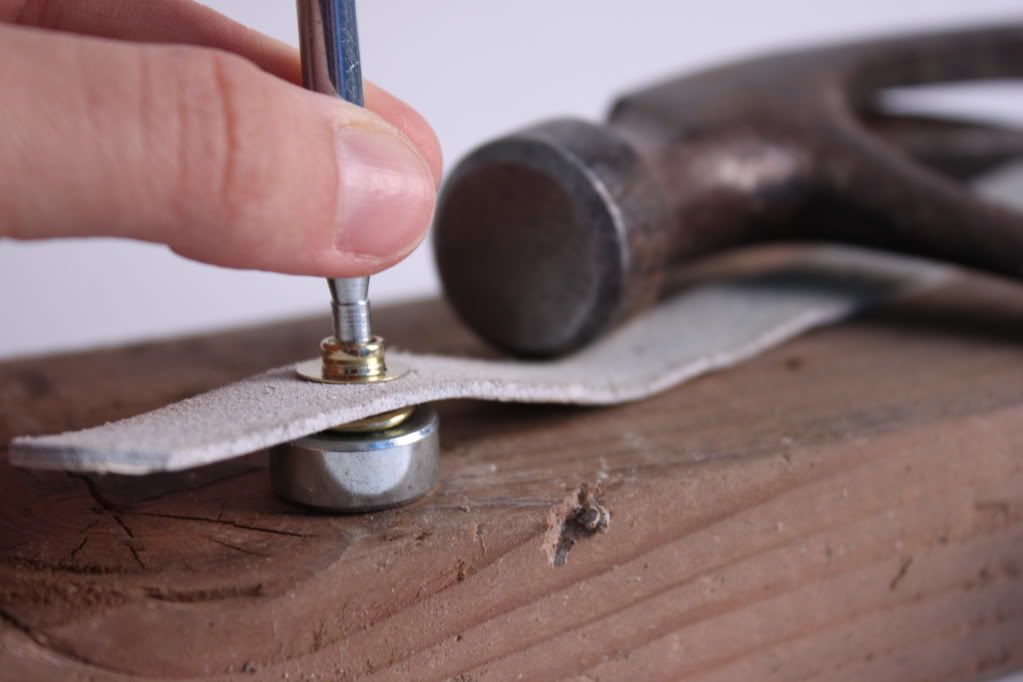
Place the snap fastener through the hole that is already there.


Make sure your doing this on a hard surface like a piece of wood. I was "practicing" on our granite kitchen counters and Ian almost had a heart attack..wooooopise. Position setter over snap and strike firmly until part is set.

Do the same process for all the remaining holes.

Overlap the two ends and use your leather punch to make a hole. Use a snap fastener to close up your bracelet. With this one you are going to want to also attach the button fastener to the link up hole so it functions as an actual snap.

Tada!!

Linking up is so much fun! To see more fun ideas check out these blogs..


Tip  Junkie handmade projects


and HERE!!


building our garden

Sunday, May 1, 2011

Here is our side yard before we (mostly Ian) did some serious weeding and we (Ian) started building our garden beds.

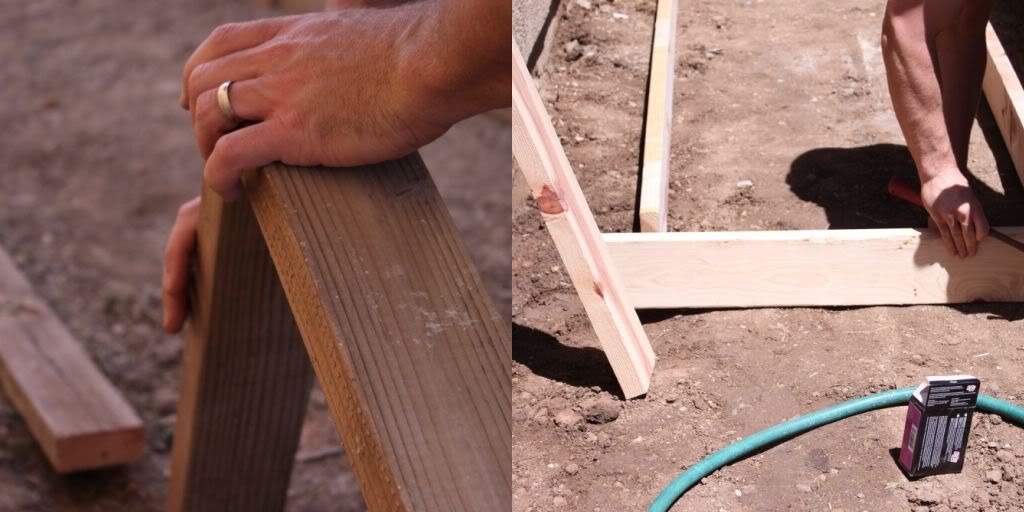
Building the framework for the two beds.

Genius. Biodegradable pots. You simply plant directly into the ground. No plastic pots to throw away.

First garden bed done! This one includes:
  • Yellow bell peppers...LOTS
  • 2 varieties of tomatoes
  • Of COURSE I couldn't leave out my little Chia Herbs. They are down at the end ;) basil, cilantro and marjoram

Some of the veggies we will be growing in the second garden bed
  • Pumpkin
  • 2 varieties of lettuce
  • Cucumbers
  • Onions
  • Carrots
Our first family garden finished! Such a long exhausting weekend but so worth it!


It has always been a dream of mine to have our own family garden. What could be better than picking your own fresh vegetables for dinner? I am always preaching about buying locally grown produce and it doesn't get much more local than your own backyard. Some of you may be thinking..."Okay sounds good if you have a house with a backyard"...even if you live in an apartment or small condo without backyard space you can STILL have a little garden. Check out THIS awesome blog where it shows you how. I am really looking forward to watching our garden grow and flourish!
Related Posts Plugin for WordPress, Blogger...