So let me just go ahead and be real...my track record for furniture upcycles/hacks/makeovers or whatever you want to call them has not been good. Basically everything that I have painted, or tried to give a "makeover" almost always ends up in the dusty dark garage where they will never be seen again until a nice lady on Craigslist wants to buy them.
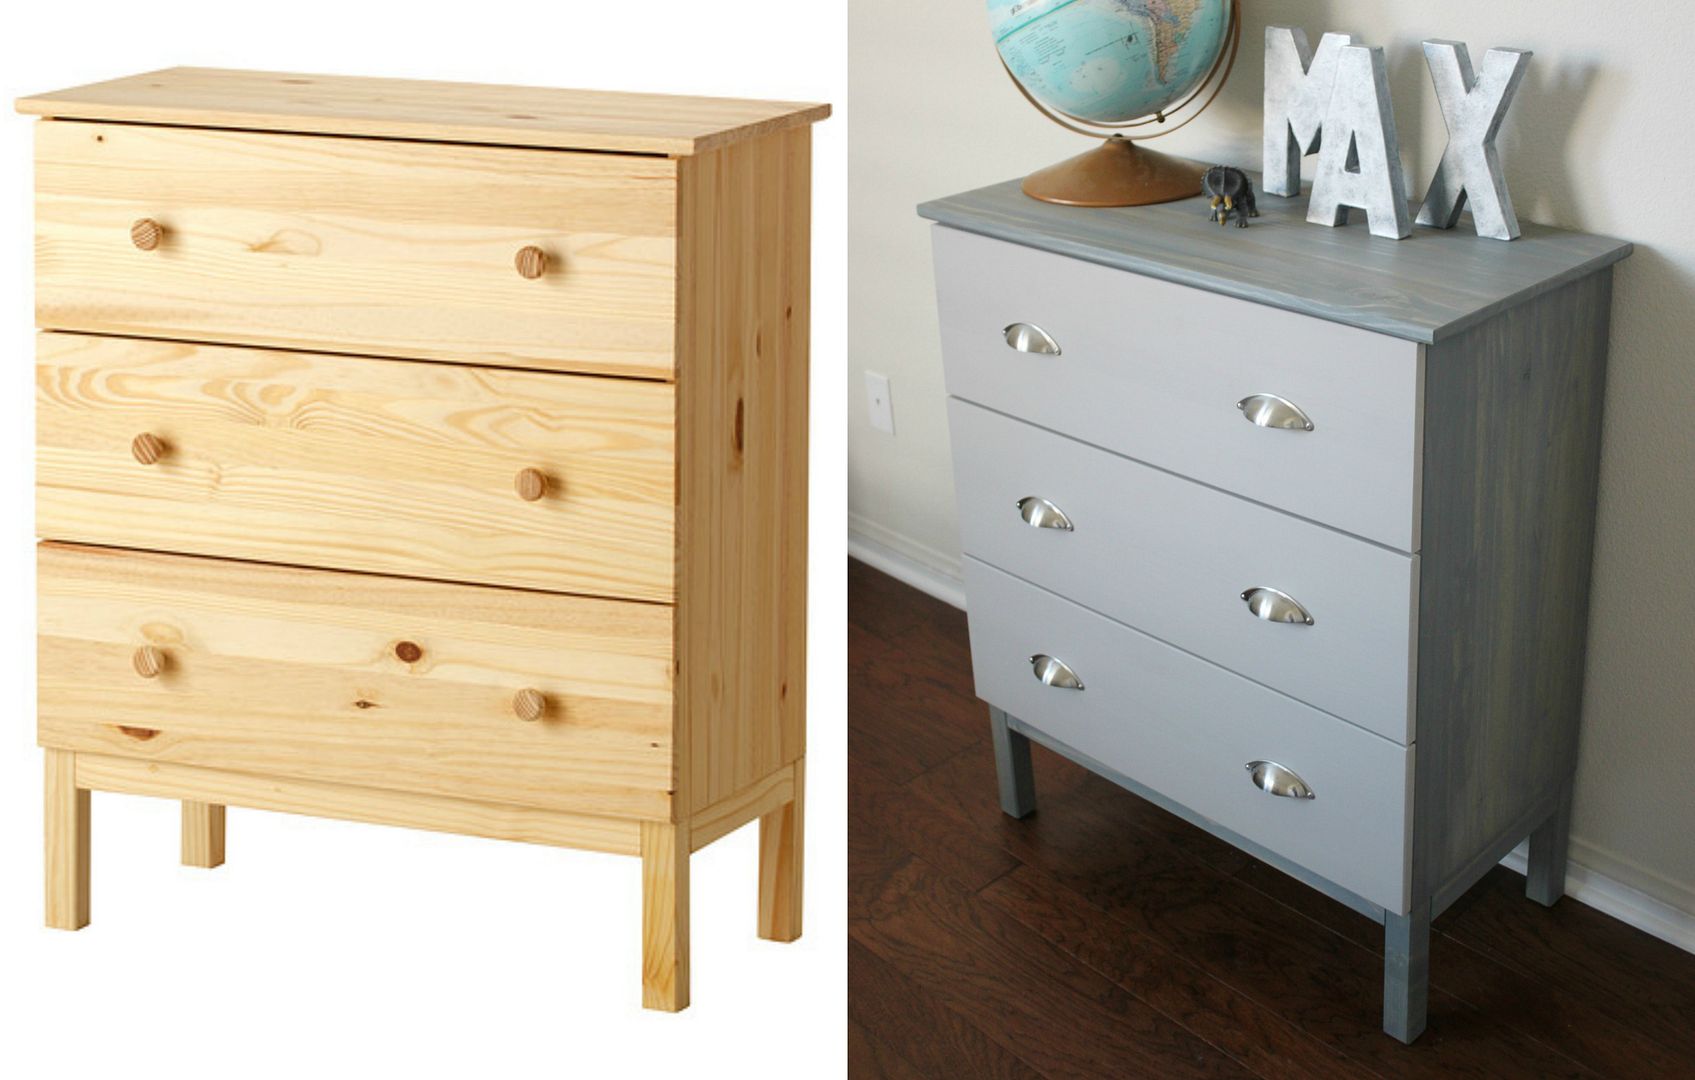
I recently heard about the Tarva Ikea dresser and I thought well mayyyyyyybe I could give this furniture thing one more shot.
Here is why the Ikea Tarva dresser is awesome:
- It's REAL solid, untreated wood. That is impressive considering it's coming from Ikea
- It comes pre-sanded, which makes it the perfect ready to go blank canvas!
- It's the perfect height for a child's room. It's not too tall, it's not too short, it's just right.
- It's only $80.
What I used:
- Rustoleum Weathered Gray wood stain
- Pantone String paint
- Drawer pulls are from Lowe's
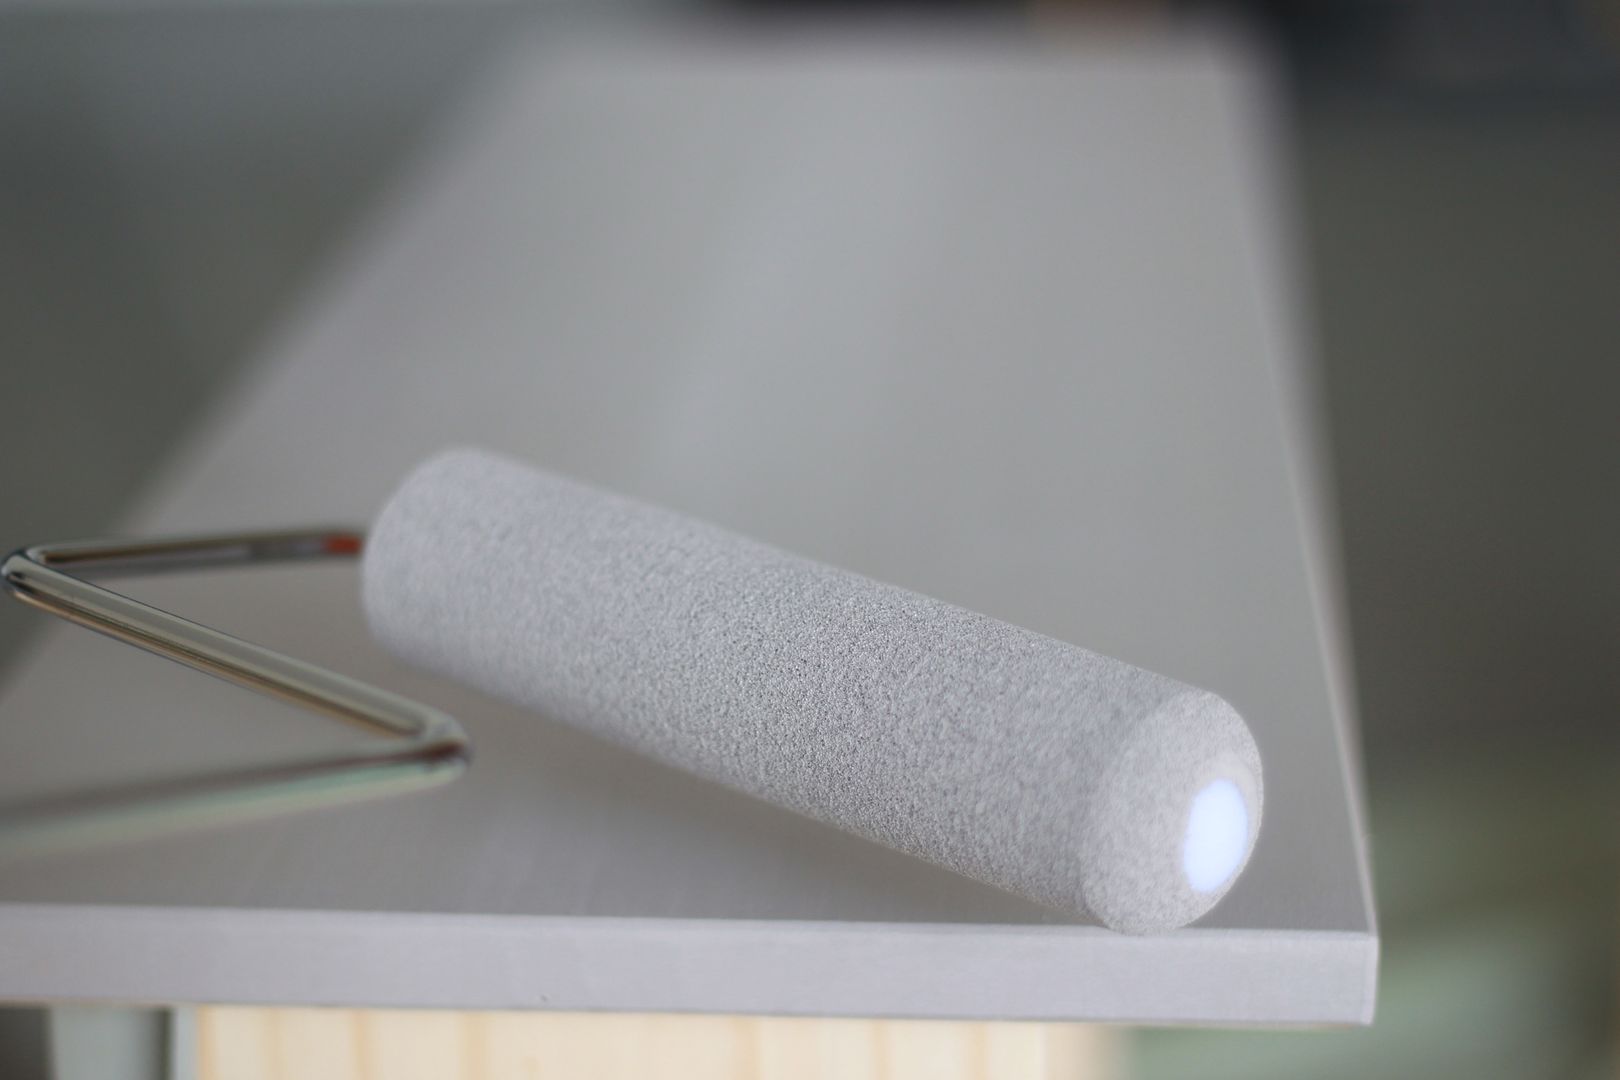
- Paint rolls for paint
- Clean rag for stain
- Put the dresser together, remove the old knobs and take out the drawers and set aside. This makes it easier to figure out what you are painting.
- Stir up the can of wood stain before using. Apply the wood stain everywhere but the drawers. When applying the stain make sure you apply evenly and go WITH the grain of the wood. I learned this lesson by previously screwing up other projects.
- Once everything but the drawers have been stained, paint your drawers using a small paint roller. I did two coats.
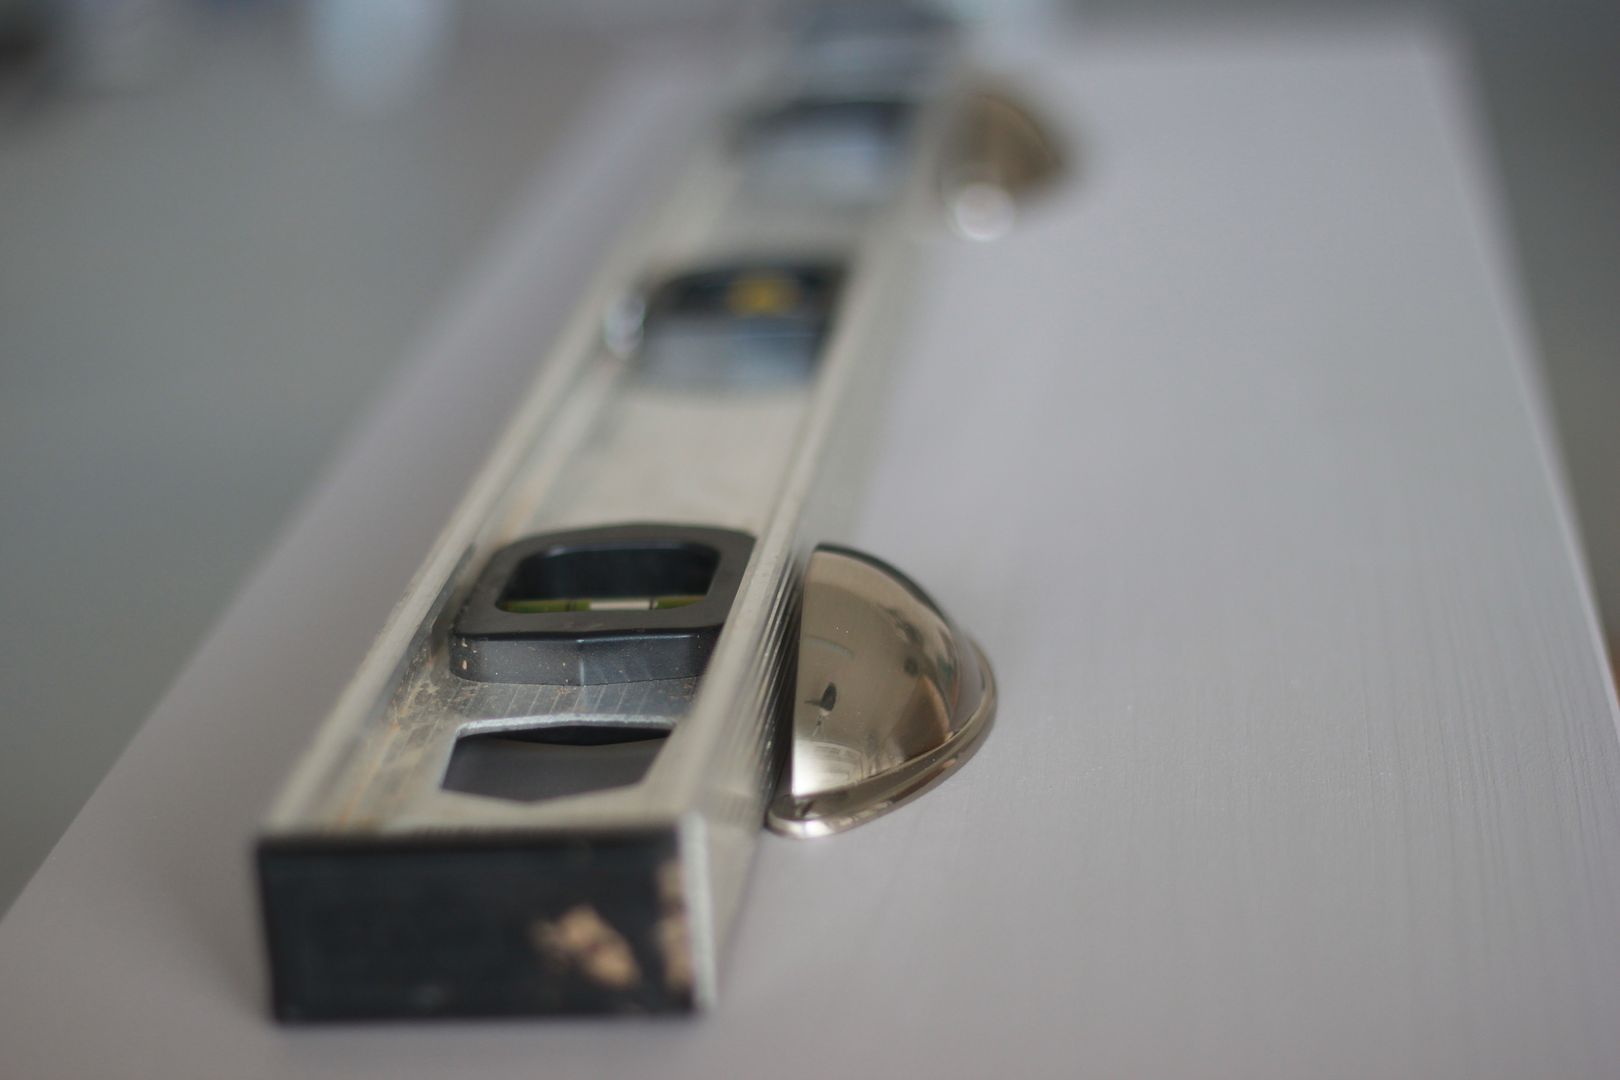
- For the drawer pulls, I used the existing hole from the old knob and then drilled (okay my husband drilled) a new hole next to it so the new hardware could attach properly.
- Use a level to make sure your drawer pulls are even.
- Let everything dry for about 2 hours. Put the drawers back in and you are done!

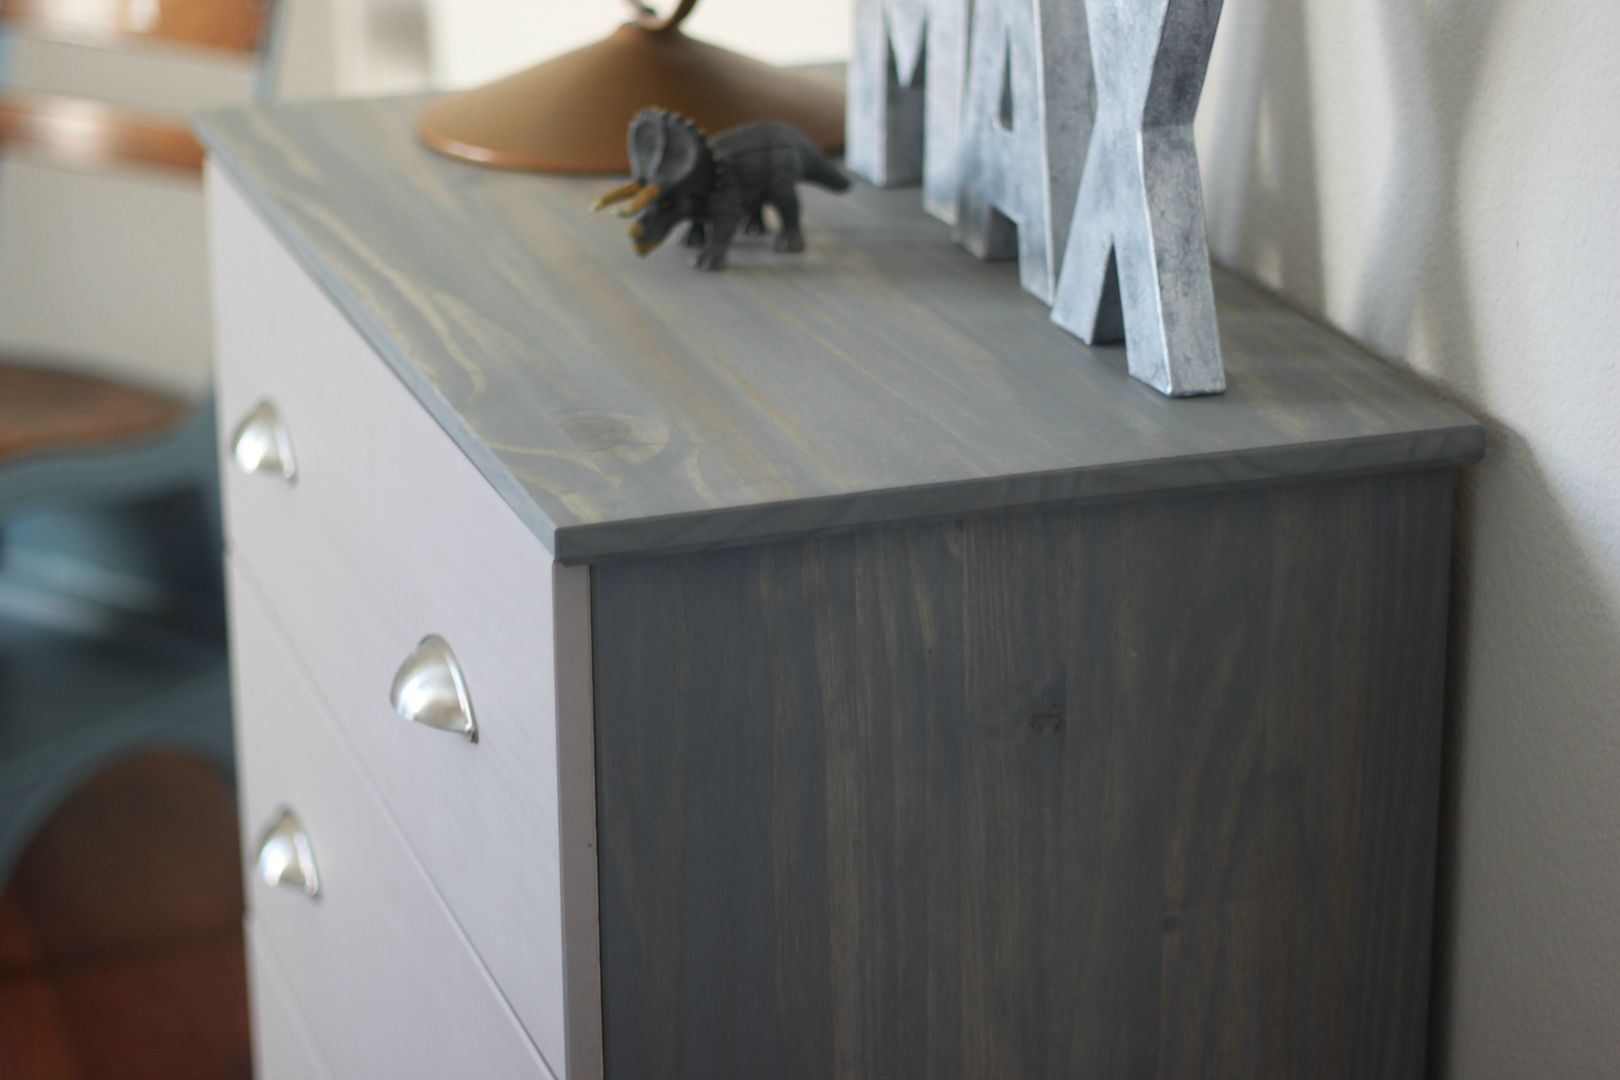
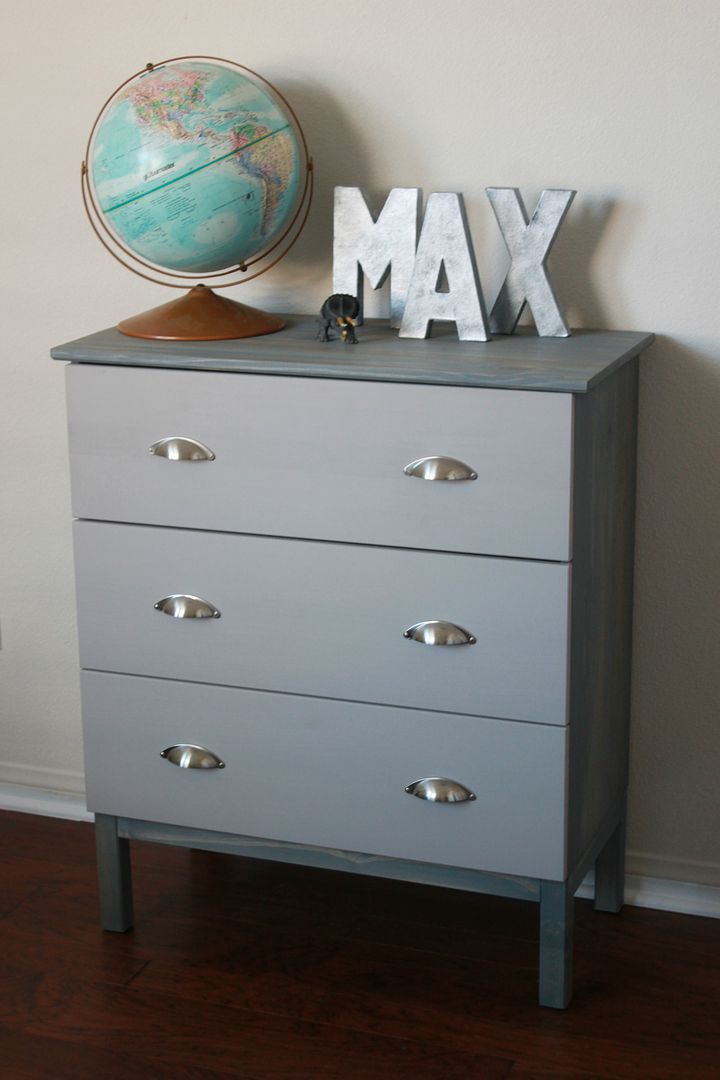
This was beyond easy and I could not be more excited with how it turned out. PLUS it only took me an hour to complete since there was no sanding or priming involved. The design possibilities for this dresser are endless!

10 comments:
It looks fantastic Lindsay!!
Awesome job!
Stop it Lindsay. This is seriously an amazing job! Perfect for little Ronin...it seems like his style I think! :)
Super cute. The drawer color reminds me of the paint I used for the dresser and armoire in the kids' room.
Diggin' those pulls, too. And the fact that it's small enough to fit in a tiny bedroom like at our house. :) So nowwwwwww, I wanna see the rest of the room! :)
great DIY dear. That new color is so classy..
xo
Janika
Oh I love this, the color is perfect ~ Lisa
Love this! I might have to do this for Noah's big boy room!
I saw this before and after and you did such an amazing job! I need to take a furniture lesson from you! ;) xo!
It looks fantastic! I need something similar for the room I am making for my granddaughter. Thanks for sharing
Great job!
Post a Comment