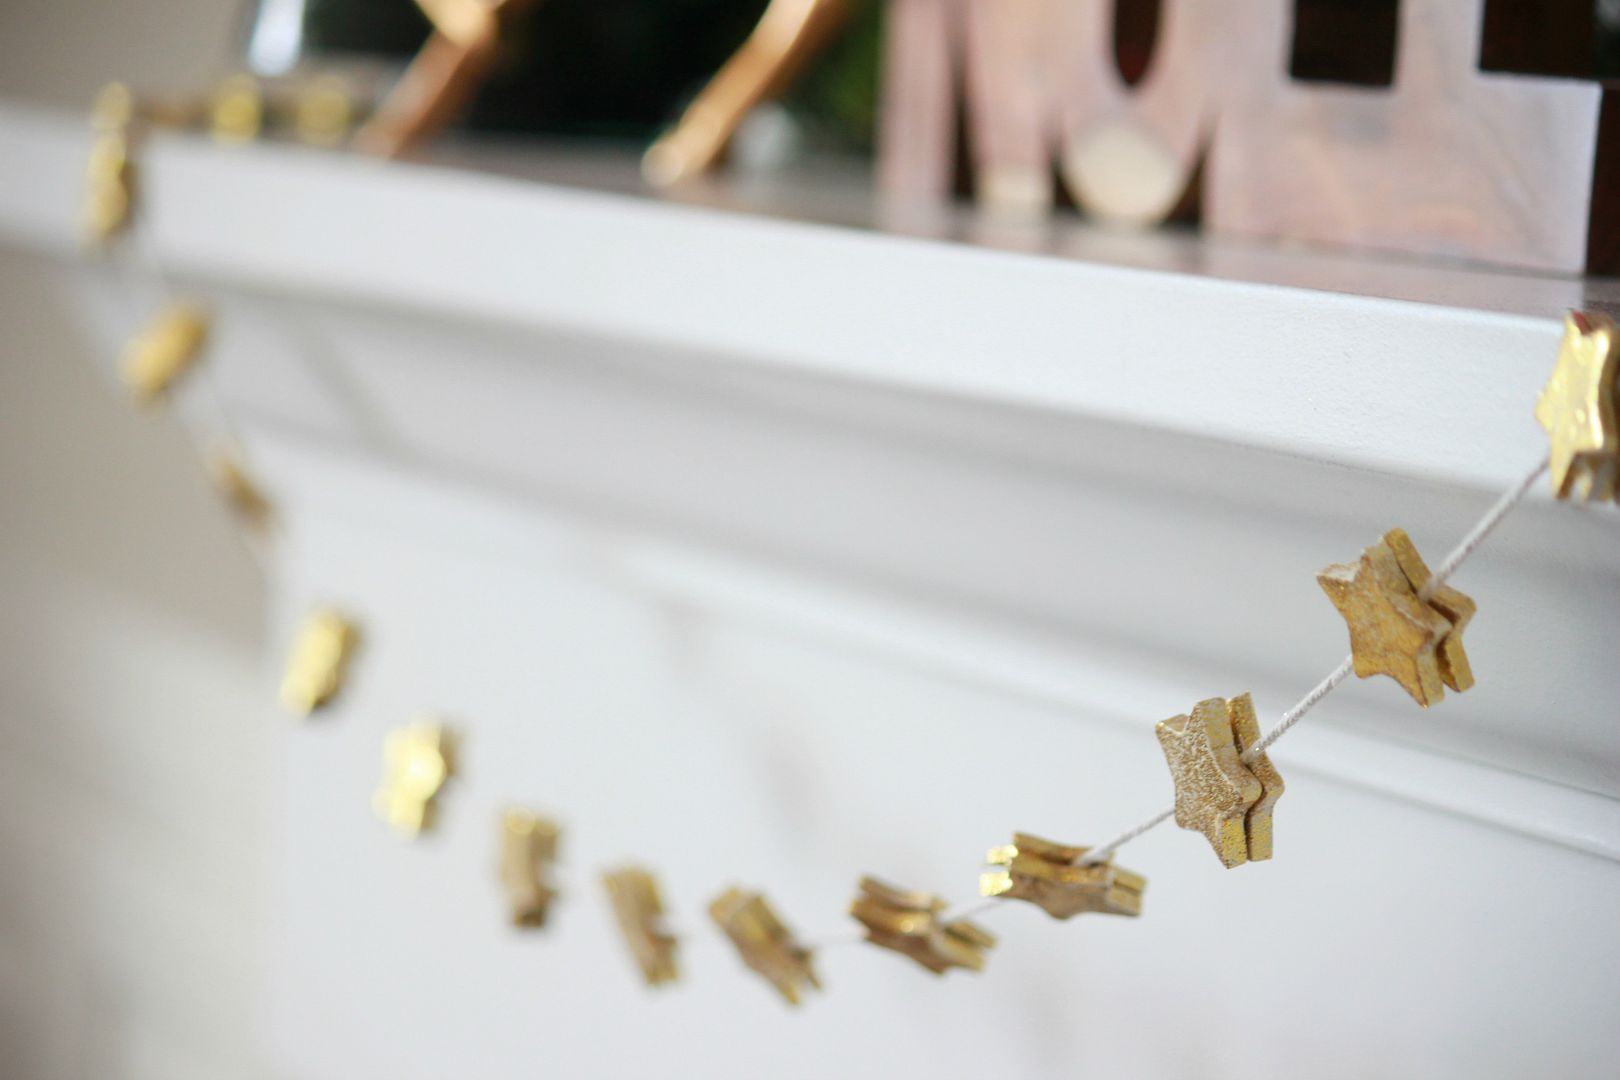
 One thing I love about our new house is that we actually have a fireplace mantle! This is exciting since our old house had a mantel-less fireplace, which I always felt was a sad looking sight once Christmas time rolled around each year. So the fact that I can now do amazing things like hang stockings and garland makes me beyond happy :)
I wanted a somewhat simple garland for the fireplace and something that added a little hint of Christmas cheer without being too loud. Not sure if that even makes sense but half of the decorating thoughts in my head don't make sense. This turned out exactly like I visioned (almost never happens) and I love the little sparkle it gives my living room.

- 1 large block of white Sculpey polymer clay
- Gold glitter
- Small star cookie cutter (I found mine at Hobby Lobby in the clay section)
- String
- Clay roller
- Hot glue gun
- Small bowl
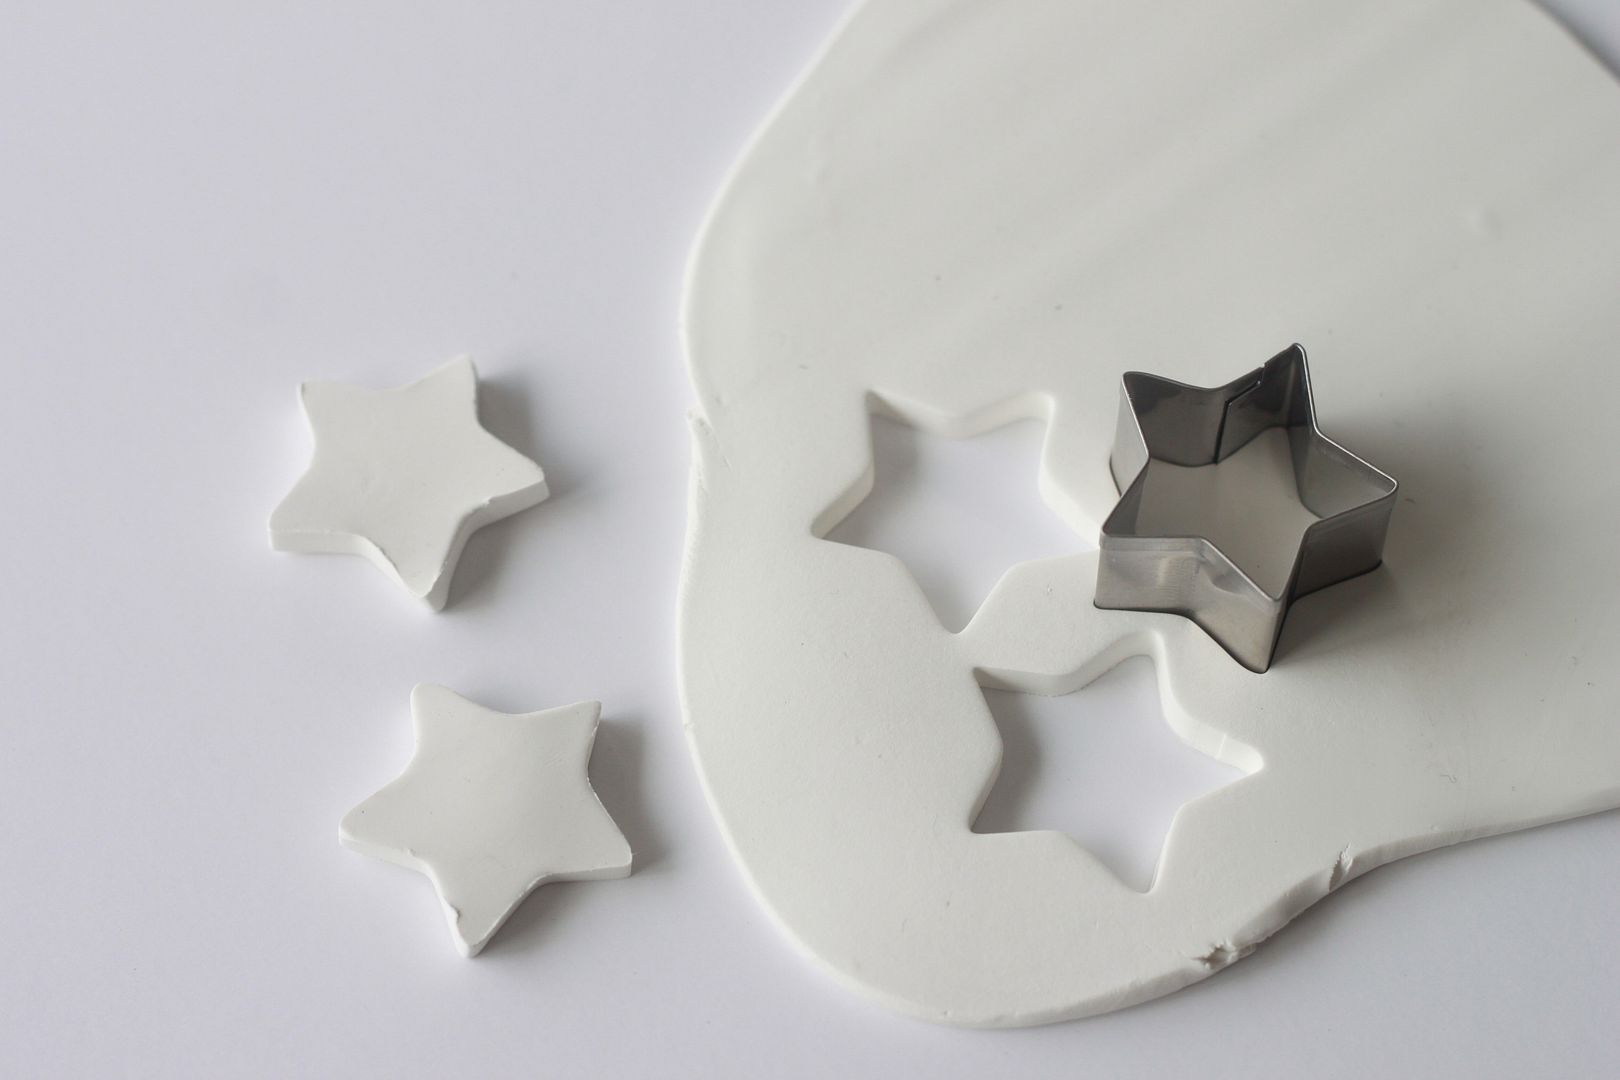

Use the cookie cutter to cut out all of your stars. I made about 34 stars for my garland. When you run out of space to cut out additional stars, mash up your clay add a little more to the ball and roll it out again.


Once all the stars are covered in glitter, place them all on a designated craft baking sheet and bake at 275 degrees for 25 minutes.


Evenly space your stars along the string.


12 comments:
I love it Lindsay. Love homemade items this time of the year!
Oh this is so cute Lindsay and so excited that you have a mantle now! :) Happy new week!
So pretty!
I could totally see adding that as a garland on my christmas tree this year too! Love the idea!
Seriously??! I LOVE this. You and your clay girl....something magical happens every time you touch it.
Definitely my favorite thing you've done with clay!! I want to go do this right now! How thick did you make your stars?
Thank you so much Sara! The stars are about 1/8" thick :)
Adorable! I love me some clay!
I would try this at home, it looks very nice :)
I LOVE this idea!! Question--does the glitter bake into the clay so that it doesn't fall off and get everywhere?
Sara- The glitter does bake in but it does shake off every now and then so it is not completly mess free ;)
What a wonderful idea! Found it just in time - thanks for sharing :)
Post a Comment